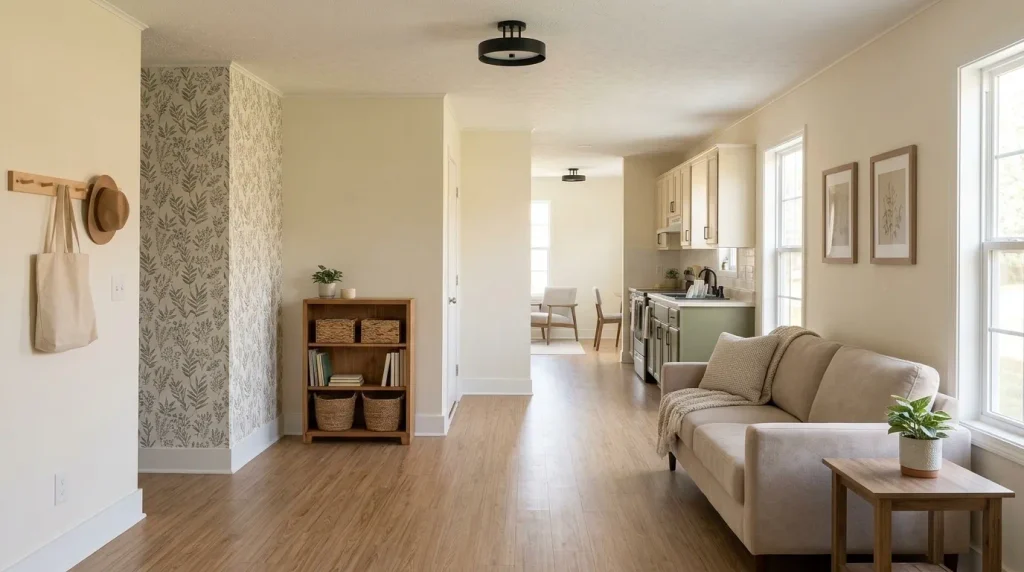
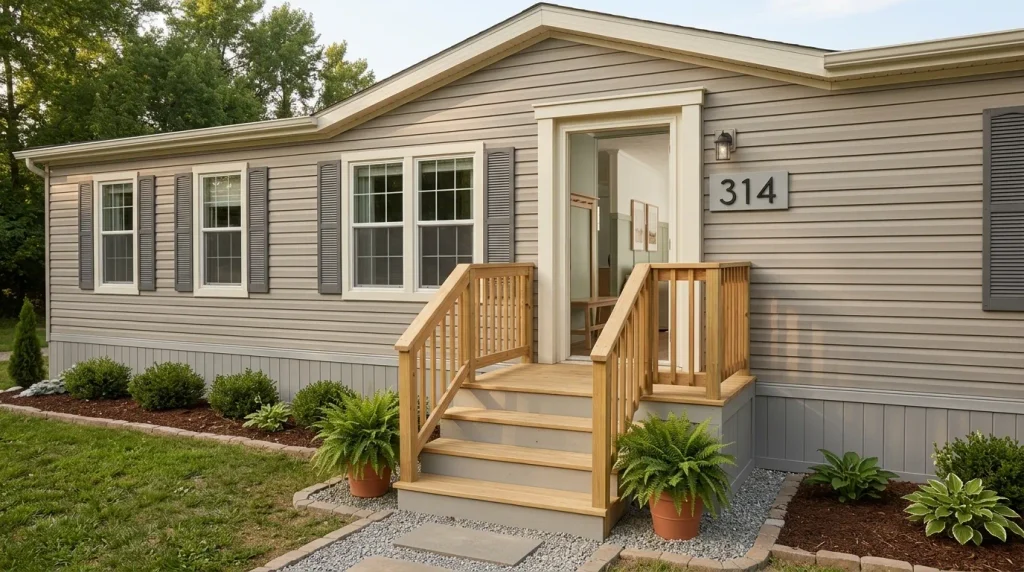
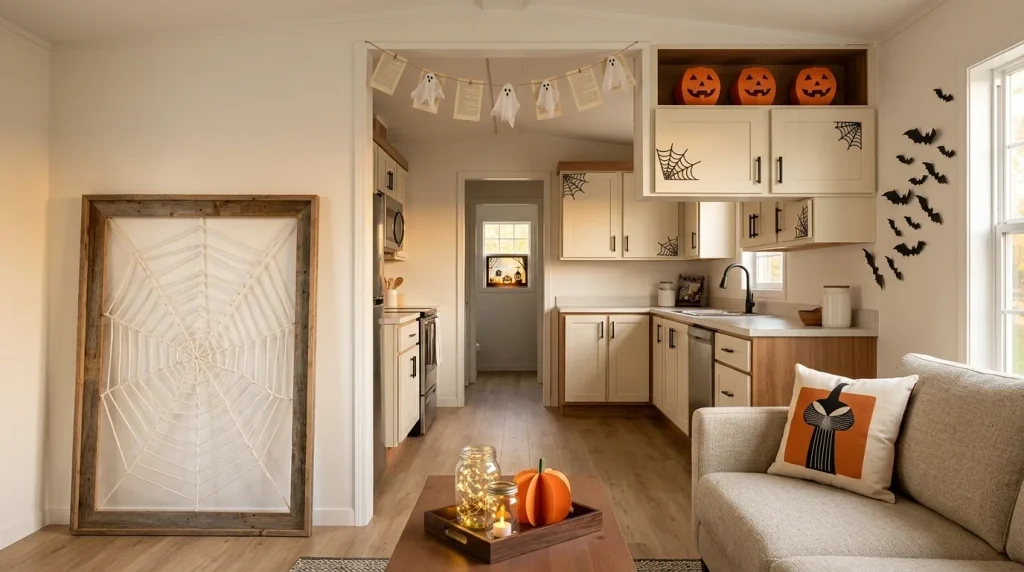
A dramatic mobile-home makeover can look as though everything changed at once. In reality, the best weekend mobile home projects are usually much more selective. They focus on one high-visibility surface, one awkward gap, one strong sightline, or one unfinished zone that can reach a convincing stopping point before Monday.
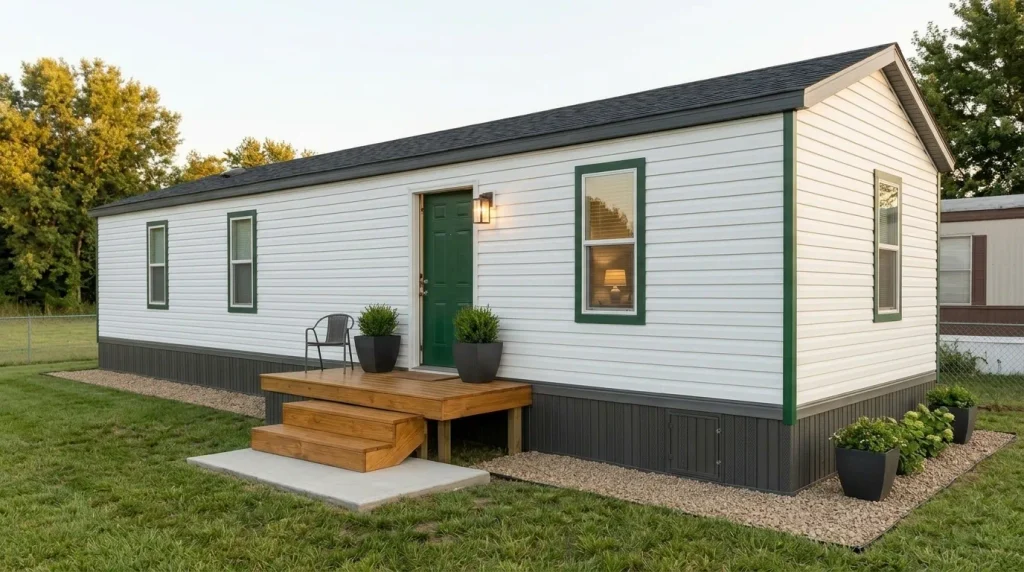
That distinction matters in a mobile home, where compact rooms and long connected views mean a relatively small update can influence several spaces at once. It also keeps a cosmetic refresh from quietly becoming a renovation involving wiring, plumbing, structural changes, or days of unfinished work.
The 17 projects below are built around fast visual impact with controlled scope. Some need only a few hours; others deserve most of the weekend.
Before choosing one, use this 48-hour scope check to decide whether the idea really belongs on your Saturday list—or should become a larger Phase Two project.
Before you buy supplies
The 48-Hour Project Scope Gate
A useful weekend project has a visible finish line. Run the idea through these four checkpoints before you turn Saturday into an open-ended renovation.
1. Paint the One Interior Wall Field That Appears in Several Sightlines
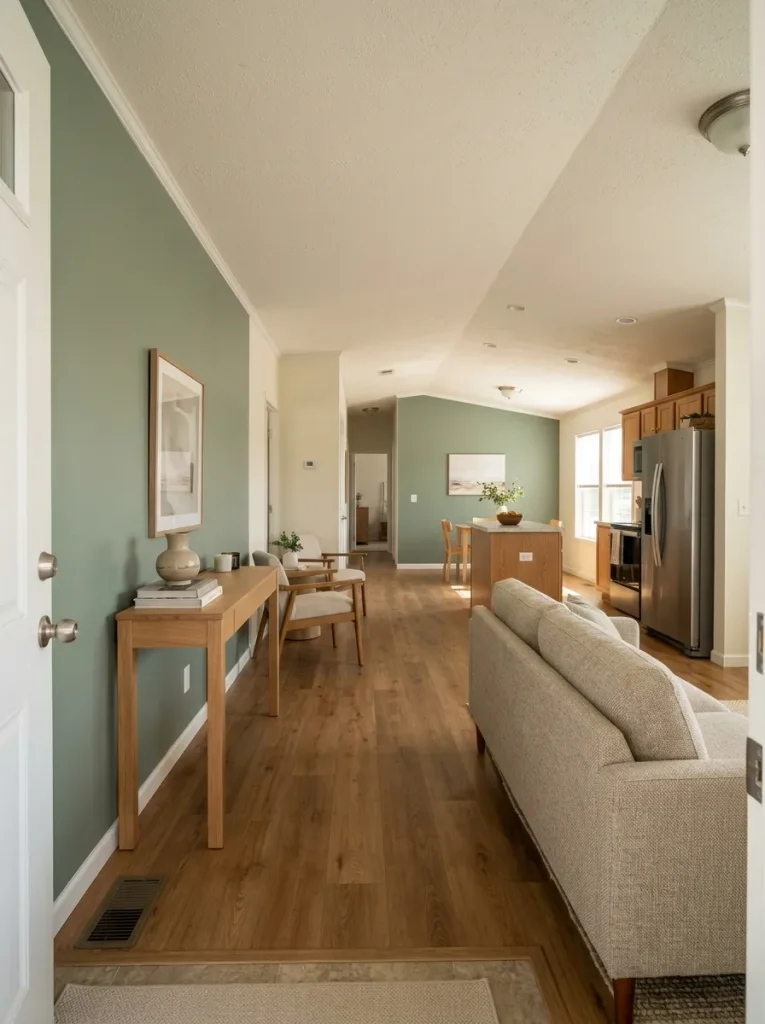
Stand near the main entrance or at one end of the living area and look through the home before choosing where to paint.
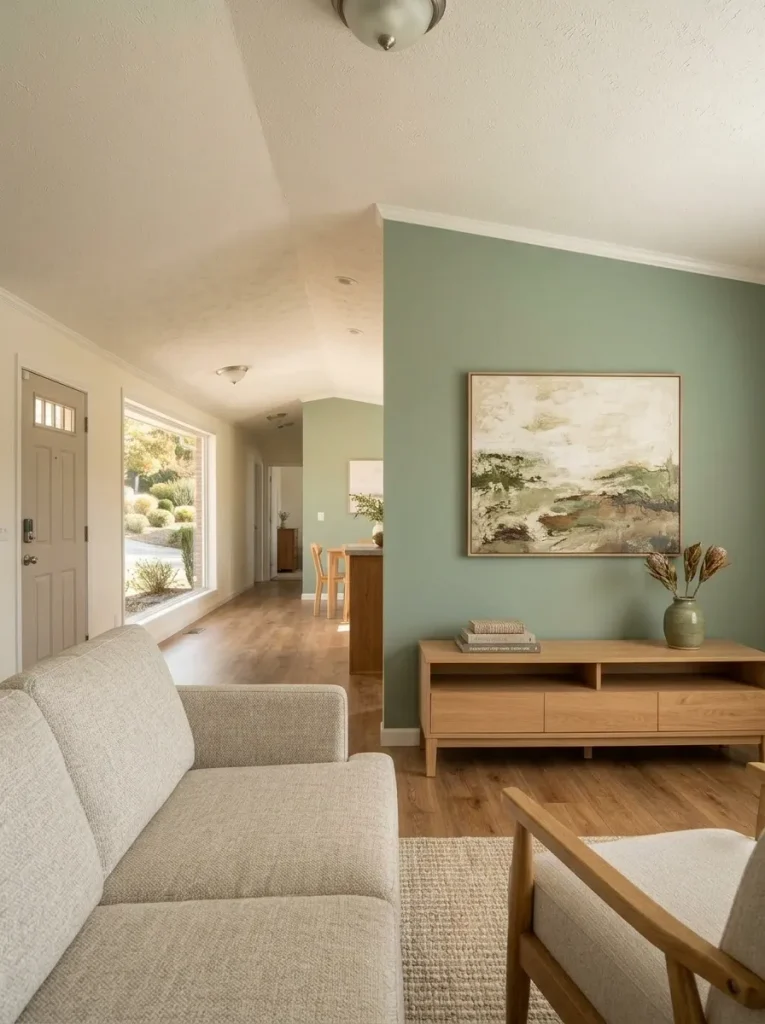
In many mobile homes, the most useful surface is not necessarily the traditional accent wall. It is the wall field that repeatedly appears behind the sofa, dining space, hallway opening, or kitchen edge.
Refreshing that one plane can visually connect several zones without committing the entire weekend to painting the whole interior.
A good candidate is a surface that is already sound and reasonably ready for a cosmetic finish. If the home feels dated because multiple wall treatments, furniture pieces, seams, and accessories compete in the same long view, a calmer background color can reduce that noise.
Decision rule: paint one high-reach wall field first.
Once it is dry enough to evaluate according to the coating manufacturer’s instructions, photograph the main sightline again. The remaining walls may suddenly feel acceptable because the most visually influential plane is no longer competing with everything around it.
If the home’s dated appearance goes much deeper than one surface, continue into the broader outdated mobile home makeover guide before committing to additional rooms.
2. Turn a Plain Living-Room Focal Wall Into One Finished Composition
A mobile-home living room can feel unfinished even when it already contains enough furniture.
The problem may be hierarchy.
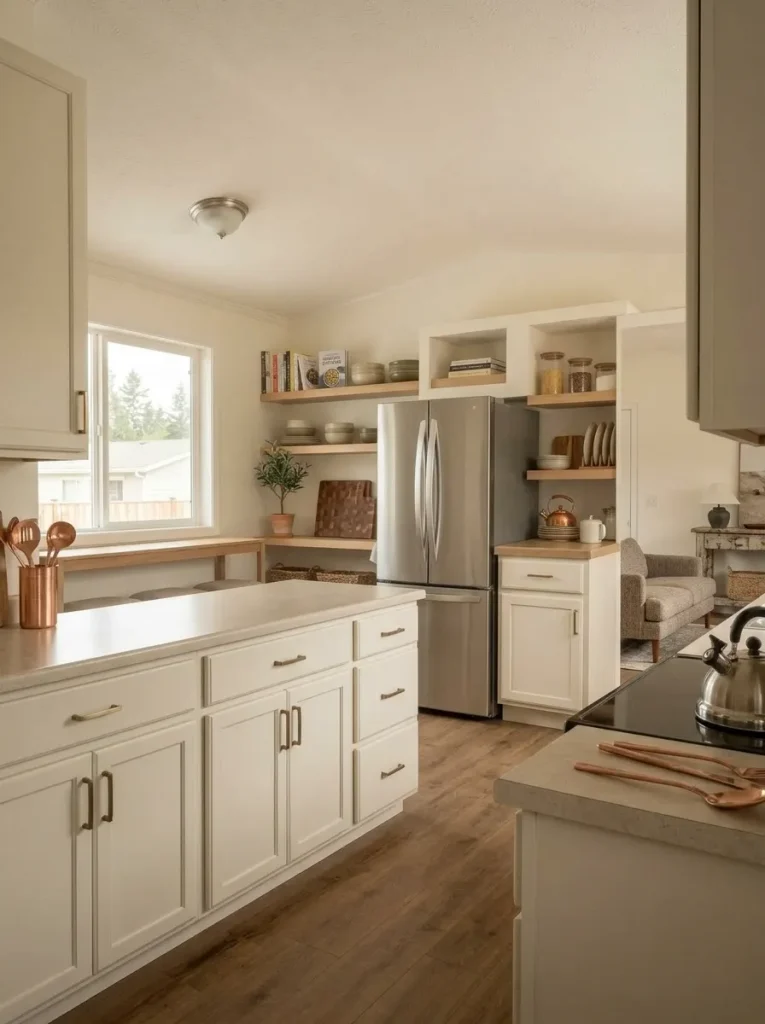
Look at the wall you naturally see from the main seating position. If it contains a television, console, artwork, shelf, plant, and several small accessories that all ask for equal attention, treat that wall as one composition for the weekend.
Choose one dominant element first: the TV, a substantial artwork, an existing cabinet, or another piece you intend to keep.
Now make everything else support it.
That might mean lowering or moving artwork, reducing accessories, centering the console more convincingly, repeating one material, or removing items that form a second competing focal point.
You may discover that the room needs very little new décor.
Quick visual test: take a phone photo from the sofa.
If your eye jumps to several unrelated objects before finding somewhere to settle, edit the arrangement first. Buying another decorative piece is unlikely to solve a hierarchy problem.
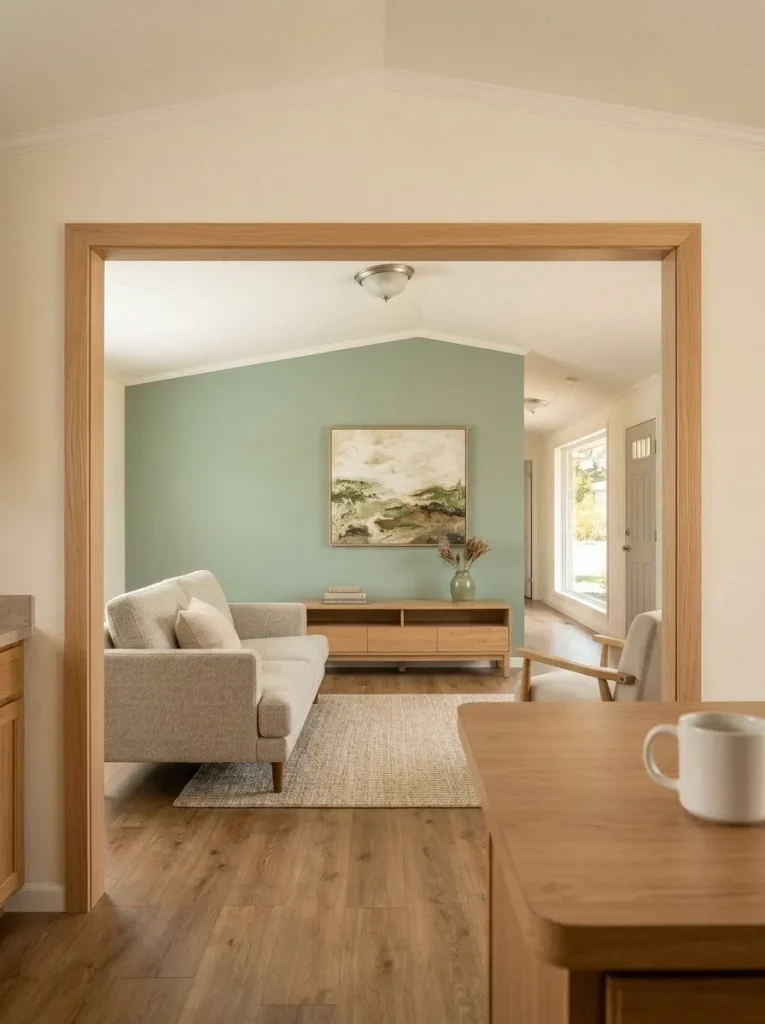
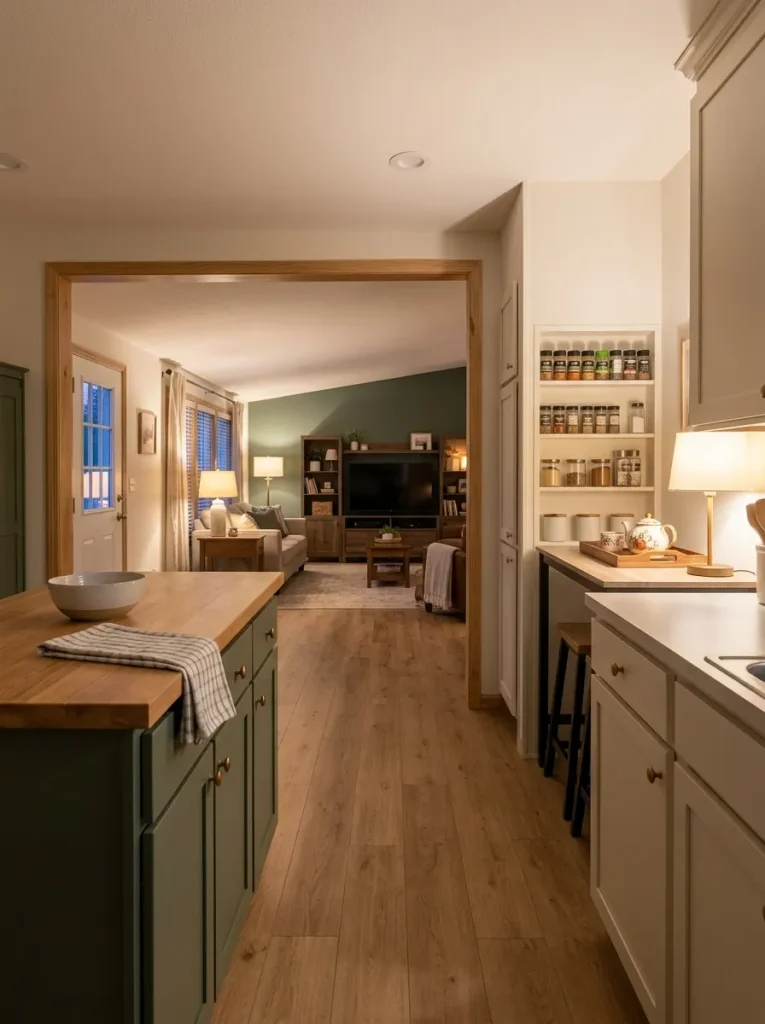
3. Give an Existing Opening a Finished Look With Cosmetic Wood Casing
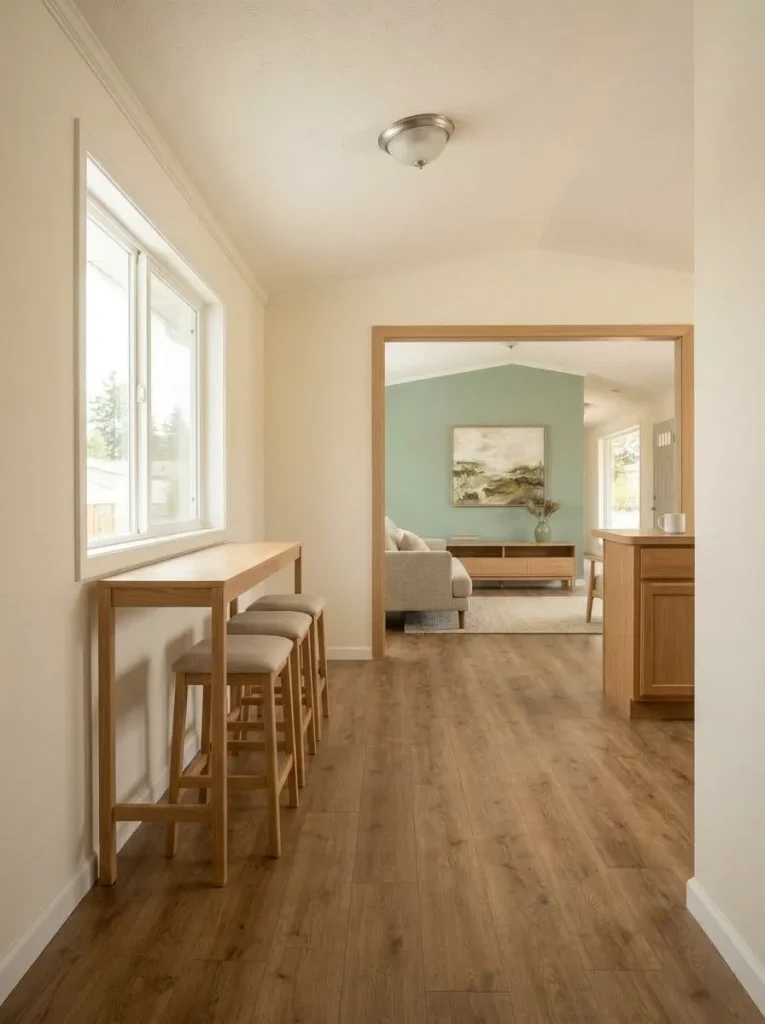
An open passage between a kitchen, dining zone, and living room can become one of the strongest architectural moments in a mobile home—provided the opening already exists and the project is limited to its visible finish.
Wood casing can frame the view into the adjoining space and make the transition feel deliberate. It works particularly well when a similar wood tone already appears in flooring, shelves, furniture, or another repeated detail.
The weekend boundary is essential here.
Keep this cosmetic.
The idea is to finish an existing completed opening, not widen it, remove framing, cut into an unknown wall assembly, or assume an opening can safely be altered because it appears nonstructural.
Before committing to a casing profile, create a simple mock-up around the opening with painter’s tape.
Then stand back.
A heavy border can visually tighten a narrow passage. If your mock-up makes the opening feel smaller or overly rustic, reduce its visual width or choose a quieter treatment.
That five-minute test can prevent an entire Saturday from being spent on the wrong proportion.
4. Build a Slim Freestanding Dining Ledge Where a Full Table Feels Too Heavy
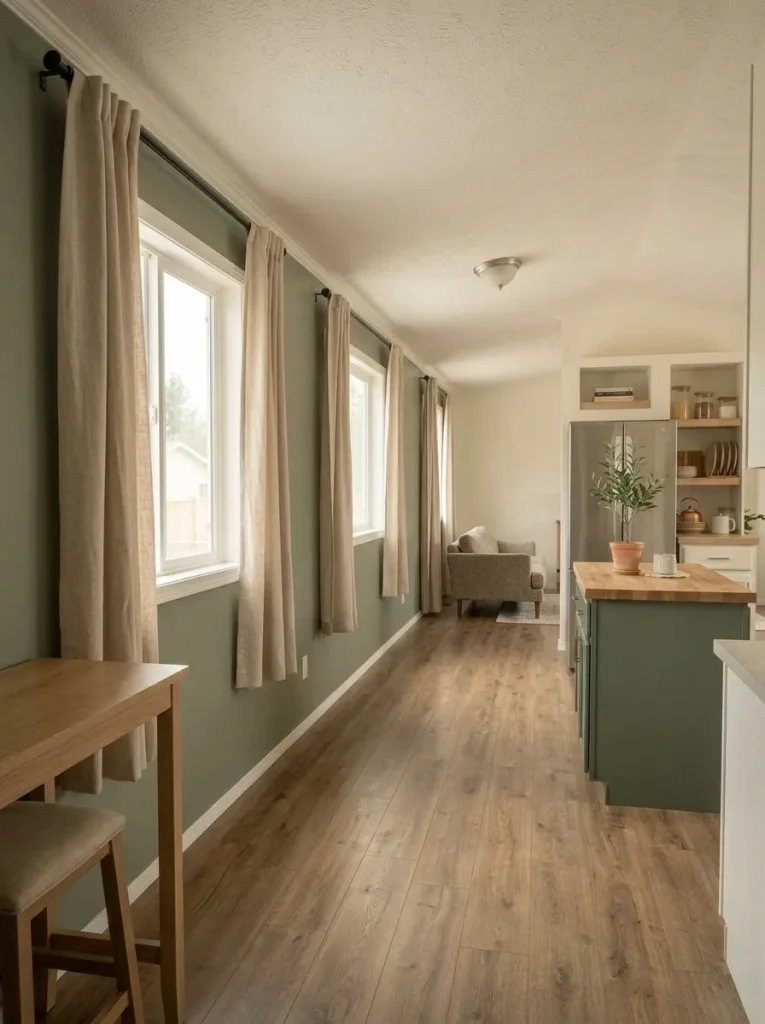
What if you need a place for breakfast, laptop work, or two quick meals but a conventional dining table makes the walkway feel crowded?
A slim freestanding ledge can give that activity a defined home without permanently modifying the wall.
Consider an unused window wall or another clear stretch where stools can tuck underneath when nobody is seated.
Before building, compare what the room actually needs.
A full dining table gives you more flexible seating but consumes usable space around several sides.
A slim ledge makes more sense when one to three everyday seats matter more than regular group dining.
Mock up the proposed top with cardboard, painter’s tape on the floor, or an existing narrow console. Pull out a chair or stool and walk your normal route from the kitchen toward the living room, hallway, or exterior door.
Pay attention to what happens when someone is seated.
If the mock-up becomes an obstacle, reduce its depth or move it.
This project succeeds only when the extra function costs very little circulation.
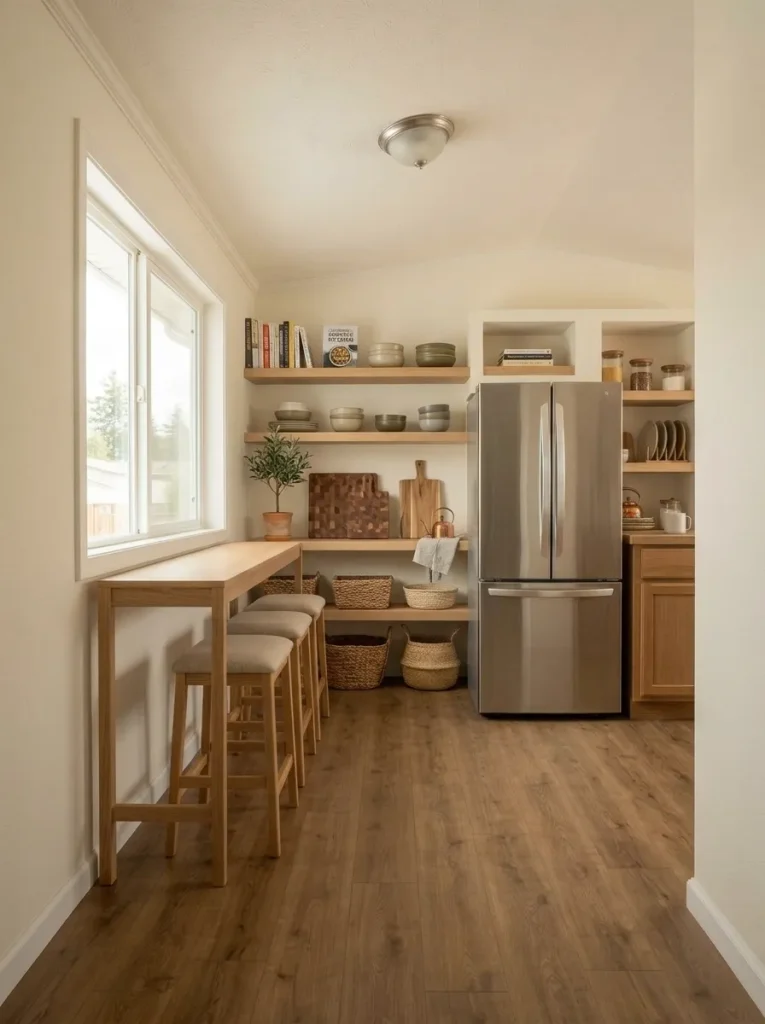
5. Turn the Dead Space Beside the Refrigerator Into Shallow Vertical Storage
The narrow strip beside a refrigerator is easy to dismiss because a conventional deep cabinet could make the kitchen feel crowded.
Shallow storage behaves differently.
It uses height without demanding much floor depth.
Start with the objects that genuinely need a home: cutting boards, small serving pieces, cookbooks, lightweight bowls, baskets, or another compact category. Their real dimensions should determine the storage depth.
Avoid building large shelves simply because the wall happens to be tall.
In a compact kitchen, the strongest version behaves more like a vertical organizer than another cabinet.
Dead-space opportunity map
Think vertically, then keep the depth quiet.
The narrow wall works best when each level receives a job. Empty height is useful; unnecessary shelf depth is what begins to crowd the kitchen.
Stop signal: if the shelf edge interferes with the refrigerator door, nearby doorway, walking path, or comfortable appliance access, the storage is too deep for that location.
Before attaching storage to a wall, choose hardware and attachment methods suited to the actual wall construction and the intended load.
When the wall construction is uncertain, a narrow freestanding storage piece may offer the cleaner weekend boundary.
6. Give Sound Kitchen Cabinets a Weekend Face Refresh—Not a Remodel
Cabinetry occupies so much visual space in a mobile-home kitchen that even a restrained cosmetic update can noticeably change the room.
The first question is not “How can I remodel these cabinets this weekend?”
Ask whether the boxes, doors, hinges, shelves, and existing layout already function well enough that the visible finish is the main problem.
Open and close the doors. Look for swelling, significant deterioration, moisture damage, loose parts, or another condition that deserves repair first.
When the cabinetry is sound, choose one contained visual intervention.
That might mean cleaning accumulated residue, updating compatible hardware, refreshing a finish with products appropriate to the cabinet material, or simplifying decorative details that make the small kitchen feel visually busy.
Avoid turning one weekend into a simultaneous cabinet, backsplash, countertop, wall-color, and flooring makeover.
Compact kitchens expose inconsistencies quickly. Complete one layer first and judge the room again in natural light.
If the cabinets require deeper repair, countertop coordination, significant refinishing, or a layout rethink, move into the dedicated mobile home kitchen makeover guide before proceeding.
Sunday decision: when the cabinetry functions well, finish the cosmetic layer and stop. When function itself is the problem, solve that before decoration.
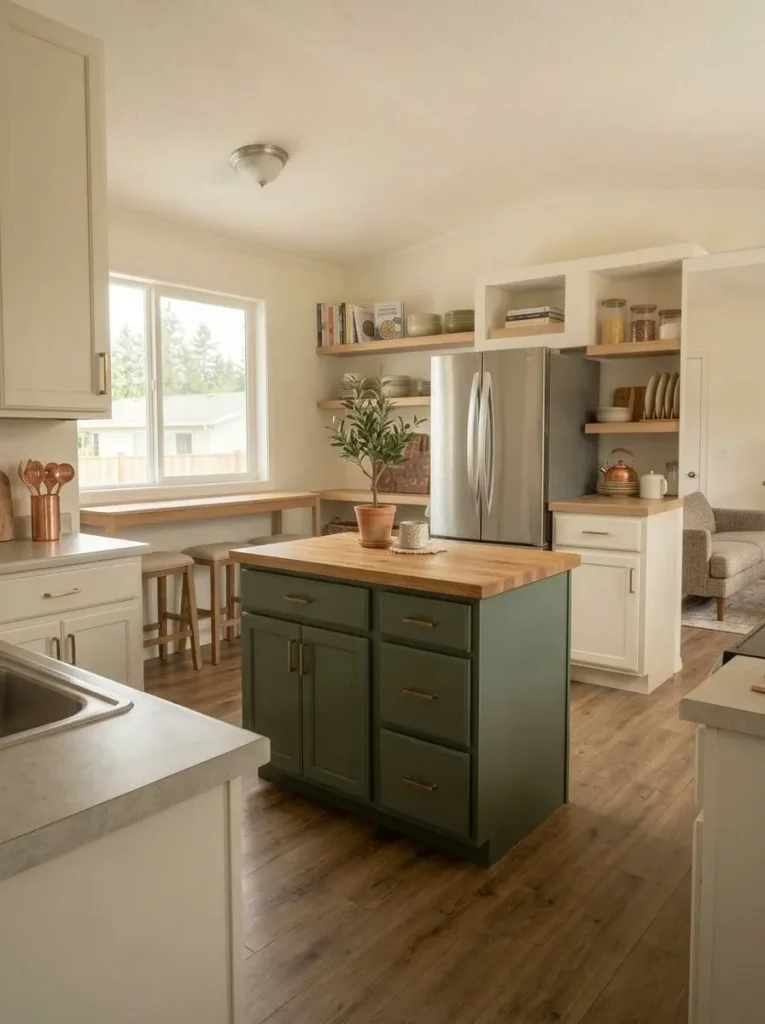
7. Refinish the Island or Cart You Already Own as the Kitchen’s Visual Anchor
A compact island, rolling cart, or freestanding worktable can carry more visual responsibility than its footprint suggests.
Because it sits apart from the perimeter cabinetry, changing this one piece can alter the kitchen without creating a chain reaction across every cabinet and wall.
The most convincing version uses contrast for a reason.
A warm wood top can connect with flooring or shelving. A deeper painted base can give pale cabinetry a stronger center of gravity. Repeated hardware can connect the island back to the surrounding kitchen.
The weak version treats the island like an isolated decorative object.
Look first at what already repeats in the room—wood tone, metal finish, countertop undertone, wall color, or another major material. Let the island create at least one relationship with that existing palette.
Island anchor switcher
Choose the finish by the job you want the island to perform.
The island does not need the most dramatic finish. It needs the finish that resolves something already missing from the kitchen.
Add warmth
Useful when the kitchen contains many cool white, gray, black, or stainless surfaces and needs one material bridge.
Add visual weight
A deeper base can ground pale perimeter cabinetry and keep a small open kitchen from appearing washed out.
Reduce competition
Use a quieter finish when countertops, backsplash, flooring, or surrounding cabinetry already carry strong pattern.
When the island is complete, pause.
If the entire kitchen suddenly feels more coherent, that is valuable information: the perimeter cabinets may never have needed to become the next project.
8. Make Two Connected Windows Read Like One Intentional Treatment
Long mobile-home rooms frequently expose several windows in one sightline.
When each has a different curtain length, rod position, blind color, or surrounding decoration, the eye reads a series of interruptions.
A weekend window project can correct that rhythm without replacing the windows.
Stand where two or more windows are visible together and choose which variables should repeat: rod finish, curtain material, visual height, trim treatment, or another obvious feature.
They do not need to become perfectly symmetrical when the openings differ in size.
They need enough shared language to read as a family.
Judge the project at the wall level, not one window at a time.
One important exception: fuller curtains can consume valuable side-wall space beside a door, cabinet, or furniture piece. Test how the fabric stacks before increasing width.
The project is complete when the windows appear related from the main room view.
No replacement-window project is required merely because the original styling was inconsistent.
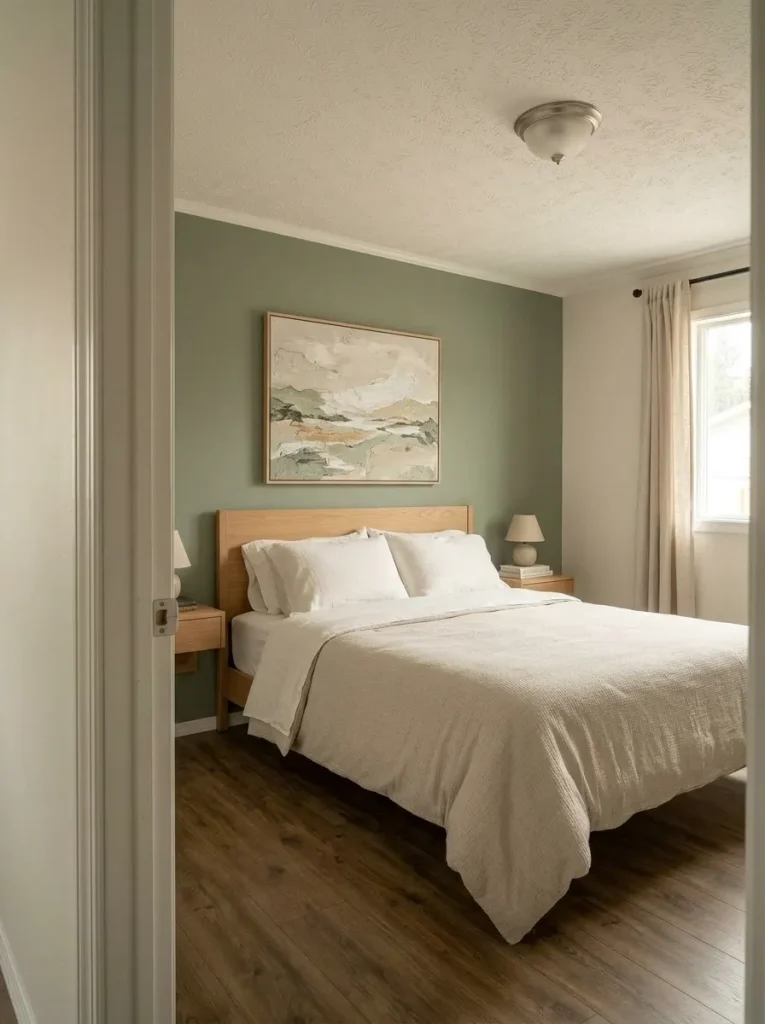
9. Create a Bedroom Headboard Wall Strong Enough to Carry the Room
A mobile-home bedroom rarely needs decoration on every wall.
In a small room, too many minor focal points can make the available perimeter feel even busier.
Give the bed wall more authority.
That may involve a restrained paint field, a simple headboard treatment, appropriately scaled bedside lighting, one larger artwork, or a tighter textile relationship around the bed.
Try removing some secondary décor before adding anything new.
If the bedroom becomes calmer, scattered emphasis was probably part of the problem.
Now build just enough weight behind the bed to establish a clear hierarchy.
The surrounding walls can become quieter because they no longer need to compete for attention.
For a broader room-by-room plan after the focal wall is resolved, explore these mobile home decorating ideas on a budget.
If the proposed wall shows moisture, failing material, or another unresolved condition, postpone the decorative layer until the underlying issue is understood.
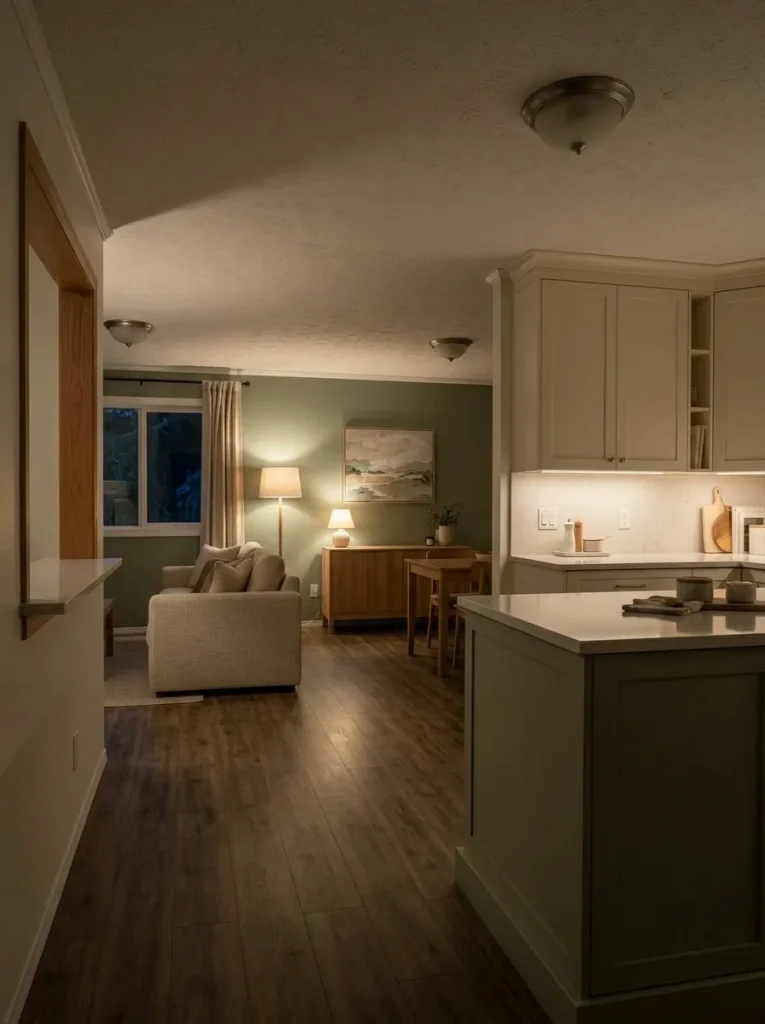
10. Add a Plug-In Evening Light Layer Below the Ceiling Line
Walk through your home after dark with the main ceiling lights off.
What disappears?
If almost the entire living area does, the room may not need more accessories. It may need another lighting height.
A floor lamp near seating, a plug-in table lamp on an existing console, or appropriately designed under-cabinet lighting can create smaller areas of illumination below the ceiling plane.
That matters in a long living-and-kitchen zone.
One uniformly bright overhead source can visually flatten the whole interior. Lower pools of light can distinguish activities and seating areas without physically dividing the floor plan.
Evaluate the project at the time you actually use the room.
Sit on the sofa. Walk to the kitchen. Notice glare on televisions and glossy surfaces. Check whether the light falls where reading, food preparation, or conversation occurs.
The finish line is layered, comfortable nighttime use, not eliminating every shadow.
Keep this weekend version to appropriate plug-in or manufacturer-designed products. Hardwired electrical alterations require a different level of planning and qualified work where applicable.
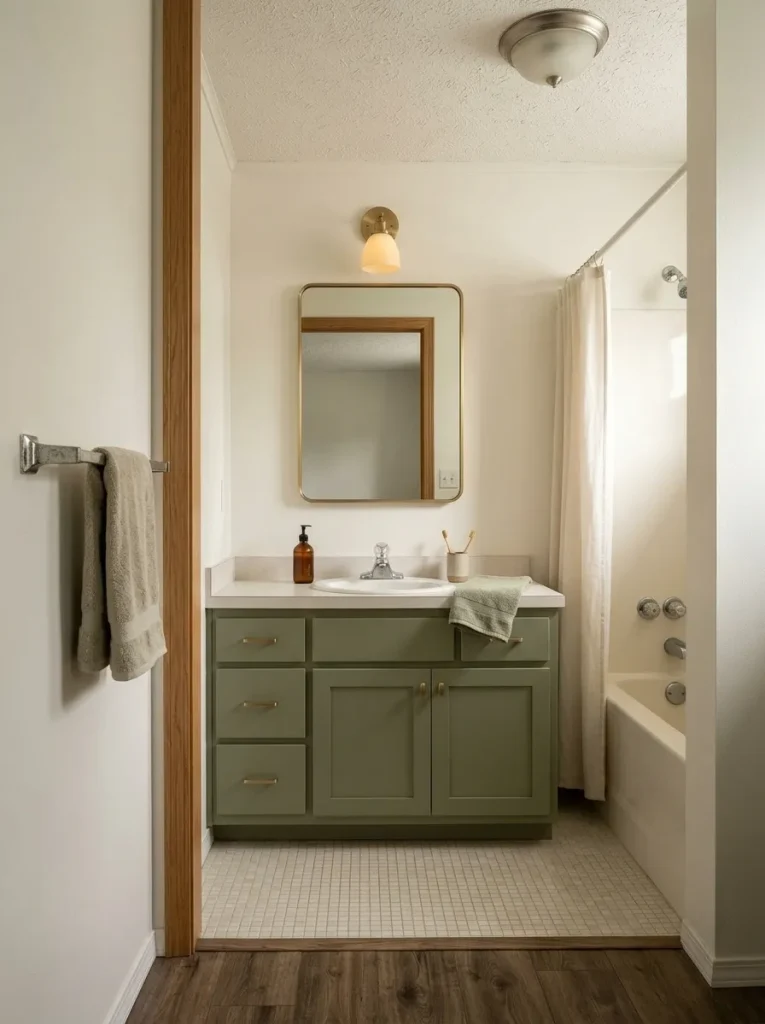
11. Refresh the Vanity–Mirror Zone Without Moving Plumbing
A bathroom can appear disproportionately dated because several small features around the vanity disagree.
A tired cabinet finish, poorly proportioned mirror, mismatched hardware, crowded countertop, and unrelated accessories can collectively make the entire room feel unresolved.
Treat that area as one composition.
Start with the permanent elements that are already serviceable.
Then decide whether the vanity should recede, become the visual anchor, or simply coordinate better with the mirror and dry wall around it.
Vanity-wall composition strip
Read the vanity wall as three layers, not a collection of purchases.
Give the mirror enough visual breathing room. Avoid squeezing decorative objects into every remaining patch of wall.
sets the upper proportion
Hardware, containers, and accessories should reinforce the vanity–mirror relationship, not compete with it.
A useful order is vanity first, mirror second, accessories last.
That prevents countertop styling from disguising a proportion or condition problem.
If the bathroom needs plumbing changes, wet-area work, fixture relocation, or a deeper redesign, continue with the mobile home bathroom remodel ideas on a budget instead.
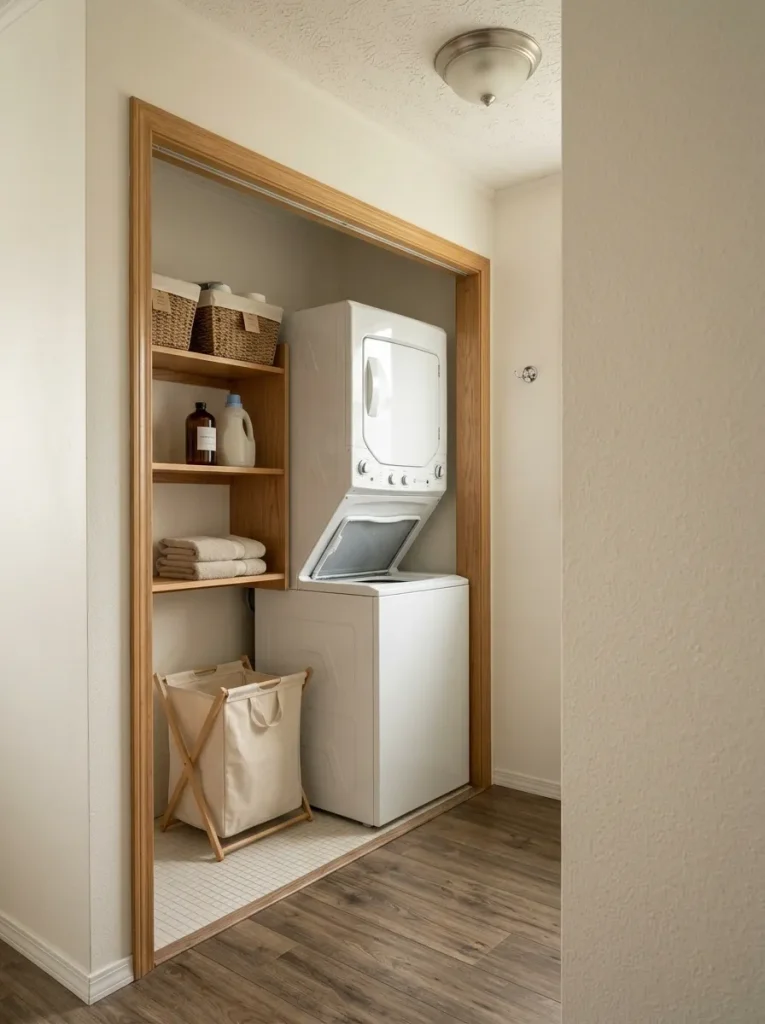
12. Make the Laundry or Utility Wall Look Intentional From the Next Room
The utility area often matters because of where you see it from, not because anyone spends time admiring the laundry wall itself.
Stand in the kitchen, hallway, or adjoining living area and look through the normal doorway.
That visible rectangle may contain detergent bottles, cleaning tools, appliance cords, mismatched containers, loose supplies, and open shelving all competing simultaneously.
You do not need to redesign the whole room.
Clear the surface that attracts the most clutter first. Group supplies by the routine in which they are used. Move low-frequency items away from the prime visual zone. Use containers only where containment actually fixes a recurring problem.
If an open shelf is useful but visually chaotic, one repeated storage language may be enough.
Now leave the laundry area.
Return to the neighboring room and look through the doorway again.
The project passes when that view feels controlled.
The utility wall does not need to resemble a styled room photographed in isolation. It needs to stop disrupting the spaces you experience more often.
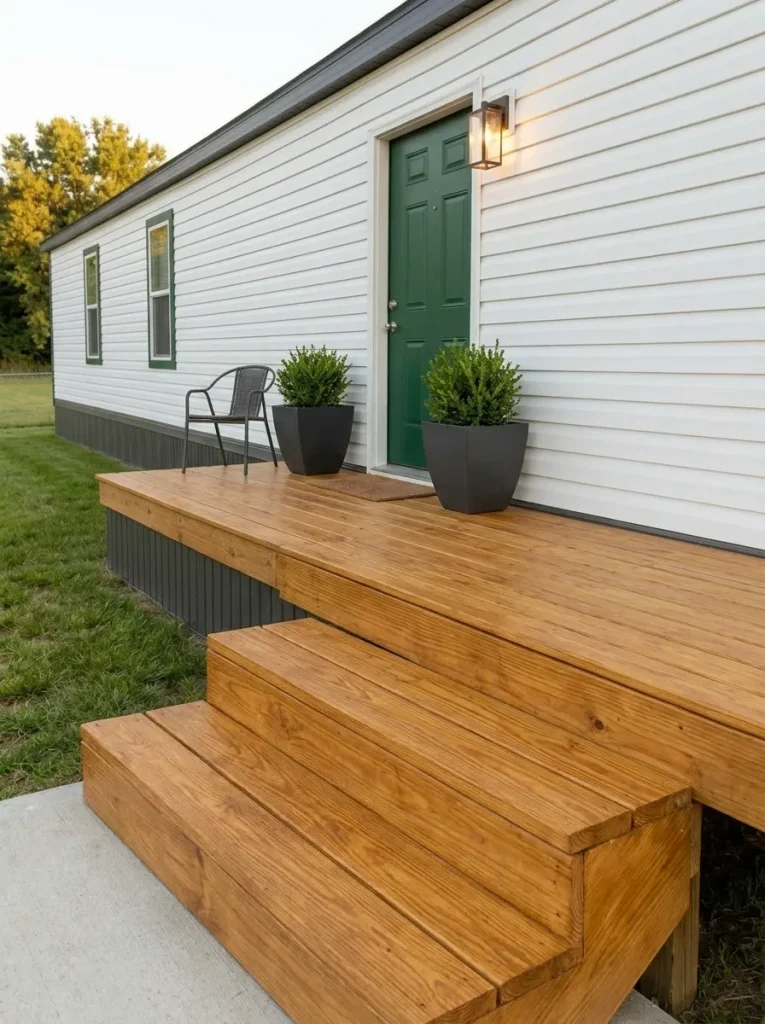
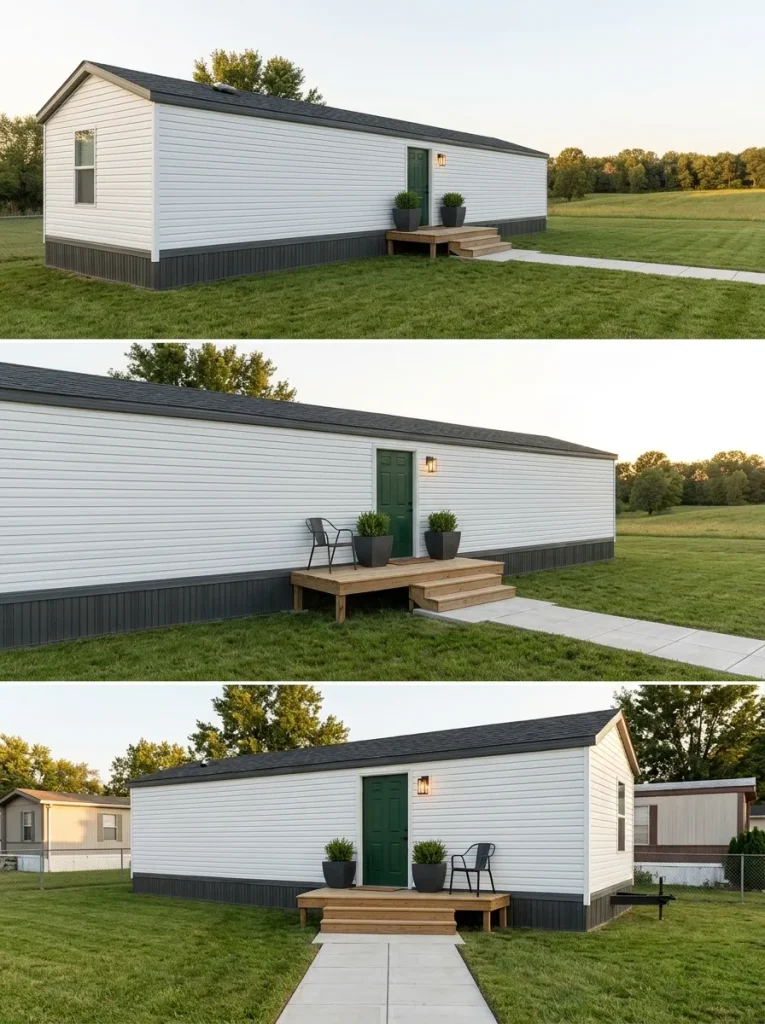
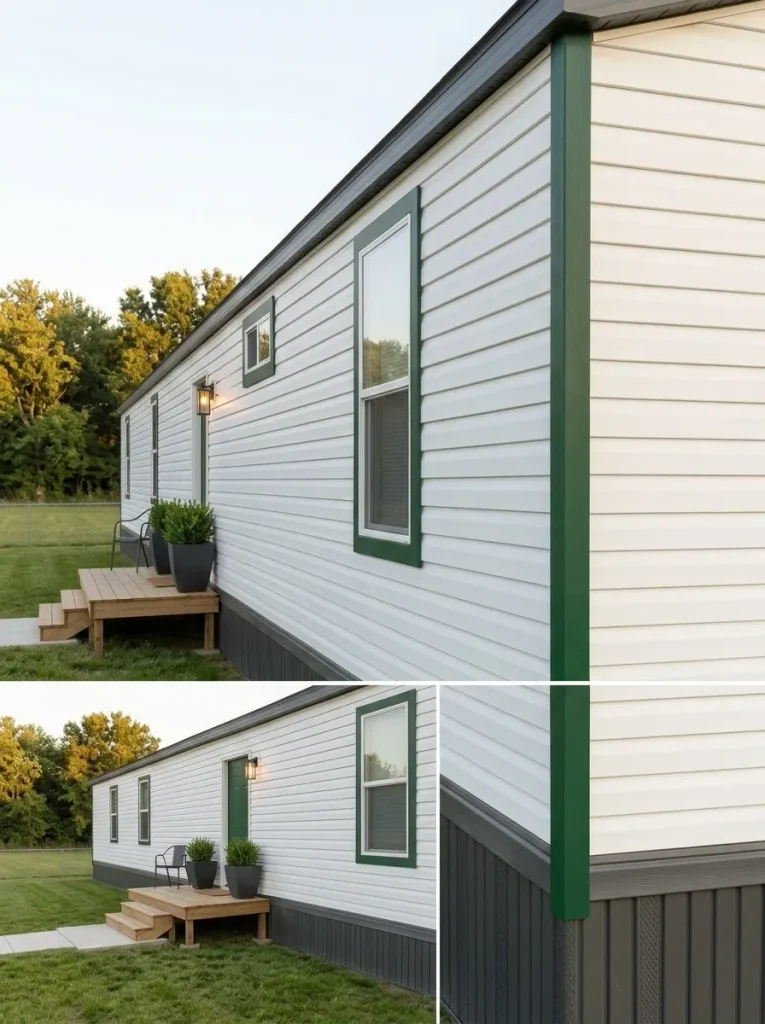
13. Turn the Front Door, Steps and Planters Into One Arrival Composition
A long mobile-home facade can encourage you to scatter small decorations across the entire exterior.
That often weakens the front entrance.
Nothing tells the eye where arrival actually occurs.
Concentrate the weekend effort around the door.
When the existing entrance components are sound, work outward: clean or refresh the door finish where appropriate, coordinate nearby visible details, simplify clutter around the landing, then use planters or another repeated element to strengthen the approach.
The purpose is not to decorate a larger percentage of the facade.
It is to make the entrance visually unmistakable.
Curb-impact sequencer
Build the arrival from far view to front step.
Find the door
The entrance should be visually obvious from the approach.
Strengthen the frame
Use existing trim, lighting, or contrast to reinforce the doorway.
Ground the steps
Keep the landing clear and allow sound existing steps to remain the practical center.
Add repetition
Planters or another repeated detail can complete the composition without scattering décor.
Skip cosmetic treatment on steps, rails, or decking that feel loose, unstable, deteriorated, or otherwise questionable.
Appearance should not conceal a condition that deserves repair first.
Once the entrance is resolved, these cheap mobile home upgrades that look expensive can help plan the next exterior phase.
14. Repeat One Exterior Accent Across Existing Trim or Shutters
A long facade becomes easier for the eye to read when one detail deliberately repeats.
That is why a single exterior accent can produce more coherence than several unrelated decorations.
Existing shutters, selected trim, the door, or another already-present feature can provide that rhythm.
Photograph the whole elevation before changing anything. Mark the features you are considering and judge the pattern at facade scale.
Too many contrasting pieces can divide the home into stripes.
A single isolated accent may look accidental.
A controlled repetition can connect the length of the exterior.
Material compatibility also determines whether this remains a realistic weekend project. Prepare the surface appropriately and follow the coating manufacturer’s instructions for substrate compatibility, application conditions, and drying or recoat times.
If a shutter or trim component is deteriorated, loose, or no longer serving the design, do not automatically paint it because paint is faster.
Repairing, replacing, removing, or leaving the feature alone may be the better decision.
15. Refinish a Sound Porch or Deck Surface as One Complete Weekend Zone
A porch can make a mobile home feel dramatically more welcoming because it influences both curb appeal and the experience of approaching the entrance.
It is also a place where an apparent cosmetic project can expose a much larger job.
Inspect first.
Walk the surface slowly. Look at the boards, steps, connections, rail components, and areas where moisture repeatedly collects.
A surface-refresh weekend makes sense only when the existing structure is already suitable for that cosmetic work.
When the base passes that test, treat the porch as one coherent zone.
Cleaning, an appropriate finish, a furniture edit, and a small number of repeated exterior details can produce a more convincing transformation than changing individual components at unrelated times.
Give the project a clear endpoint:
finish the planned surface, return only useful furniture, clear the walking path, clean the work area, and stop.
New stairs, structural extensions, roof additions, railing reconstruction, or repairs uncovered during inspection belong to a separate project.
16. Clean and Refresh the Visible Skirting Line Without Changing Its Function
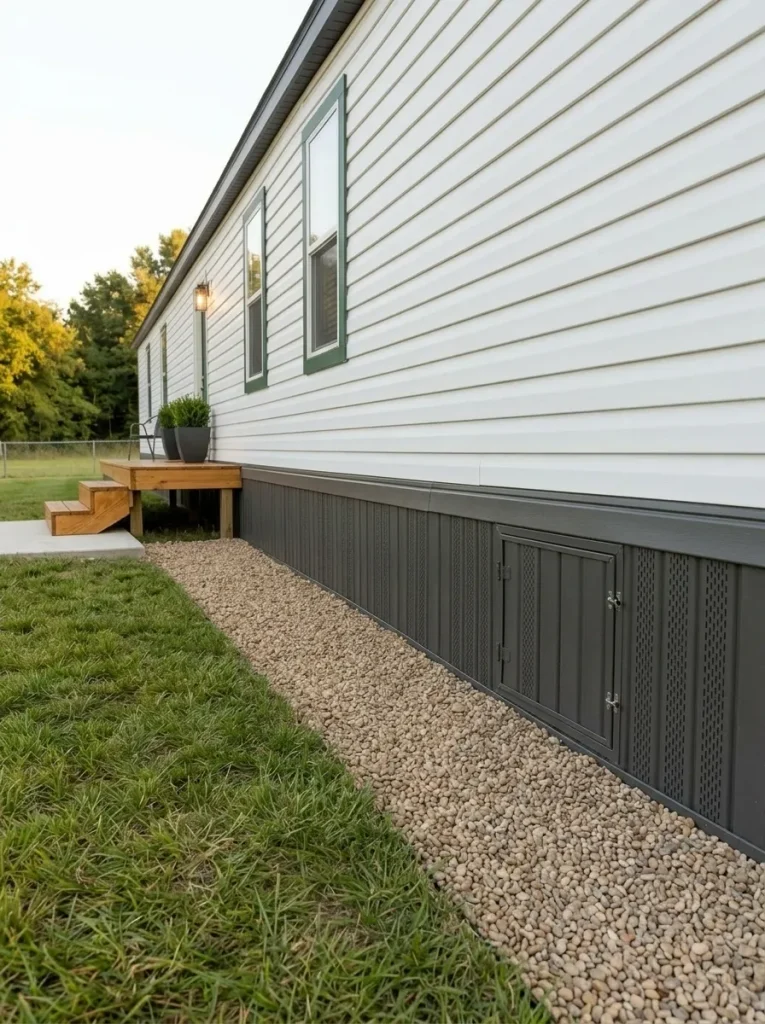
Skirting occupies a relatively low horizontal band, yet it can strongly affect whether the mobile home appears grounded or unfinished.
Dirt, weeds, irregular landscaping, displaced-looking surfaces, and clutter near the base can pull attention downward even when the facade above has already been refreshed.
Start with the least invasive work.
Clean the visible material using a method suitable for that surface. Tidy the perimeter. Improve the surrounding landscape edge. Preserve access and existing functional openings.
This is one area where the cosmetic boundary matters technically.
HUD’s manufactured-home installation standards require ventilation openings for crawlspaces with skirting, and related installation requirements address exhausts and other systems that must continue appropriately to the exterior. HUD
So a visual skirting refresh should never mean sealing required ventilation, blocking access, trapping exhaust beneath the home, or disguising a condition that needs investigation.
HUD’s homeowner guidance also recommends checking the manufacturer’s installation information and applicable state or local requirements when dealing with manufactured-home installation systems. HUD
A useful weekend result can be much simpler:
cleaner visible skirting + a neater ground edge + preserved functional openings + a calmer base line.
If the enclosure is damaged, moisture is evident, panels have failed, or the proposed work changes the skirting system itself, move that job outside the cosmetic weekend scope.
17. Run a Sunday Finish Pass Across the Whole Home Before Starting Project #18
The most dangerous moment in a successful weekend project may be late Sunday afternoon.
The new wall looks good, so the curtains suddenly bother you.
You adjust the curtains and notice the console.
Then the hardware starts looking dated.
Soon one finished project has produced four unfinished ones.
Use the final part of Sunday for closure, not expansion.
Walk through the home from the exterior entrance into the living area, kitchen, hallway, bedroom, and bathroom.
Look specifically for consequences created by the work:
- painter’s tape still attached
- packaging or tools left in view
- furniture that never returned to its proper location
- an exposed screw hole
- one obvious touch-up
- displaced accessories
- an unfinished transition
- debris around the exterior
- a surface that still needs routine cleanup
Anything larger belongs on another list.
Sunday finish-line board
At 6 PM, every remaining task gets one of three labels.
The purpose is not to squeeze in another project. It is to leave the home looking deliberately finished before the weekend closes.
Done
The area works, looks complete from normal viewing distance, and requires no additional work tonight.
One closing fix
A small touch-up, cleanup task, alignment issue, or missing finishing detail can reasonably be closed now.
Phase Two
Anything requiring more materials, another opened surface, a repair, or a new room waits.
Final test: photograph the main view. If the project reads as complete in the photo and functions normally in real life, let the weekend end.
That final photograph is useful because close-range project work exaggerates minor imperfections.
The normal room view tells you whether those details are genuinely noticeable or whether you are about to create extra work chasing something that has little effect on the completed space.
When the next phase is controlled more by spending than by time, continue with mobile home makeover ideas under $500.
How to Choose the Best Weekend Mobile Home Project
The project with the most dramatic inspiration photo is not automatically the smartest place to begin.
Look for the intersection of four conditions:
high visibility + low disruption + sound existing base + clear stopping point
A single painted wall may influence the living room, dining area, and kitchen at once.
A narrow refrigerator-side storage project can reclaim useful space without changing the kitchen footprint.
A stronger front-door composition can improve curb appeal without committing you to the entire exterior.
These projects earn their place on a weekend list because their visual reach is larger than their physical scope.
By contrast, a project is probably too large for this article when success depends on discovering what is behind a wall, correcting water or structural damage, moving plumbing, modifying wiring, changing structural openings, rebuilding exterior components, or resolving an installation problem.
Calling one of those jobs a “weekend DIY” does not make the underlying work smaller.
A Simple Weekend Sequence That Prevents Project Creep
The easiest way to lose a weekend is to begin the visible work before defining the boundary.
Use the two days differently.
Friday Evening — Define
Choose one project.
Inspect the existing condition.
Decide exactly which surfaces and objects are included.
Gather materials and read the relevant manufacturer instructions before work begins.
If you cannot clearly describe where the project ends, shrink the scope.
Saturday Morning — Prepare
Complete the preparation that determines whether the finished result will look deliberate.
Depending on the project, that could include cleaning, masking, careful measuring, a test placement, removing movable clutter, or completing minor surface preparation appropriate to the cosmetic job.
Do not rush this stage simply because it produces the least exciting photographs.
Saturday Afternoon — Transform
Complete the primary visual change while there is still enough time to respond if the material behaves differently than expected.
Stay within the boundary you set on Friday.
A newly noticed problem does not automatically become part of today’s project.
Sunday Morning — Finish the Planned Layer
Complete the remaining assembly, styling, coating step, or other planned work according to the products and materials being used.
Now inspect the result from a normal viewing distance.
Do not add another major task merely because the first one finished ahead of schedule.
Sunday Afternoon — Restore the Room
Return furniture and useful objects.
Remove tools.
Clean the area.
Check doors, drawers, appliance access, walking routes, and other everyday functions affected by the project.
Then take the after photo.
Sunday Evening — Close
Anything genuinely small that prevents the current project from appearing complete can receive one final pass.
Everything else goes onto a Phase Two list.
That distinction protects the most useful part of a weekend project:
the ability to finish it.
When a Weekend Transformation Should Become a Larger Project
There is no advantage in forcing a two-day deadline onto a problem that needs investigation.
A peeling finish may expose damaged material.
A vanity refresh may uncover moisture.
A porch inspection may reveal deterioration.
A skirting cleanup may expose a problem beneath the home.
A cosmetic lighting plan may reveal that what you actually want requires electrical modification.
In each case, the sensible weekend decision may be to stop.
That does not mean the project failed.
It means the cosmetic project discovered information before more time and money were committed.
Pinterest before-and-after images can also distort the scale of a project if you treat the finished image as a construction schedule.
A dramatically updated exterior can offer excellent visual lessons about entry hierarchy, color contrast, repeated trim, grounding, landscaping, and material restraint while still representing far more work than two days.
Borrow the visual principle.
Do not automatically borrow the construction scope.
The Most Transformative Weekend Projects Usually Change a View, Not the Whole Home
One useful pattern runs through many of these ideas.
The strongest fast transformations tend to improve a view:
- the sightline from the front door
- the wall behind the sofa
- the opening between kitchen and living room
- the kitchen view from the seating area
- the bed wall seen from the doorway
- the vanity seen upon entering the bathroom
- the utility wall visible from the hall
- the entrance seen from the yard
That is particularly useful in a mobile home because several rooms may visually overlap.
Changing a surface that participates in three sightlines can be more powerful than updating three separate low-visibility corners.
When choosing between two projects of similar difficulty, stand in the place where you spend the most time—or the point where guests first enter—and ask:
Which project changes more of what I can see from here?
That is often the better weekend candidate.
Conclusion
The best weekend mobile home projects are not miniature remodels.
They are carefully bounded changes that improve what you notice first: a repeated wall field, an unfocused living-room composition, unused vertical space, an isolated kitchen island, inconsistent windows, a weak bedroom focal point, flat nighttime lighting, an unfinished vanity wall, or an entrance that never quite feels like the front door.
Because mobile homes often combine compact rooms with long connected sightlines, one well-chosen update can influence much more than the square footage it physically touches.
Start with the surface or zone that appears in the most important view.
Keep the existing architecture when it is sound.
Test scale before building.
Use deeper specialist projects only when the problem actually requires them.
And define your Sunday stopping point before opening the first can of paint or bringing out the tools.
A fast transformation feels much more satisfying when Monday begins with a finished home—not the beginning of another renovation.
Save these weekend mobile home projects to Pinterest so you have a realistic two-day transformation ready for your next free weekend.