A mobile home kitchen makeover on a budget works best when you control the scope before you start shopping. A project that looks inexpensive can become much larger once it triggers cabinet repair, plumbing changes, extra trim, new materials, or professional installation.
Fortunately, many older mobile-home kitchens already have useful assets: serviceable cabinets, working appliances, existing plumbing, and a layout that performs better than its dated finishes suggest. Protecting those pieces leaves more of the budget for changes that noticeably improve the room.
The 17 ideas below move from low-commitment decisions toward larger ones. You will see where paint may be enough, when an existing counter deserves to stay, how to work with appliances you already own, where DIY has a sensible boundary, and when one carefully chosen splurge can be justified.
Start with the project scope—not the shopping cart.
1. Keep the Working Layout Unless It Is Costing You Function
Before changing anything permanent, watch the kitchen through one ordinary meal.
Where do groceries land? Can the refrigerator open while another person stands at the sink? Is there useful preparation space near the range? Does cleanup repeatedly collide with the main walking route?
A dated kitchen is not automatically a badly planned kitchen.
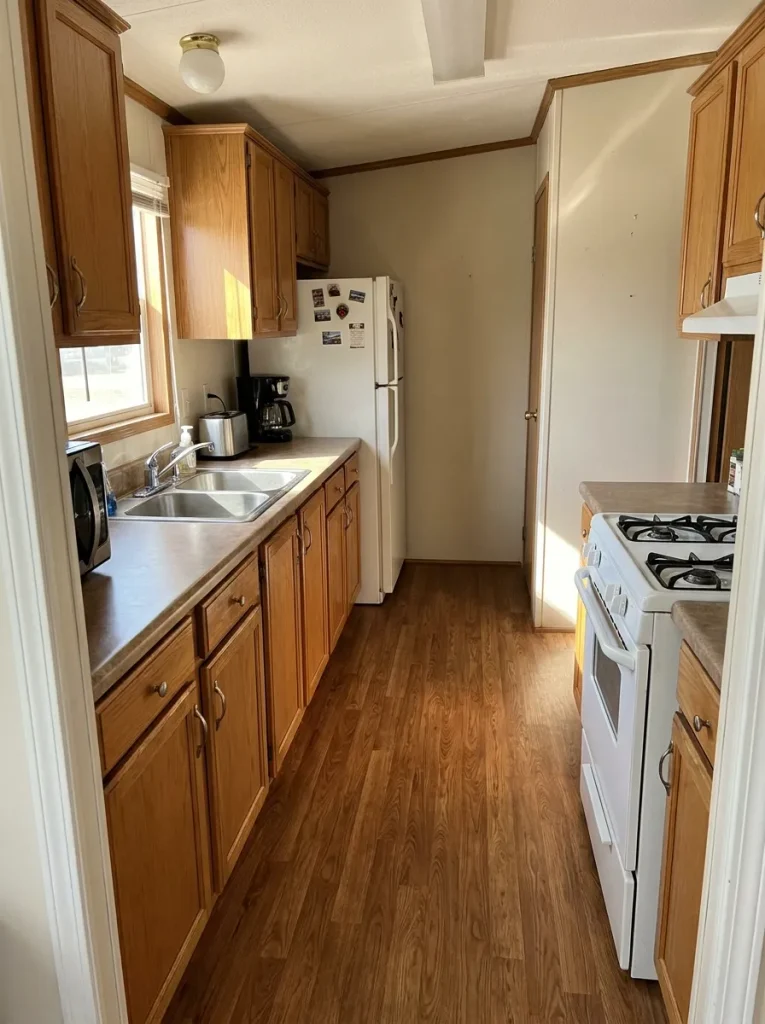
First, temporarily freeze the expensive pieces:
- Keep the sink where it is.
- Keep the range and refrigerator in their current positions.
- Ignore cabinet color for the moment.
- Follow the cooking and cleanup route.
- Record only the problems that repeatedly interrupt use.
If most of the frustration disappears once you ignore the finishes, the kitchen probably needs a cosmetic makeover more than a layout overhaul.
Moving services or altering the structure can broaden the project substantially. For HUD-code manufactured homes, HUD notes that significant structural changes may require local permits and consultation with the appropriate state, county, or local agency. (HUD)
For a deeper diagnosis of surface problems versus layout problems, continue with 25 Mobile Home Kitchen Ideas That Look Fresh and Modern.
Budget decision: preserve a layout that functions and spend on appearance first; investigate physical changes only when daily use gives you a concrete reason.
2. Map the Hidden Cost Cascade Before You Call an Upgrade “Cheap”
A makeover can exceed its budget without containing one obviously expensive item. The problem is often dependency.
A new countertop, for example, may involve the visible surface plus sink fit, faucet connections, backsplash edges, trim, removal, and installation. A cabinet-paint project may involve preparation and finishing but disturb far fewer adjoining elements.
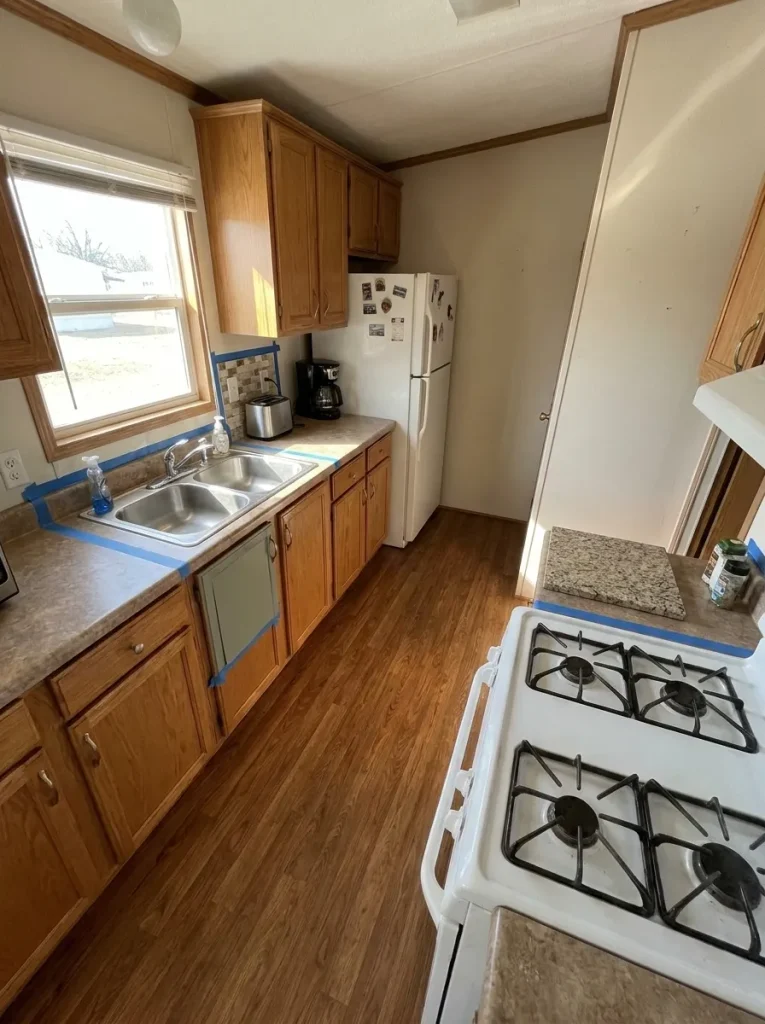
Before buying, trace what must happen after the attractive part of the project.
Budget Decision Tool
The Hidden Cost Cascade
Select the upgrade you are considering, then look beyond the purchase and see which other parts of the project may become involved.
Which project are you considering?
Budget rule: compare the entire dependency chain before judging a project by its attractive starting price.
A low-budget makeover does not require choosing the smallest purchase every time. It requires understanding how far each choice reaches into the rest of the room.
3. Paint the Smallest Cabinet Field That Can Still Look Finished
Painting every cabinet can transform a kitchen, but the entire room does not always need the same intervention.
Look for a complete visual field first.
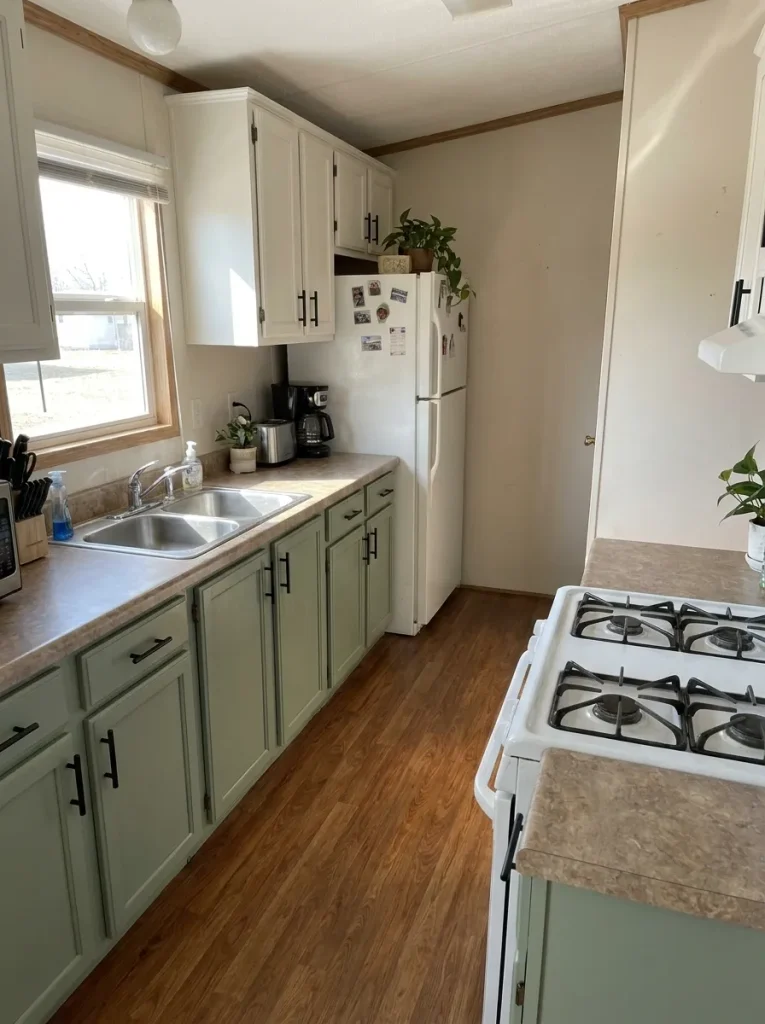
In some mobile-home kitchens, the lower cabinets form one uninterrupted run while the uppers are already light and quiet. In another room, a peninsula or short return reads like a separate furniture element. Refinishing one coherent group can create a strong change while reducing the project area.
Use large samples and inspect them from the kitchen entrance. The finish break should make sense from the position where the cabinetry is seen as a whole.
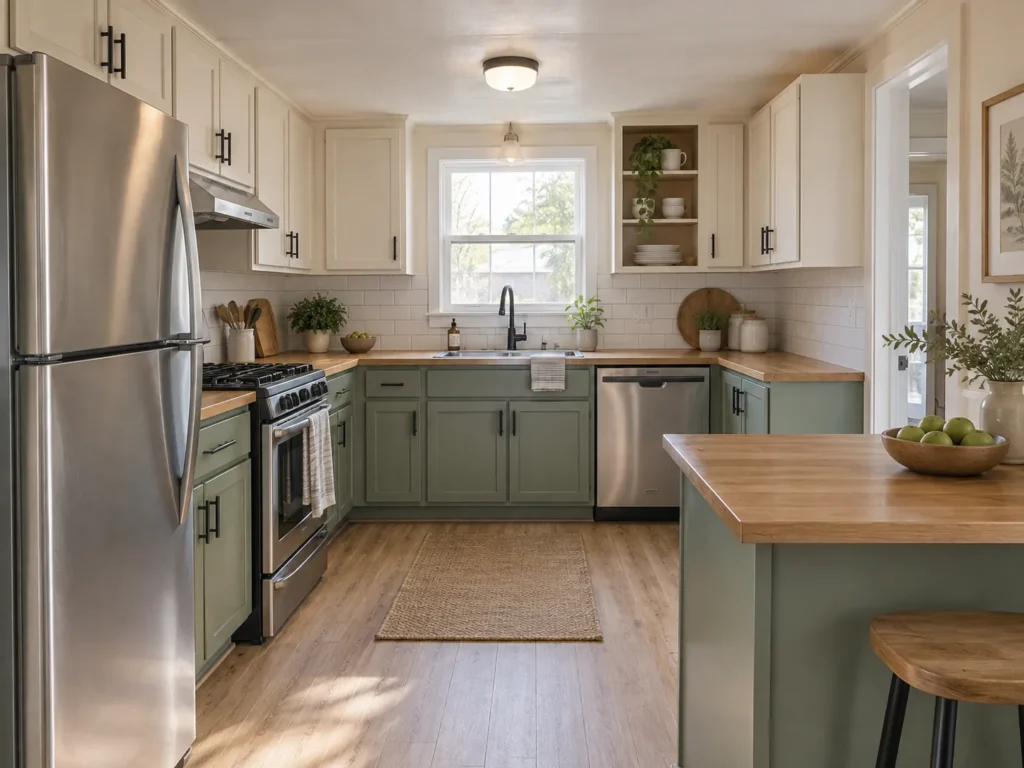
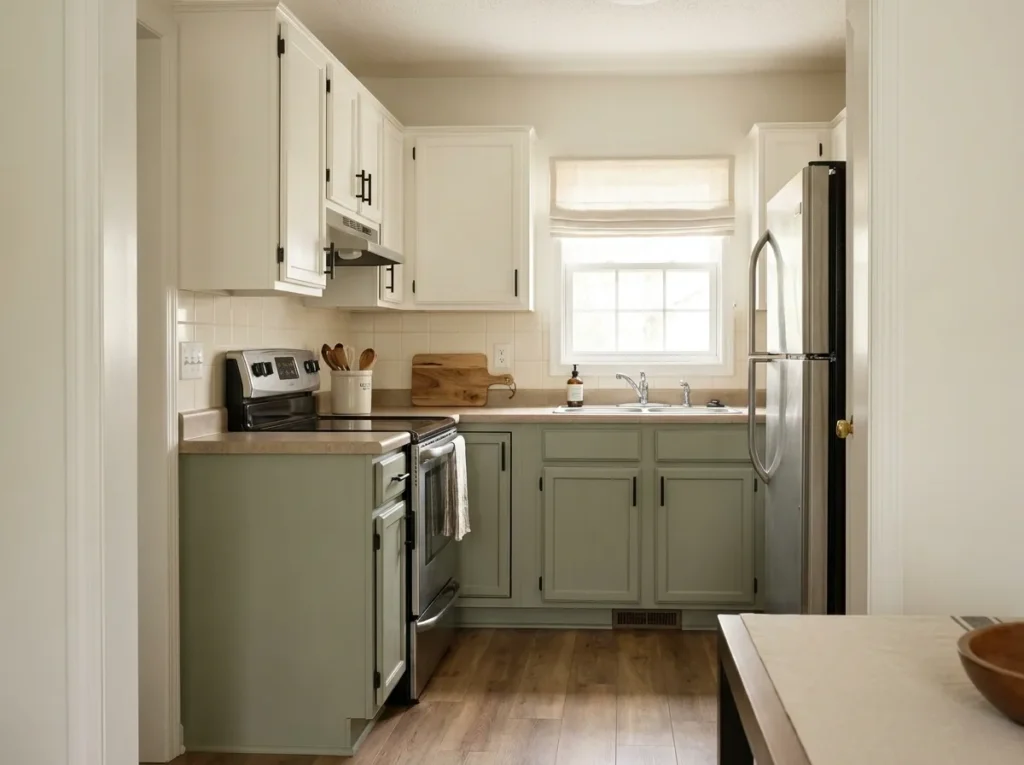
For example, muted sage lower cabinets can sit comfortably below existing warm-white uppers when the counter, flooring, and appliances support the relationship.
Partial painting loses its advantage when the remaining cabinets are badly yellowed, damaged, or visually incompatible. A few randomly painted doors also tend to advertise the budget limitation rather than look designed.
Choose the smallest complete cabinet field that produces an intentional composition.
4. Replace Only the Hardware That Actually Changes the Cabinet Read
One inexpensive pull becomes a much larger purchase when it is multiplied across every cabinet door and drawer.
Before replacing the entire hardware set, stand at the primary kitchen view and identify what you genuinely notice.
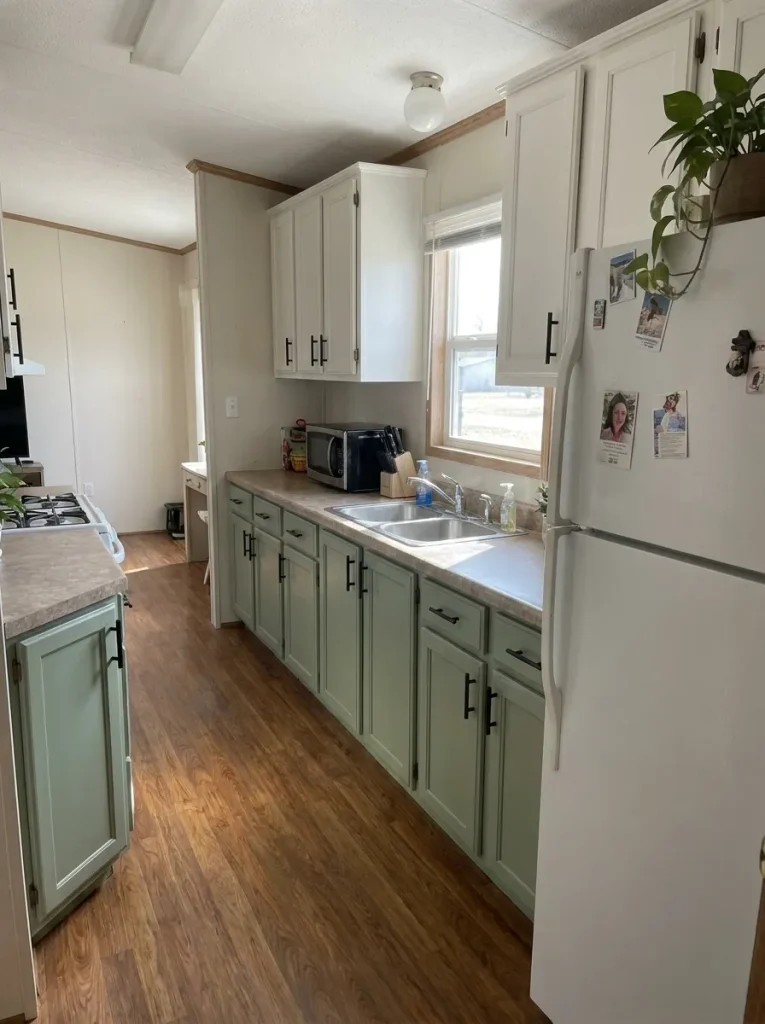
Knobs and pulls usually create the strongest repeated detail. Concealed hinges may contribute almost nothing visually, while older exposed hinges can matter considerably on certain cabinet styles.
Then inspect the practical side:
- Count the visible pieces.
- Check existing hole spacing.
- Confirm that doors and drawers operate properly.
- Note whether new hardware will cover old marks.
- Decide whether every existing metal component needs to change.
Three outcomes are valid.
Change the visible pulls and knobs. Keep compatible concealed components. Or keep the complete set when it already works with the refreshed cabinetry.
A budget kitchen does not become more finished simply because every metal object was replaced. Repetition and consistency matter more than buying the maximum number of matching pieces.
5. Neutralize One Dated Wall Pattern With Paint Before Buying More Materials
Sometimes cabinets receive the blame for a kitchen that is actually being dominated by its background.
Busy wallpaper, faux stone, decorative borders, strong sponge finishes, or several competing patterns can keep a room looking dated even after new hardware and accessories arrive.
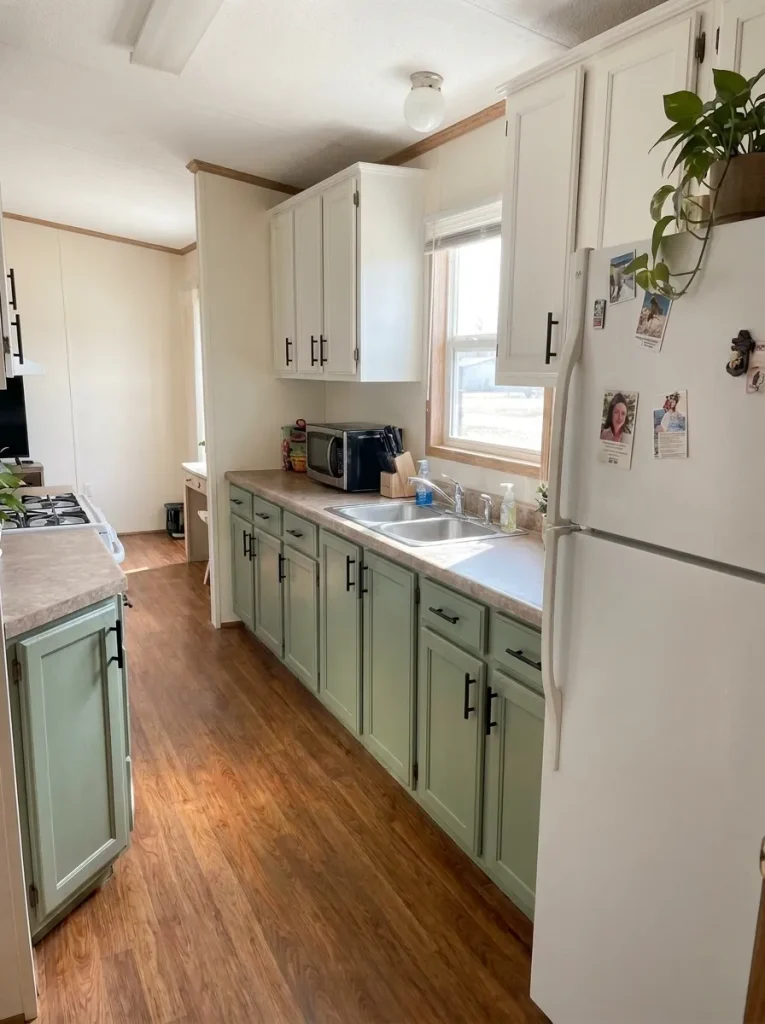
Before purchasing another finish, temporarily simplify the room and photograph the kitchen. Ask which surface still controls the image.
What controls the room: the wall or the cabinetry?
Small cabinet and accessory upgrades struggle to read as one makeover because the eye keeps returning to the background.
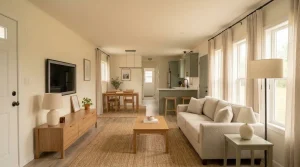
A calmer wall lets cabinet color, wood tone, appliances and work surfaces establish the visual hierarchy without adding another major material.
Paint only belongs on a surface that can accept the selected coating and its required preparation. The useful budget sequence is to remove the strongest unwanted visual signal before adding another decorative layer.
6. Keep a Serviceable Counter and Spend on the Surface Beside It First
A countertop can look far more dated when every finish touching it is also fighting for attention.
Before putting replacement at the top of the budget, change its visual context with large samples.
Place the proposed cabinet finish and backsplash sample beside the existing counter, then walk back to the main kitchen view.
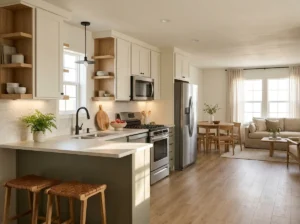
Use this three-part test:
- Keep it now: the counter is sound and settles comfortably into the revised palette.
- Reassess later: it still looks dated, but surrounding improvements have reduced its dominance.
- Address it: damage or a functional issue means surface coordination cannot solve the real problem.
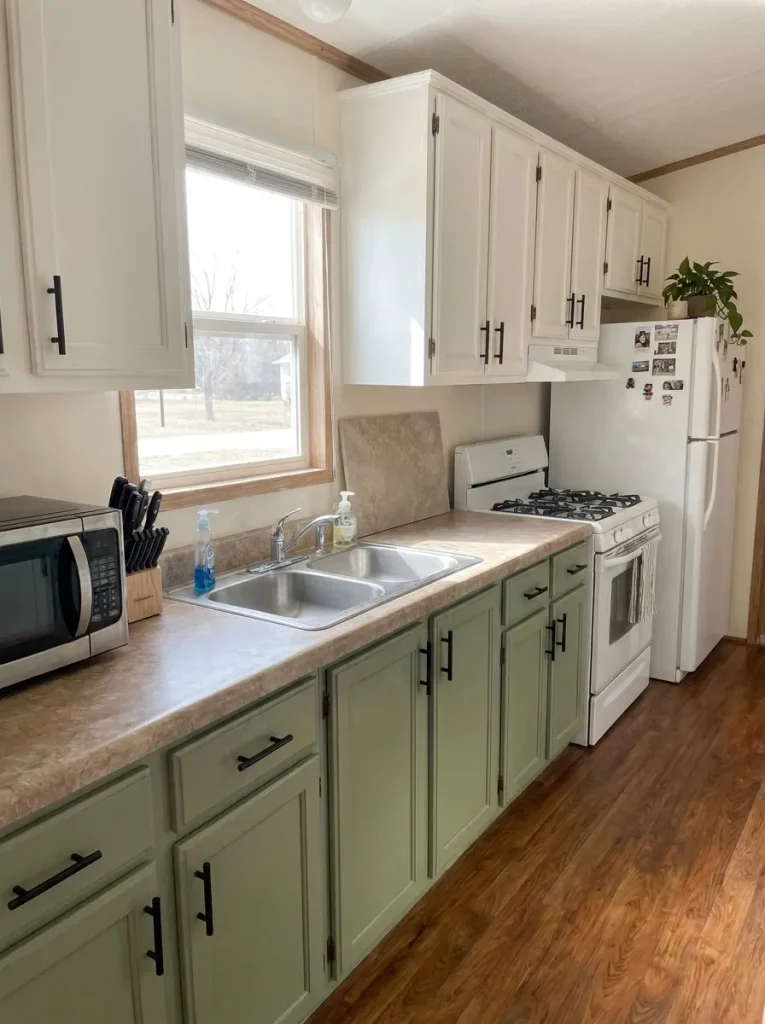
An older beige, cream, wood-look, or modest laminate counter does not have to become the centerpiece of the new kitchen. It may only need to stop competing with the cabinetry.
Replacement can also touch several adjoining parts of the project, including sink fit, plumbing connections, backsplash edges, or installation.
Give the existing counter a chance to work inside the new palette before funding its removal.
7. Use Peel-and-Stick Backsplash Only Where the Product Truly Fits
Peel-and-stick backsplash can create a noticeable cosmetic change with less commitment than many traditional surface projects, but a low purchase price does not establish suitability.
Start with the actual wall.
Inspect whether it is clean, sound, reasonably smooth, and compatible with the product under consideration. Then check the manufacturer’s instructions for substrate preparation, moisture, heat exposure, removal, and permitted locations.
Use four checkpoints:
- Surface condition: damaged, loose, greasy, or unstable material should not simply be covered.
- Cooking location: verify the selected product’s requirements around the actual range.
- Edges and interruptions: outlets, corners, windows, trim, and countertop junctions influence how convincing the finished installation looks.
- Need: an existing quiet backsplash may be better left alone.
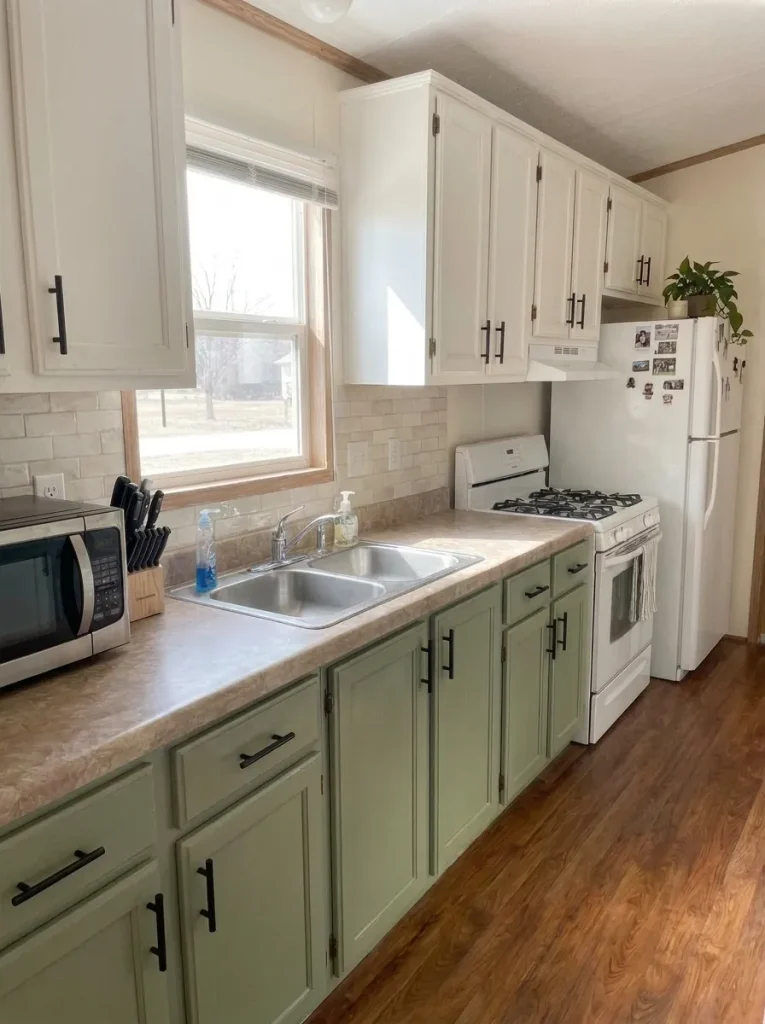
In a small mobile-home kitchen, a restrained backsplash often integrates more easily than a high-contrast pattern that becomes the largest visual feature.
The affordable choice is the compatible one that solves a real design problem—not simply the material with the lowest shelf price.
8. Build the New Palette Around Appliances You Are Keeping
A working refrigerator does not become a poor appliance choice because the kitchen you saved on Pinterest uses another finish.
Appliances occupy large visual blocks. Treat the finish of the appliances that are staying as part of the palette from the beginning.
With white appliances
Warm white cabinetry, soft neutral walls, muted sage, and natural wood can make white appliances feel integrated without trying to match every white exactly.
With black appliances
Black can act as a useful anchor. Repeat it sparingly through pulls, a faucet, or another small detail so the appliance reads as intentional. Too much additional dark contrast can weigh down a compact kitchen.
With stainless steel
Wood, creamy neutrals, warm flooring, or muted cabinetry can soften the cooler metal surface.
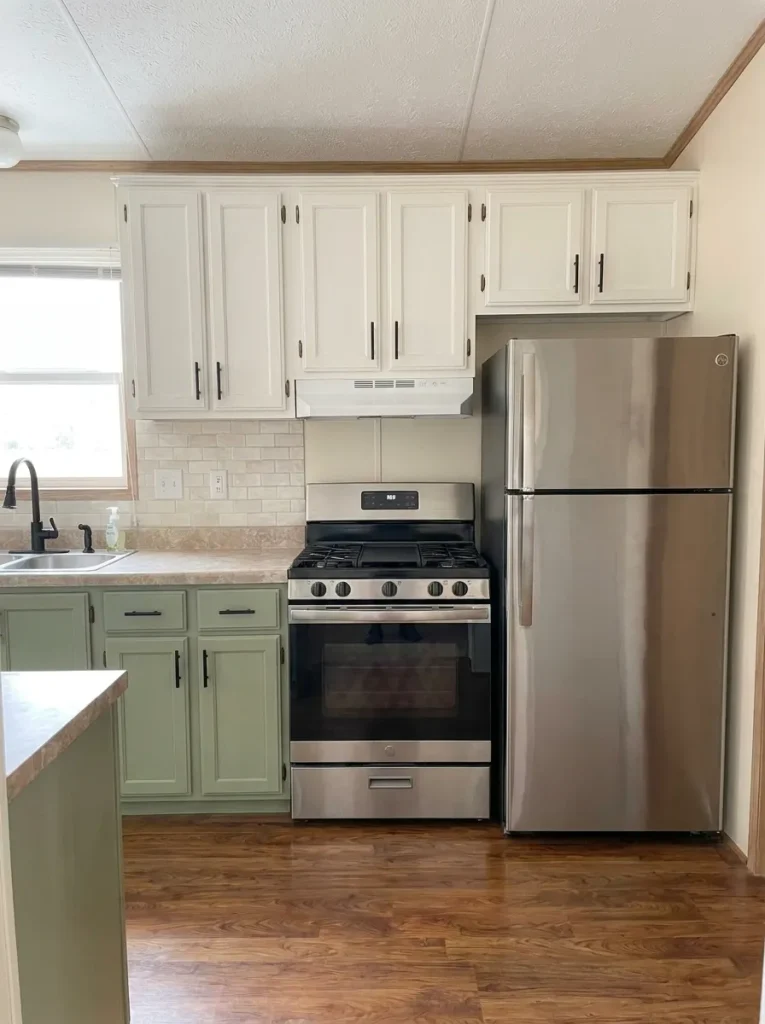
Test samples directly beside the largest appliance face because that is the relationship people will actually see.
There is no need to improvise paint, film, or modifications on a functioning appliance merely to force it into a trend.
Design the new finishes around serviceable appliances and reserve replacement money for a genuine performance or condition issue.
9. Refresh the Sink Zone Without Moving the Plumbing
The sink area contains several visible elements within a small footprint: basin, faucet, window, backsplash, cabinet fronts, counter edge, soap, drying items, and sometimes the dishwasher.
That concentration gives you a useful makeover zone without automatically moving the plumbing.
Keep the service location first. Then edit the surrounding layers in order:
Background → cabinetry → faucet decision → necessary counter items → restrained styling
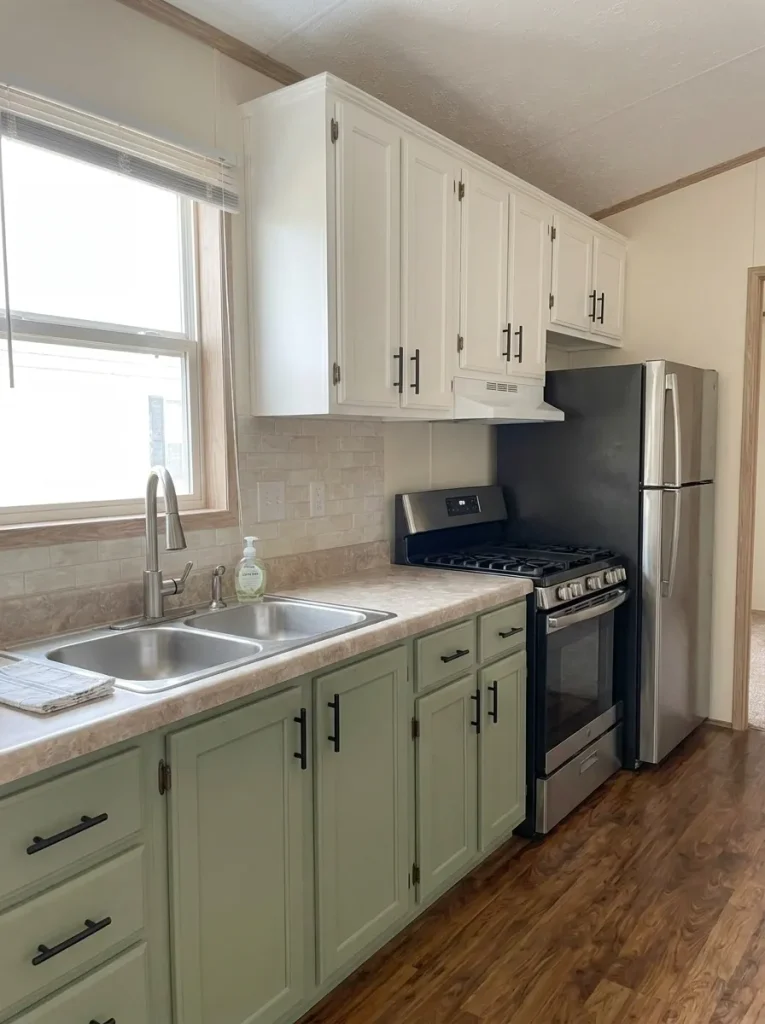
A quieter backsplash can sharpen the zone. Refreshed cabinet color can connect it to the wider room. A functioning faucet that already works with the new finishes may deserve to stay.
Window-side sinks gain additional presence because the window already acts as an architectural focal point. Keep the sill and adjacent worktop purposeful so the daylight and cabinet composition remain visible.
Sink replacement, faucet connections, drain changes, or plumbing relocation move the project into technical territory and should be treated according to the actual installation.
Change the visible environment first. Disturb the plumbing only when the plumbing or fixture itself gives you a reason.
10. Fix Light Quality Before You Pay to Replace the Fixture
A kitchen can feel far older after sunset than it does during the day.
Before blaming the ceiling fixture, identify what the lighting is actually doing wrong. Look at the prep counter, cabinet color, sink area, and connected room under the lighting you normally use at night.
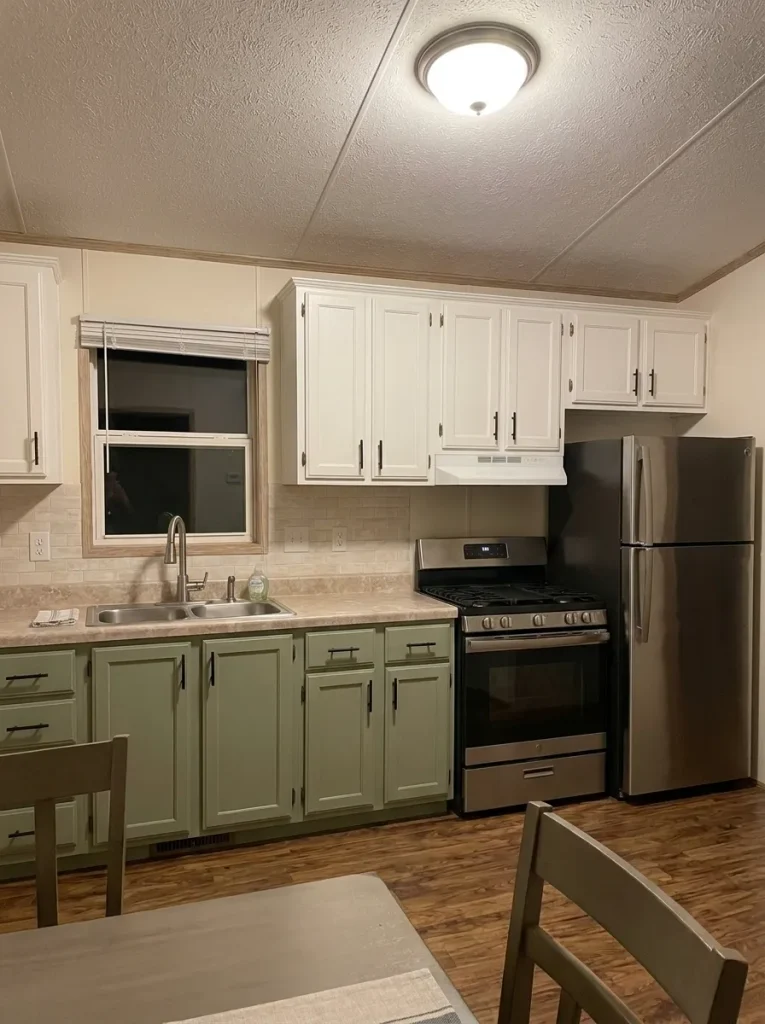
Three different problems can produce the same reaction—“this lighting feels bad”—and each deserves a different response.
Night Kitchen Diagnostic
What exactly feels wrong after dark?
Choose the symptom you notice. Color quality, work-surface visibility, and an unsuitable fixture are different problems.
Pick the closest description:
Start with compatible light sources.
If cabinet paint, wood, and counters shift unpleasantly at night, the decorative fixture may not be the main cause. Check the light sources being used and what the fixture documentation permits.
The room can be bright while the worktop stays dim.
A central ceiling light may illuminate the room while your body casts shadow onto a counter below the cabinets. Judge the surfaces used for chopping, washing, and preparation.
Replace it when the fixture remains the weak link.
A damaged, unsuitable, or visually dominant fixture deserves a different decision from a room that simply has uneven illumination.
This is a design diagnostic, not an electrical specification. Equipment compatibility and installation requirements come from the actual products and appropriate technical guidance.
Fixture replacement becomes worthwhile when the fixture remains the problem after light quality and useful task coverage have been separated.
That prevents you from buying an attractive ceiling light and discovering that the preparation surface is still difficult to use.
11. Finish Toe Kicks, Cabinet Ends, and Trim With the Cabinet Refresh
Fresh cabinet fronts can still look unfinished when the pieces surrounding them preserve the old finish.
Toe kicks, exposed cabinet ends, filler strips, and narrow trim pieces occupy less area than the doors, but they often sit along strong visual edges. In a compact kitchen, those edges may be visible from nearly every angle.
Before calling the cabinet phase complete, take a low three-quarter photograph and inspect it for:
- old wood tone beneath newly painted doors,
- worn toe kicks,
- mismatched exposed side panels,
- filler pieces that interrupt the new cabinet field,
- trim that makes the finish appear to stop abruptly.
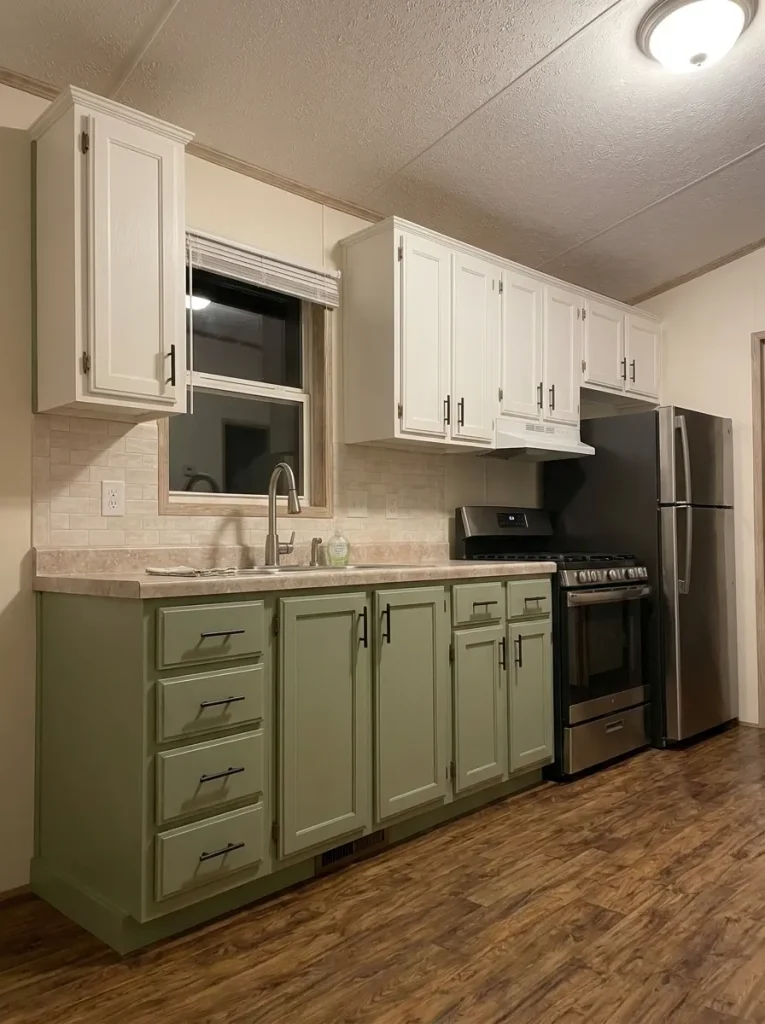
If those components are sound and suitable for the selected finish system, completing the exposed edges can improve the makeover without introducing another decorative purchase.
Different cabinet components may use different materials, so surface preparation still needs to suit the actual substrate.
Complete the finish work already in progress before funding the next visual upgrade.
12. Simplify a Dated Valance Before Buying a New Window Treatment
A small window treatment can carry a surprising amount of visual age.
Heavy floral fabrics, gathered valances, layered curtains, or strongly patterned treatments may compete with the cabinet, counter, and backsplash even though they occupy a relatively small part of the room.
Remove or fold back the existing treatment temporarily and compare the full sink wall.
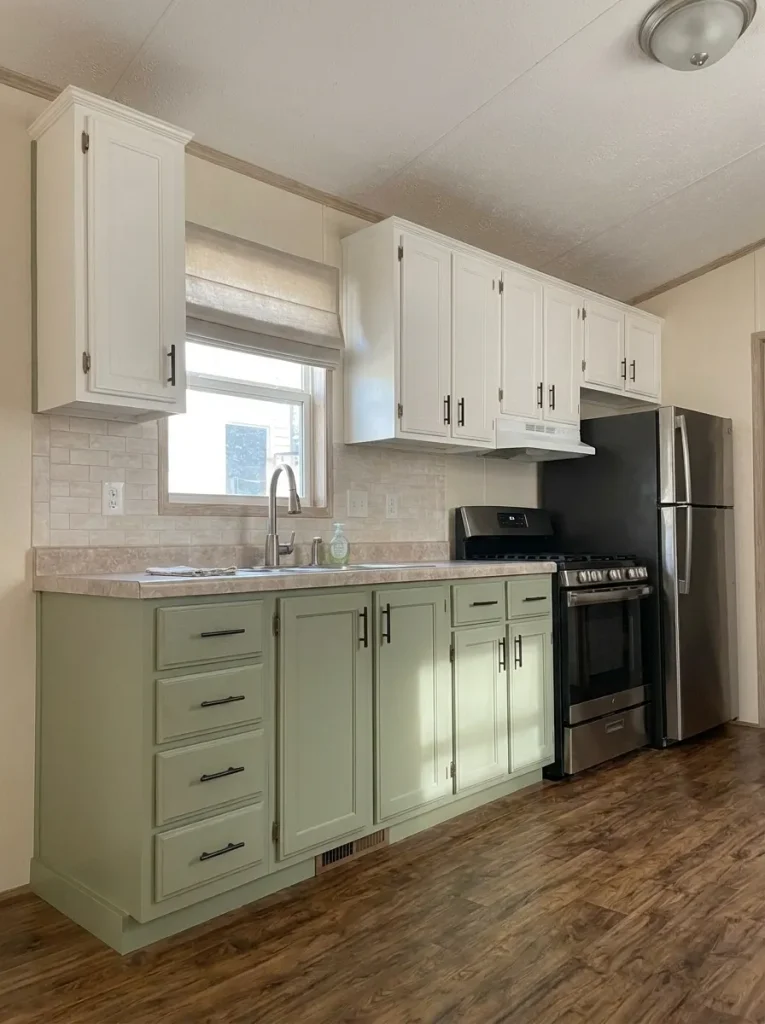
Then identify the actual need.
Privacy: keep enough coverage to protect it.
Glare: choose a treatment that controls uncomfortable light during the hours when the kitchen is used.
Little functional need: the simplest treatment may already be available in what you own.
The exercise is not an instruction to strip every kitchen window. It separates decoration from privacy and light control.
Also judge the material according to its real position in relation to cooking equipment and other conditions in the room.
If simplifying the window makes the cabinets, counter, and daylight feel more coherent, the room may need less purchased décor than you expected.
13. Clear the Counter With Storage You Already Own Before Buying Organizers
Counter clutter often triggers another round of shopping: bins, racks, baskets, canisters, shelves, and countertop organizers.
Begin with one work surface and no new storage products.
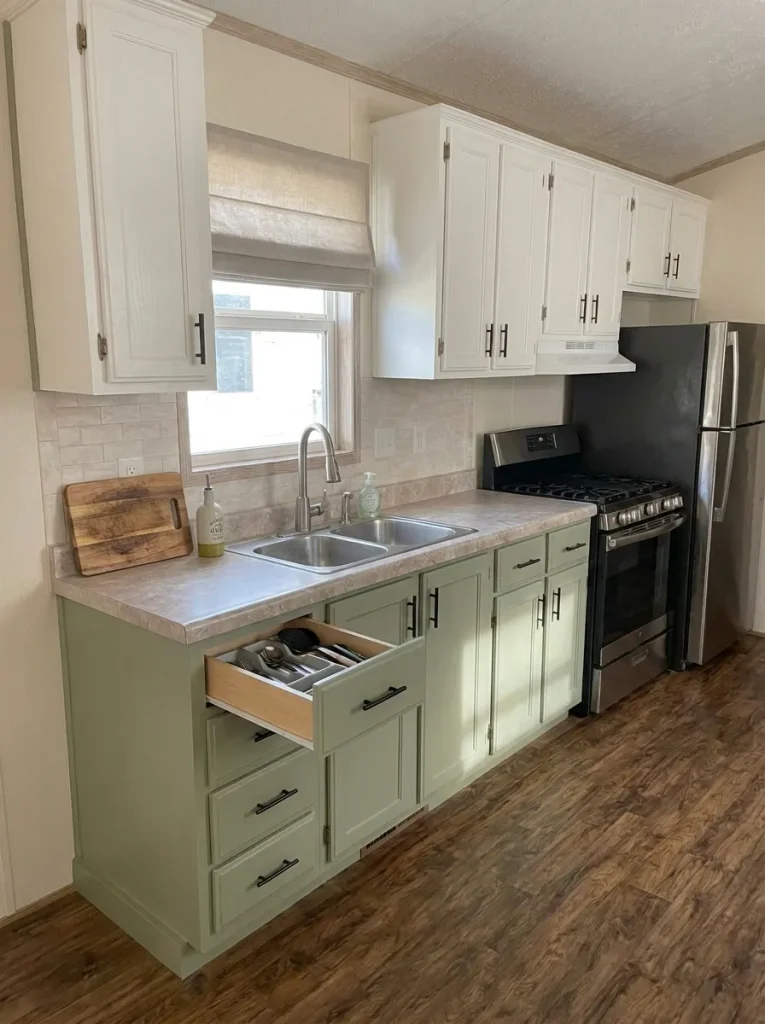
Remove everything from it, group the objects by what they actually do, then see how much of the problem can be solved inside drawers and cabinets already in the kitchen.
Use existing storage before buying another organizer
Move the objects through this sequence. A purchase appears only when a real unresolved category survives the test.
Group its contents by actual use: cooking tools, drinks, paperwork, food, cleaning supplies, or occasional equipment.
Check nearby drawers and cabinets. Lower-use contents can sometimes move deeper so frequent items gain a practical home.
Only objects that still lack a workable location become candidates for an organizer, shelf, or other purchased solution.
This prevents a kitchen from becoming “organized-looking” while the work surface remains difficult to use.
If the cabinets and drawers solve the problem, the budget stays intact. If one category remains genuinely homeless, you can purchase for that exact need.
14. Test a Used Cart or Small Table Before Building an Island
A permanent island can be beautiful, but it is not automatically the best next step for a budget mobile-home kitchen.
If what you need is another surface for chopping, groceries, or serving, test the need with something reversible first.
A secondhand cart, narrow worktable, or small table you already own can answer a much more useful question:
Does another surface improve the kitchen enough to deserve permanent floor space?
Mark the proposed footprint with painter’s tape first. Then test the refrigerator, range, dishwasher, cabinet doors, exterior doors, and ordinary walking route.
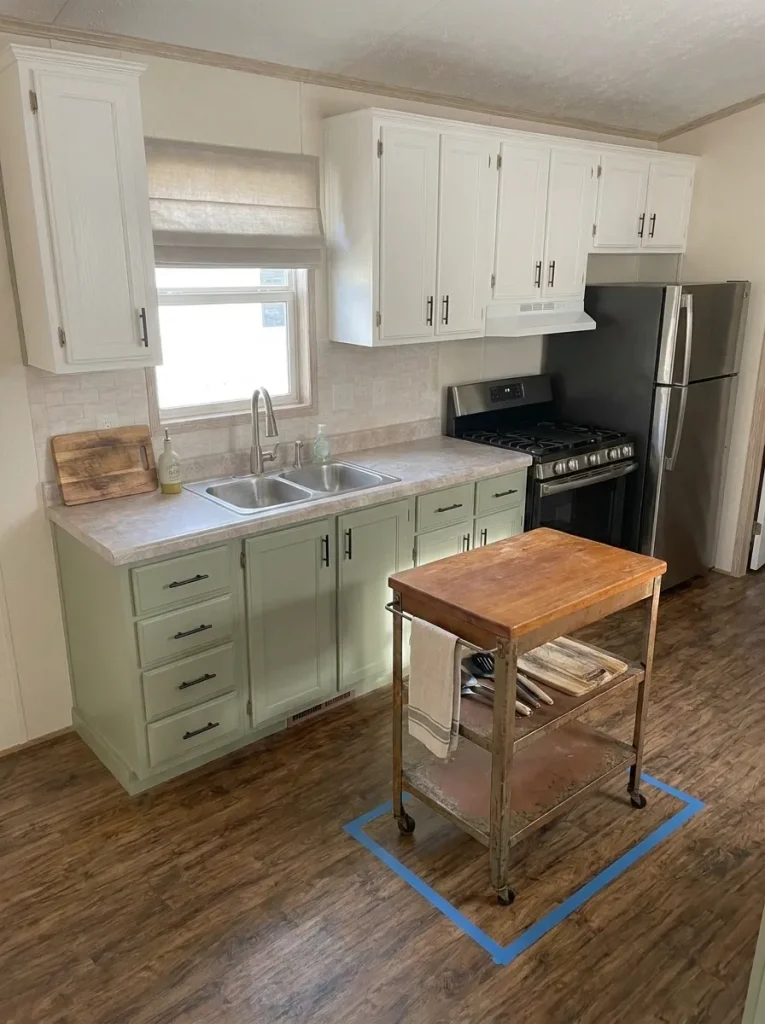
If the temporary piece improves preparation without making circulation awkward, it may deserve a longer trial. If it becomes an obstacle, removing it is far easier than correcting a built-in decision.
For a narrow layout, continue with 21 Single Wide Kitchen Ideas for Small and Narrow Spaces.
For a wider open kitchen, compare permanent center arrangements in 19 Double Wide Kitchen Ideas for a Beautiful Open-Concept Home.
Use the reversible experiment to discover whether you need extra surface area before committing to permanent cabinetry.
15. DIY the Cosmetic Layer and Budget Paid Help for Technical Work
A low-budget makeover does not mean every part of the project has to become DIY.
Separate the work by consequence.
Cosmetic work
Examples may include editing accessories, simplifying a window treatment, replacing compatible decorative hardware, reorganizing storage, or applying an appropriate finish when you understand the surface and product requirements.
Technical work
Plumbing, hardwired electrical work, structural alterations, and changes affecting home systems require a different level of judgment because a mistake can expand beyond the visible makeover.
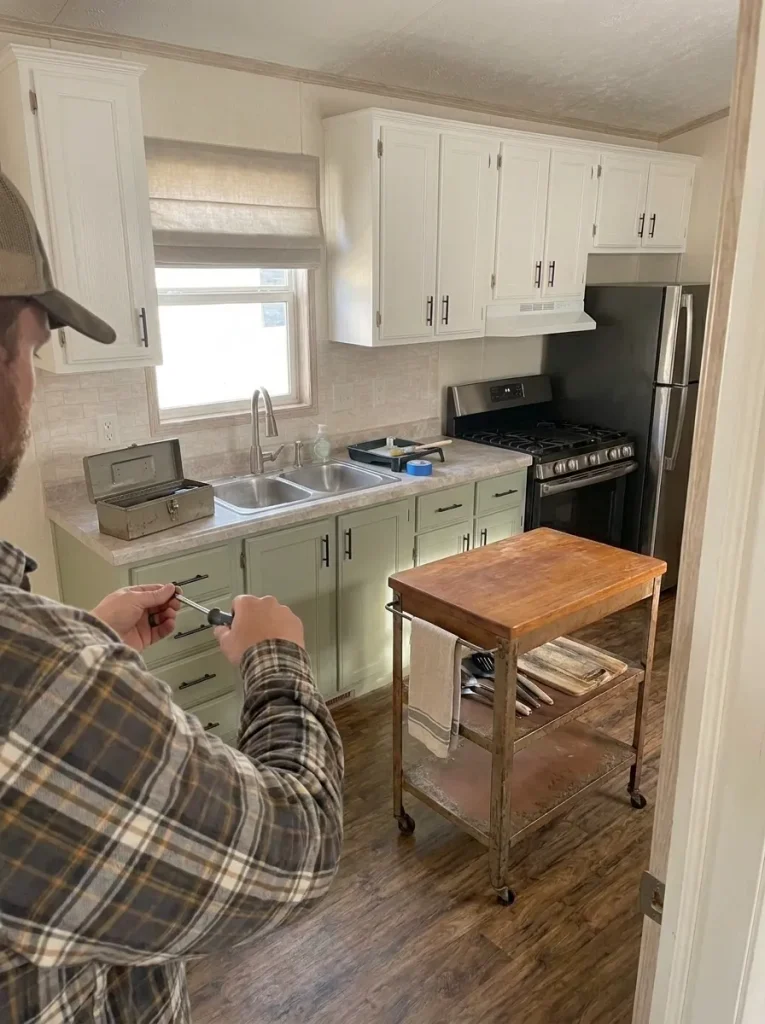
For HUD-code manufactured homes, HUD states that significant structural changes may require permits and recommends consultation with the appropriate state, county, or local agency before such alterations. (HUD)
The useful budget question is therefore specific:
Which jobs are genuinely cosmetic, and which jobs could create expensive rework or affect a home system if handled incorrectly?
Completing appropriate cosmetic work yourself while reserving money for the few technical jobs that require qualified help can be more economical than treating the whole kitchen as one DIY project.
16. Make One Deliberate Splurge After the Cheap Changes Are Finished
The best time to choose the expensive part of a budget makeover may be after the inexpensive work is complete.
Fresh cabinet color, a calmer wall, coordinated hardware, edited counters, retained appliances, and improved lighting can completely change what still feels wrong.
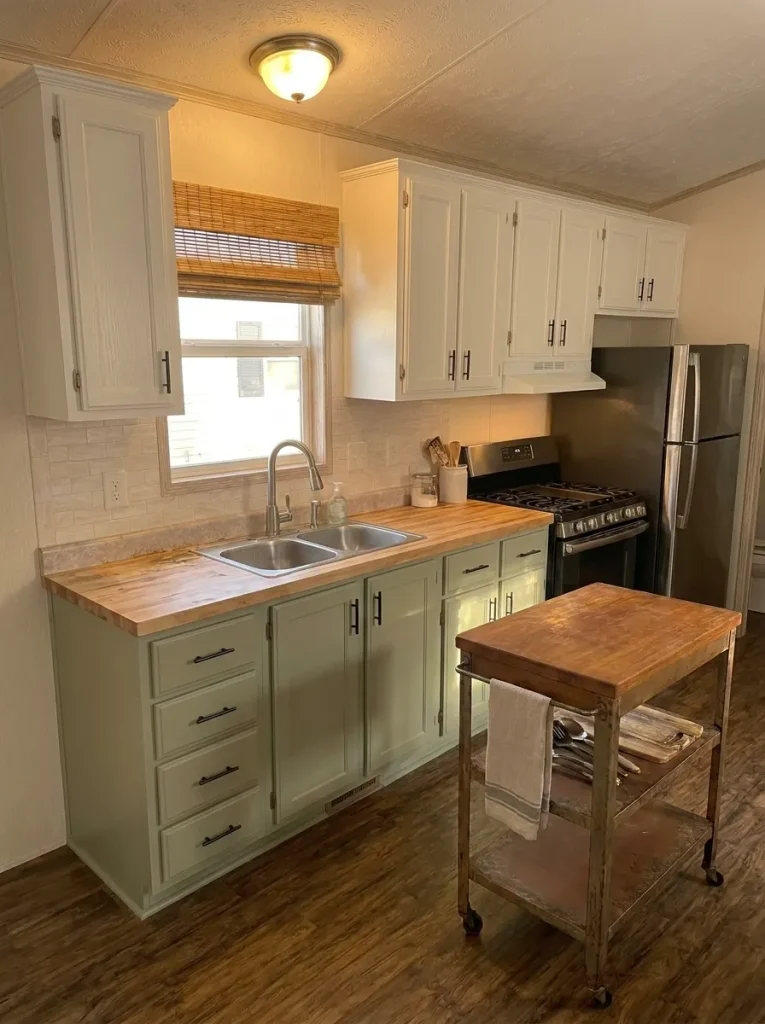
Reassess the finished room before spending what remains.
Final-Spend Filter
Does the kitchen still need one bigger purchase?
Judge the room after the lower-cost makeover work is finished. The remaining problem should determine whether a larger spend deserves the budget.
What remains after the affordable changes?
A larger spend may now earn its place.
If a worn appliance, failed surface, inadequate work area, or another recurring problem still interrupts the kitchen, direct the remaining budget toward that specific issue.
Keep the larger spend narrow.
When the refreshed kitchen functions well but one fixed feature still overwhelms the composition, compare that feature against the completed room.
The makeover can finish here.
If the kitchen functions well and the formerly dated elements now sit comfortably together, keeping the remaining money is a successful outcome.
Once the inexpensive work has changed the room, the older countertop or appliance you originally planned to replace may no longer feel urgent.
The reverse can also happen: one unresolved problem becomes clearer.
Either outcome is useful because the larger purchase is now based on the finished kitchen, not the dated starting point.
17. Put the Rest on a Phase-Two List and Stop the Makeover
Budgets often disappear through a series of reasonable-looking “while we’re here” additions.
Once the kitchen reaches a functional and visually coherent stopping point, write every remaining idea on a separate Phase Two list. Beside each item, record the problem it would solve.
For example:
- New refrigerator — current appliance works; appearance only. Wait.
- New countertop — existing surface is sound and coordinates better after the makeover. Wait.
- Extra storage — one specific category remains without a useful home. Reassess.
- Damaged flooring — a condition problem remains. Plan deliberately.
Then live with the kitchen through normal cooking, cleaning, grocery unloading, and family routines.
Optional upgrades can stay on the list. Damage, safety concerns, or real functional failures deserve appropriate attention.
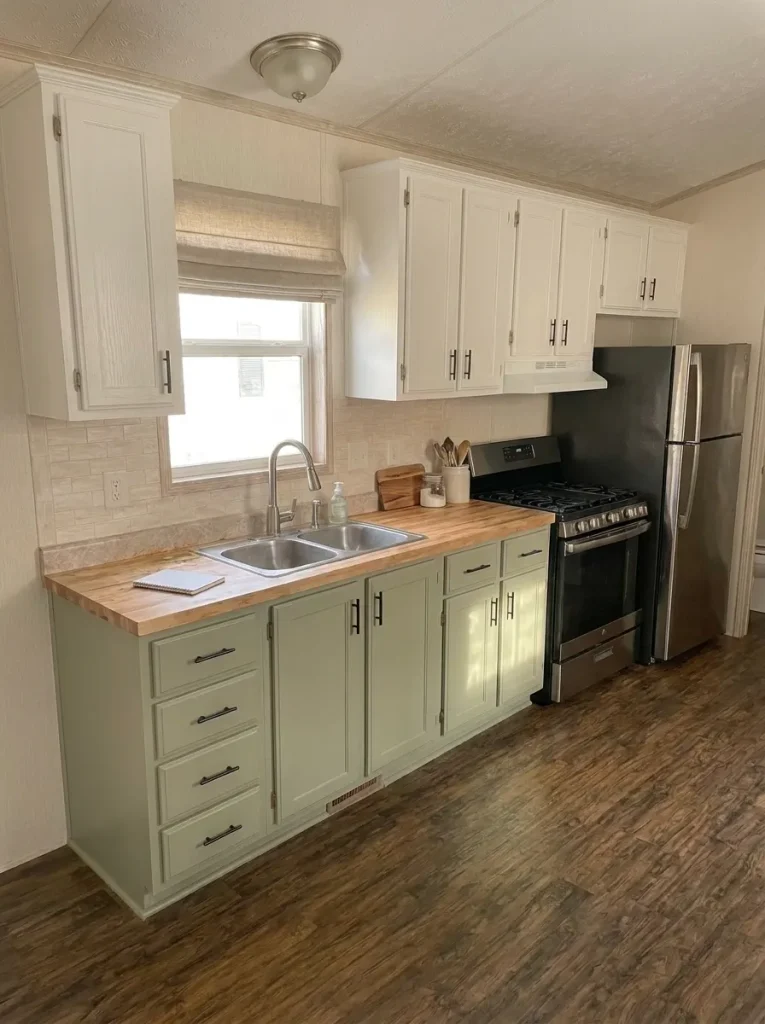
A successful mobile home kitchen makeover on a budget does not end when every original component disappears. It ends when the room works better, looks more intentional, and the remaining spending no longer solves a meaningful problem.
Conclusion
Start your makeover with the change that removes the biggest problem while disturbing the fewest useful parts of the kitchen. That may mean keeping the layout, refreshing one cabinet field, quieting a dated wall, retaining the countertop, and designing around appliances that already work.
After each phase, look at the whole room again before opening another project.
Once the kitchen functions well and the finishes feel coordinated, stop and use it for a while. Keep optional upgrades on a Phase-Two list and revisit only the ones that continue to solve a real need. Save the inspiration image that resembles your actual kitchen and budget, not simply the most dramatic renovation.