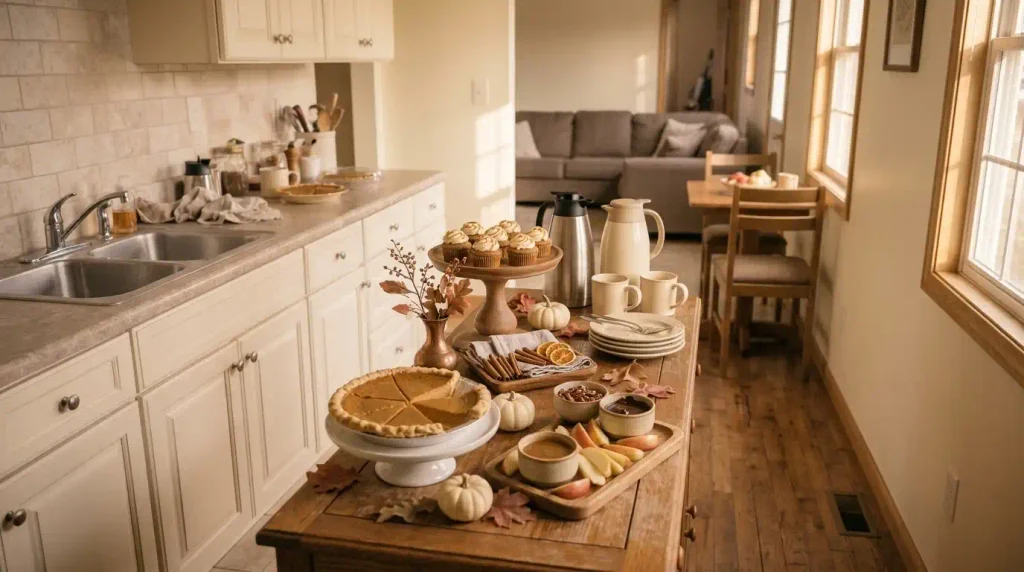
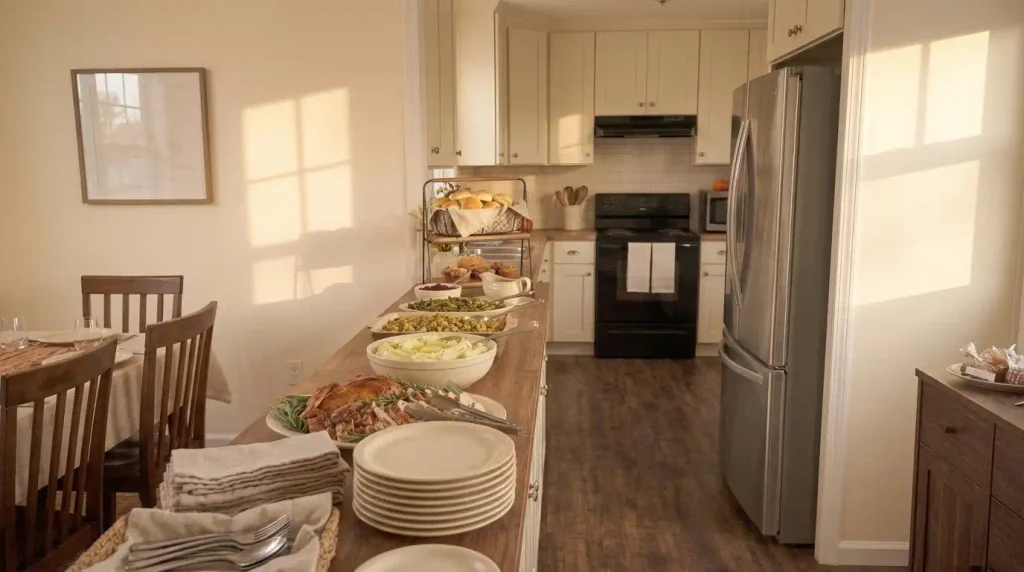
Dinner in an open double wide rarely stays inside the kitchen. Someone is chopping at the island, plates are moving toward the dining table, another person is reaching for a drink, and conversation carries in from the living room. That is why the most useful double wide kitchen ideas consider the entire shared space—not only the cabinets and countertops.
For this kitchen, imagine a warm, attainable modern-farmhouse palette: cream perimeter cabinets, a muted green island, natural oak details, soft neutral surfaces, and restrained dark-metal accents. The exact colors can change, but the relationships matter more.
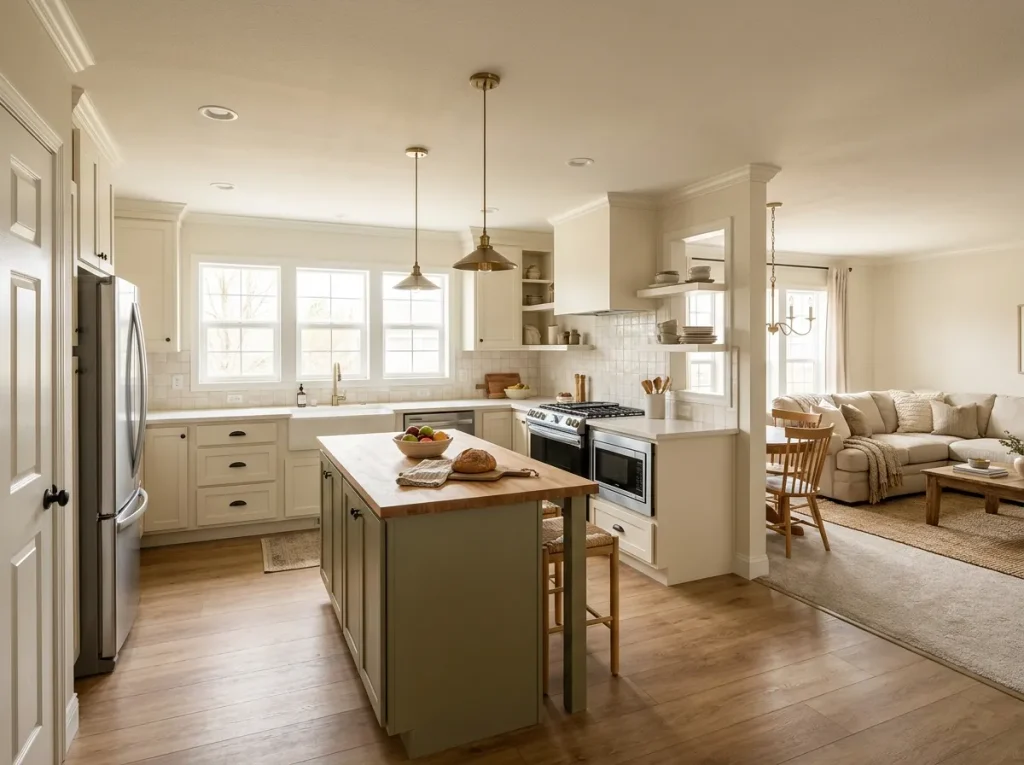
We’ll start by comparing an island, peninsula, and open center, then work through decisions that affect everyday meals, guests, storage, lighting, cleanup, and the view from adjoining rooms. Existing windows, plumbing, appliances, openings, and structural elements stay part of the equation until there is a practical reason—and appropriate home-specific guidance—to change them.
1. Choose the Right Kitchen Center: Island, Peninsula, or Open Floor
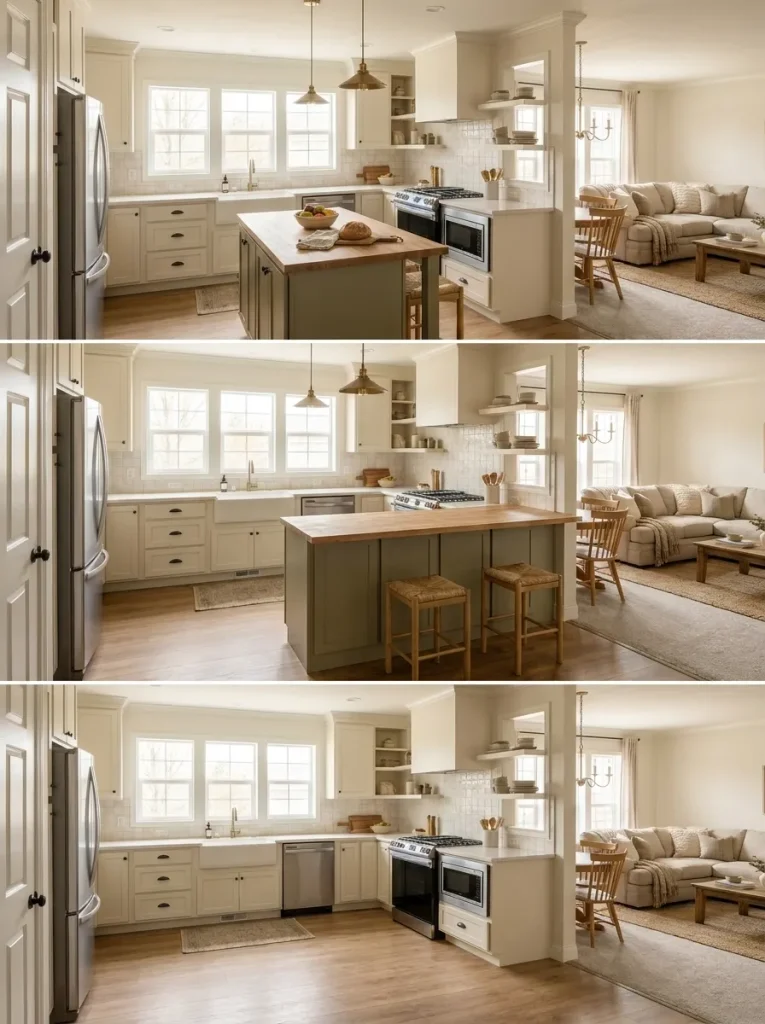
A double wide may appear to have enough room for a large island, yet some of that generous-looking floor is already doing important work for the dining area, living-room connection, doorways, and cross-house circulation.
Start with the usable kitchen footprint. Keep the existing sink, refrigerator, range, openings, and occupied dining seats on your sketch, then compare what happens when the center becomes an island, a peninsula, or simply open floor. Each arrangement solves a different problem.
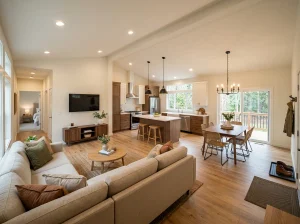
The best choice is the one that earns its footprint during an ordinary meal—not the arrangement that fills the most empty space.
Open-Plan Kitchen Configurator
Choose the center that earns its place.
Keep the sink, range, refrigerator, dining zone and living connection visible while you compare three genuinely different kitchen centers.
A true second work face.
Choose this when prep, plating, storage or casual seating clearly benefit from a freestanding surface.
More counter, less floating mass.
Use this when the kitchen benefits from a stronger boundary but a freestanding island feels spatially expensive.
Movement becomes the feature.
Choose open floor when the perimeter already supplies enough working surface and the center is more valuable as shared space.
For anyone who wants a planning reference while measuring the work zone, NKBA’s published kitchen guidance recommends a work aisle of at least 42 inches for one cook and 48 inches for multiple cooks. Those are planning recommendations—not proof that a proposed configuration fits your individual home or satisfies every applicable requirement. (NKBA Media)
Read NKBA’s Kitchen Planning Guideline 6
Once the kitchen footprint makes sense, continue into planning the adjoining double-wide open layout to test how kitchen geometry interacts with dining, seating, and cross-house circulation. The destination specifically covers open-concept routes, island placement, and zone relationships. (Stylish Galore)
2. Frame Cream Cabinets With a Muted Green Island
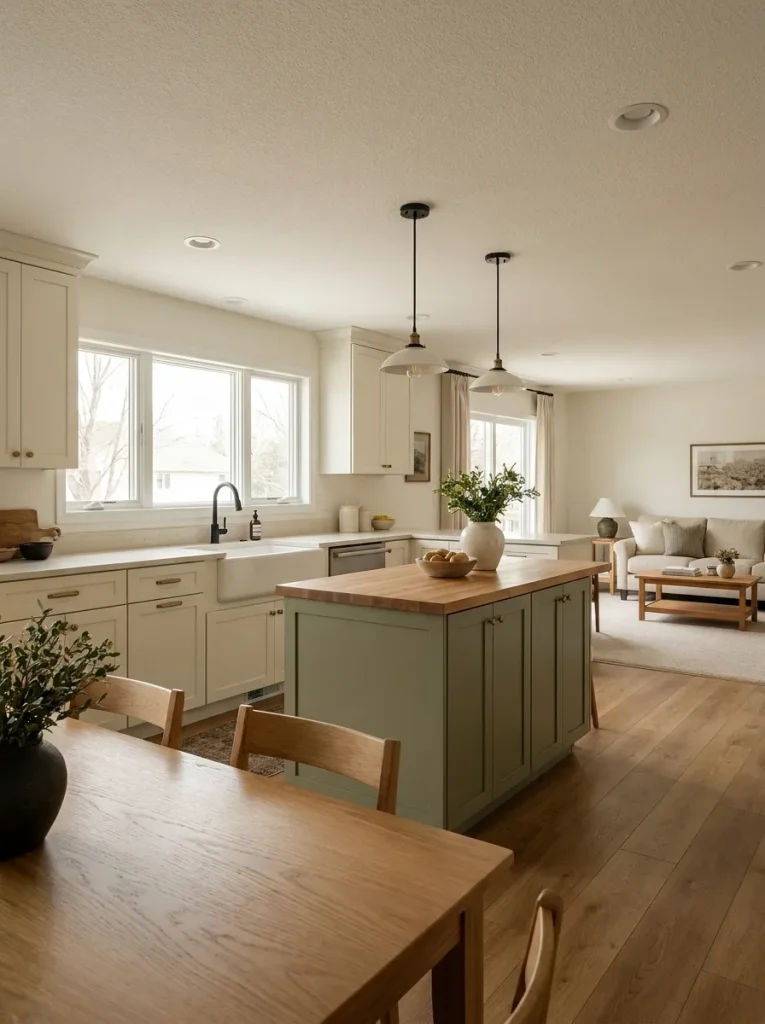
Cream cabinetry can keep a long perimeter visually calm, while a muted green island gives the middle of an open kitchen enough weight to feel intentional. Warm oak then becomes the bridge between the two.
This combination is especially useful when the island is visible from both dining and living areas. The deeper color lets it read almost like furniture in the shared room, while the lighter perimeter recedes.
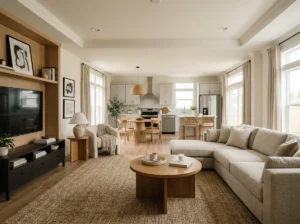
Before painting, place large finish samples beside the countertop and flooring you intend to keep. Then walk back to the dining area. If the green suddenly feels disconnected from the fixed finishes, a single cabinet color may create the stronger room.
Open-Room Palette Studio
Give the perimeter and island different visual jobs.
Switch palette strategies and judge the whole cabinet mass—not a tiny paint chip viewed in isolation.
Warm, quiet and easy to connect.
Muted green gives the island identity while cream keeps the larger perimeter visually calm.
More architectural, less decorative.
A tonal palette makes the island feel integrated with the perimeter and can calm a visually busy open room.
Fresh contrast without going dark.
Dusty blue gives the island a cooler identity while warm cream and oak keep the kitchen from feeling cold.
The point is not to copy these exact swatches. Use the relationship: quiet perimeter → defined center → repeated warmth. That gives the kitchen a clear visual hierarchy from across the open room.
3. Give the Island and Dining Table Different Jobs
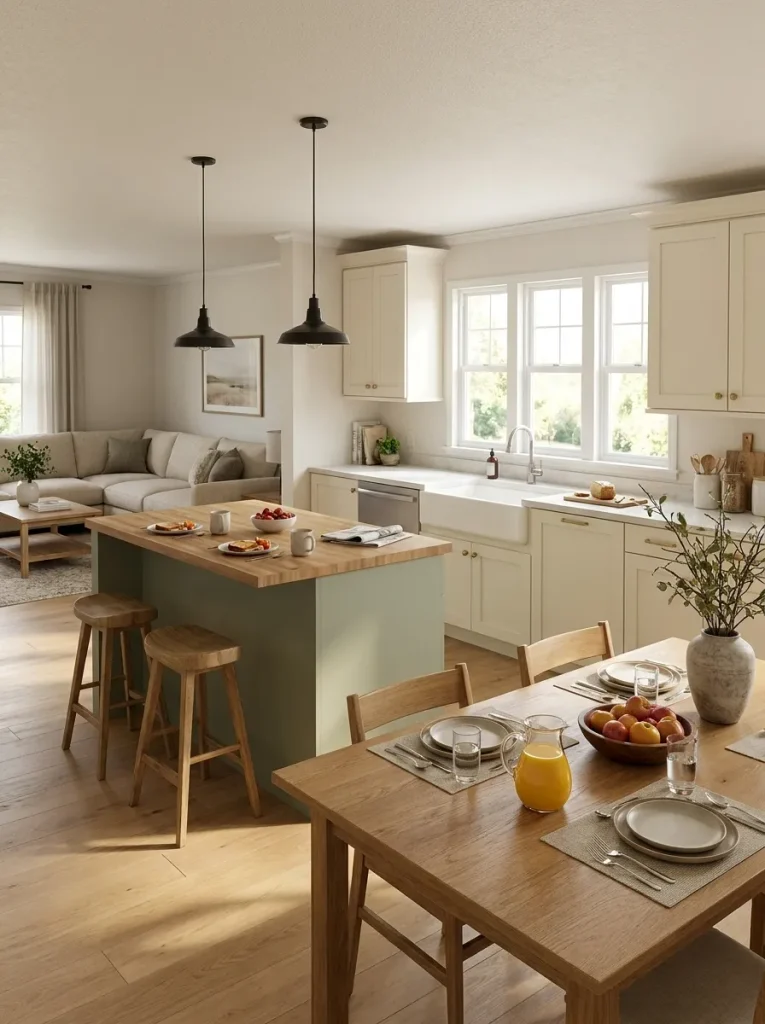
What does the island do that the dining table cannot?
Ask that before lining one side of the island with stools. In a double wide, both surfaces may fit physically while competing for the same everyday purpose.
Island: quick breakfasts, standing prep, plating dinner, talking with the cook, or one or two casual seats.
Dining table: full family meals, longer conversations, homework, crafts, and comfortable seated meals where everyone has a proper place.
Track your household for several ordinary days. If five stools mostly sit empty while everyone eats at the table, reducing the stool count can give the island a cleaner edge and make movement easier. If breakfast happens there every morning, those seats are earning their footprint.
Occasional parties alone do not need to determine the permanent setup. Let normal routines decide which surface deserves more space.
4. Turn an Existing Pass-Through Into a Serving Spot
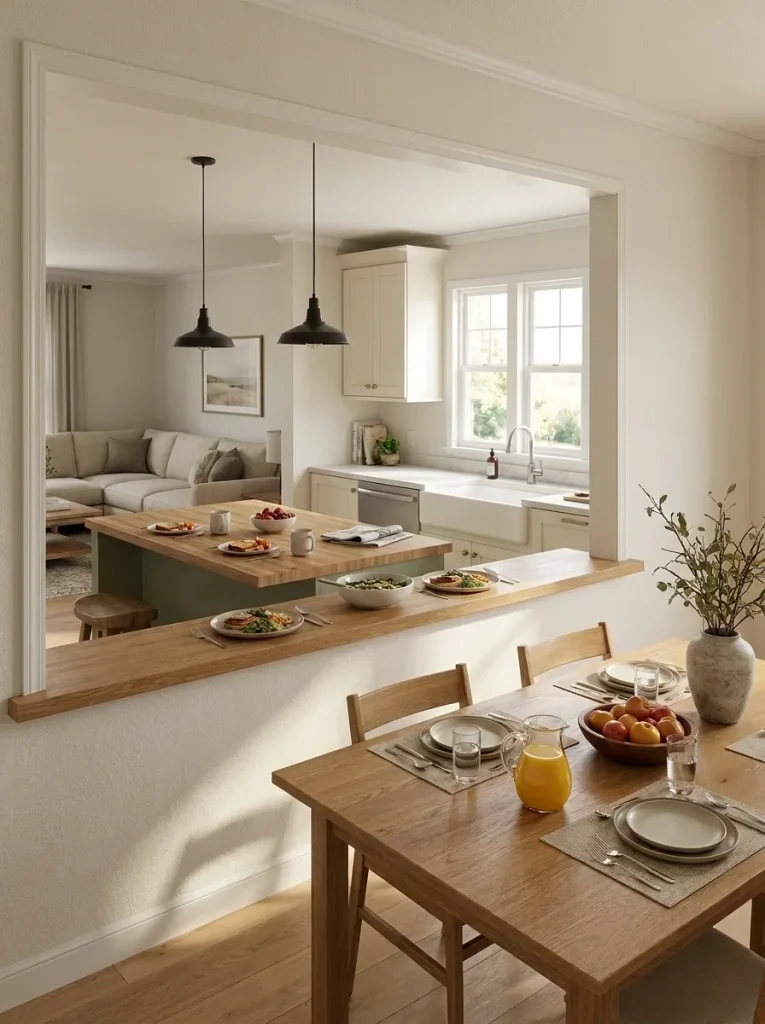
If your double wide already has a framed opening between the kitchen and adjoining room, test what the opening can do before treating it as something that needs to disappear.
A stable, adequately sized existing ledge may become a useful place to transfer plates, stage a serving bowl briefly, or move drinks toward the dining area. Stand on both sides and test it with the objects you would actually use. The opening earns a serving role only when people can approach it comfortably and the ledge can support that activity safely.
Keep the surrounding post, wall, or header respected. A photograph cannot identify a structural member, and HUD notes that significant additions or structural alterations to a manufactured home may require local permits and can affect HUD Code compliance; homeowners should consult the appropriate state, county, or local agency before making such changes. (HUD)
HUD Manufactured Housing Homeowner Resources
If your existing opening already works and simply needs a more intentional architectural finish, continue with finishing existing openings in a modern double-wide interior. That guide specifically covers wide openings and built-in portal detailing. (Stylish Galore)
5. Keep the Sink at the Window When That Layout Works
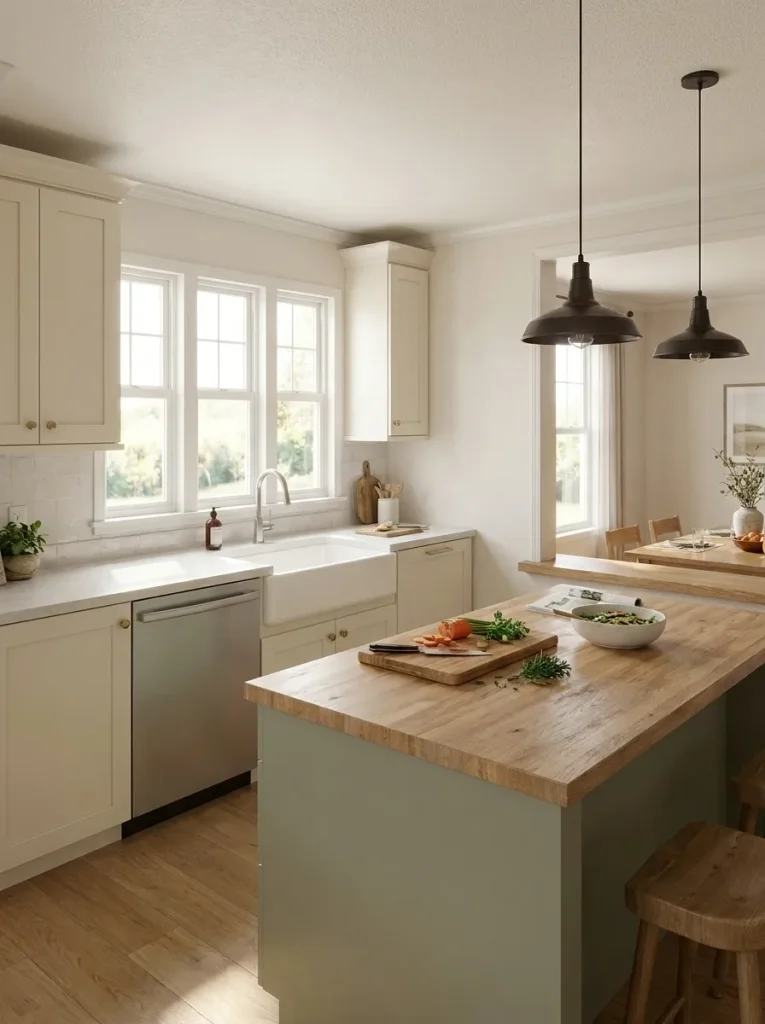
A sink beneath an existing window can be worth keeping when its current location already supports the way the kitchen functions. It places washing and wet preparation along the perimeter, leaving the island dry and open for chopping, serving, homework, or conversation.
Test the arrangement through one complete meal. Notice where vegetables are washed, where dirty dishes collect, how the dishwasher relates to the sink, and whether anyone repeatedly crosses the cook’s path. If the current setup handles those moments well, a major plumbing change may solve a problem that barely exists.
An island sink can also work beautifully. The useful decision is to keep a successful wet zone when it already serves the household and investigate relocation only when you can name the problem the move would solve.
6. Add a Guest-Friendly Coffee and Drinks Station
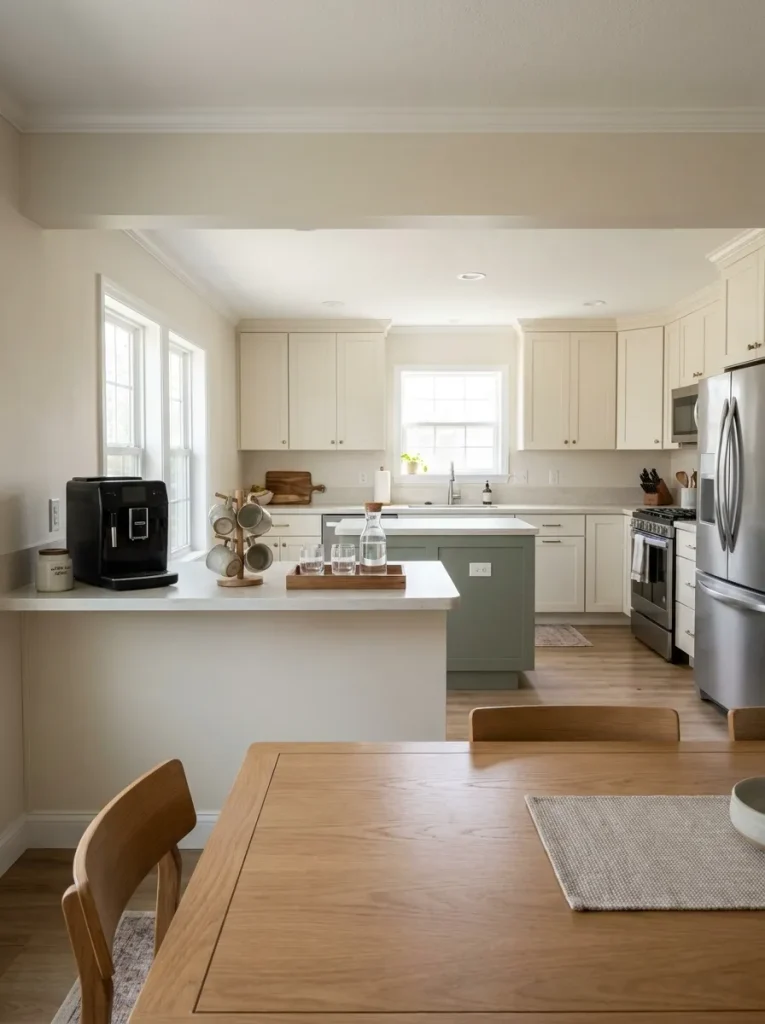
Dinner is almost ready, someone asks for coffee, another guest wants water, and suddenly three people are reaching into the same corner of the kitchen.
That is the moment a beverage station earns its place.
Position it toward the dining-side edge of the kitchen, where people can reach it without crossing the main prep or cooking route. A dedicated cabinet is optional. An existing stretch of counter can work when it passes three checks:
- Guests can reach it easily from the table or living area.
- The cook does not need that surface constantly during meal preparation.
- Cups, glasses, coffee supplies, or drink accessories can live nearby without spreading into unrelated storage.
If permanent counter space is too valuable, create the same behavior with a tray that comes out when guests arrive.
Any coffee maker or other operating appliance still needs a suitable location and must be used according to its manufacturer’s instructions. A storage cabinet is not automatically a suitable operating space. The design goal is a better guest route, not a new appliance hazard.
7. Create Separate Prep Places for Two People
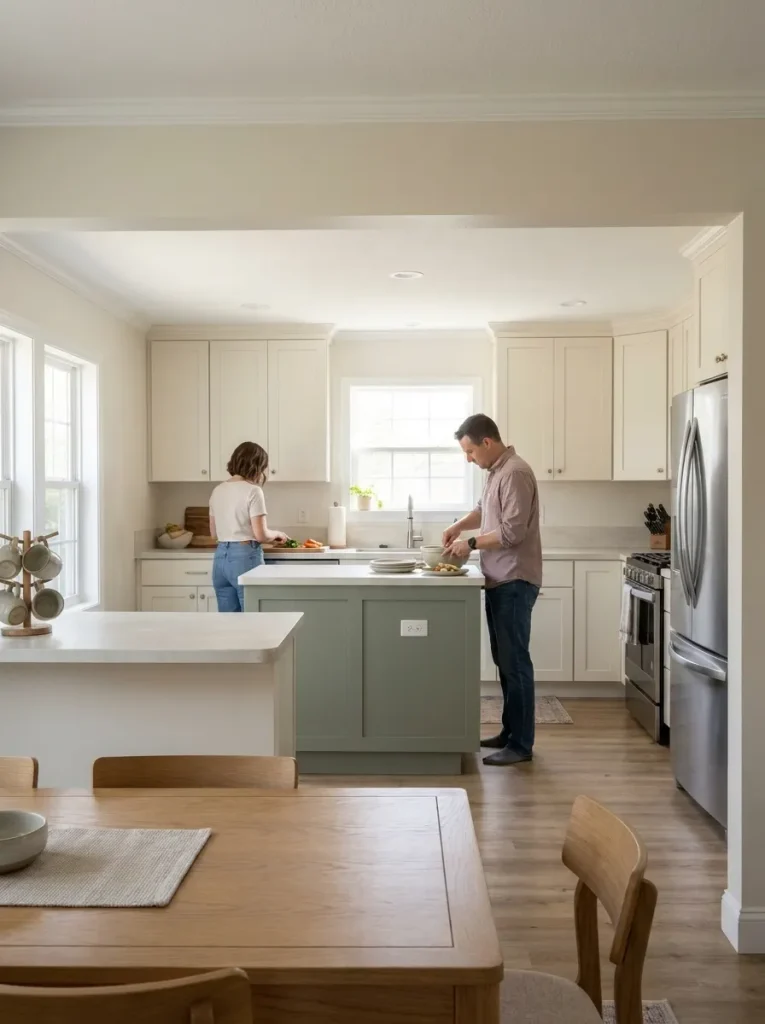
A wide-looking double-wide kitchen can still behave like a one-person kitchen when almost every useful task happens on the same counter.
Try assigning real jobs to separate surfaces. One person might wash and chop vegetables along the perimeter while another mixes, assembles, or plates at the island. Then watch what both people still need to share.
The sink, refrigerator, trash, range, or one favorite drawer may reveal the real bottleneck.
A second work surface becomes genuinely useful when it allows two compatible tasks to happen with fewer interruptions. If both people still cross each other repeatedly for the same resource, rearranging tools or changing task roles may improve the kitchen more than enlarging the island.
Dual-Cook Workflow Lab
Two people only help when their jobs separate.
Change the household pattern and watch how the useful work surfaces, shared resources and bottleneck change.
CHOP + PREP
PLATE + ASSEMBLE
VEGETABLE PREP
MIX + ASSEMBLE
MAIN WORKTOP
TABLE / PLATING
Separate the low-conflict tasks.
The helper does not need a second full cooking station to be useful.
Give each cook a complete task.
Two active stations work when the jobs themselves are independent enough.
One strong station can be smarter.
A support role at the table can outperform two crowded cooking stations.
The test is not how many counters the kitchen contains. It is whether two actual tasks can happen simultaneously without turning one shared resource into a constant collision point.
8. Use the Island’s Dining Side for Tableware Storage
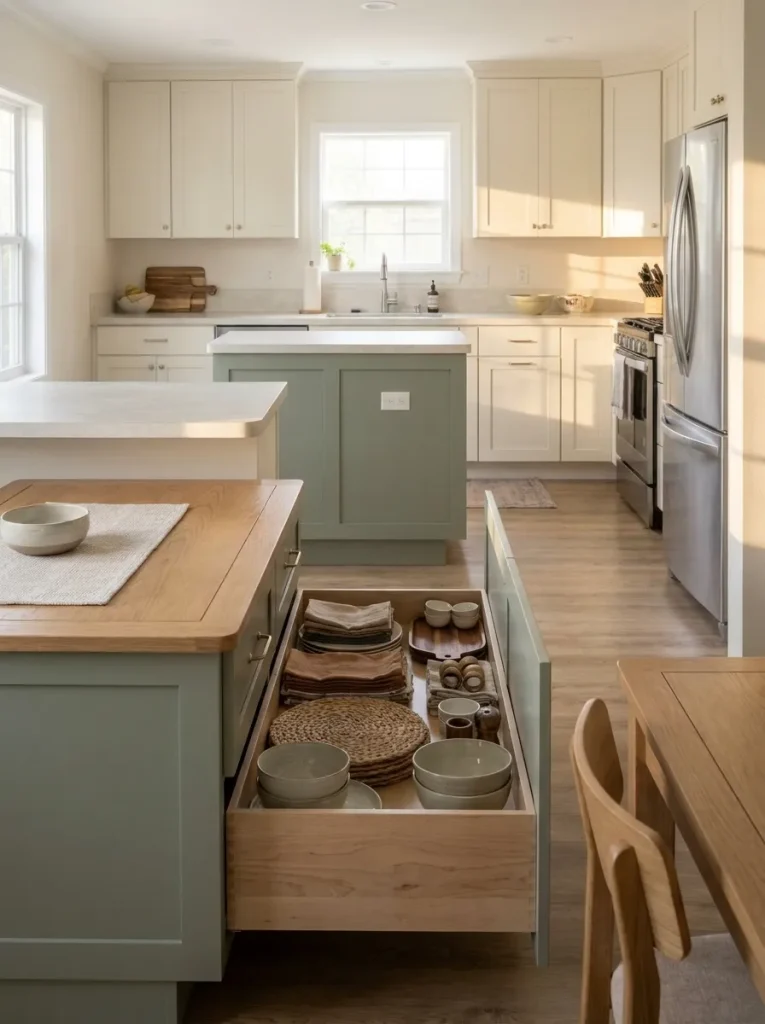
An island has more than one useful face, and those faces do not have to serve the same room.
If your island already has storage facing the dining area, consider placing placemats, napkins, serving bowls, trays, or other table-setting pieces there. Someone preparing the table can collect them without stepping into the cook’s working aisle.
If outward-facing storage already exists: assign it to objects used mainly at the table. Keep frequently used cooking tools on the kitchen side.
If stools occupy most of that face: do not sacrifice comfortable seating merely to create another cabinet door.
If there is no suitable dining-side compartment: keep tableware on a dining wall, nearby hutch, or existing kitchen cabinet. The principle still works even when the island cannot provide the storage.
Avoid cutting into an existing cabinet or panel simply to copy the idea without proper cabinet-specific review. The lesson is access direction—putting an item where the person using it naturally approaches from.
9. Choose Pendants That Keep Faces in View
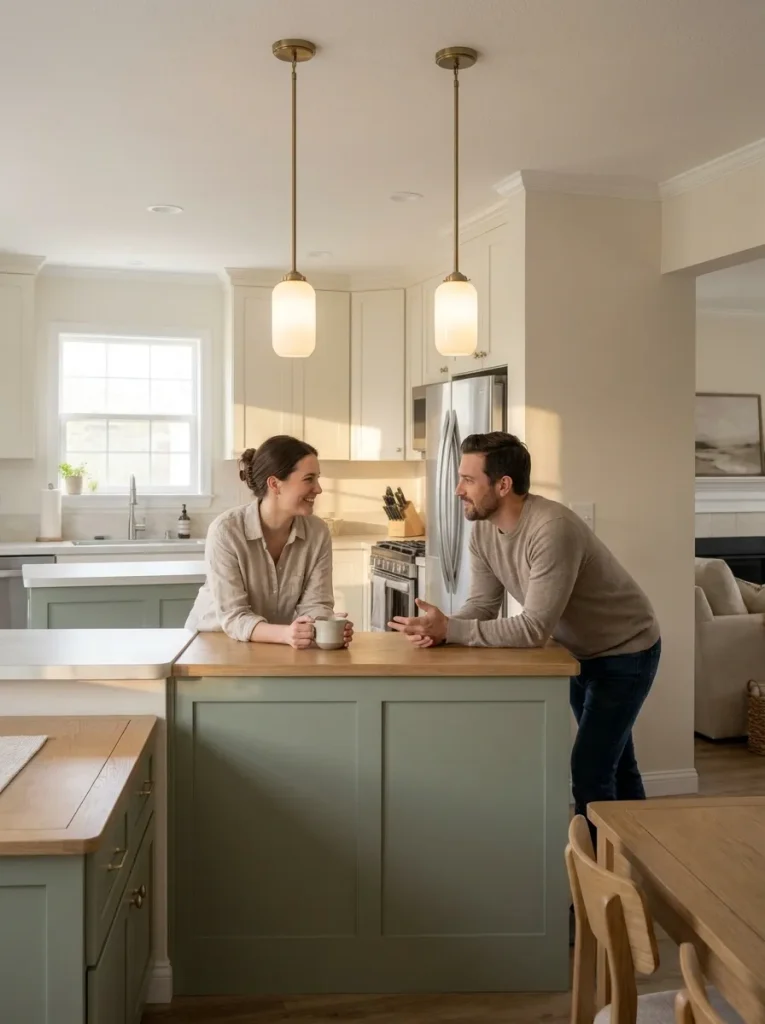
Stand on one side of the island and look at the person sitting or standing opposite you.
That simple view can tell you more than judging pendant lights in isolation.
A broad or visually heavy shade may land directly between two faces, especially when several pendants repeat across a compact island. A slimmer fixture can preserve the connection between kitchen and dining while still defining the center of the room.
Clear glass is not automatically the answer either. The shade may visually disappear while a bright exposed bulb becomes the distraction.
Conversation Sightline Inspector
Test the pendant from eye level.
Change the fixture silhouette and see whether it blocks faces, preserves the view, or introduces a different glare problem.
The shade is becoming a visual wall.
The fixture can look dramatic in isolation while interrupting the face-to-face connection across the island.
The center stays defined without taking over.
A slimmer form can keep faces visible while still giving the island a clear lighting anchor.
The shade disappears, but the bulb may not.
Clear glass preserves the silhouette yet can expose a bright lamp directly inside the conversation view.
Before ordering, make a rough paper silhouette of the pendant and hold it near the proposed position. Look toward it from the dining chair, island seat, and main living-room viewpoint.
That inexpensive test can reveal more about the room than a beautifully styled product photo.
10. Show Everyday Dishes Behind a Small Run of Glass Doors
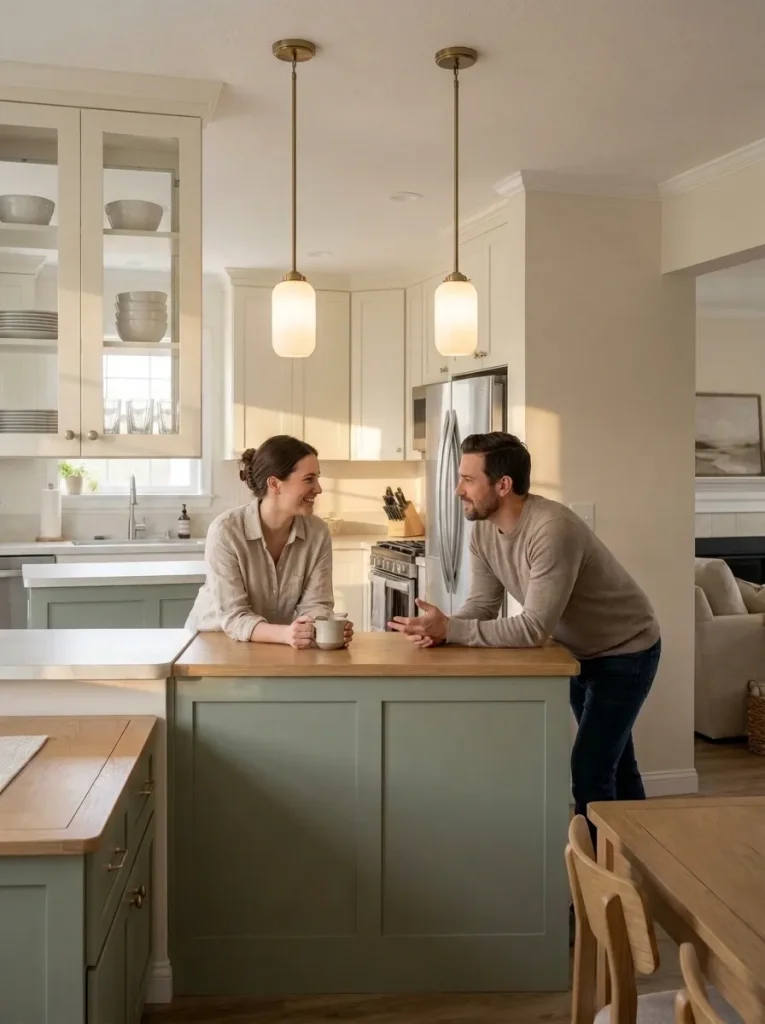
A few glass-front cabinet doors can make an open kitchen feel warmer and more personal because the items inside become part of the room beyond the kitchen.
The strongest candidates are objects that already look calm together: white dinner plates, matching bowls, clear glasses, or a small collection used often enough to stay orderly. You are designing a permanent view, not a temporary styling shelf.
Keep the glass section limited. When every upper cabinet becomes transparent, cereal boxes, mixed mugs, appliances, and changing grocery packaging can introduce far more visual activity than expected—especially when the cabinetry forms the backdrop to dining or living.
Choose the display area only after deciding what will actually remain visible.
And if everyday storage works better behind solid doors, keep it that way. An open-concept kitchen does not need exposed storage everywhere to feel welcoming.
11. Let Window Light Reach Across the Breakfast Area
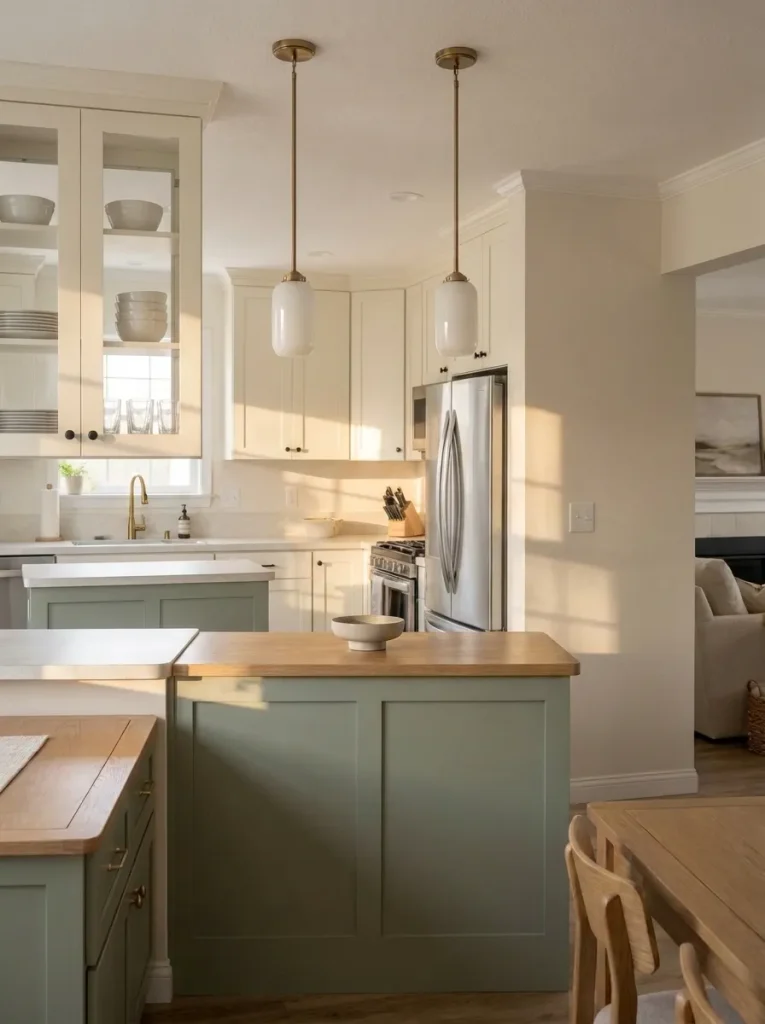
Notice where breakfast feels brightest before adding anything new to the room.
In an open double-wide kitchen, a window above the sink may be doing more than lighting the worktop. That same opening can visually brighten the nearby island or breakfast table, especially when kitchen and dining share one broad sightline.
Look between the window and the place where people actually eat. A tall countertop appliance, oversized floral arrangement, bulky shelf display, or dense window treatment can interrupt that relationship. Temporarily move the obstruction and compare the eating area at the hour you normally use it.
Daylight note: orientation, trees, porches, exterior shade, season, and time of day all affect the result. Pale finishes may reflect available light, but they cannot manufacture daylight the room does not receive.
If clearing the view noticeably improves breakfast, keep that line visually lighter. If it does not, local lighting may deserve more attention than another decorating change.
12. Give Grocery Unpacking a Place at the Kitchen Entrance
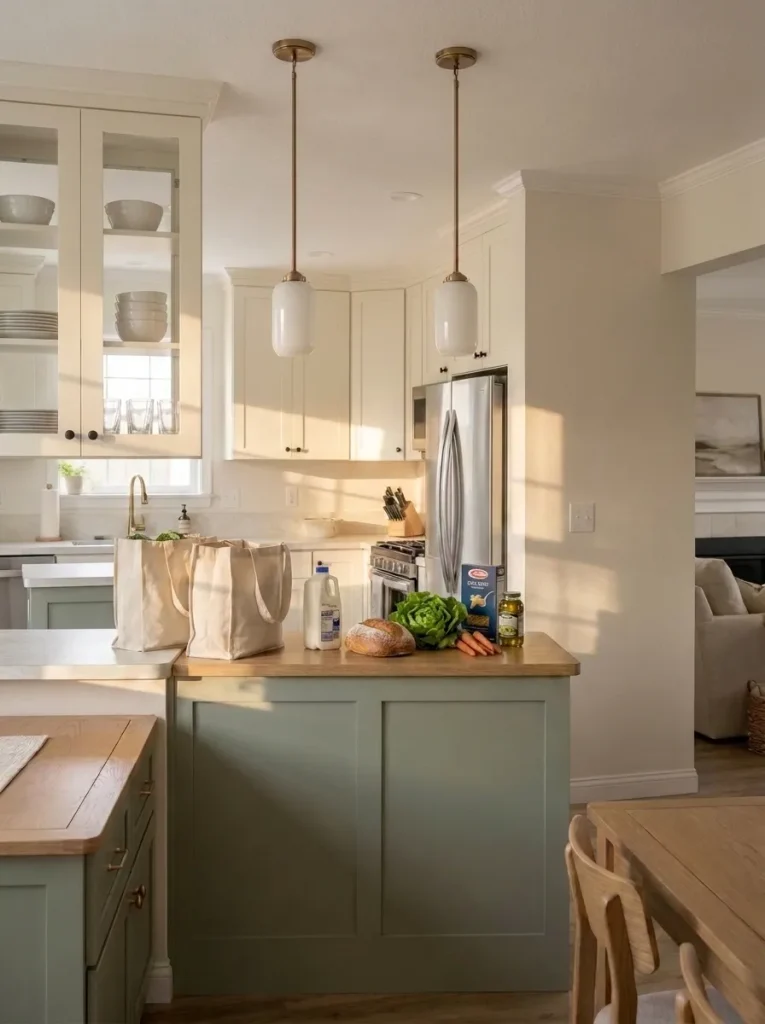
Start with the door you actually use when carrying groceries—not the entrance that looks best in photographs.
1. Bring the bags to one temporary landing. Choose an existing counter section, island end, or nearby table that can hold groceries briefly without blocking the main kitchen route.
2. Put cold items away first. A landing reasonably close to the refrigerator keeps the first part of the routine simple.
3. Move dry goods toward their normal storage. Finish unpacking, remove the bags, and return the landing surface to its everyday job.
This small routine matters because grocery bags otherwise tend to spread across the island, dining table, and nearby counters—the same surfaces family members may already be using.
Do not add a permanent console or cart merely to create an “unpacking station.” First test whether one surface you already own can handle the job for a few minutes at a time.
13. Use Quiet Texture on the Wall Behind the Range
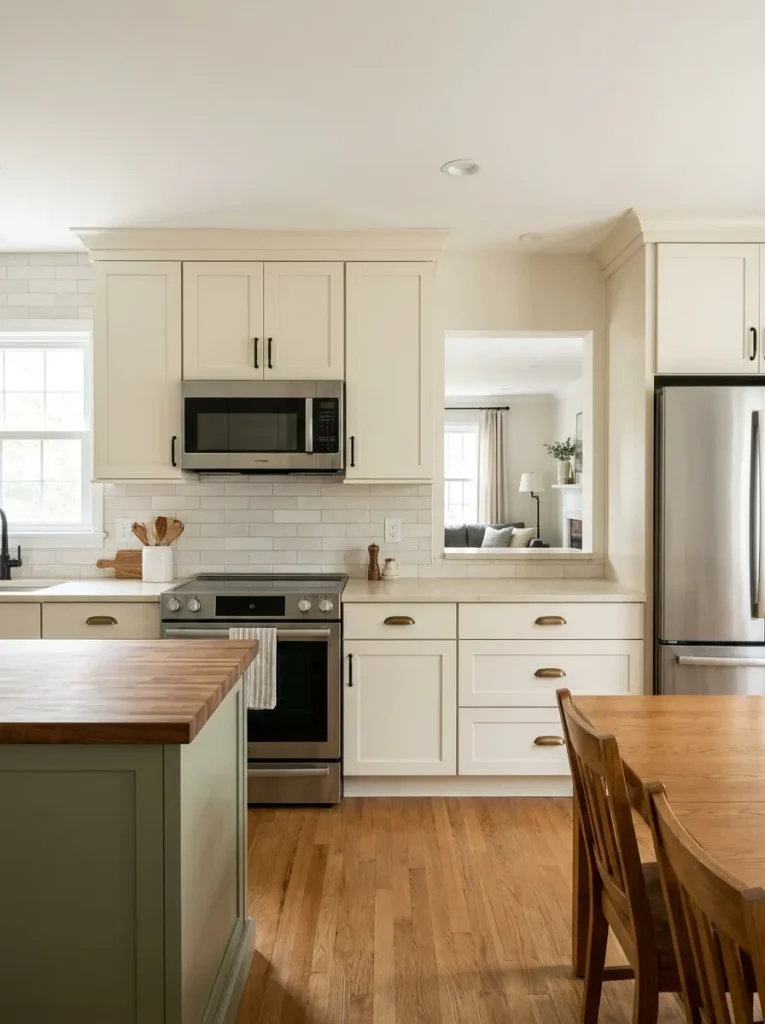
The backsplash behind the range has to work at two viewing distances.
Up close, texture can give the cooking wall character. From the dining or living area, that same backsplash becomes one element inside a much larger composition of cabinetry, counters, flooring, appliances, and the island.
For the cream-and-muted-green kitchen used throughout these ideas, a restrained tonal backsplash could introduce depth without competing with the island.
| Compare | What happens in the open room |
|---|---|
| Smooth, quiet surface | Keeps attention on cabinetry, wood accents, and the island |
| Subtle tonal texture | Adds dimension while staying relatively calm from across the room |
| Strong pattern + high contrast | Becomes another focal statement and needs enough visual space to justify it |
Place a real sample beside the countertop, then walk back into the dining area. The material should still make sense from there.
The deeper countertop-and-backsplash decision already has a specialist owner on Stylish Galore. The makeover guide specifically treats the two touching surfaces as one coordinated decision, including whether to keep one, replace one, or change both. (Stylish Galore)
Continue with the countertop-and-backsplash makeover guide
Material suitability still depends on the actual range, substrate, installation location, cleaning needs, and product instructions. A beautiful sample does not establish technical suitability behind a particular appliance.
14. Plan Ventilation as Part of the Open Kitchen
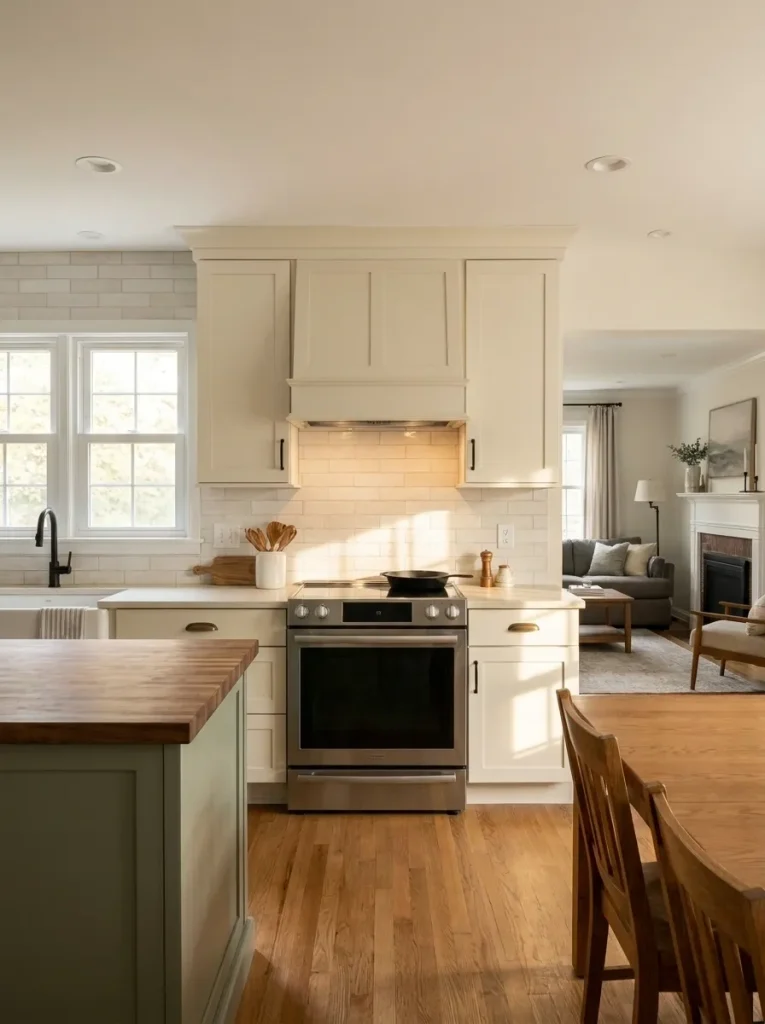
A beautiful range hood can anchor a double-wide kitchen visually, but its more important job happens while dinner is cooking.
Cooking itself can increase indoor particulate matter. EPA recommends using a range hood while cooking and says outdoor-vented exhaust is preferable where possible; it also advises considering a contractor when an outdoor exhaust route would need to be added. (US EPA)
Before choosing a hood mainly for its appearance, ask:
What ventilation system is actually serving this range?
Identify the existing hood type, locate its documentation when possible, and use the system according to its instructions. In an open double wide, this matters because kitchen air is directly connected to the dining and living areas.
EPA guidance for improving indoor air while cooking
For a remodel, let the selected appliance documentation and a qualified professional govern actual exhaust routing, airflow, clearances, ductwork, make-up-air needs, and structural implications. A generic decorating article cannot approve those details for a specific home.
The design decision is clear: treat ventilation as working infrastructure first and a decorative feature second.
15. Make Dishwashing a Short Loop Beside the Sink
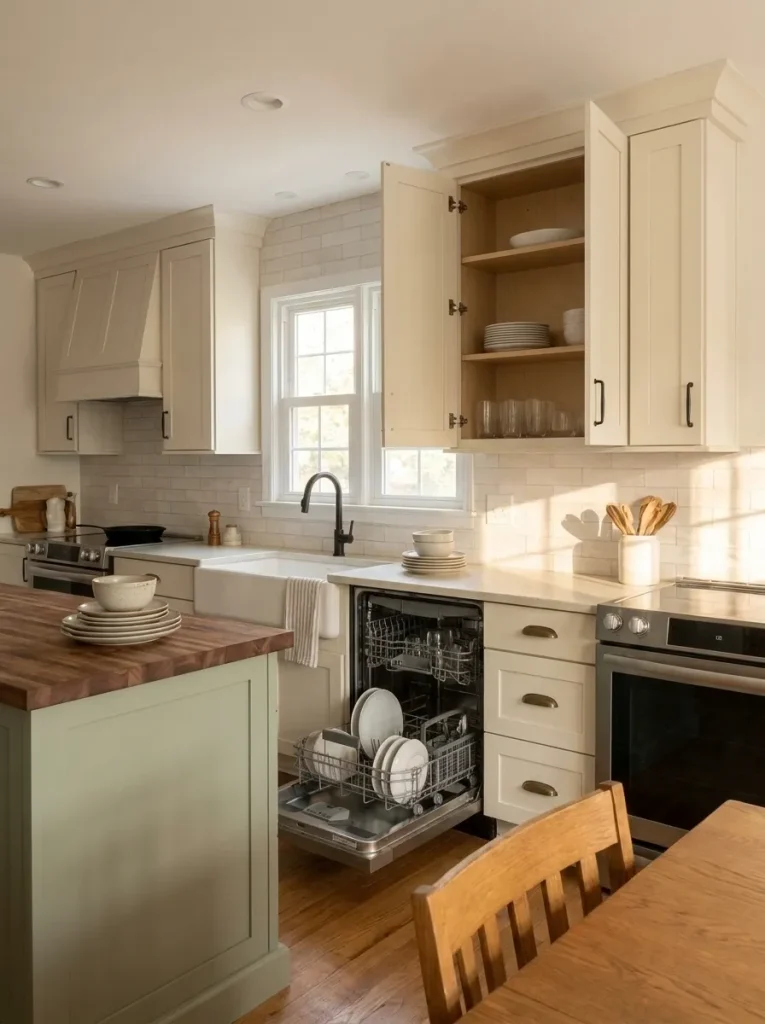
Dinner is finished, but the open room is not. Someone is still talking at the table, another person has moved to the sofa, and cleanup is happening in full view of both spaces.
Trace one batch of dishes through the kitchen:
- Table → sink: Is there a natural place to scrape or stack dishes?
- Sink → dishwasher: Can loading happen without repeatedly crossing the kitchen?
- Dishwasher → cupboard: Are everyday plates, bowls, and glasses stored close enough to put away efficiently?
- Open dishwasher → room: Does the door create a temporary conflict with the route people still use?
Often the easiest improvement is a storage reassignment. Moving everyday dishes into a suitable cabinet near the sink and dishwasher can shorten cleanup without touching plumbing or appliance connections.
Keep the dishwasher door open while testing the route. A kitchen that feels generous with every appliance closed can behave very differently during cleanup.
The first move should be organizational: follow the dishes, identify unnecessary trips, and relocate stored items that create them. Consider appliance relocation only when the sequence still fails.
16. Choose a Dishwasher With the Living Area in Mind
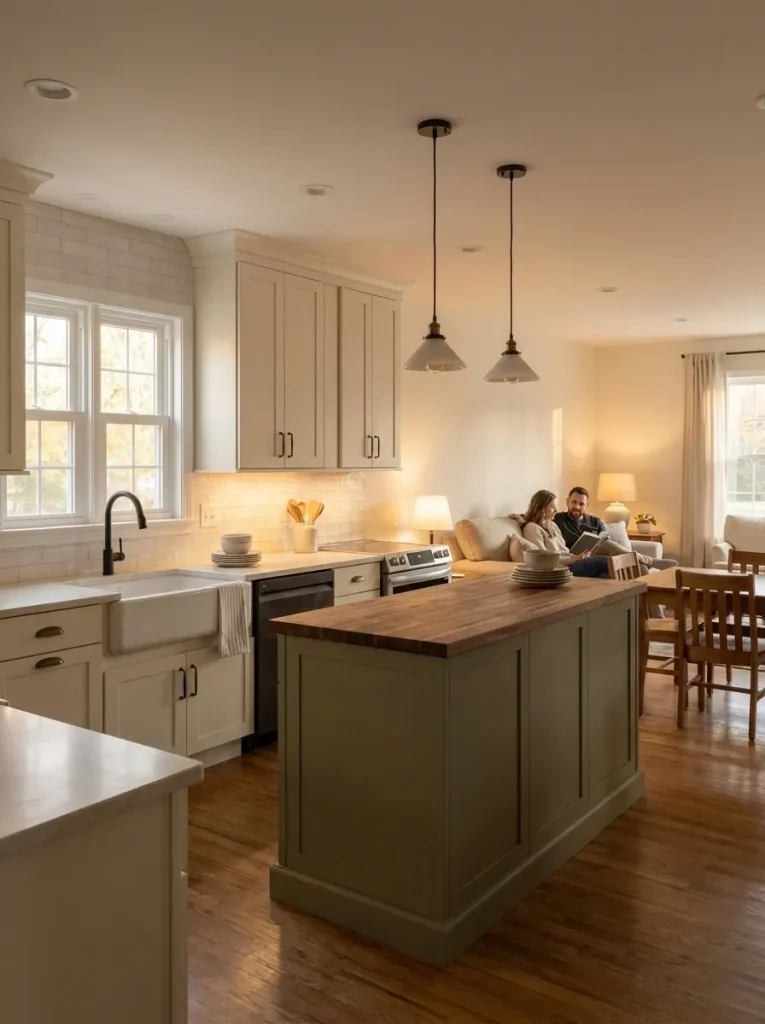
Will the dishwasher usually run while somebody is talking, watching television, working, or relaxing a few feet away?
That question changes how much weight noise deserves when you eventually replace the appliance.
In a closed kitchen, a door may separate dishwasher operation from the rest of the evening. In an open double wide, the appliance shares an acoustic environment with the sofa and dining table. Bosch’s dishwasher buying guidance similarly flags noise as a more important consideration for eat-in kitchens and open floor plans, while noting that the right noise level depends on preference and the home’s floor plan. (Bosch Home)
Do not choose on the sound rating alone. Fit, cleaning performance, drying needs, installation requirements, serviceability, price, and the way your household actually uses the machine still matter.
Appliance Priority Console
How much should dishwasher noise influence your purchase?
Your routine changes the priority—even when the appliance specification itself does not.
Compare noise early.
When cycles overlap with television, conversation or quiet evenings, sound deserves more weight.
Balance sound against the rest of the appliance.
If most cycles happen after the room empties, lower noise may provide less everyday value.
Change the timing before the appliance.
A reliable dishwasher does not automatically need replacing because quieter options exist.
A declared dBA figure is useful comparison information, but it is not a promise about what you will hear from the sofa. Let your routine determine how important that specification becomes.
Bosch dishwasher buying guidance on noise and open-plan kitchens
17. Make the Floor Transition Look Deliberate
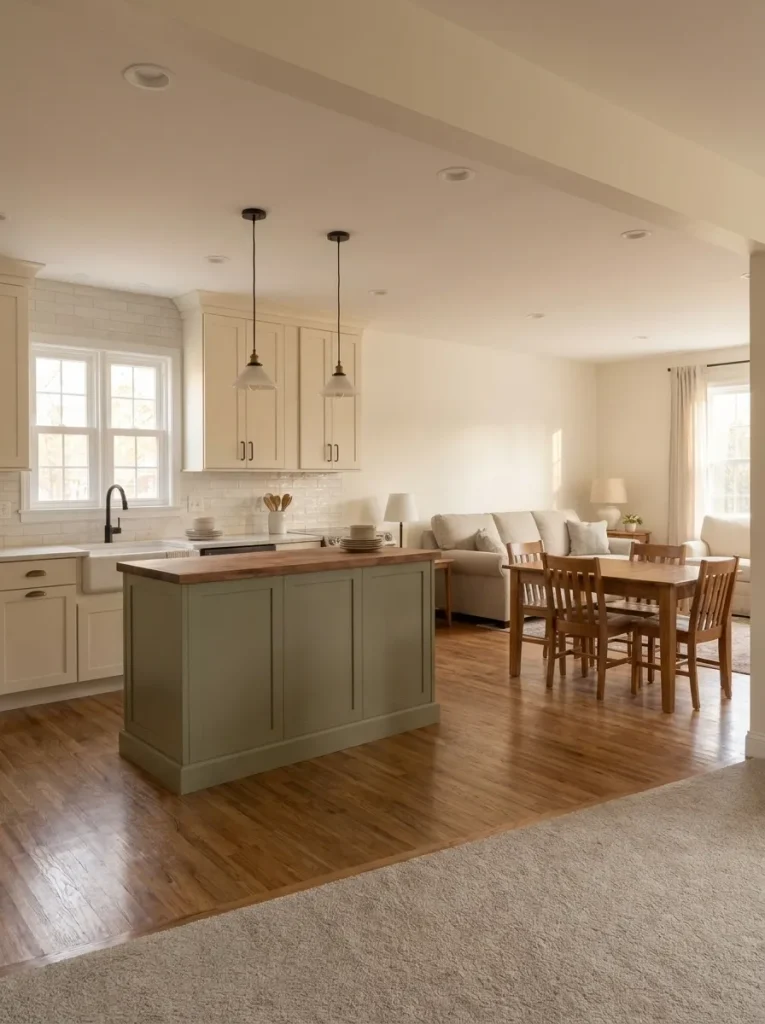
A connected kitchen does not always require one uninterrupted floor material from wall to wall.
If the kitchen flooring meets a different material in dining or living, step back to the main open-room view and inspect the boundary itself. A straight, well-positioned transition with compatible undertones can read as an intentional change between zones instead of an unfinished interruption.
The visual decision is relatively simple: coordinate the tone, direction, and stopping point of any replacement flooring with the larger room.
The construction decision is separate. Product requirements, subfloor conditions, movement joints, and the way different parts of the home meet can affect installation. Do not remove a technically necessary transition merely to create a visually continuous photograph.
For the larger decorating relationship—how flooring, wood tones, hardware, and repeated finishes travel through connected rooms—continue with carrying finishes through the rest of your double wide. The existing guide already owns that broader whole-home continuity territory. (Stylish Galore)
18. Shield Kitchen Task Lights From the Sofa’s Sightline
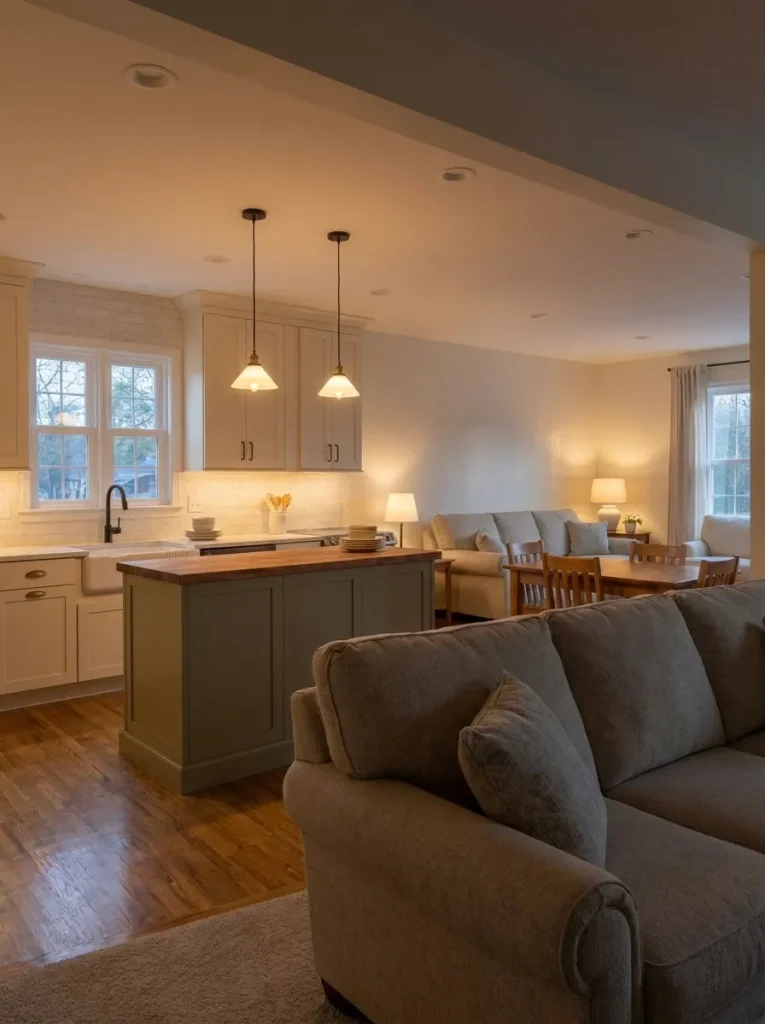
Wait until evening, turn on the kitchen task lights, then sit where you actually relax.
From that lower viewpoint, under-cabinet lighting can behave very differently than it does while you are standing at the counter.
You may see the light source itself, a sharp reflection across the countertop, or nothing objectionable at all. Each observation points toward a different decision.
Night-Vision Lighting Lab
What does the kitchen light look like from the sofa?
Switch between three real visual symptoms. Each one changes what you should investigate next.
The emitter itself is the distraction.
The counter may be well lit while the exposed source remains uncomfortable from the lower living-room viewpoint.
The countertop is part of the problem.
A glossy surface or particular viewing angle can send brightness toward the sofa even when the source is hidden.
This may already be the right answer.
A soft counter wash can support the worktop while remaining visually quiet from the adjoining room.
Do not improvise a shield by covering a luminaire with combustible material. Use purpose-designed compatible lighting components and follow the selected fixture documentation and appropriate electrical installation requirements.
The most useful outcome of the test may be discovering that the existing lighting is already comfortable. A design audit is allowed to end with keep it.
19. Build a Serving Setup That Packs Away After Guests Leave
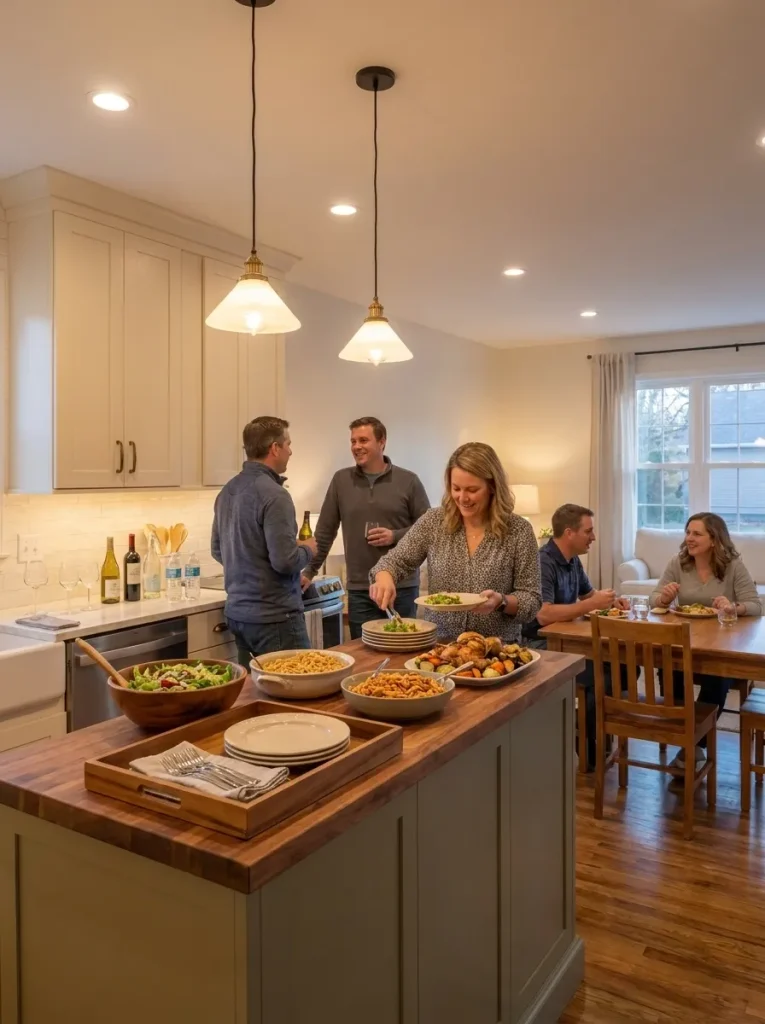
Before buying another cart, cabinet, or second island, host with the surfaces already in the room once.
Before guests arrive: clear one section of the island or dining-side counter for serving and decide where empty trays and used dishes will return.
While everyone is eating: let the island, table, and pass-through temporarily change roles. Drinks can occupy an outer counter, food can be served from the island, and used pieces can collect near the cleanup zone without taking over every surface.
Afterward: return trays, serving pieces, and drink supplies to their normal storage. The kitchen should be able to become its everyday version again.
That reset matters. Occasional entertaining can make a room feel as though it needs permanent extra furniture when the actual need exists for only a few hours.
Keep serving arrangements clear of active cooking areas and ordinary household routes. If the temporary setup works, you have learned something valuable before spending anything: your existing kitchen may already have enough hosting capacity.
Once the serving side is settled, the neighboring seating zone determines where people actually gather. Continue with arranging the adjoining double-wide living room for open-edge, sofa-orientation, circulation, and conversation-zone decisions. (Stylish Galore)
Bringing Your Double Wide Kitchen Together
A beautiful open-concept kitchen does not need every fashionable feature. It needs a center arrangement that fits the occupied room, surfaces with clear jobs, and everyday routines that still work when several people are using the space.
Choose one idea from this list and test it during your next ordinary meal. Move the coffee setup, trace the cleanup route, sit on the sofa with the task lights on, or compare the island against an open center before changing anything permanent.
Then save the kitchen image that most closely matches your actual layout, not simply the prettiest room.
That is a stronger starting point for turning inspiration into a double-wide kitchen that feels connected, comfortable, and genuinely useful.