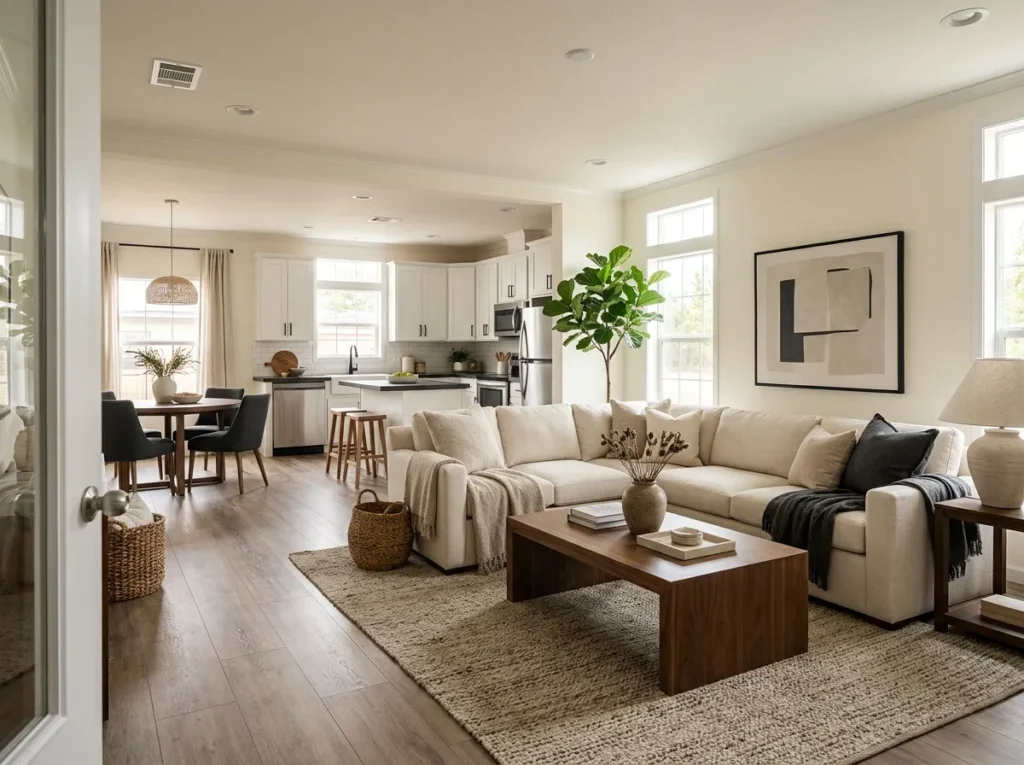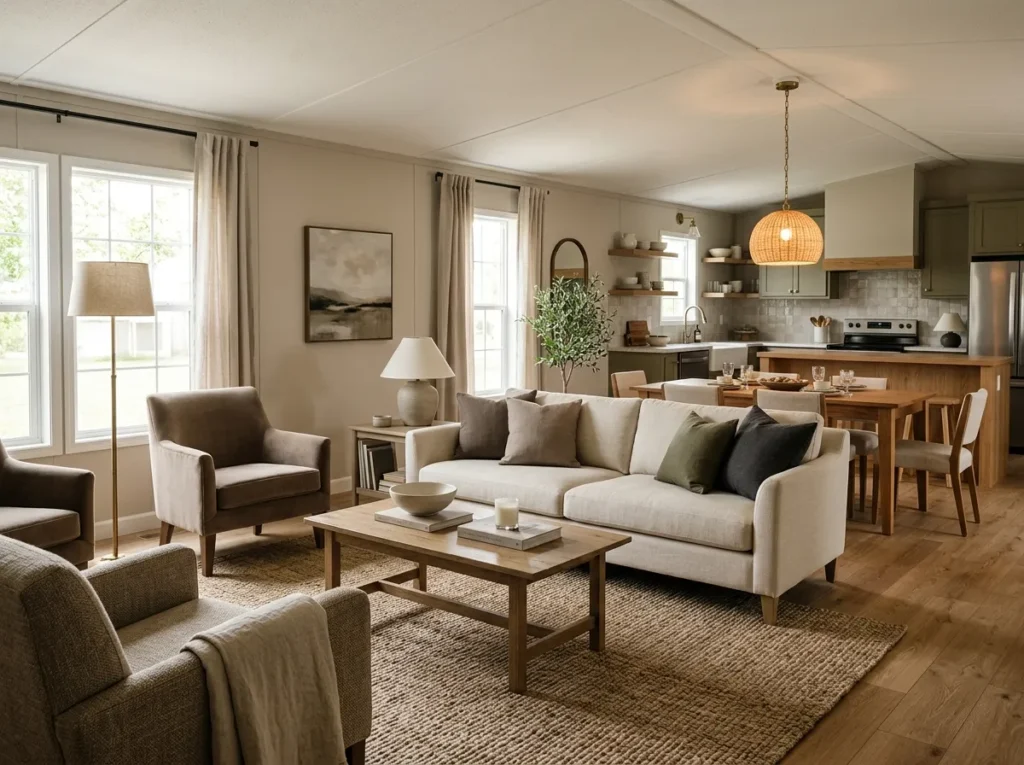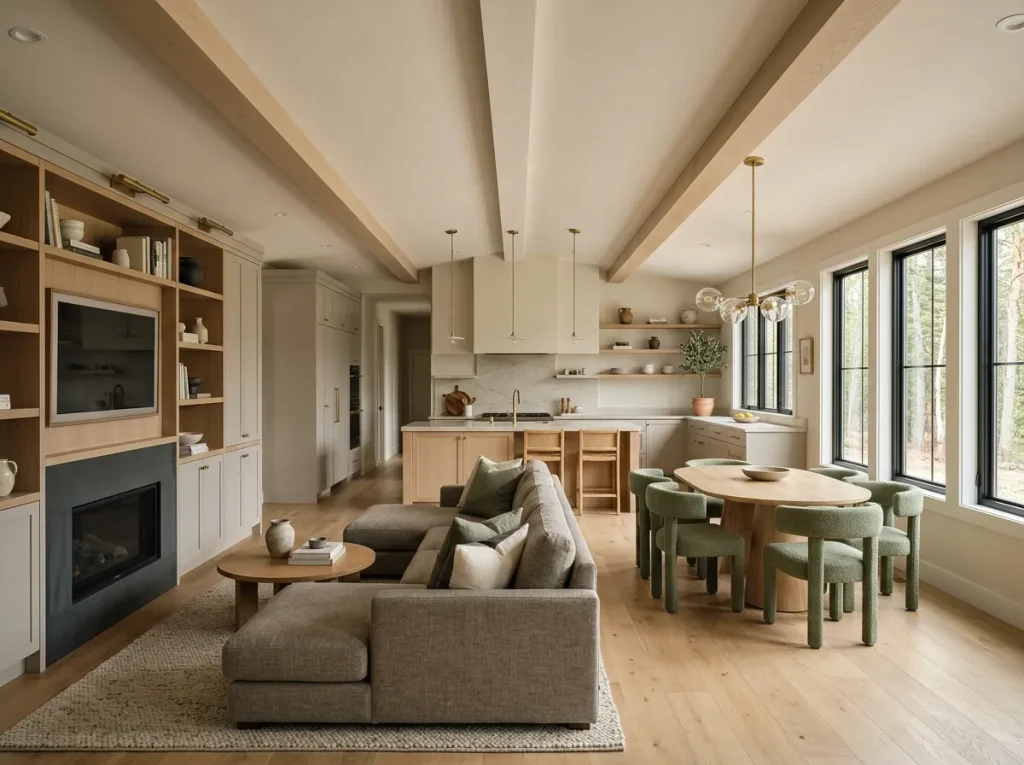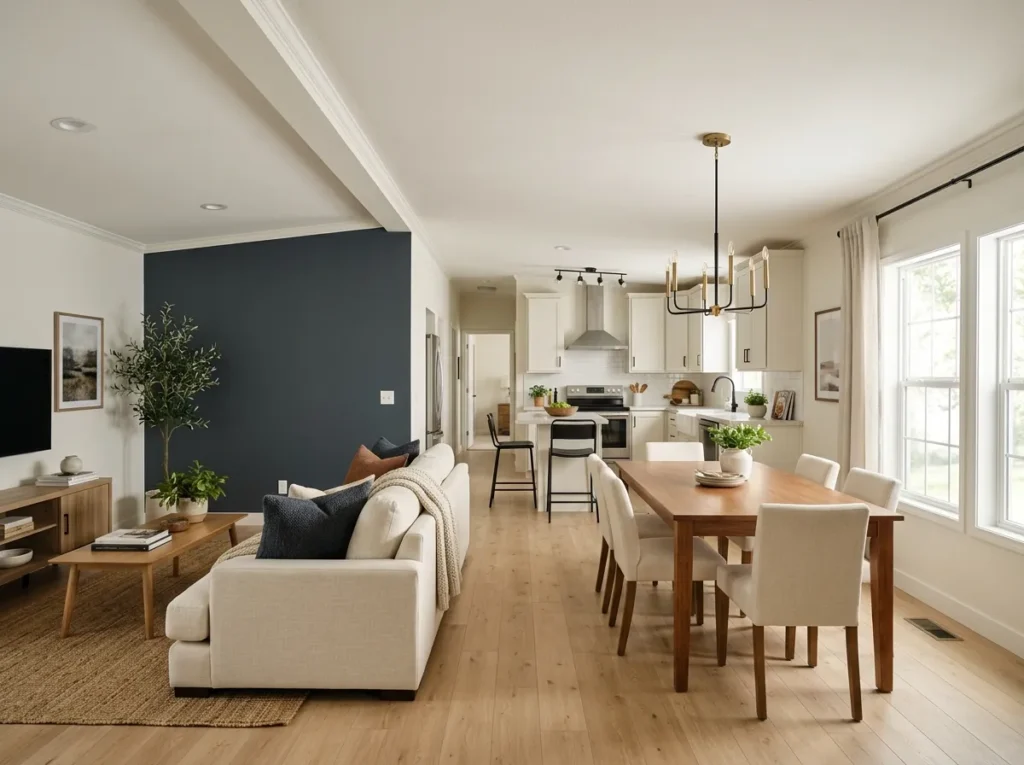
A double wide can offer generous rooms and still feel unmistakably dated. Often the floor plan is not the main problem. The stronger age cues are spread across large, permanent surfaces: wallboard seams, flooring, cabinet fronts, older doors, ceiling fixtures, bathroom finishes and decorative details that repeat from room to room.
The most useful double wide makeover ideas tackle those high-impact elements before layering on more décor. A single broad finish can influence nearly every view through the home, while several small accessory purchases may barely change its overall character.
That does not mean every original feature belongs in a dumpster. Some cabinets only need a new finish. A useful built-in may deserve saving. Good wood can become an asset once competing tones disappear.
The 17 ideas below help you identify what is truly dating the interior, decide what deserves changing, and build a makeover that feels intentional from one end of the home to the other.
1. Run a “What Still Looks Dated?” Audit Before You Buy Anything
Take one photograph from the doorway of your main living area before choosing paint, flooring, hardware or furniture. Look at it on a smaller screen for a few seconds. Which existing feature claims attention first?
It may be a broad field of brown flooring, repeated wall seams, dark cabinet fronts, several unrelated wood tones or an aging ceiling fixture. A photograph compresses the room into visual information, making familiar features easier to notice.
Next, separate an appearance problem from a planning problem. If people constantly cut through the seating area, chairs block a route or the dining zone has no logical position, new finishes will not correct the underlying arrangement. In that case, start with the site’s guide to double wide open concept ideas and return to cosmetic work after circulation makes sense.
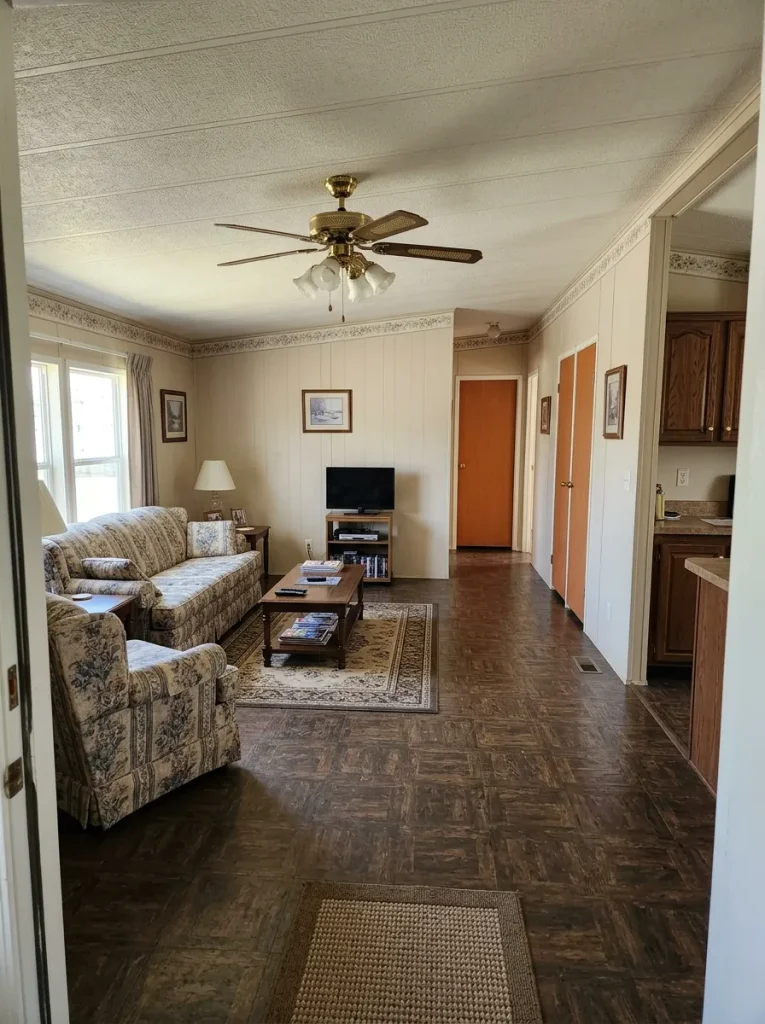
For an actual makeover problem, use the diagnostic below.
What is actually making the double wide look dated?
Select the condition that dominates your doorway photograph. The diagnostic changes below and identifies the makeover layer worth investigating first.
Start with the broadest continuous field.
Compare the walls and flooring before spending on accessories. A large finish running through multiple connected spaces can continue announcing the old interior after smaller updates are complete.
Next move: test the highest-reach surface first.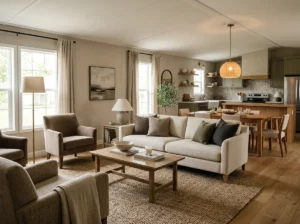
Find the one finish carrying the room’s era.
Inspect cabinet fronts, counters, backsplash and bathroom surfaces separately. One dated component may be doing most of the visual damage while the underlying layout remains perfectly usable.
Next move: diagnose before replacing entire systems.Look for a visual family repeated through several rooms.
Old fans, lights, brown doors or hardware can collectively date the home more strongly than any single element does on its own.
Next move: update repeated families, not random isolated pieces.The makeover may be solving the wrong problem.
Walk the normal path from entry to seating, kitchen and hall. If movement repeatedly cuts through activity zones, resolve circulation before permanent finish decisions reinforce the existing arrangement.
Next move: fix flow, then restart the cosmetic audit.After identifying the dominant layer, avoid scattering the budget across five unrelated improvements. Finish the problem with the greatest reach, photograph the room again and reassess. A second project that once seemed essential may no longer feel urgent.
2. Erase the “Striped Wall” Look When Wallboard Battens Are the Main Age Cue
Stand where afternoon light travels sideways across the wall. In some older double wides, battens or panel joints become far more noticeable under raking light than they appear head-on. If those vertical lines are among the first things you register, new furniture and art will still sit against a strongly patterned background.
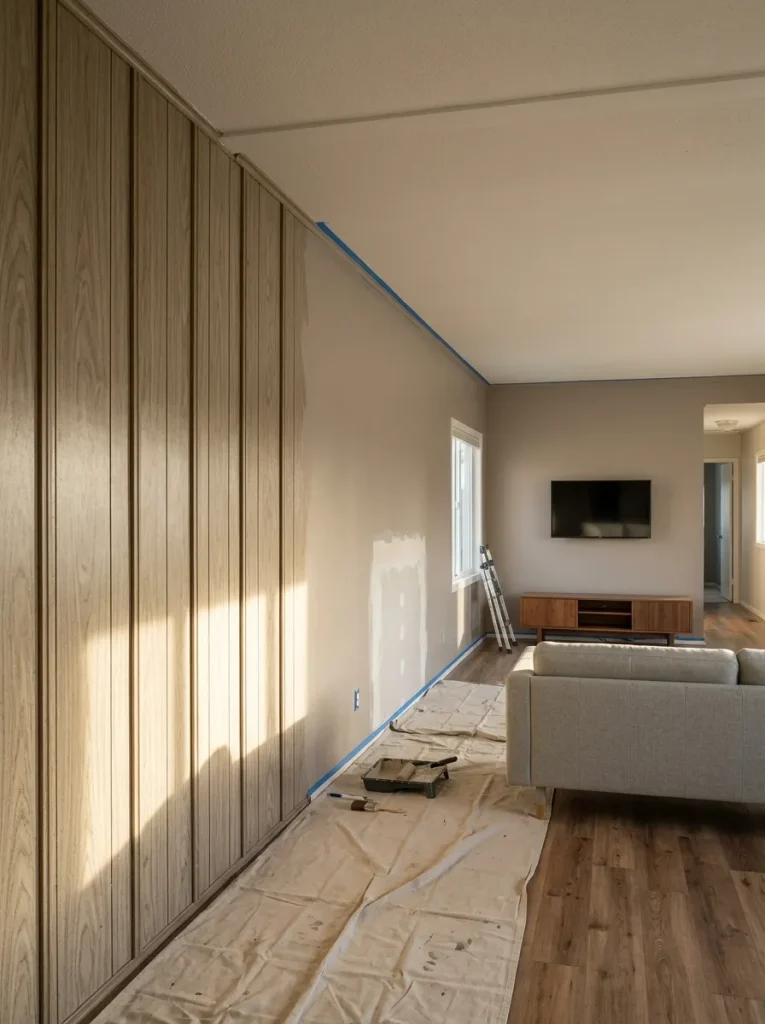
The appropriate makeover depends on the wall. Check whether the visible battens are removable trim, part of the panel system or covering joints that should not be casually disturbed. Then identify the surface finish. Vinyl-faced panels, glossy coatings and previously painted material do not all need identical preparation.
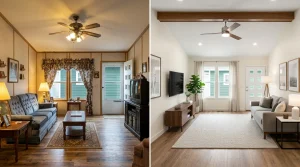
For a paint-led update, treat preparation as part of the finish itself. Clean a test area and follow the primer or surface-preparation requirements of the coating system you plan to use. Sherwin-Williams recommends cleaning previously painted surfaces, dulling glossy or nonporous finishes where appropriate and priming bare areas before topcoating. (Sherwin-Williams)
The practical stop point is visual: when the test area looks calm in both frontal and side light, a more elaborate wall treatment may add cost without adding much transformation.
3. Choose Which Wood Tone to Keep Before Painting Everything Else
Faced with orange oak, reddish cabinetry, gray wood-look flooring and espresso furniture in one interior, painting every brown surface can seem like the fastest route to cohesion.
Run a keeper test first.
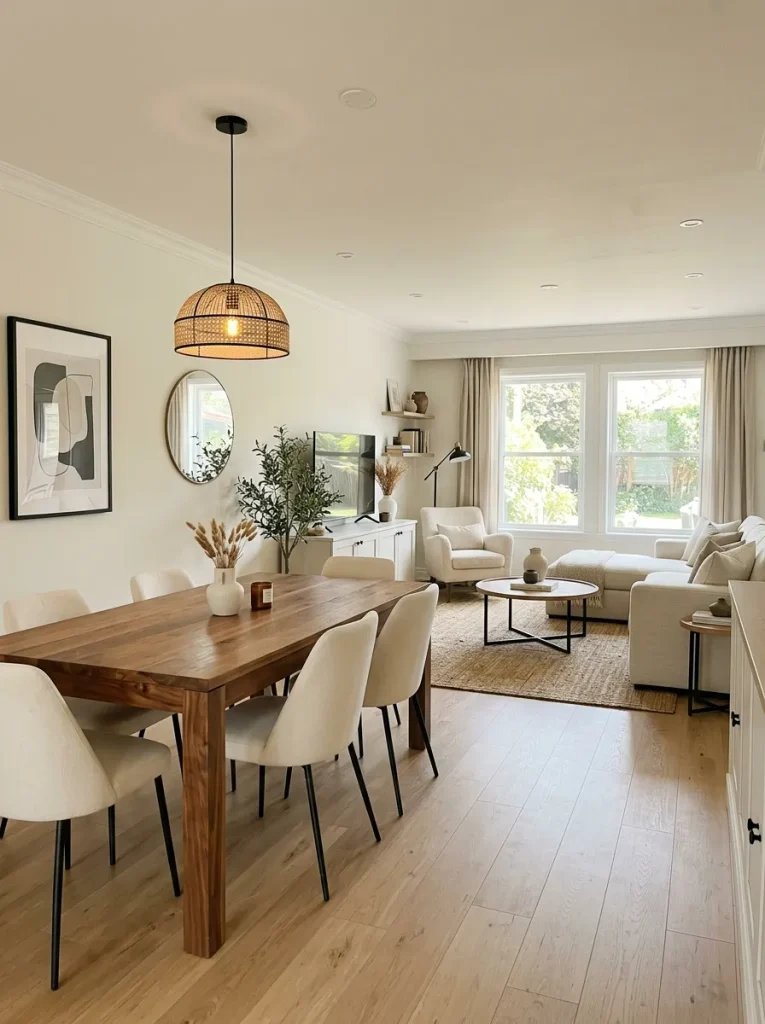
Choose the wood element that looks best in natural light—a solid table, attractive built-in, substantial trim or a vanity with genuine warmth. Temporarily isolate it from competing tones by holding a large neutral sample nearby or editing the surrounding finishes out of a photograph.
If the surviving wood suddenly looks richer, the material itself was not the main problem. The competing finishes were.
That changes the makeover strategy. Keep the strongest natural material as an intentional anchor and simplify weaker wood-look finishes around it. One warm reference point adds depth to newly lightened rooms; several disconnected undertones can leave the same interior visually unsettled.
Choose the keeper before committing to a paint palette.
4. Remove Wallpaper Borders, Faux Finishes and Small Decorative Bands That Date the Envelope
A narrow wallpaper border seems insignificant until it repeats through the dining area, kitchen and hallway. The same applies to faux sponge finishes, stencils, contrasting bands, ornamental switch surrounds or small themed appliqués.
Together, those details can timestamp the entire shell.
Walk through the connected rooms and photograph only the upper and middle portions of the walls. Cropping most furniture from view makes decoration attached to the building easier to identify.
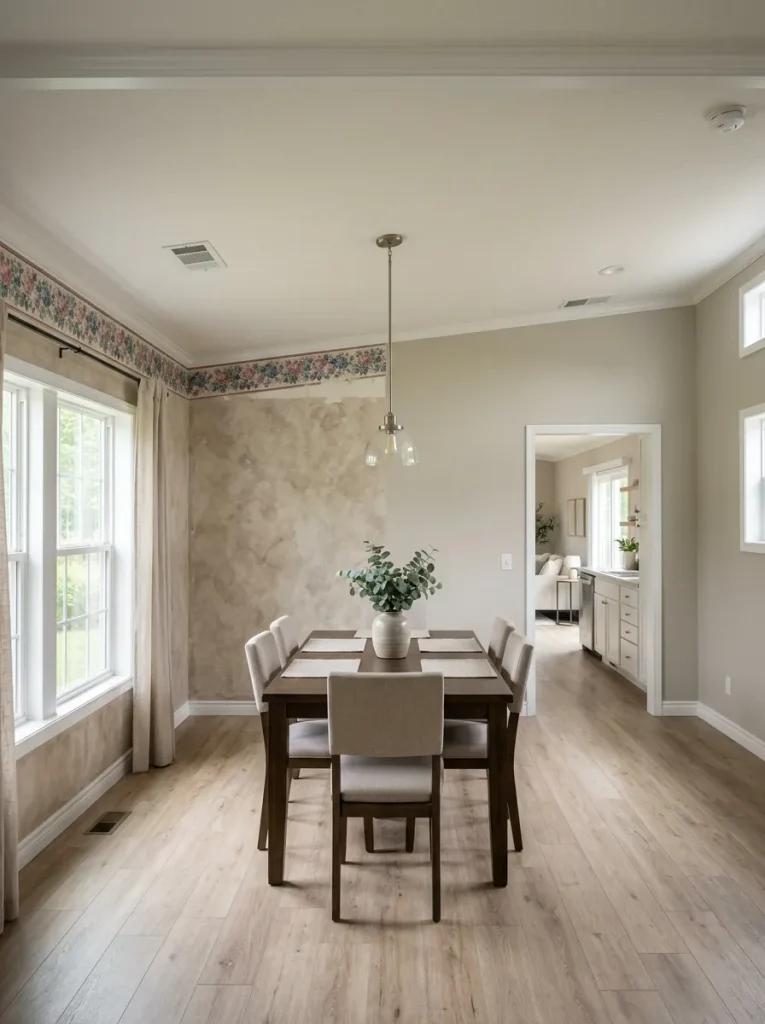
Group repeated era markers into one project. If wallpaper is involved, remove it using a method appropriate to the substrate, then deal with adhesive and surface damage before refinishing. Sherwin-Williams’ preparation guidance likewise recommends removing wallpaper, cleaning away adhesive and allowing the wall to dry before priming. (Sherwin-Williams)
Then stop and view the rooms again.
Once the envelope stops carrying multiple motifs, the home may need considerably less new decoration than you originally expected.
5. Replace the Floor Finish That Makes the Largest Visible Zone Feel Old
Picture two projects. One replaces the floor in a small bedroom hidden behind a door. The other changes a dated finish that runs from the main living area into the dining zone.
Even at a similar project scale, the second intervention usually affects more of the interior you actually see.
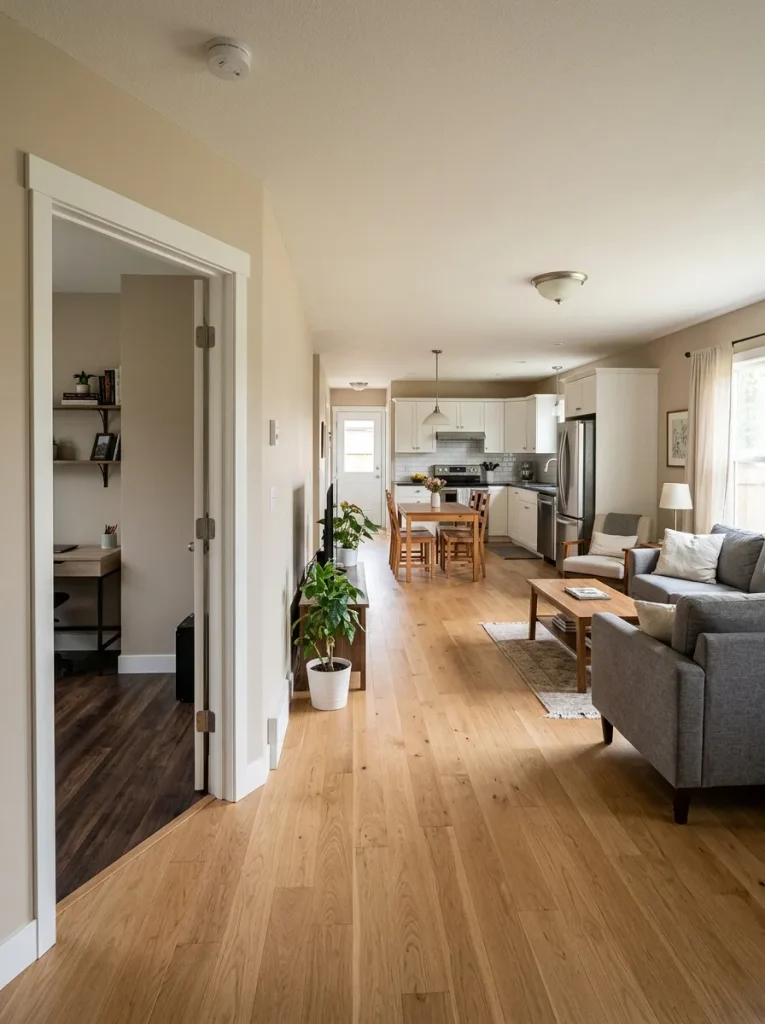
Prioritize flooring by visual reach plus condition, not simply by which room is easiest to empty. Stand where the greatest amount of the home is visible at once and note every floor finish in that view.
Use this conceptual map to rank cosmetic impact.
How much of the home will this flooring change?
This floor owns the makeover.
A dated finish visible across several connected spaces keeps reappearing in nearly every major view. When its condition is otherwise acceptable, this is usually the strongest cosmetic flooring candidate.
Priority: investigate first.Important, but not whole-home dominant.
This flooring affects one meaningful room without controlling the longest view through the double wide.
Priority: compare against larger visible fields.The visual return is localized.
A small enclosed space may still deserve attention, but replacing it first will produce relatively little change in the main interior photographs.
Priority: usually later—unless condition overrides appearance.Condition can override that visual ranking. A soft, unstable, moisture-affected or otherwise damaged floor deserves proper evaluation regardless of how little it appears in the main sightline.
For serviceable finishes, address the broadest dated field and reassess before automatically replacing flooring throughout every room.
6. Paint or Reface Cabinet Doors When the Layout and Boxes Still Work
An older kitchen may look as though it needs entirely new cabinetry when most of the dated impression comes from the visible fronts: door color, drawer faces, end panels, pulls and hinges.
Ignore the finish for a few minutes and inspect function.
Open each cabinet. Do doors close well? Are shelves secure? Do drawers operate acceptably? Are the boxes sound, or do you see swollen edges, failed surfaces or damage that makes cosmetic work a poor choice?
A serviceable cabinet system gives you several branches.
Sound construction + disliked finish: painting may create enough change.
Good boxes + strongly dated door style: new fronts or professional refacing may deliver a deeper reset.
Widespread deterioration or frustrating storage: a surface makeover may preserve the wrong kitchen.
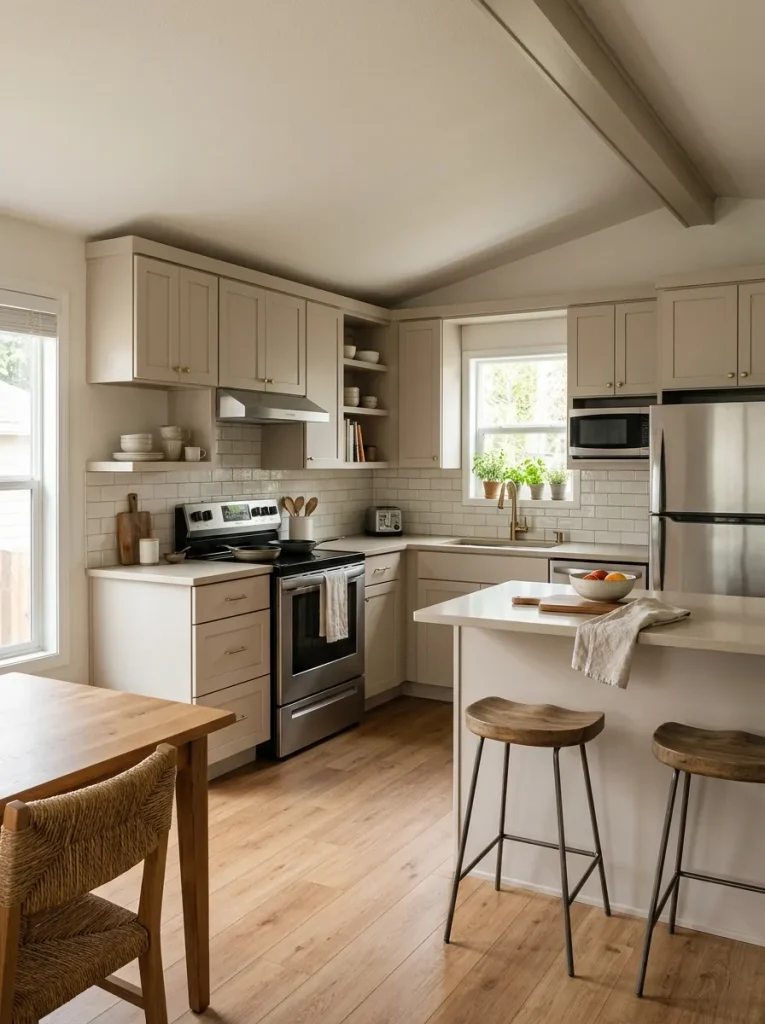
Then judge the cabinets from the living or dining side. In many double wides, the kitchen remains visible across a long shared view, so its new finish should cooperate with the flooring, walls and any wood deliberately preserved elsewhere.
If the project has moved from resurfacing into custom cabinet-end details, built-ins or more architectural interventions, continue with the site’s modern double wide interior ideas instead of forcing this makeover article to become a construction guide.
Keep-box threshold: when the structure and layout work and the visible finish is the main objection, solve the finish before assuming the entire kitchen needs replacement.
7. Treat the Counter and Backsplash as One Makeover Decision
Which should change first: the dated countertop or the backsplash?
Because these surfaces touch continuously, the eye reads them as a pair. A new counter can lose impact next to a strongly dated backsplash; an attractive backsplash can struggle beside a dominant countertop pattern.
Evaluate three conditions.
One surface is quiet enough to keep. Let that finish become the reference and choose the neighboring surface around it.
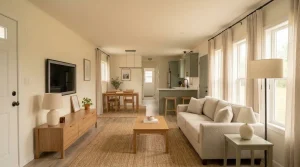
Both surfaces compete. Strong countertop movement plus busy tile, decorative inserts or multiple contrasting colors can overwhelm a relatively compact kitchen. Reduce the number of finishes demanding attention.
Both seem acceptable but the combination feels wrong. Clear movable décor, test the new cabinet direction and view the pair again before demolition. The real problem may sit elsewhere.
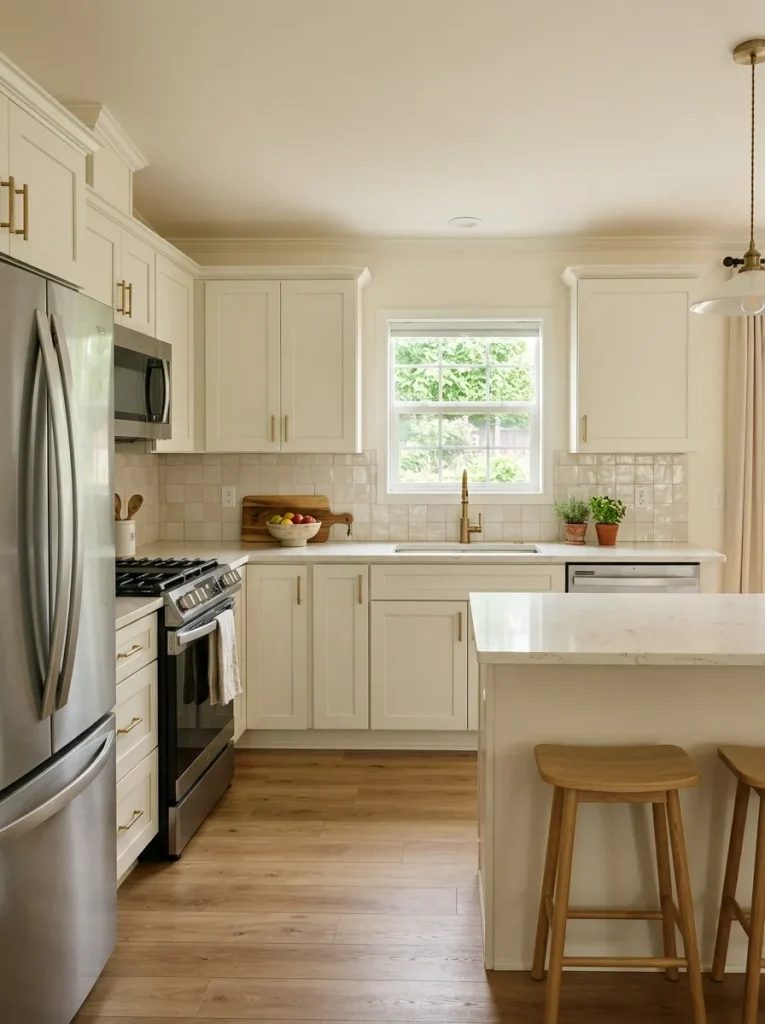
The useful decision is therefore specific: keep one, change one, or intentionally replace both.
A reliable visual relationship is one active finish with a quieter partner, or two restrained surfaces separated through texture. Both do not need to become focal points.
8. Remove the Small Decorative Details That Lock the Kitchen in Its Old Era
Cover a scalloped sink valance, ornamental handle or decorative cabinet strip in a photograph with your finger.
Does the kitchen suddenly look newer?
Small elements can behave like era markers. They occupy very little square footage while their silhouette or motif communicates a period more strongly than the larger cabinet boxes.
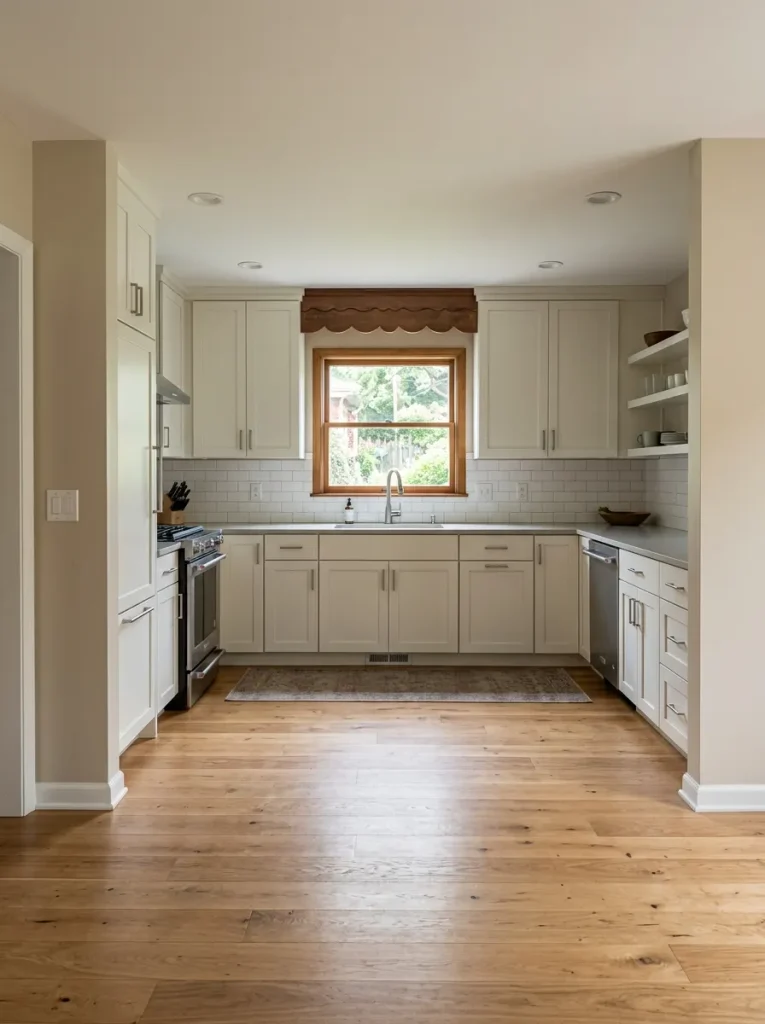
That does not make every decorative feature a demolition target. A substantial piece may carry genuine character. The useful question is whether the detail strengthens the direction you are building or keeps pulling the kitchen toward an older theme.
Use the scanner below before escalating the project.
Which detail is secretly keeping the kitchen in its old era?
Block it out in a photograph. If the cabinets suddenly read cleaner, investigate whether that applied element can be safely altered without changing the cabinet structure.
A narrow decorative strip can exert more stylistic influence than its physical size suggests because it repeats across the entire cabinet run.
Replacing random pulls one at a time creates another mixed layer. Test a consistent shape and finish across the visible kitchen.
A strong makeover often contains subtraction. When one applied detail carries most of the dated impression, removing or simplifying that feature can reveal workable cabinetry underneath.
9. Reset the Home’s Era With a Consistent Fan-and-Light Fixture Language
Walk through a refreshed double wide and look upward. A brass-and-frosted-glass entry light, ornate dark living-room fan, chrome dining fixture and unrelated kitchen pendant can keep shifting the visual decade even when the walls and floors are new.
Establish a simple fixture language using finish, silhouette and visual weight.
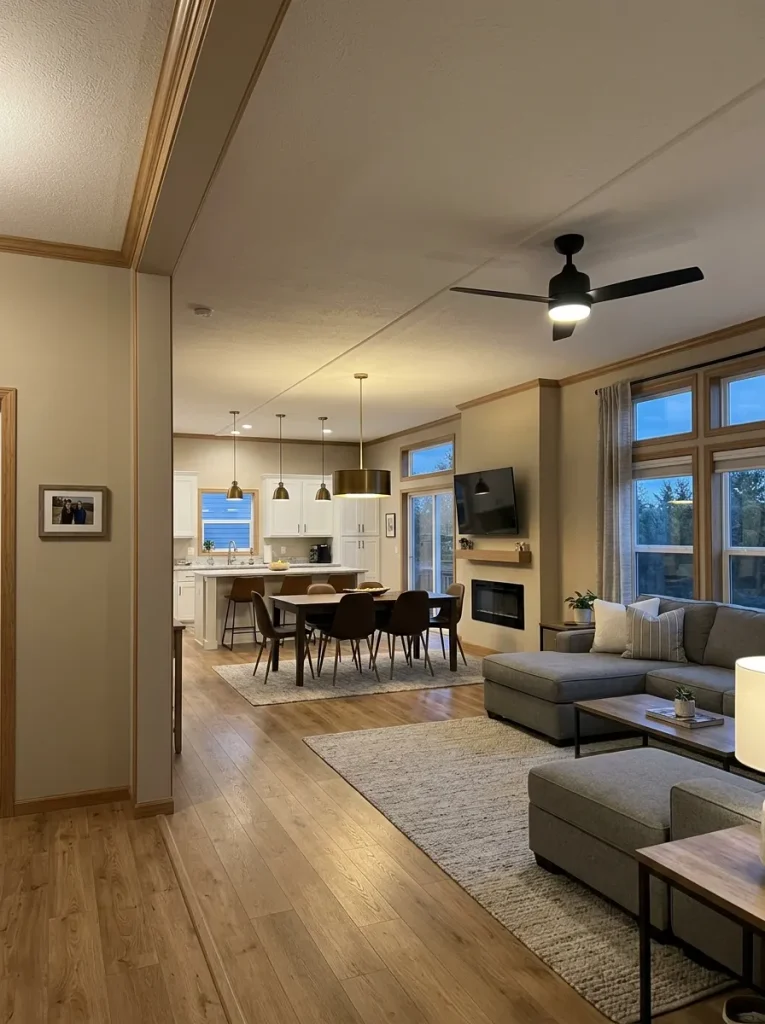
The pieces do not need to come from one collection. They need a relationship. A streamlined black ceiling fan can sit comfortably with a warm brass dining pendant when both use restrained shapes. Matching every finish will not create cohesion if the forms still belong to unrelated styles.
Check the ceiling from seated height and from the hallway. Long double-wide sightlines can reveal several fixtures simultaneously, so allow one dominant fixture—often the living-room fan or dining pendant—to lead while secondary lights remain quieter.
Keep the electrical boundary separate from the styling decision. A ceiling fan may require support specifically suitable for fan loads, and manufacturer instructions commonly direct users to consult a qualified electrician when support or wiring is uncertain. (Home Depot)
Choose the visual family yourself if you wish; treat installation requirements as a separate technical decision.
10. Refresh Brown Slab Interior Doors With a Simple Paint-and-Hardware System
Interior doors can occupy more visual acreage than familiarity suggests.
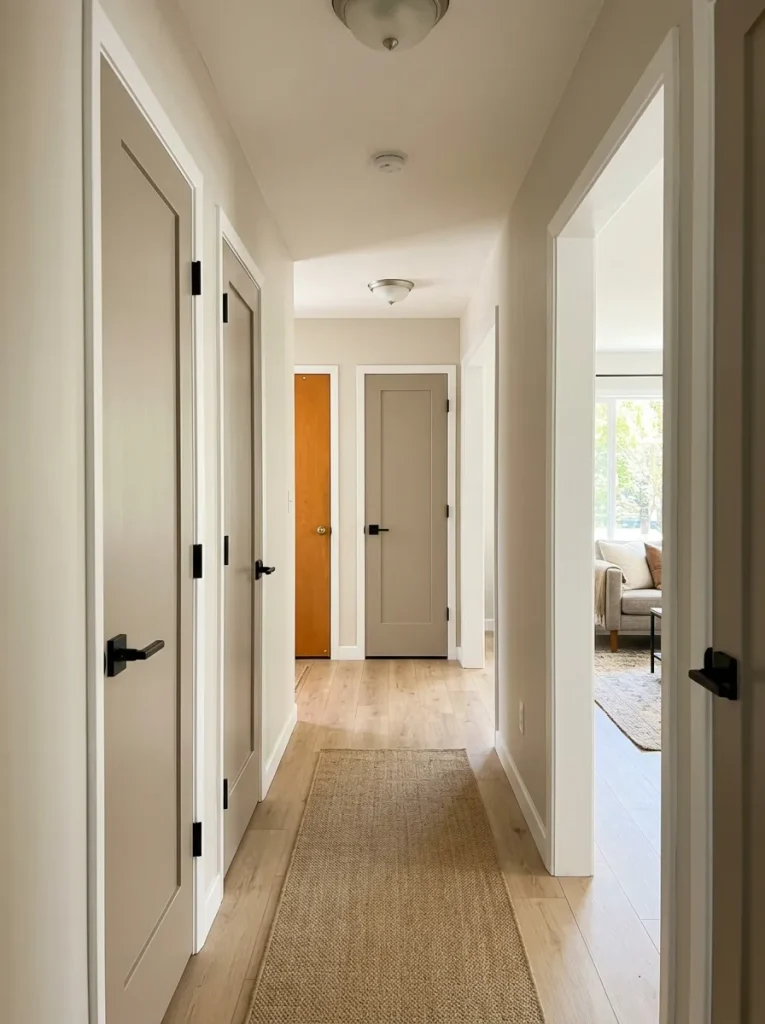
In a double wide with several bedrooms, a bathroom and closets opening onto one hall, a dark orange-brown door finish may repeat five or six times within a short view. That repetition can keep the old palette alive long after the surrounding walls and floors change.
Replacement is only one branch.
When a door operates properly and its surface is serviceable, test a finish change. A quieter paint color can make an ordinary slab recede into the hall, while a darker handle supplies enough definition to prevent the wall from becoming flat.
Imagine four brown doors against newly warm-neutral walls. Each door creates a strong rectangle, so the eye moves from opening to opening. Refinishing them closer to the wall family lowers that repeated contrast.
Measure the existing door and opening before buying replacements. Do not assume a familiar nominal door label describes what is already installed, particularly in a home that may have been altered over time.
Use replacement when condition, fit or operation calls for it. Choose refinishing when the door itself works and the finish is what keeps the corridor tied to the previous interior.
11. Give an Existing Built-In Hutch a Keep–Paint–Rework Test
An older built-in hutch may look like the first thing to remove until you consider what it contributes.
A shallow dining cabinet can store serving pieces without consuming additional floor area. A kitchen-adjacent hutch may hold items exactly where they are used. Useful placement has value even when the finish is unfashionable.
Empty the unit and photograph it as architecture.
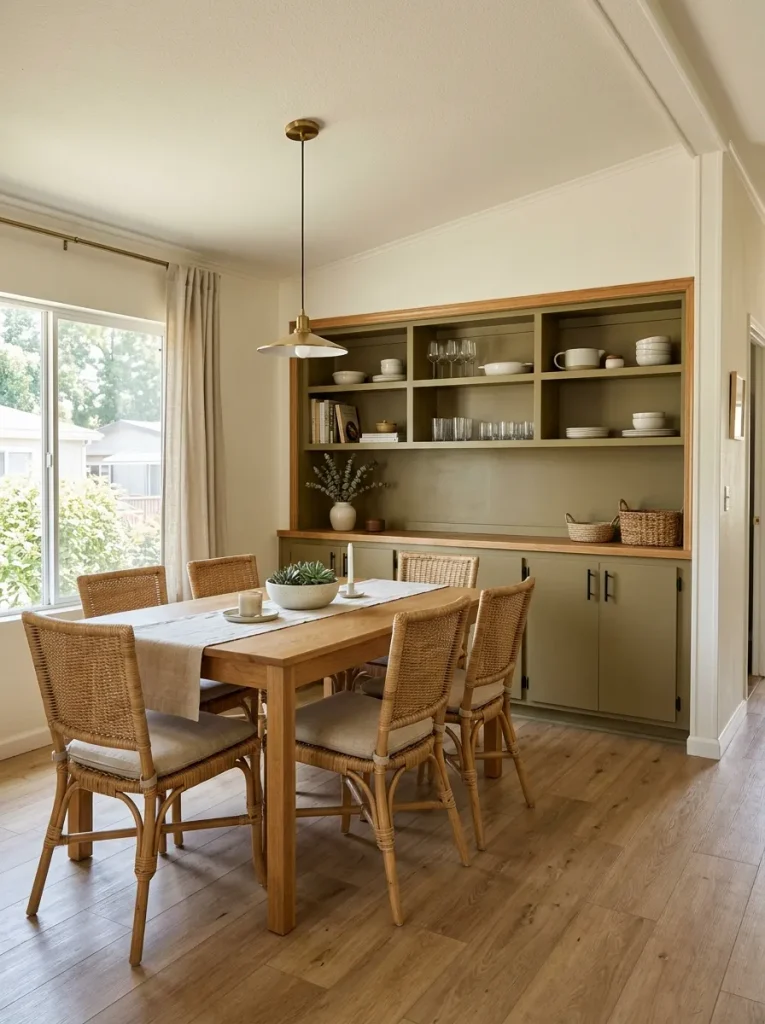
Ask whether it solves a real storage problem, whether its proportions fit the wall and whether the core cabinet is sound enough to justify cosmetic work.
Then use the triage.
What should happen to the existing hutch?
Turn it into a material anchor.
Edit the styling around the hutch and simplify nearby competing finishes. A strong existing material can become more valuable once visual clutter disappears.
Best when function + material quality are both strong.Keep the storage and reset the visual era.
A quieter finish can connect the unit to nearby walls or cabinetry while retaining storage that already fits the double wide efficiently.
Best when architecture works but color is the main problem.Edit the problem instead of losing the whole feature.
Investigate whether ornamental trim, shallow display shelves or another applied detail can be simplified while useful storage remains intact.
Best when the footprint earns its place but the silhouette does not.The decision shifts from “old equals remove” to “what does this feature contribute?” A fixed cabinet that still earns its footprint can become one of the elements that makes a remodeled double wide feel less generic.
12. Update a Dated Fireplace or Hearth Surround Without Rebuilding the Entire Focal Wall
A fireplace project can expand rapidly when it begins with the assumption that the entire focal wall needs reconstruction.
Stand at the main seating position and break the composition into layers: appliance or firebox, surround, hearth, mantel, wall above and nearby decoration.
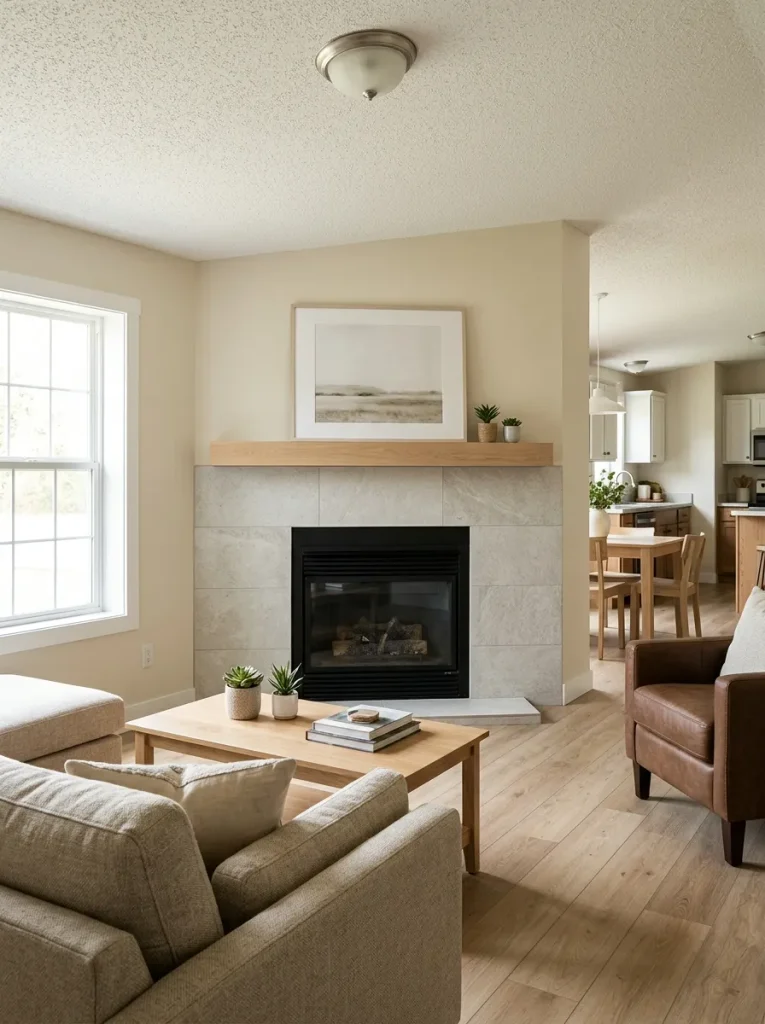
Which layer is actually dating the view?
If the basic proportions already work, a surface-focused update may be sufficient. Old tile, an overly busy stone finish, a heavy mantel stain or a conflicting wall color can make the whole composition feel older.
The visual plan must still respect the appliance.
HUD material addressing manufactured housing states that fireplaces and fireplace stoves are to be installed according to their listing and manufacturer instructions. (HUD.gov) That is why a makeover article should not invent a universal decorative clearance number.
If the project changes finishes close to the opening, mantel geometry, hearth configuration, vents or access areas, identify the exact appliance and review its documentation before designing the new surface.
When the unit cannot be identified or safe alteration cannot be verified, stop at the cosmetic boundary and obtain appropriate professional guidance.
A successful makeover may leave the focal wall’s basic architecture intact while removing the one finish that made it look dated.
13. Treat a Worn Tub or Shower Surround as a Real Wet-Area Makeover
Bathrooms invite shortcuts because the visible area is small.
A dated tub surround may look like one more unattractive wall surface, yet the finish you see belongs to an assembly whose more important job is controlling water.
Start with one condition question:
Is the problem purely visual, or is the wet-area assembly itself questionable?
Soft material, loose components, recurring moisture, failed joints, unexplained staining or substrate deterioration need investigation before decorative covering. A new outer finish does not repair an uncertain assembly behind it.
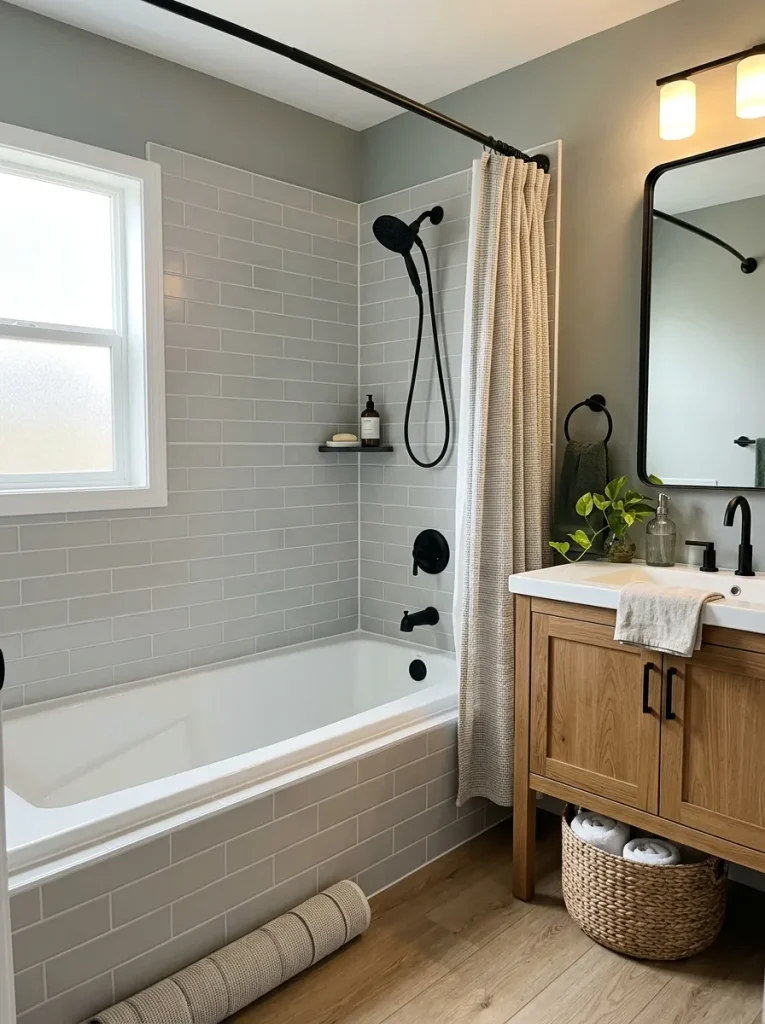
Modern shower-system instructions illustrate the principle. Schluter recommends verifying a completed waterproofing installation with a water test before tile is set; local requirements can also apply. (schluter.com)
Use the boundary map below.
How far should this bathroom makeover actually go?
Confirm compatibility with the existing surround or system, then choose a finish that improves the visual era without pretending to solve problems that are not present.
An uncertain wet-area assembly should be understood before a new decorative layer hides the evidence you need to evaluate it.
Visible deterioration or recurring moisture changes the project category. Resolve the underlying condition before selecting the final visual finish.
When the surround is serviceable and the issue is genuinely cosmetic, select a finish compatible with the existing system and its requirements.
When condition is uncertain, the project has crossed into a different category. Knowing when not to conceal a surface is part of a responsible makeover plan.
14. Replace the Bathroom’s Small “Era Markers” as One Coordinated Set
A bathroom can keep looking decades older than the rest of the home even when its vanity and tub remain usable.
Stand in front of the mirror and look at the fixed details as one composition: mirror frame, vanity light, faucet, cabinet pulls, towel hardware and any competing metal finish nearby.
Individually, each item may seem too small to matter. Together, they define the room’s period.
A coordinated-set makeover can therefore produce more change than one expensive statement piece.
Start with the visually dominant item—often the mirror or vanity light—then let the remaining pieces support that direction:
- Check whether the mirror’s scale and frame still suit the vanity.
- Choose lighting that complements its shape without crowding it.
- Replace the faucet only when condition, compatibility and the wider finish plan justify it.
- Use cabinet hardware as a smaller repetition of the selected visual language.
- Finish with towel hardware without introducing another unrelated theme.
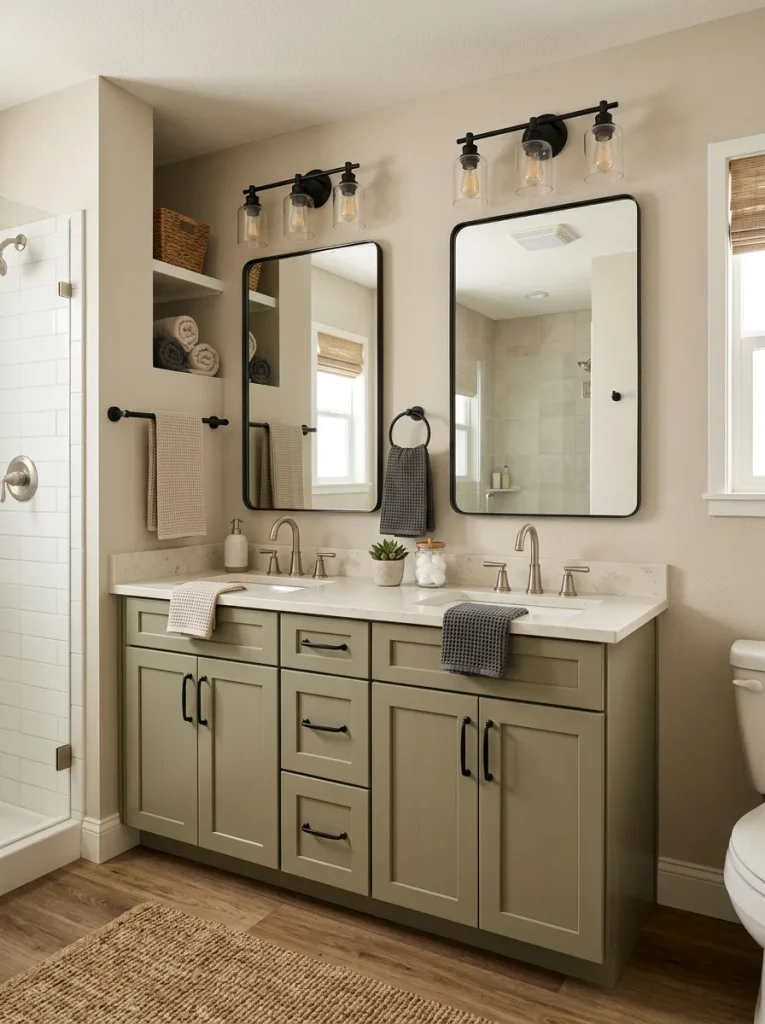
Photograph the bathroom after the most visible fixed details change.
If the vanity, floor and tub now sit comfortably in the updated room, stop before turning a successful refresh into an unnecessary full remodel.
15. Make the Bedroom Transformation Come From the Hard Surfaces Before the Bedding
Bedrooms are easy to decorate around.
A dated floor disappears beneath a rug. Old wallboard hides behind a headboard. Heavy trim softens under curtains. Fresh bedding then produces an attractive photograph while the underlying room remains essentially unchanged.
Reverse the order.
Mentally remove the bed and look only at walls, flooring, doors, trim and the window. Which fixed element would still make the room look dated if the furniture disappeared?
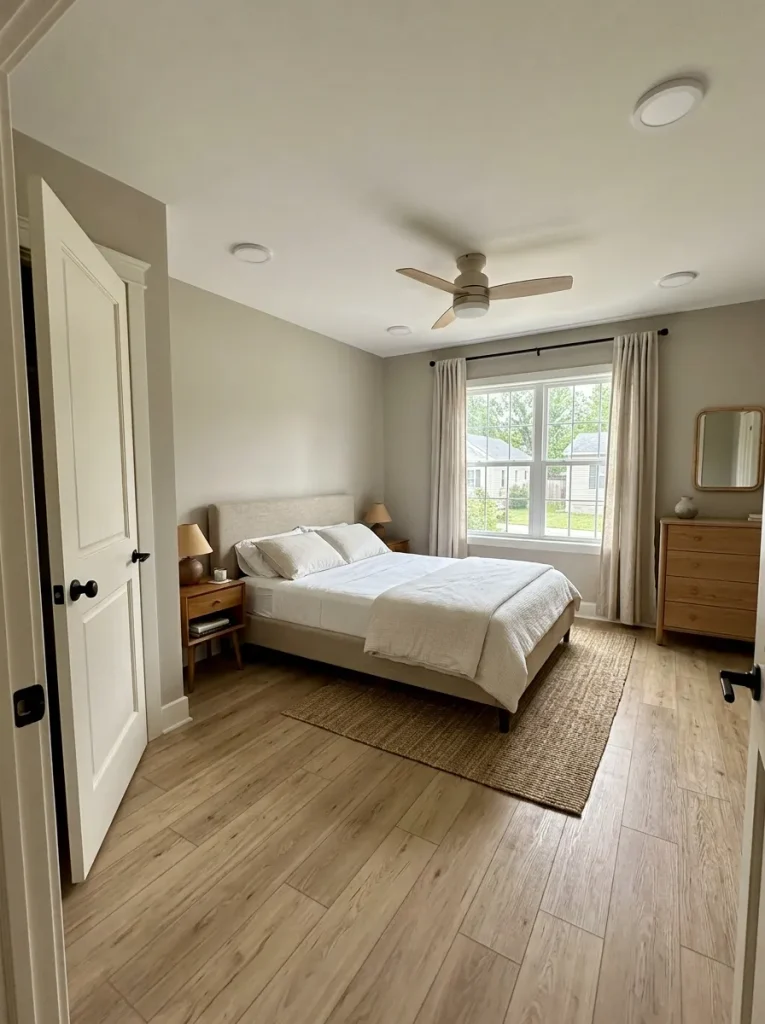
That is the makeover target.
A straightforward upholstered bed can look surprisingly current once an orange-brown floor, competing wood door or busy wall finish becomes quieter. In another bedroom the floor may already be neutral while the walls carry the dominant age cue.
The diagnosis keeps you from replacing a large surface simply because it is old.
Add bedding, lamps, curtains and art after the shell improves. Those flexible layers should finish the room, not carry the burden of disguising it.
Bedroom test: crop the bed from a photograph. If what remains still reads as the old interior, direct the next project toward the room itself before buying another decorative textile.
16. Restore One Deep or Natural Material After the Lightening Phase
There is a point in many makeovers where the interior becomes brighter, cleaner—and slightly lifeless.
The walls are pale. Cabinets are lighter. Dark flooring has disappeared. Old doors have been softened. Every individual decision seems reasonable, yet the home can lose contrast and material depth along with its dated finishes.
Stop lightening at that point.
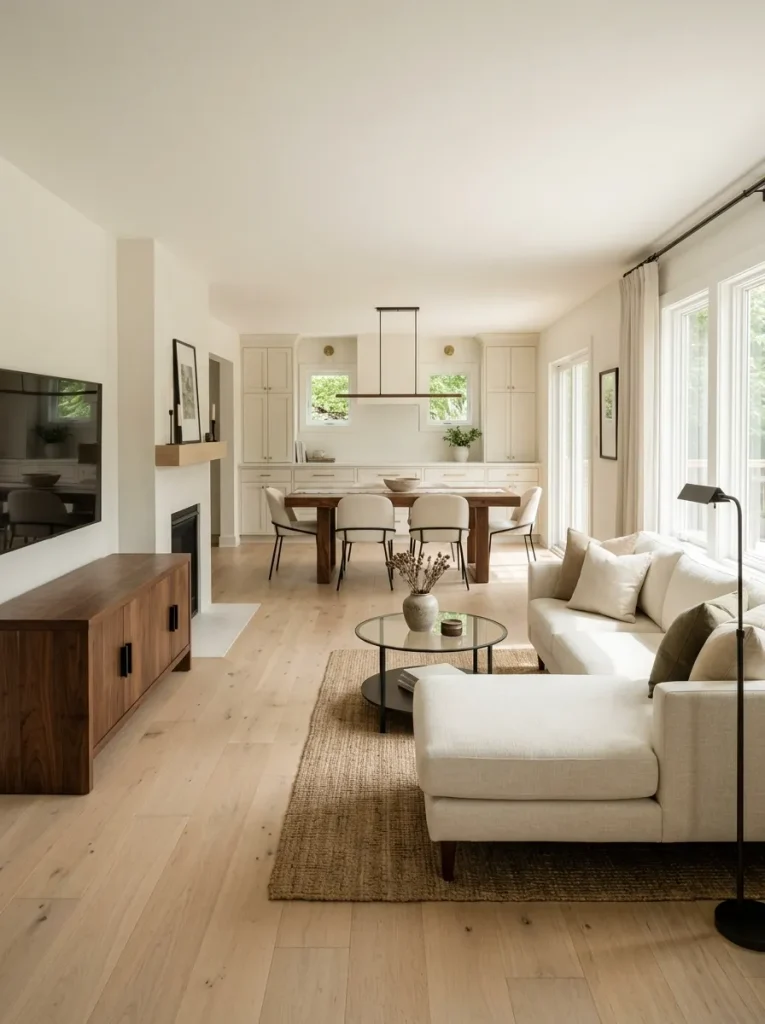
Look through the main space and identify what now gives the room visual weight. It might be a dark dining table, walnut-toned console, warm vanity, charcoal fireplace finish, black metal fixture or another substantial material worth preserving.
One convincing anchor within a sightline is often enough.
Consider warm-white walls, pale oak-look flooring, cream upholstery and painted cabinetry. Six small dark accessories would scatter contrast. One substantial natural-wood table gives the lighter surfaces a clear material reference point.
A deep paint color can serve a similar role when it belongs to a deliberate architectural moment. Several unrelated dark accents added merely for contrast can rebuild the visual noise the makeover just removed.
The surviving wood tones also do not need to be identical. Related undertones usually matter more than perfect matching.
Photograph the lightened room in daylight. If the architecture looks clear but the space feels weightless, restore one meaningful dark or natural material before introducing more décor.
17. Sequence the Makeover by Visual Acreage: Shell, Fixed Features, Fixtures, Then Decor
By this point, the useful question is no longer What could I change?
It is:
What deserves to happen next?
A double-wide interior contains layers with very different visual reach. Walls and floors can influence nearly every view. Kitchen and bathroom finishes dominate specific rooms. Doors and fixtures repeat through the home. Furniture, rugs, art and textiles sit on top of those permanent layers.
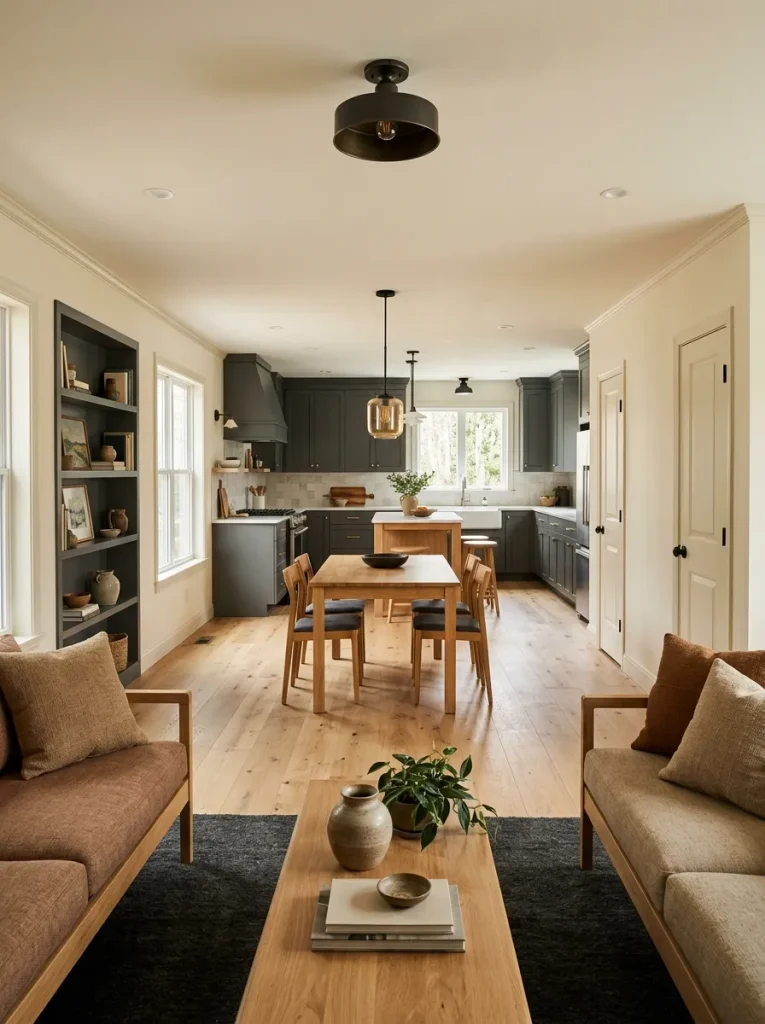
Decorating first creates an awkward cycle: style the old shell, change the shell later, then discover the earlier purchases no longer fit.
Use the sequencer to avoid that loop.
Which transformation layer should happen next?
Complete one meaningful layer, photograph the same doorway view again, then continue only if the next problem still remains visible.
Resolve the background before styling the foreground.
Identify the broad wall or flooring treatment carrying the strongest age cue across the longest view. Finish enough of that layer to see whether smaller projects still matter.
Next: photograph and reassess before moving to fixed features.Edit what is permanently attached to the home.
Evaluate cabinetry, built-ins, bathroom surfaces and focal finishes according to function and condition. Preserve useful architecture when the visual finish is the real problem.
Next: identify which remaining fixed feature still dates the room.Now correct the smaller details repeated throughout the house.
Doors, ceiling fixtures, fans and hardware become easier to judge once the broad shell settles down. Update repeated families rather than disconnected individual pieces.
Next: stop when the fixed interior reads coherently.Style the transformed home—not the old version of it.
Furniture, rugs, window treatments, artwork and textiles should complete the established visual language instead of disguising permanent problems underneath.
Next: purchase only what the finished shell genuinely needs.Not every double wide needs all four layers. A home with neutral flooring and serviceable walls may begin in the kitchen. Another may need little beyond removing obvious era markers and updating a repeated fixture family.
The value of the sequence is the reassessment point.
Complete one meaningful layer. Photograph the same doorway view used at the beginning. Identify what still dominates. Continue only when the next project solves a problem you can still see or experience.
Once the shell, fixed features and repeated fixtures stop fighting one another, the renovation phase has done enough.
That is when decorating becomes easier.
Bringing the Double Wide Makeover Together
The most convincing double-wide transformations come from changing what the eye encounters repeatedly. Start with the surface or fixed feature carrying the strongest age cue, then protect anything that still functions well and contributes real character.
Treat walls, flooring and fixed finishes as the foundation. Respect the technical boundary when a project reaches electricity, fireplace systems, moisture or waterproofing. Reassess after each major layer before creating another renovation simply because it was on the original list.
A successful makeover does not require every original feature to disappear. It requires the features that remain to finally look as though they belong together.
Once that foundation feels settled, move into double wide decorating ideas for furnishings, textiles, art and the final styling layer.