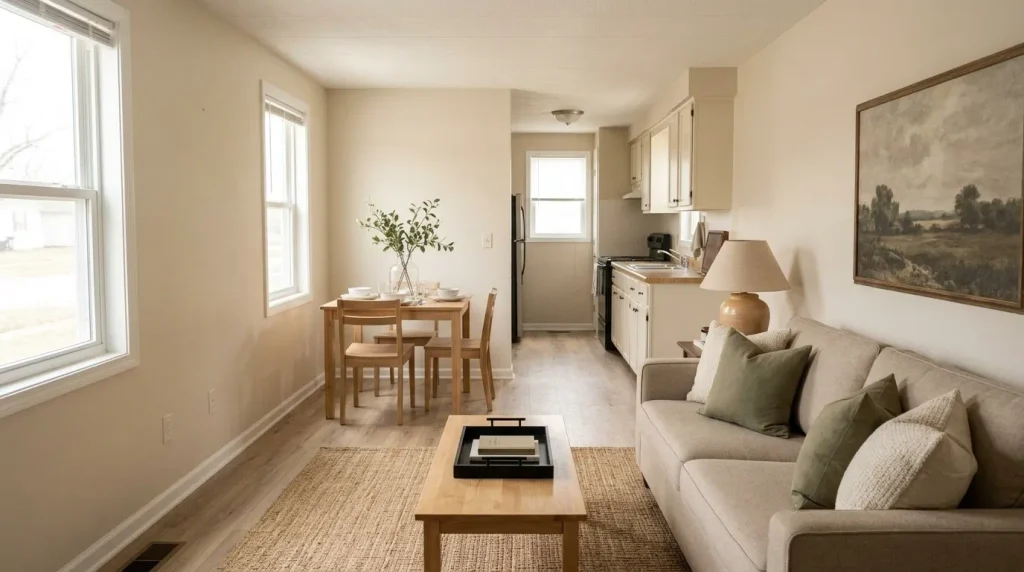
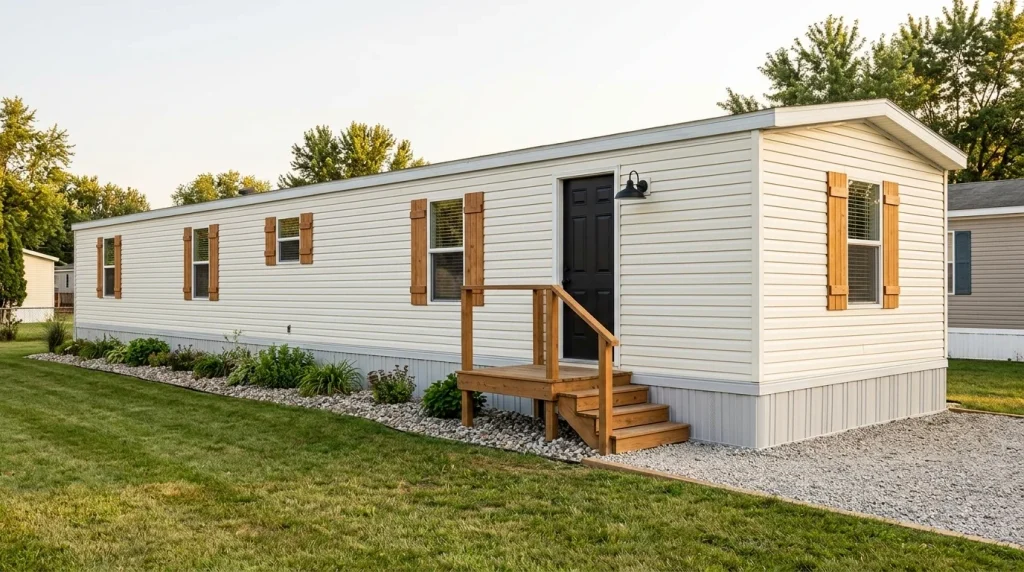
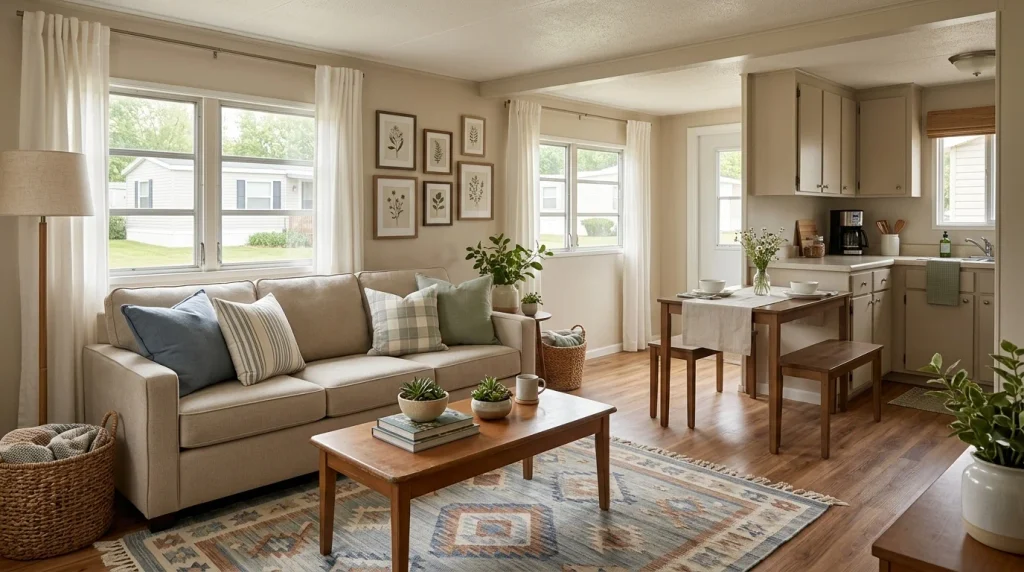
A dramatic mobile-home before-and-after can make a $500 budget feel almost useless—until you separate the visual transformation from the renovation hidden behind it. A successful mobile home makeover under $500 usually concentrates money on one large surface, one repeated architectural detail, or one focal area that influences how an entire room is perceived.
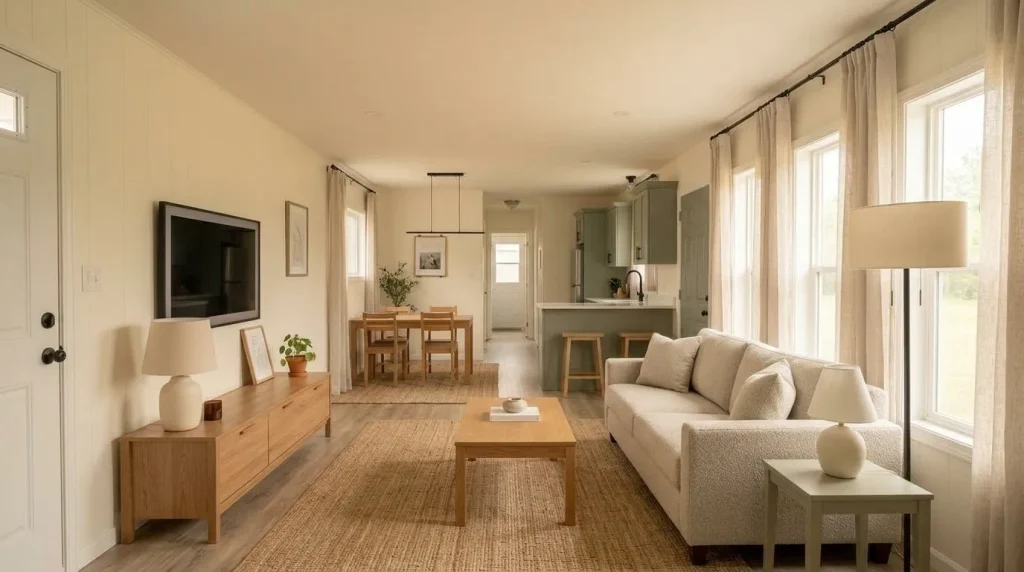
Paint, curtains, rugs, cabinet finishes, lighting, existing furniture, and a cleaner entry can all create a noticeable before-and-after without turning a cosmetic refresh into a major remodel.
The 19 ideas below are built around that principle. Each project has a version that can reasonably be planned below a $500 ceiling; this does not mean all 19 projects together will cost $500.
Start by identifying what makes your home feel dated. Then check whether that surface is actually sound. Moisture, softness, instability, electrical concerns, plumbing problems, or structural deterioration belong in the repair budget first.
Use the Makeover Translator below to choose your strongest starting point.
Under-$500 Makeover Translator
Under-$500 Makeover Translator
Spend where the “after” will actually show.
Choose your ceiling, identify the most visible problem, then check its condition. Your result shows a first move, something worth preserving, and a point where cosmetic work should stop.
Quiet the largest dated surface first.
A coherent wall treatment can affect more of a compact room’s visual field than several small purchases.
$100 lane: focus on one wall or compact room.
$250 lane: extend one finish across a connected sightline.
$500 lane: add trim or door continuity after the wall field is solved.
Choose one cabinet field before five separate upgrades.
Cabinet fronts occupy a large portion of many compact mobile-home kitchens, so changing a coherent field can alter the room quickly.
$100 lane: a small cabinet zone or selective hardware refresh.
$250 lane: one coherent cabinet run with prep included.
$500 lane: combine cabinets with one restrained companion surface.
Change what the eye sees before replacing the entire floor.
A properly scaled rug can alter the dominant floor color in a living zone while preserving dry, firm flooring underneath.
$100 lane: search for one correctly scaled rug.
$250 lane: upgrade the dominant seating-zone floor view.
$500 lane: consider a small-room surface only after substrate condition is understood.
Build brightness around the room before altering wiring.
Several light sources at different heights can add depth that one bright central fixture cannot provide.
$100 lane: one lamp plus a lighter window treatment.
$250 lane: build two or three plug-in lighting layers.
$500 lane: combine lighting, curtains, and a coordinated wall finish.
Concentrate the makeover around the vanity sightline.
Vanity finish, mirror scale, wall color, and nearby details can reset a small bathroom without disturbing working plumbing.
$100 lane: paint, mirror detailing, or small hardware.
$250 lane: coordinate vanity, mirror, wall, and accessories.
$500 lane: add another sound-surface update only after condition checks.
Finish the entrance before dreaming about a new porch.
The door, sound steps, ground edge, and a restrained planter composition can create a stronger arrival point without copying the construction inside expensive makeover photos.
$100 lane: door paint, mat, and restrained planters.
$250 lane: coordinate the door and sound steps.
$500 lane: extend the cosmetic story through the approach and visible base edge.
1. Paint the Biggest Dated Wall Field Before Buying New Decor
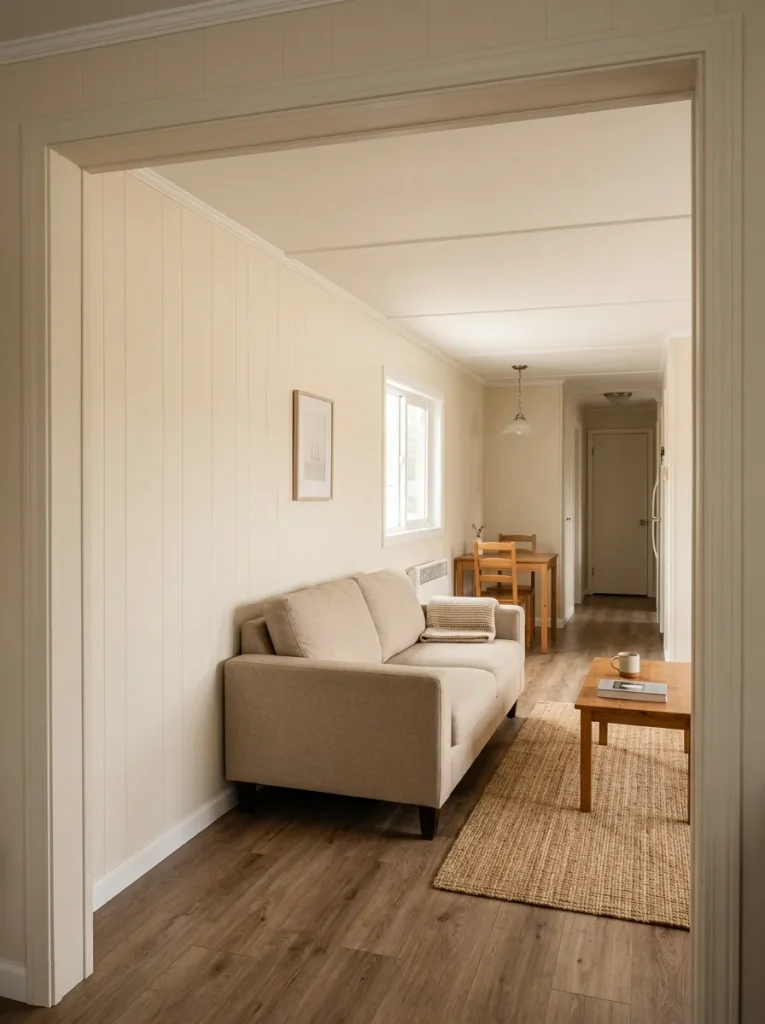
Walk into the room and notice which surface occupies the largest uninterrupted part of your view. In many older mobile homes, that field—not the sofa, lamp, or wall art—is what makes the room read as dated. Refreshing it can therefore change more of the visual scene than several small accessory purchases.
Start with one room or one connected sightline, especially where the living, dining, and kitchen areas can be seen together. Test the chosen coating on the actual wall material, check that the surface is dry and sound, and price the necessary preparation supplies before extending the project.
A rough DIY planning range of about $70–$220 can be useful for a modest paint project, but room size, wall condition, primer needs, product choice, and local prices can change that substantially.
Pause the cosmetic plan if you find staining, active moisture, softness, or loose material. In that situation, identifying the condition is more useful than covering it.
2. Let Mobile-Home Wall Battens Disappear—or Become Deliberate
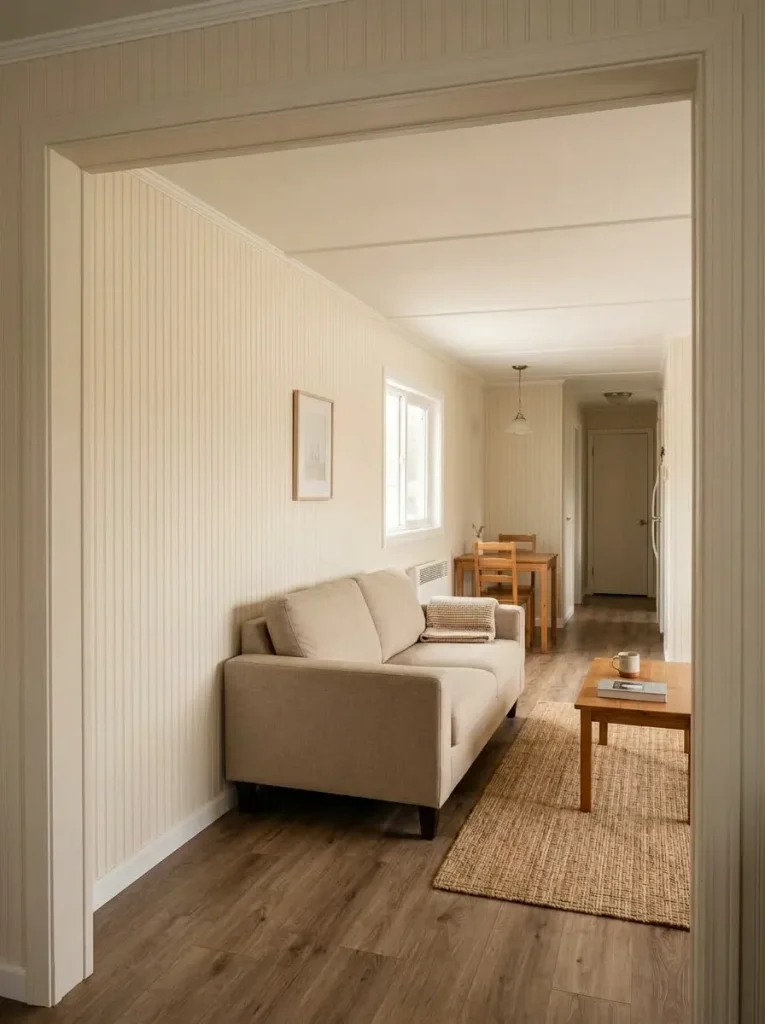
Should every vertical batten between mobile-home wall panels be removed?
No. The more useful question is whether those strips are visually dominating the room.
If sound battens strongly contrast with the panels around them, coating both in the same finish can reduce the repeated vertical rhythm. If they are neat and evenly spaced, keeping them visible may work equally well in a cottage, paneled, or intentionally architectural scheme.
Before filling or removing anything, test the quieter option first: paint a small batten and part of the adjoining wall in one color, then view it from the doorway.
A cosmetic blend-in treatment may fall around $30–$150 as a rough planning allowance when it uses basic prep and paint.
Choose the blend route when contrast is the problem. Loose panels, damaged joints, moisture, or unexplained movement deserve a different diagnosis.
3. Use One Large Rug to Reset a Tired Living-Room Floor
Imagine the flooring is firm and serviceable but its color makes the whole living room feel old. Replacing every visible square foot could consume most of the makeover budget before anything else changes.
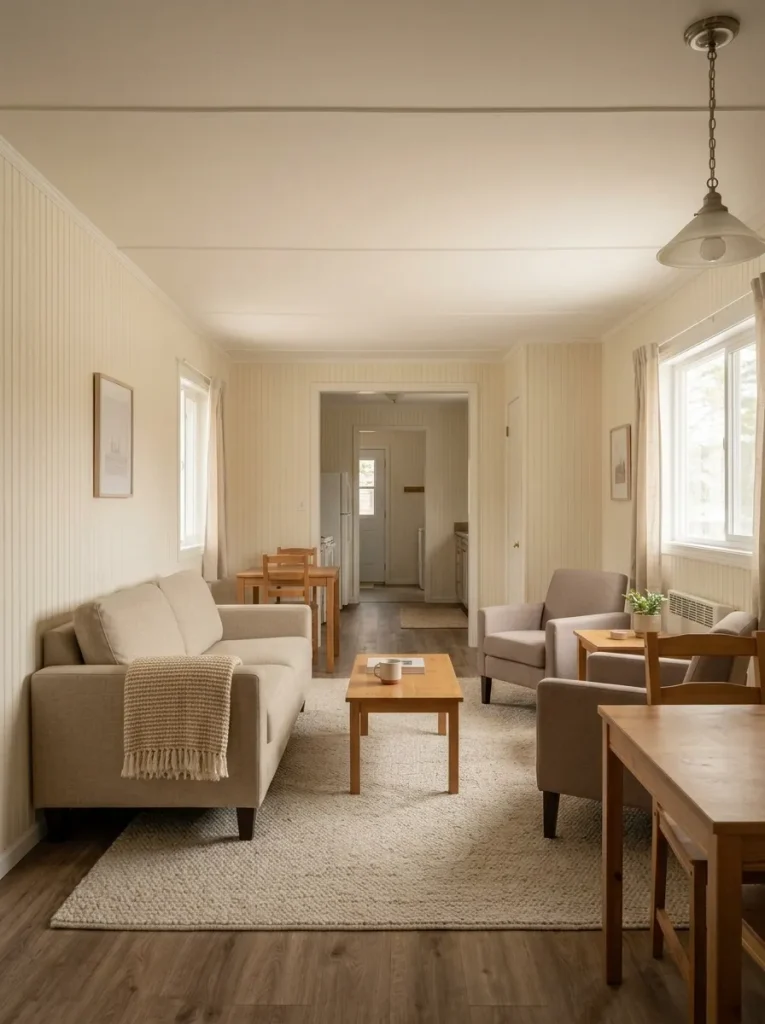
A large rug offers another route because it can alter the dominant color and texture of the floor where the furniture actually gathers.
Measure the seating arrangement, not just the empty center of the room. The rug should visually connect the main pieces while preserving the room’s important walking route. In a narrow mobile-home living room, an undersized rug can exaggerate the small footprint by creating another tiny rectangle inside an already compact room.
A useful starting allowance is roughly $80–$250, though rug size and material create wide price differences.
Use this strategy only over a floor that feels dry, firm, and stable. A rug should change the view—not conceal a condition that needs attention.
4. Make the Main Window Wall Look Taller With Full-Length Curtains
Short curtains frame the existing window opening exactly as it is. Full-length panels can give the surrounding wall a taller visual proportion.
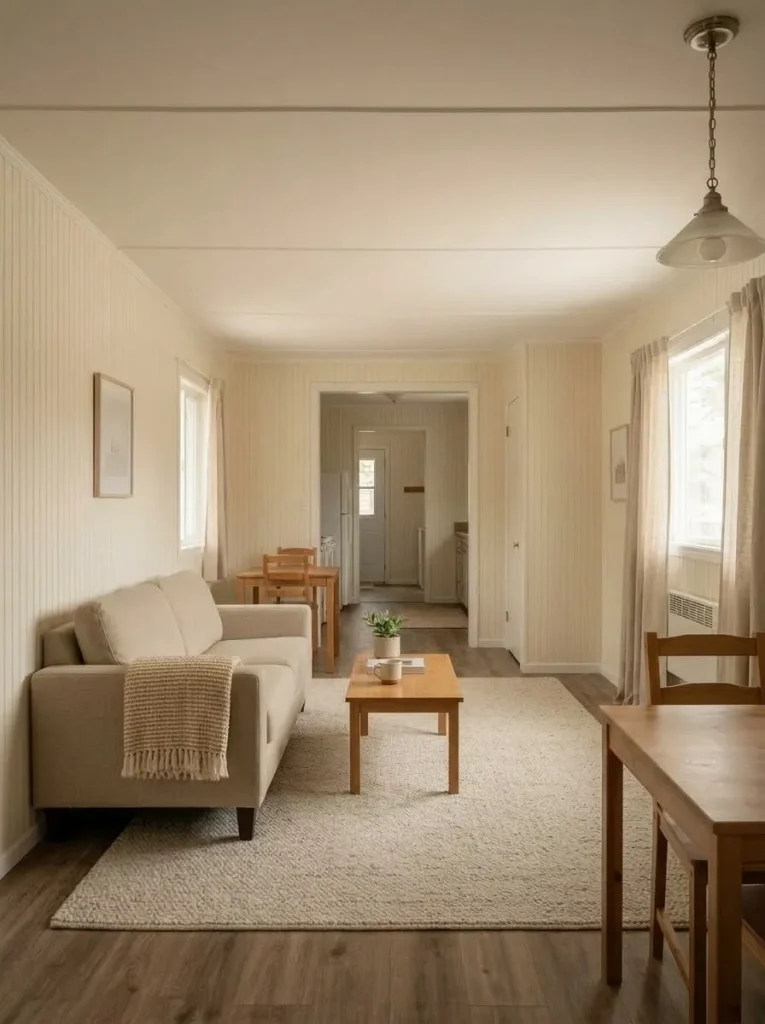
Compare two arrangements before installing a rod:
Option A — tightly framed: rod close to the window edges, curtains ending near the sill.
Option B — visually expanded: rod positioned somewhat higher and wider, with fabric continuing toward the floor.
Option B often gives the wall more vertical presence because the eye reads the fabric composition along with the window.
Measure from the proposed rod position all the way to the intended hem before ordering panels. Keep fabric clear of doors and any heat source or equipment that needs open space.
A simple curtain-and-rod makeover may land around $40–$180 as a planning range.
Choose this project when the main window wall feels underscaled. For a room already short on daylight, favor fabric that does not unnecessarily darken the opening.
5. Give Old Interior Doors and Trim One Cleaner Finish Story
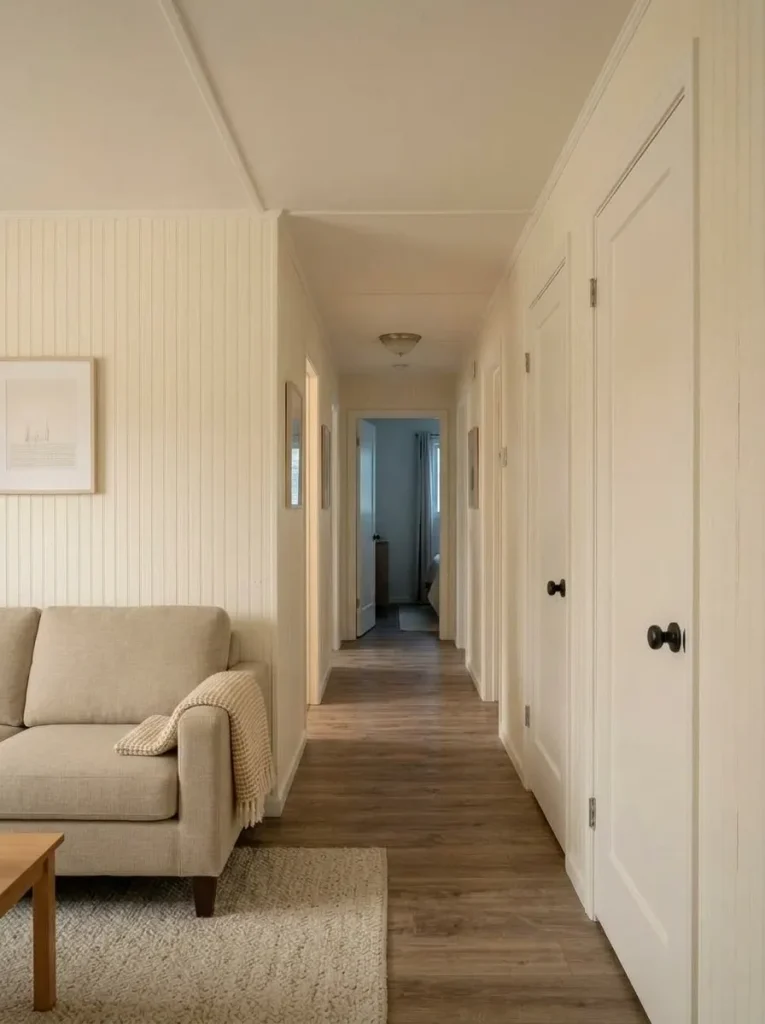
A home can have freshly updated walls and still feel visually fragmented when door slabs, casings, trim strips, knobs, and nearby finishes seem to come from several unrelated eras.
Repeated architecture has power because you encounter it again and again.
Try this sequence:
- Inspect first. Keep doors and trim that operate correctly and remain sound.
- Choose one finish direction. Painted trim, retained wood, or a restrained two-tone scheme can all work.
- Refresh high-contact details selectively. Replace knobs or plates only where they interrupt the new finish story.
- Stop once continuity appears. Functioning doors do not need replacement simply because they are older.
A small DIY trim-and-door refresh may use roughly $60–$200 in paint, prep, and selective hardware.
This idea is strongest when inconsistency is the visual problem. Sagging doors, moving frames, or closure problems need their cause understood first.
6. Build Better Evening Light Without Opening the Ceiling
A mobile-home living room can look bright enough in daylight and surprisingly flat after sunset. The problem may be light distribution: one central fixture creates a bright ceiling zone while the corners, sofa, and reading areas remain dull.
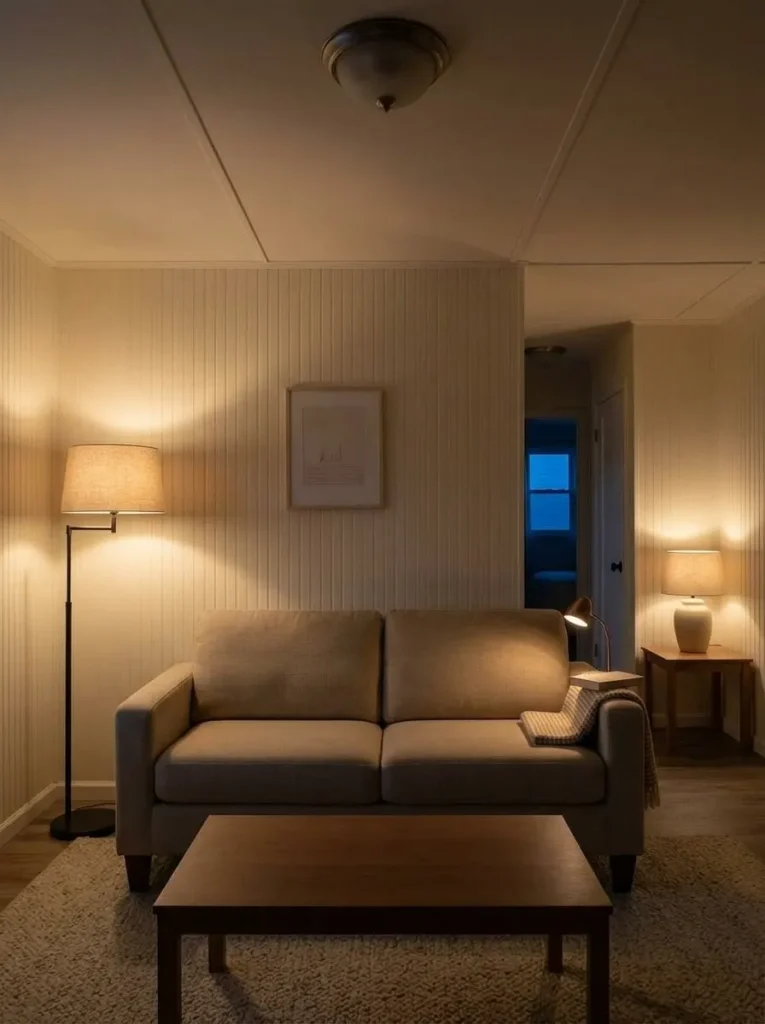
Run a no-purchase test one evening. Switch off the main fixture and temporarily bring lamps from other rooms into three positions: near the seating area, near a dark corner, and close to an activity such as reading.
If the room immediately gains depth, build the makeover around layering instead of electrical alteration.
Floor lamps, table lamps, and suitable plug-in wall lights can create that effect while keeping the project cosmetic.
A rough planning allowance of $50–$220 can cover two or three modest lighting additions.
Working hardwired fixtures may deserve to stay once the surrounding light improves. Damaged outlets, switches, fixtures, or wiring move the project outside this decorative budget.
Before/After Lever Map
Before/After Lever Map
Copy the effect, not the entire renovation.
Choose the change you want people to notice. The map separates that visible effect from the more expensive work that often appears beside it in makeover photos.
Work on surfaces and light distribution first.
A brighter “after” can come from lighter wall fields, less visually heavy curtains, and several well-placed lamps.
Change the cabinet field before the whole kitchen.
Expensive kitchen photos often combine cabinetry, counters, floors, appliances, and lighting. A fixed budget needs one primary lever.
Change the visible floor field before replacing everything.
A floor dominates a photograph because it forms one continuous plane. A large rug can borrow part of that makeover effect.
Give one wall or seating zone visual authority.
A polished room often has fewer competing focal points, not more decorative objects.
Borrow the entry hierarchy—not the construction bill.
Large exterior transformations often combine porch, roofing, siding, landscaping, rails, and trim. Isolate the arrival sequence first.
7. Refresh One Complete Cabinet Field, Then Stop
Cabinet fronts can occupy a large percentage of the view in a small mobile-home kitchen. That makes them powerful makeover territory—provided the cabinet boxes, doors, and surface material are worth keeping.
Begin with the cabinet run visible from the kitchen entrance or adjoining room. Check alignment, swelling, looseness, damaged edges, and whether the boxes still function well. Then identify the surface before choosing preparation products.
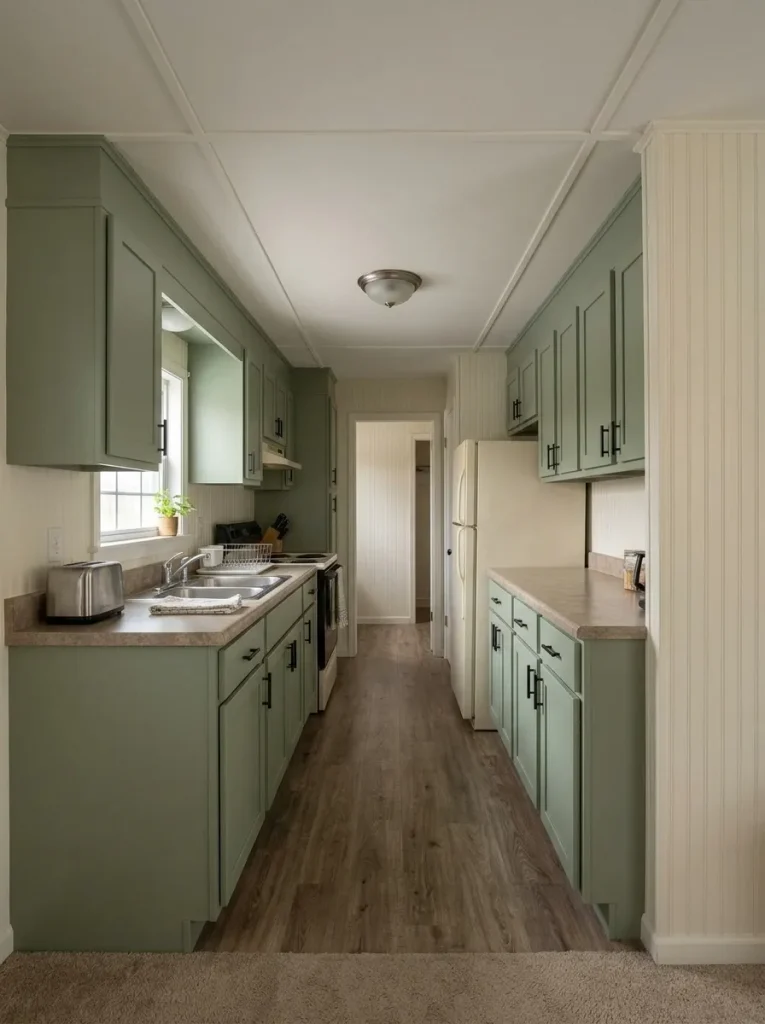
A partial project should still look complete. One entire lower run, one coherent wall of cabinetry, or an intentional upper/lower treatment works better than randomly refinishing whichever doors happen to be easiest.
A rough DIY planning allowance of $90–$300 may cover cleaning, surface preparation, coating, and selective hardware on a modest scope.
If you are unsure what the cabinet material requires, use the mobile home kitchen cabinet makeover guide before sanding, priming, or painting.
Keep sound boxes. Change the finish that makes them feel older.
8. Keep a Sound Counter and Change What Touches It
A countertop often gets blamed because it sits in the middle of several dated finishes at once.
Test that assumption before replacing it.
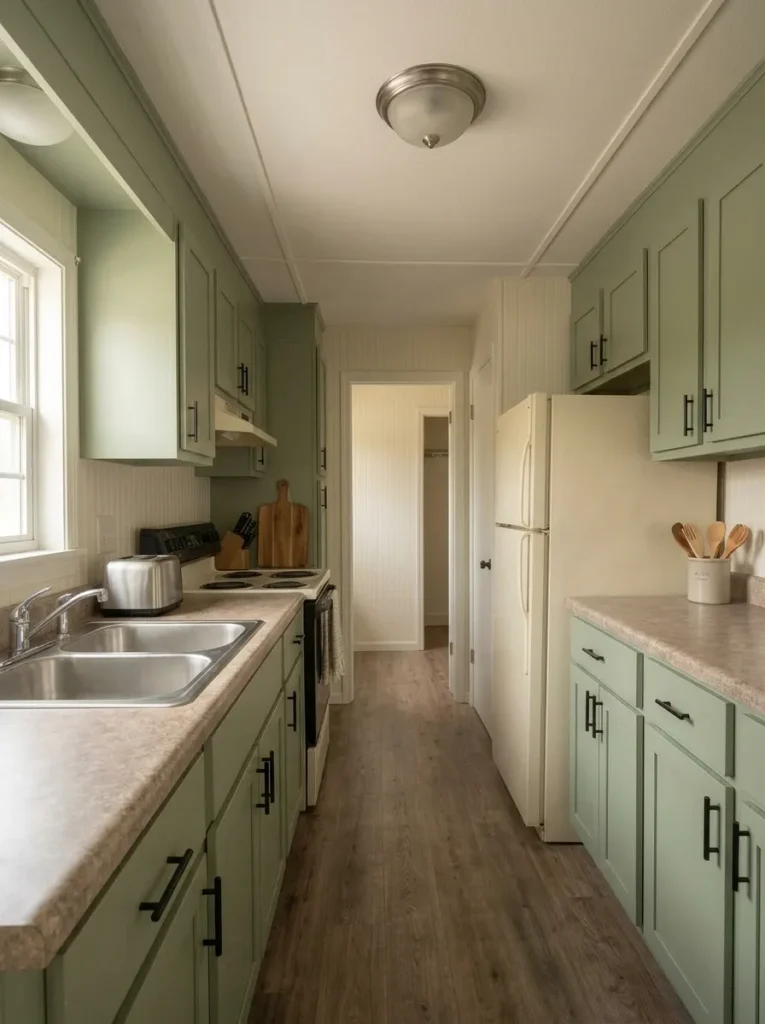
Clear the counter completely. Place a large cabinet-color sample below it and a backsplash or wall sample behind it. Remove small appliances and decorative objects for a moment. Then take a photo from the kitchen entrance.
Does the counter still dominate the room?
If it recedes once the nearby finishes are calmer, replacement may produce less visual return than the price suggests.
That decision is especially useful in a mobile-home kitchen because replacing one surface can lead to additional trim, sink, backsplash, plumbing, or edge-detail work.
For the broader scope—including counters, appliances, hardware, lighting, and hidden cost cascades—continue with the mobile home kitchen makeover on a budget guide.
Keep the counter when: it is sound, usable, and becomes visually acceptable once the surrounding finishes improve.
9. Give the Kitchen One New Surface With a Small Backsplash Zone
A backsplash can add a new material without asking the entire kitchen to become a renovation project.
The important decision is where it ends.
Start with the most complete visual zone: behind the sink, range, or one uninterrupted section of countertop. Then compare the candidate material with the existing counter. A busy counter paired with a busy backsplash can make a narrow kitchen feel more crowded even when both materials look attractive individually.
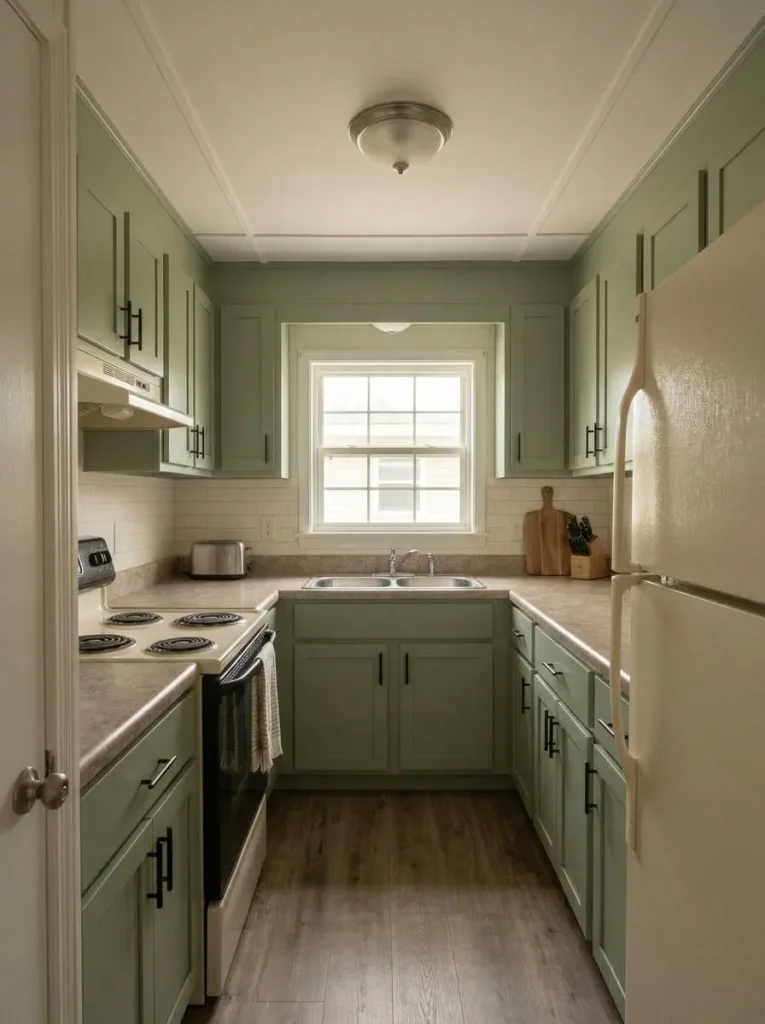
For a fixed-budget makeover, one quieter surface is usually the stronger move.
A rough planning range of $50–$250 may work for a small zone, depending on material, preparation, adhesive, trim, cuts, and the amount of area involved.
Finish at a natural architectural boundary—a cabinet end, corner, window edge, or wall return. Expanding the project merely to consume leftover material can introduce extra cutting and edging without improving the room.
10. Turn a Basic Vanity and Mirror Into One Finished Bathroom Moment
Stand at the bathroom doorway. In a compact mobile home, the vanity, mirror, wall color, and nearby light often appear in one glance.
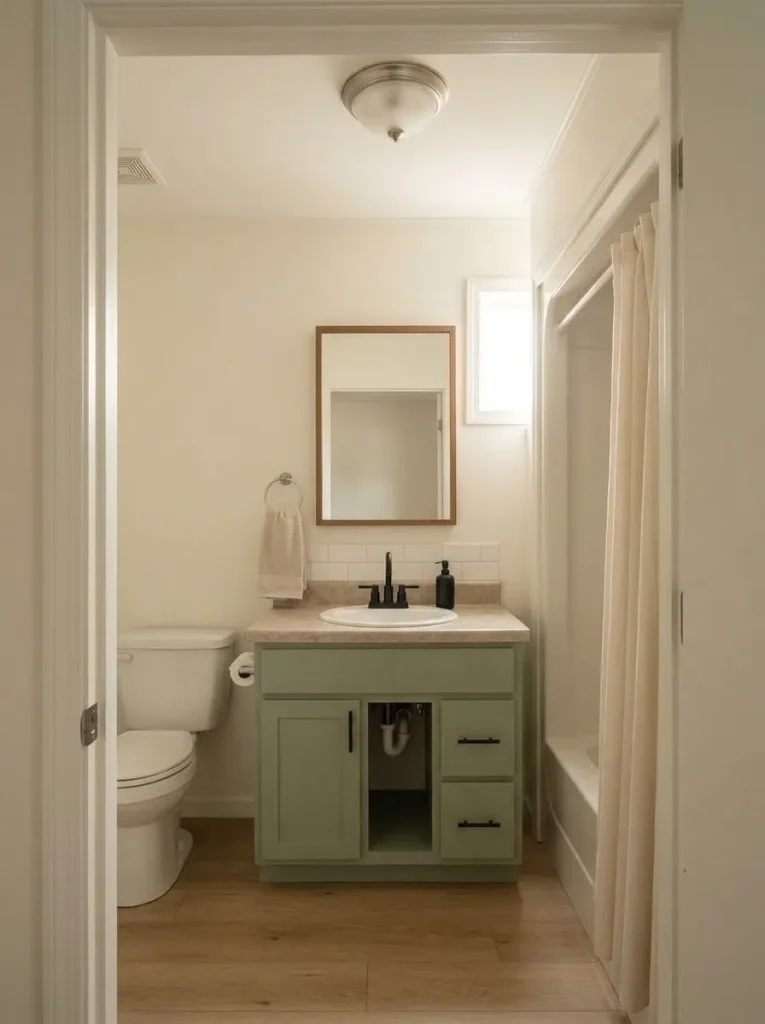
That concentration is useful.
If the vanity is dry, firm, functional, and the sink arrangement works, keep the plumbing where it is. Refresh the vanity finish, edit the hardware, improve the mirror composition, and coordinate the surrounding wall. One resolved focal area can change the impression of the bathroom without rebuilding the wet zone.
A rough planning range of $80–$300 can be reasonable for a cosmetic vanity-and-mirror refresh, depending on what you retain.
For tub/shower construction, plumbing-sensitive work, flooring decisions, and deeper vanity changes, use the mobile home bathroom remodel on a budget guide.
Leaks, swollen cabinetry, soft flooring, or failed wet-area material change the priority immediately: understand those conditions before decorating around them.
Bathroom Makeover Boundary
Know where the $500 bathroom makeover ends.
The useful boundary is the moment a cosmetic project begins disturbing a system or compromised material.
Usable vanity box, working sink, intact wet-zone components, plumbing locations, and serviceable flooring.
Vanity finish, mirror composition, wall color, hardware, textiles, and surface-level details.
Leaks, soft flooring, swollen materials, electrical concerns, or changes that require moving plumbing.
11. Replace One Small Room’s Floor Only When the Subfloor Earns It
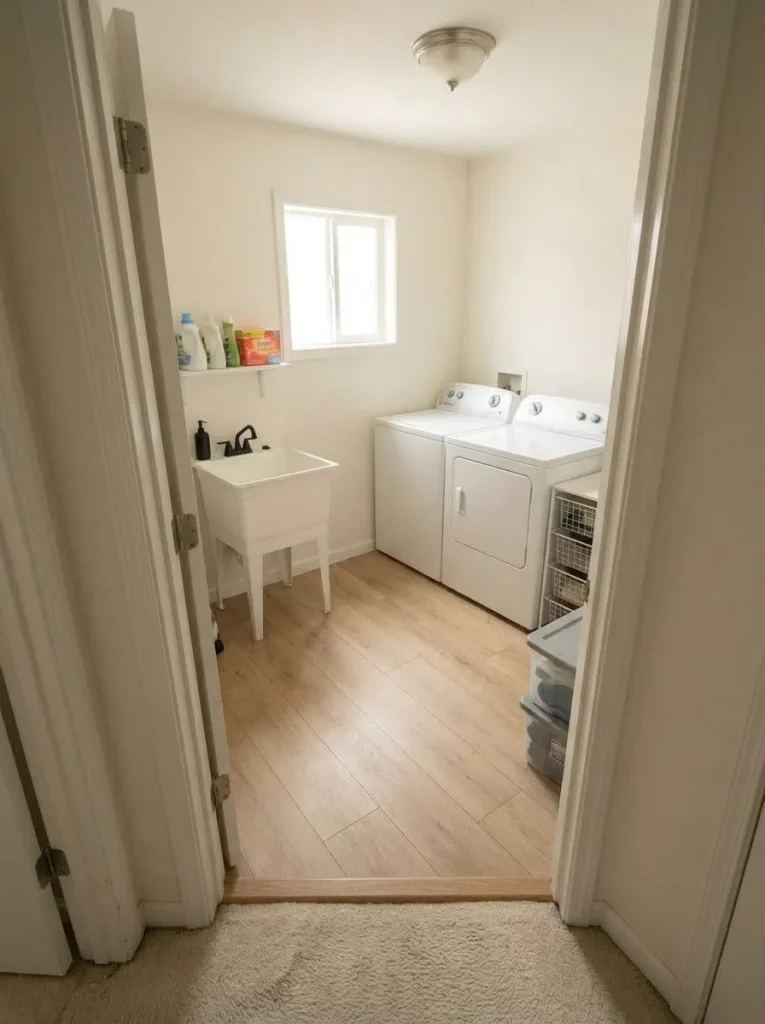
A new floor changes one of the largest visual planes in a room, which explains why flooring appears in so many dramatic mobile-home transformations.
Under a $500 ceiling, that effect usually belongs to a small room, not an automatic whole-home replacement.
Measure the actual area first. Then account for the full installation system your chosen product requires, plus transitions and reasonable waste. After that, walk slowly across the room and inspect what the finish would cover.
A floor that is dry, firm, and reasonably stable may qualify for a cosmetic surface change.
Softness, visible moisture effects, movement, or significant irregularity changes the project completely.
A $150–$500 rough planning range may suit some small DIY rooms, but material choice, square footage, preparation, trim, and local prices vary too much for that to be a universal quote.
Let substrate condition decide whether the idea proceeds. A sale price on flooring should never make that decision for you.
Small-Room Flooring Go/No-Go Gate
Open the condition that sounds like your floor.
GO Firm and dry, but visually dated ›
? Mostly firm, but one area is questionable ›
STOP Soft, wet, moving, swollen, or visibly damaged ›
12. Make the Tub or Shower Look Newer From the Outside In
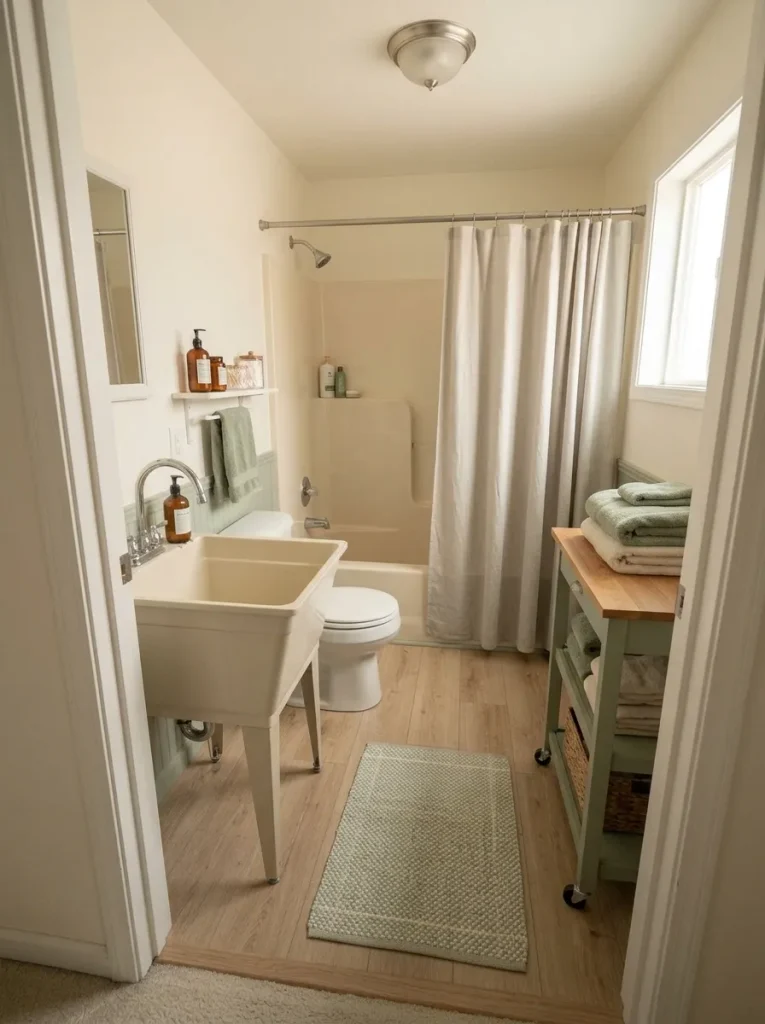
A functioning tub or shower can still make a small bathroom feel dated, but replacement is not the only way to change what you see.
Look at its visual frame first: shower curtain, surrounding wall color, visible toiletries, bath mat, storage, rod, and the finishes immediately beside the fixture.
Simplifying that frame can make an ordinary white or almond tub feel much quieter in the room.
Choose one strong textile direction, contain bottles in one practical zone, and repeat colors already present at the vanity. Avoid layering several signs, containers, baskets, and patterns around a compact wet area.
A rough cosmetic allowance of $40–$180 may cover textiles, organization, and simple surface-level details.
This approach applies only when the wet area is functioning properly. Leakage, persistent dampness, deteriorated wall material, or soft flooring is not a styling problem. Once those conditions appear, stop adding decorative layers.
13. Give the Bedroom One Strong Bed-Wall Makeover
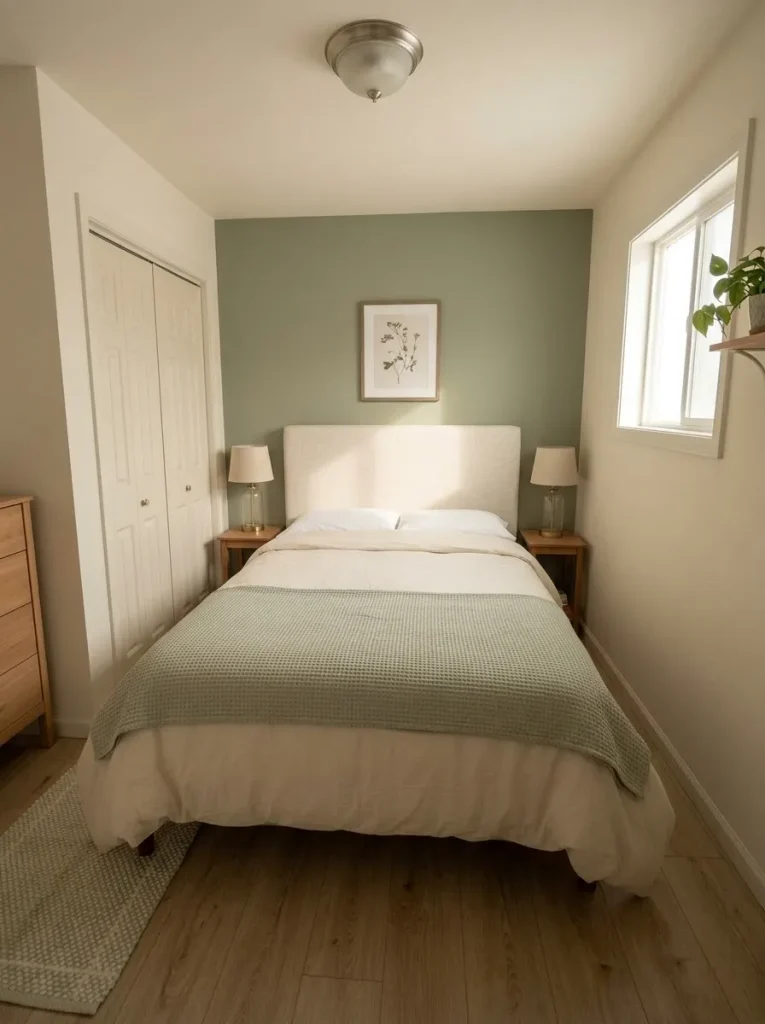
Stand in the bedroom doorway for a few seconds without looking at the small decor.
Where does your eye land?
In many mobile-home bedrooms, the bed already occupies enough visual area to become the natural focal point. The room feels scattered when the bed wall, dresser, window, television, artwork, and bedside pieces all compete equally.
Concentrate the makeover where the room already carries its greatest visual weight.
That may mean one painted wall, a wider headboard effect, two coordinated lamps, larger artwork, or edited bedding. It does not require all of those changes.
A focused bed-wall makeover may use roughly $75–$300 depending on what you already own.
Keep closet and bathroom-door circulation clear while styling the wall. For bed placement, dresser scale, storage, windows, and full-room decisions, continue with the mobile home bedroom ideas guide.
Spend enough in one area for the bedroom to gain hierarchy before adding more objects elsewhere.
14. Let a TV Wall Carry the Living Room’s “After” Effect
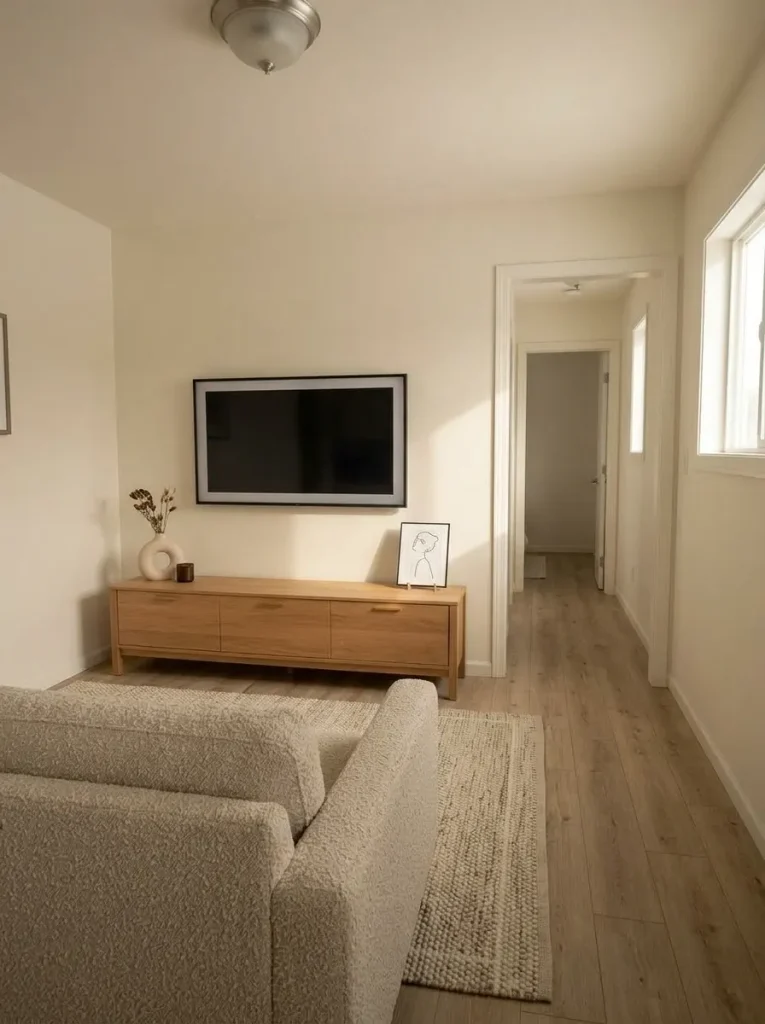
Take a phone photo of the living room from its normal entrance.
If the TV wall occupies much of that photograph, it may be the highest-leverage place to improve.
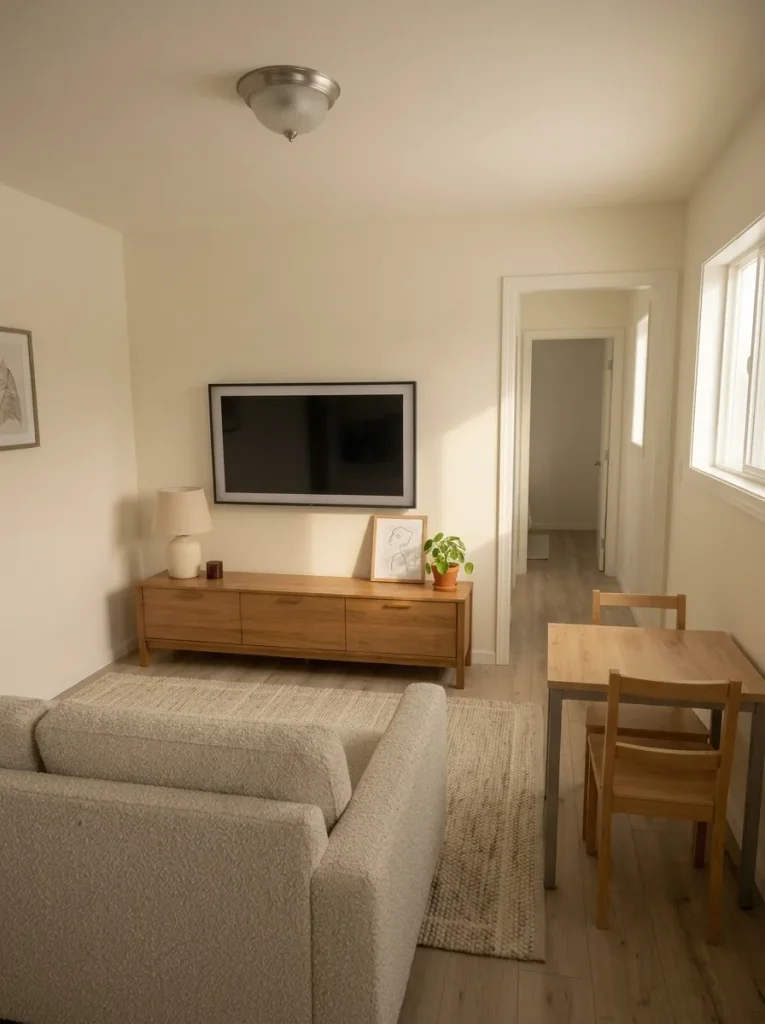
Begin by removing what weakens the composition: exposed cords, several undersized decorative pieces, unrelated shelves, or furniture that creates unnecessary visual bulk. Then decide whether the wall actually needs paint, one longer shelf, a refinished console, larger artwork, or simply better alignment.
A simple TV-wall reset may sit around $40–$250 as a rough planning range.
Avoid automatically constructing a bulky faux fireplace or oversized feature wall because an inspiration image has one. Compact rooms can lose useful floor and visual breathing space quickly.
For seating, circulation, rug size, windows, focal points, and connected-room planning, the mobile home living room ideas guide owns the deeper decisions.
Let the wall become clearer before making it larger.
15. Refinish One Existing Piece Before Buying Three Small Ones
Here is an easy way for a $500 makeover to disappear:
$35 basket.
$45 side table.
$30 tray.
$60 lamp.
$28 wall sign.
$40 stool.
Another organizer.
Nothing is individually expensive, yet the room may look almost unchanged.
Before shopping, choose one existing piece with a useful footprint: a dresser, nightstand, media cabinet, dining table, storage unit, or sideboard.
Ask whether its finish is the part that feels dated.
If the furniture is stable and useful, a careful repaint, stain, simplified top surface, or new knobs can turn it into a stronger anchor while keeping more of the budget available for the room itself.
A small DIY furniture refresh may use approximately $25–$120, depending on materials and repairs.
Unstable, swollen, or unsafe furniture does not earn restoration money. Improve pieces worth keeping; remove pieces that no longer serve the room.
16. Make the Front Door Zone Look Finished for Far Less Than a Porch
The most dramatic exterior references often contain a new porch, railings, siding, lighting, landscaping, roofing, and trim all at once.
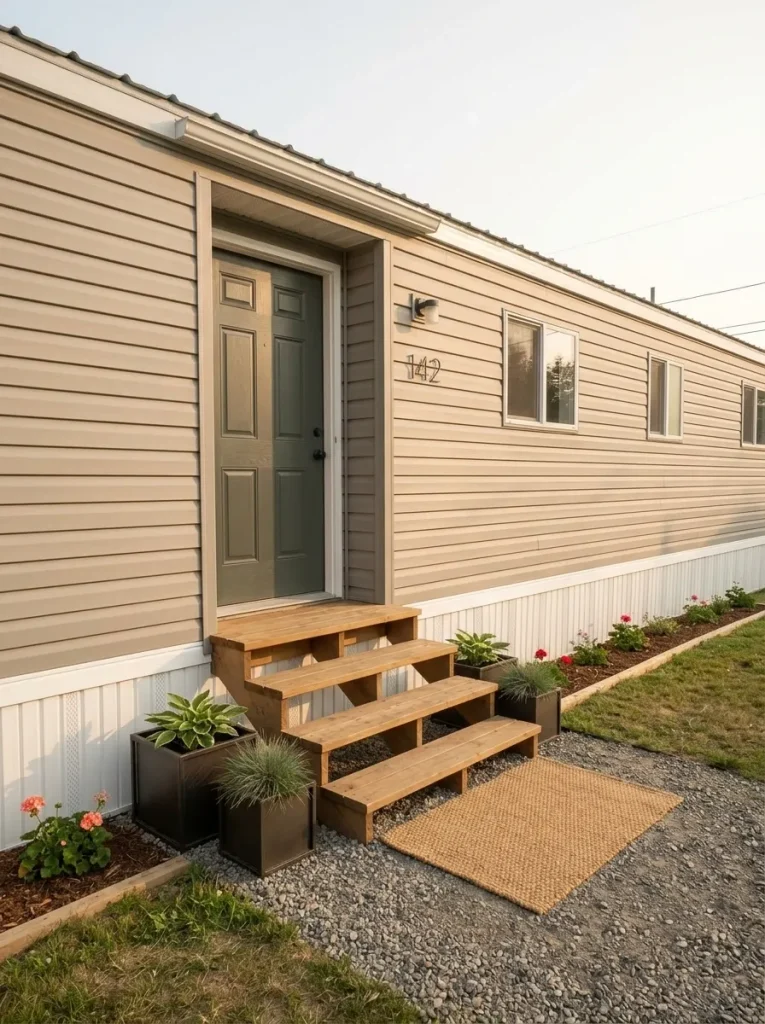
Do not copy the entire construction list.
Crop the home mentally to one smaller composition:
front door + steps + nearby wall + immediate ground edge.
Then ask what that frame needs to feel deliberate.
For a sound existing entry, a modest makeover might use:
- a stronger door color;
- cleaned or cosmetically refinished sound steps;
- one larger mat;
- simple address numbers;
- two coordinated planters;
- a controlled planting or mulch edge.
A cosmetic entry refresh may roughly fit $75–$300, depending on what already exists.
Step far enough back to see the entire façade before adding more. The long horizontal profile of many mobile homes benefits from a clear entrance; it does not necessarily benefit from decorative objects spread across every window and railing.
Create one arrival point first.
17. Refinish Sound Steps—But Never Decorate Over a Repair Problem
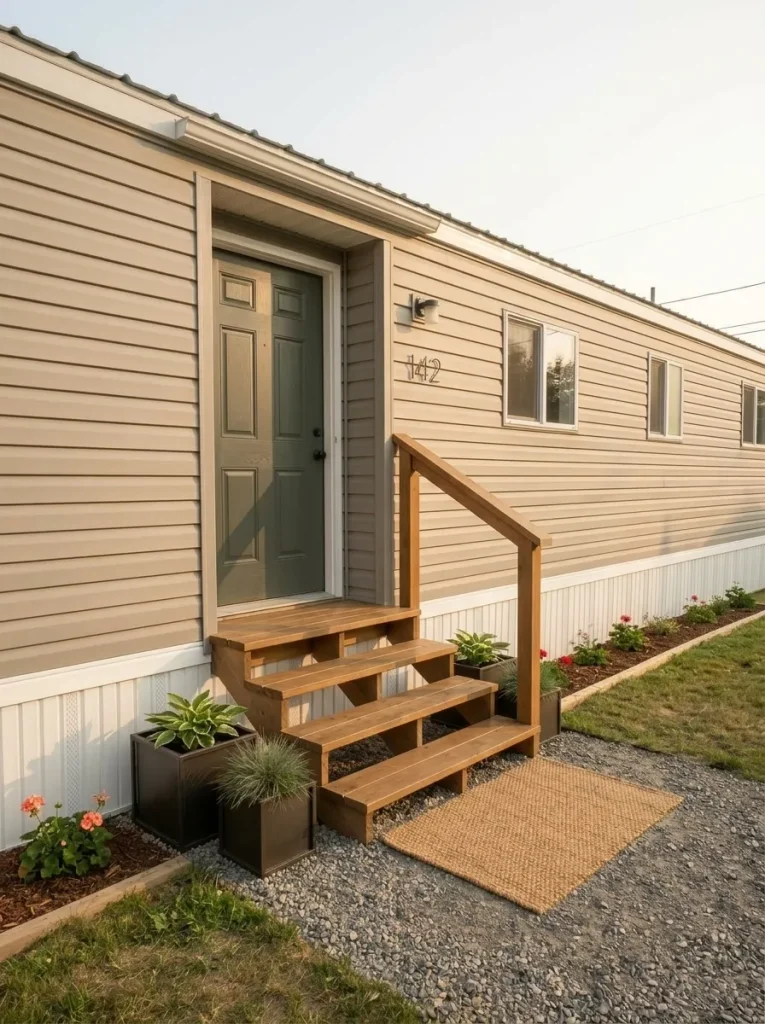
Exterior steps can change visually with paint or stain, but finish belongs after a condition check.
Look for obvious movement, deteriorated material, loose railings, damaged connections, severe corrosion, or areas that no longer feel dependable during normal use.
If the assembly is sound and the issue is cosmetic, the sequence becomes simple:
clean → remove failed finish → prepare the material → apply an appropriate new finish.
Coordinate the final color with the door, trim, or other existing exterior material so the steps feel connected to the entrance.
A small cosmetic refinish might use roughly $40–$180 in materials.
Do not use that range to classify a damaged step system as a decorative project. Manufactured-home installation and exterior components can intersect with local requirements and safety-sensitive work; HUD directs homeowners to applicable manufacturer, state, and local guidance for installation-related issues. (HUD)
The decision is binary: sound and cosmetic can remain in the makeover; questionable or deteriorated moves out.
18. Clean Up Skirting and the Ground Edge Before Adding Exterior Decor
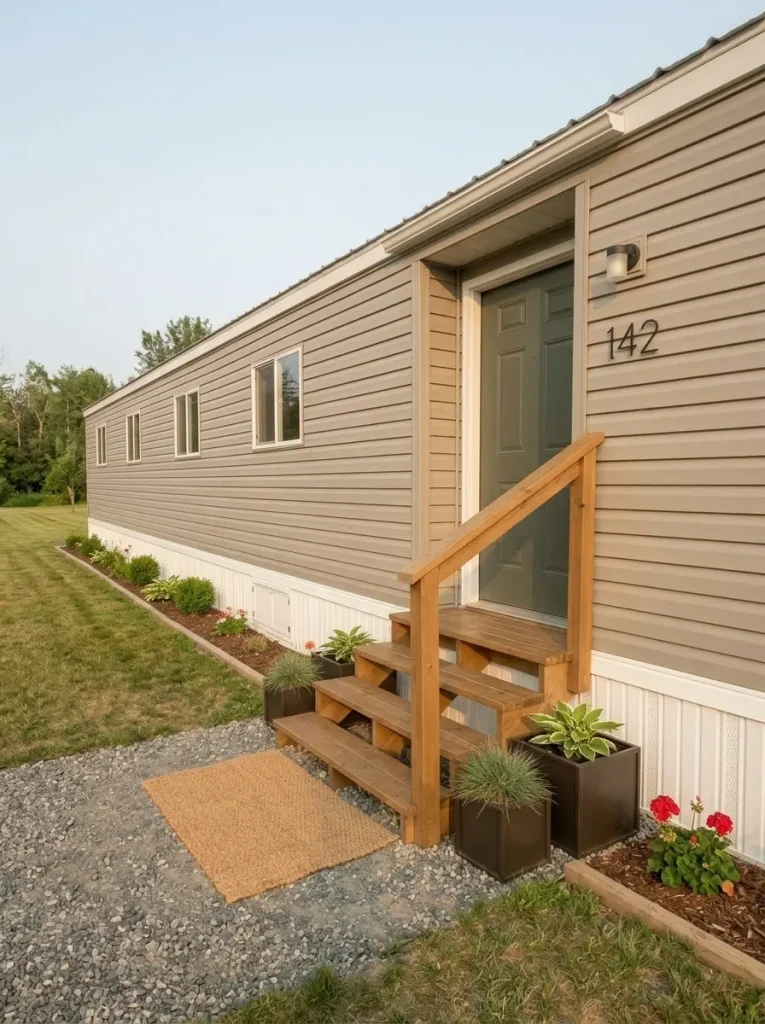
Look along the entire base of the mobile home before focusing on the door.
Faded skirting, weeds, stored objects, inconsistent border material, or several mismatched patches can create a visually unfinished horizontal band beneath the siding. Cleaning that base edge can therefore improve more of the façade than one additional porch accessory.
Start with removal and inspection. Clear clutter, control weeds, define a simple ground edge, and check whether the existing skirting is sound and properly functioning.
Treat skirting cautiously because it is more than visual trim. HUD installation standards address under-home access, ventilation, utility penetrations, and drainage in connection with manufactured-home perimeter enclosures. (HUD)
That means the budget project should never block vents, required access, drains, or unresolved moisture conditions merely to create a cleaner photograph.
A simple cosmetic ground-edge and skirting refresh might use roughly $50–$300, depending on what is already present.
Exterior Cosmetic vs Repair Gate
Is the base of the home asking for styling—or repair?
LANE
Prioritize cleaning and continuity.
Tidy the ground edge, control weeds, and visually coordinate sound existing skirting with the entry before buying more decoration.
FIRST
Keep most of the budget unspent for now.
Understand access, drainage, ventilation, and enclosure condition before choosing a cosmetic treatment.
LANE
Remove this item from the decorating budget.
Visible deterioration or functional problems deserve assessment before landscaping or cosmetic materials are layered in front.
19. Repeat Two Finishes Across the Home So Small Projects Read as One Makeover
Separate inexpensive improvements can still look unrelated.
The final stage is repetition.
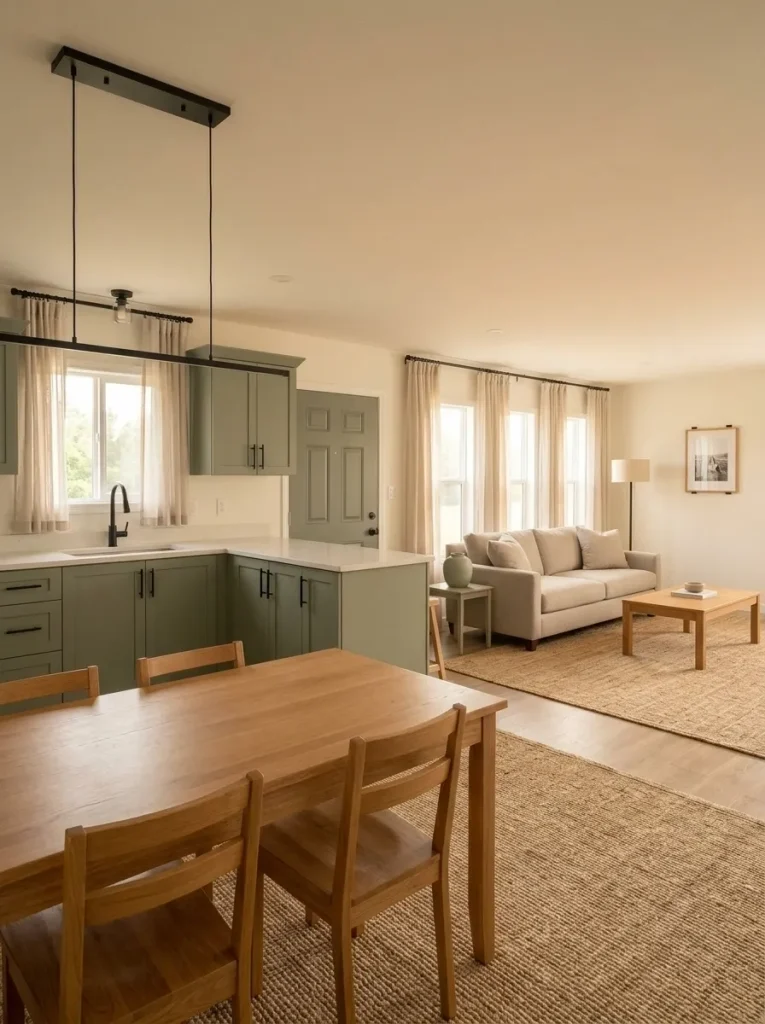
Choose two finishes already present in your strongest completed area and echo them selectively through connected rooms. One might be a warm white used on trim and doors. The other could be a natural wood tone, muted green, matte black, aged brass, or another restrained accent.
You do not need either finish everywhere.
Repeat them where spaces see one another: kitchen hardware related to the dining area, living-room wood repeated near the entry, bathroom color connected to hallway trim, or exterior planters echoing the front-door tone.
This final step may cost almost nothing when it uses leftover paint, existing decor, or hardware already purchased.
Stop once the home develops a recognizable finish language. Starting another unrelated color story after that point can weaken the cohesion you just created.
Final $500 Bundle Builder
Final $500 Bundle Builder
Turn separate projects into one makeover.
Choose the transformation you want first. Each route shows how a small, medium, or full $500 ceiling can be concentrated without pretending every project belongs inside one budget.
Spend on the surfaces that occupy the photograph.
Best when the home feels dated overall but its major fixtures and surfaces remain functional.
Paint one dominant wall zone or choose one correctly scaled rug.
Combine paint with curtains or lighting so one room changes at several visible levels.
Carry one wall-and-trim story through the living/dining view and add one major textile or lighting layer.
Let the cabinet field carry most of the visual change.
Best for a functioning kitchen whose layout still works but whose finishes feel dated.
Clean, prep, and refresh a modest cabinet field or high-impact hardware set.
Refresh one complete run and preserve part of the ceiling for preparation and correction.
Add a controlled backsplash or lighting layer without moving plumbing or changing the layout.
Use repetition to make several small changes feel intentional.
Best when the home’s major surfaces are already in decent condition and visual inconsistency is the larger problem.
Remove clutter, use leftover paint, and repeat one existing finish in two connected zones.
Unify repeated architectural details and echo one textile or wood tone through adjoining spaces.
Choose several modest projects that share the same finish language, such as paint, light, and entry details.
Concentrate money around the arrival sequence.
Best when the home is sound but the entry and visible ground edge make the exterior feel unfinished.
Door finish, mat, address detail, and a restrained planter composition.
Coordinate the entrance with cosmetic work on sound existing steps and a cleaner ground edge.
Finish the approach through door color, sound surfaces, simple landscaping, and cosmetic base-edge continuity where appropriate.
A $500 Mobile Home Makeover Works Best When the Scope Stays Small Enough to Finish
A good mobile home makeover under $500 does not try to erase every sign of the original home. It identifies the surface or zone creating the strongest visual drag and gives that area enough attention for the change to register.
Keep sound cabinets, counters, floors, doors, fixtures, and furniture whenever they still perform their job. Concentrate the budget on the wall, window, cabinet run, vanity, bed wall, living-room focal point, or entrance that influences the largest part of the view.
When the home begins to look coherent, stop. A finished $250 project is more valuable than five half-started upgrades competing for the same $500.
Save these mobile home makeover ideas to Pinterest so you can come back to the projects that fit your home and budget.