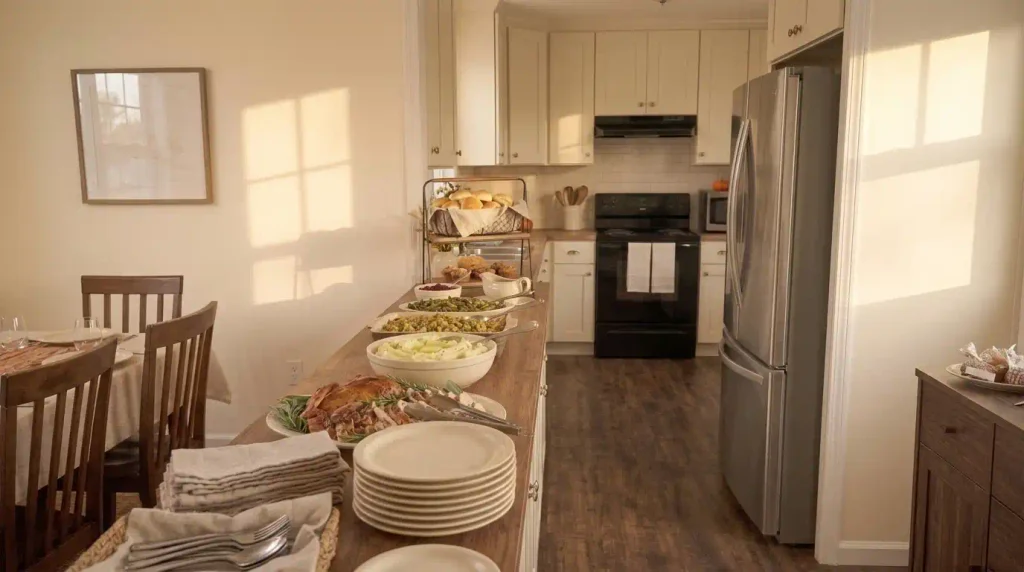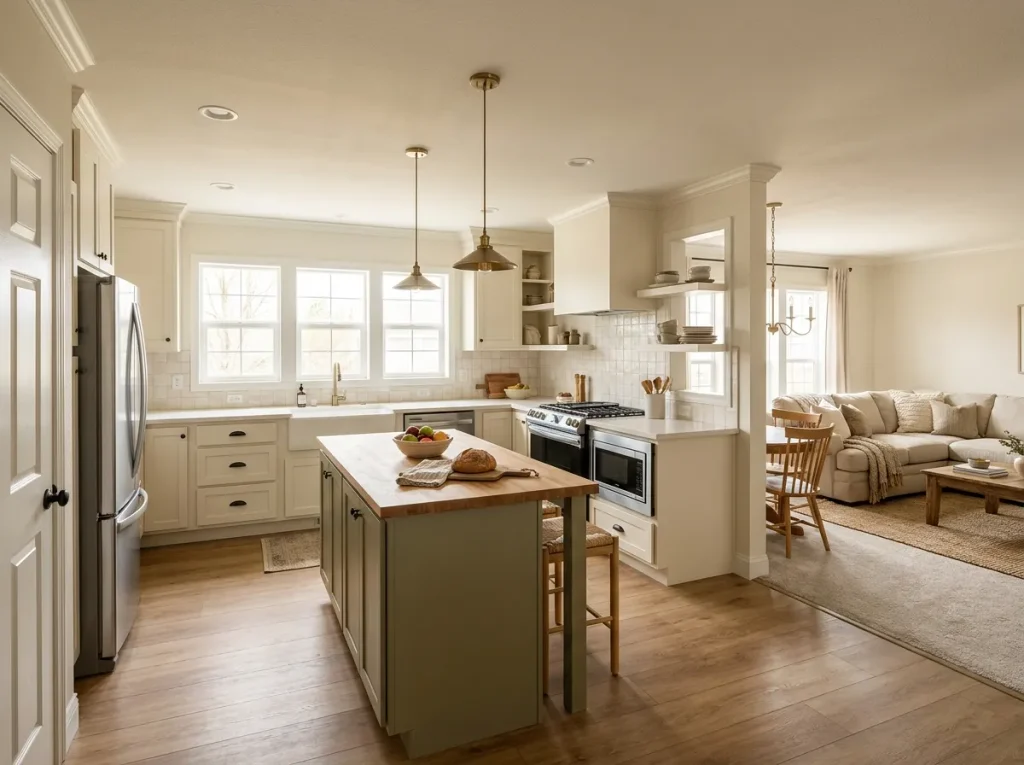
After Thanksgiving dinner, a slice of pie and a fresh cup of coffee can turn a busy little kitchen into the gathering spot everyone wants to visit. The trouble is that a mobile home’s counter may still be occupied by dinner dishes, and guests often cross the same narrow aisle to reach the refrigerator and dining nook.
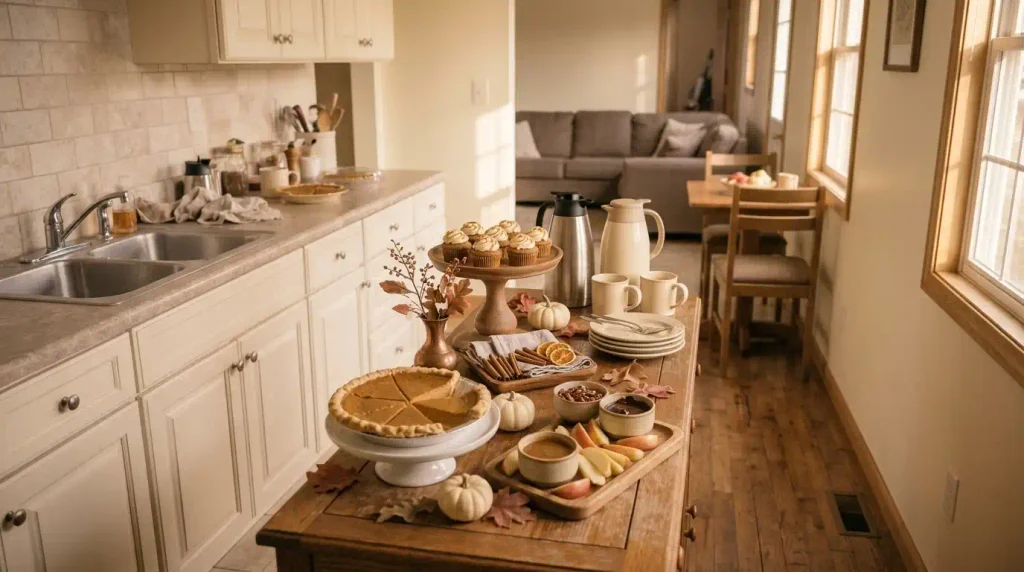
A Thanksgiving dessert station in a mobile home solves that problem with one clearly placed serving surface: a sideboard beside the dining area, a cleared counter end, or a stable compact cart. The display can feel generous without resembling a banquet buffet. Start with the guest route, then add coffee, a few thoughtfully selected sweets, and an understated autumn finish.
Quick setup checklist: Choose a station surface that doesn’t block doors or seating; assign one end to plates and desserts and the other to drinks; select a safe coffee method; set out one pie, one small sweet, and one contrasting option; keep refrigerated backups separate; test the route while carrying an empty plate and mug.
1. Choose the Right Moment to Open Your Thanksgiving Dessert Station
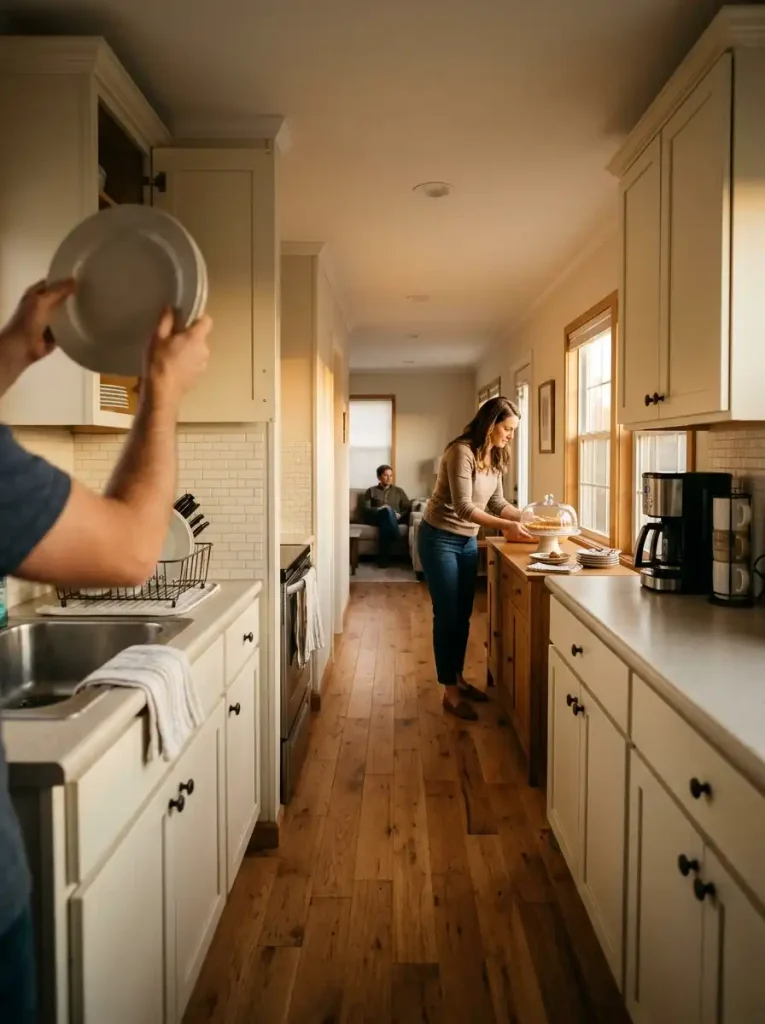
A coffee station can be beautiful at noon and a nuisance at 4 p.m. if the turkey, casserole dishes, and dirty dinner plates still need its counter. Plan the dessert hour as a separate event, even when it happens just twenty minutes after the meal.
Try this hosting sequence:
- Clear the dinner-serving surface and move hot pans safely out of the guest route.
- Bring out the ready-to-serve desserts and fresh plates.
- Open coffee service last, when someone can pour without crossing the cleanup path.
If your kitchen is unusually narrow, consider waiting until the main dishes are put away before opening the station. A sideboard beyond the cooking area may let dessert begin sooner.
For the separate first-course traffic pattern, see our Thanksgiving buffet arrangement for narrow mobile home kitchens.
The central decision is when guests can browse without interrupting the cook.
2. Find the Best Station Location in Your Mobile Home
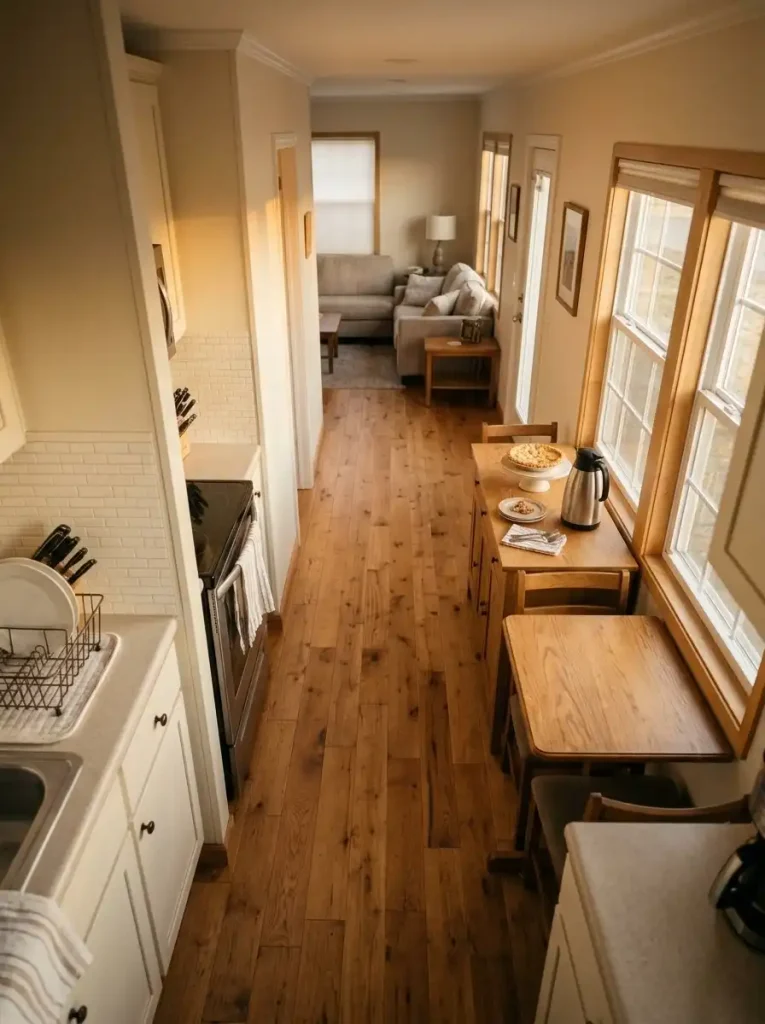
Can someone approach the station, take dessert, and walk away while a second person passes? That is the first test—well before you decide what the tabletop should look like.
| Existing surface | Best use | Reason to reject it |
|---|---|---|
| Dining-side sideboard | Dessert and insulated coffee carafes near seating | Cabinet doors or guests block the only passage |
| Kitchen counter end | A brief post-dinner service after cookware is cleared | Fridge, sink, or range access would be obstructed |
| Stable compact cart | A temporary serving point outside the main working aisle | The cart wobbles, rolls, or creates a cord hazard |
Trace your natural route with an empty plate. In a one-wall kitchen, also open the refrigerator and move a dining chair as someone would during dessert.
If either action squeezes the path, move the station or shorten the display. A counter that looks spacious in a photograph may become crowded once someone approaches it with a mug.
The ideal location is the one that allows guests to stop comfortably without disrupting kitchen access.
CUSTOM HTML INSERTION 1 — Interactive Station Placement Studio
Where should dessert live?
Choose your serving surface. The floor-plan concept and recommendation change with your selection.
Keep guests outside the cooking lane
The sideboard can remain open while dishes are cleared. Choose a thermal carafe when an appropriate outlet is unavailable.
Open after cleanup
A cleared counter end may support a coffee maker and dessert tray after hot pans and dishwashing traffic are gone.
Park once, then serve
A compact cart brings dessert closer to guests without taking over the dining table.
Conceptual layouts only — not measured manufactured-home plans.
3. Give Guests a Clear Dessert-to-Coffee Serving Route
Picture two people arriving at once: one wants pie, and the other wants coffee. If the cups are behind the cake stands, both will reach over food.
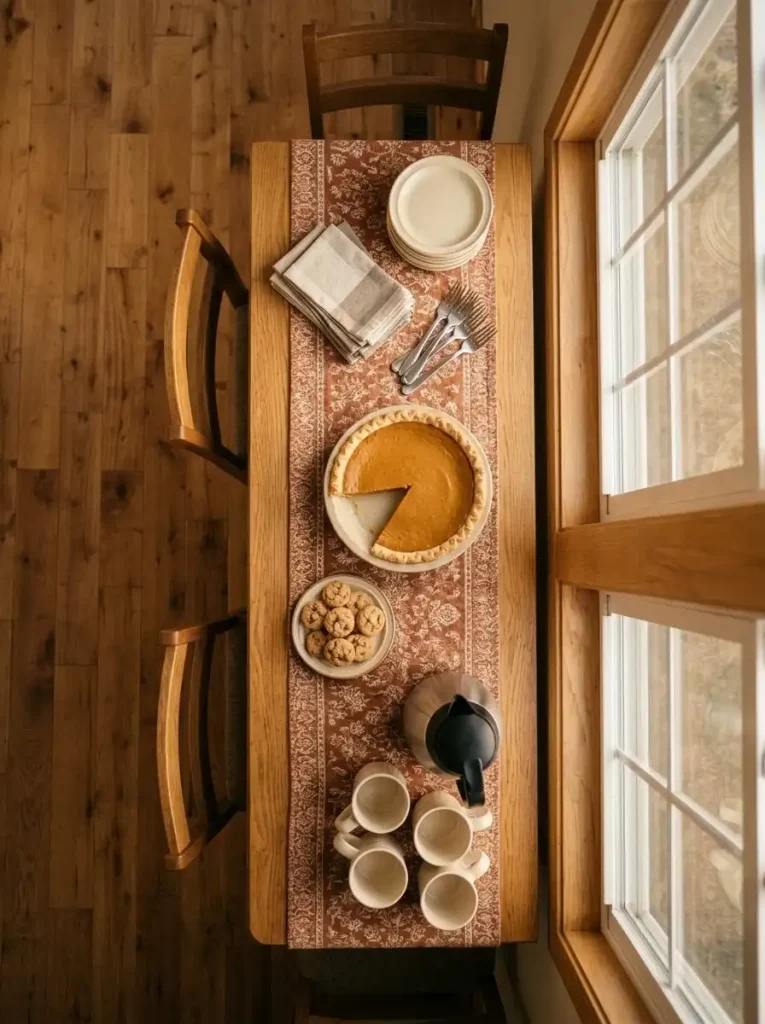
Create a short journey with a clear start and finish.
| Pick up | Choose | Finish |
|---|---|---|
| Dessert plate and napkin | One or two accessible dessert trays | Coffee or tea, then an exit toward seating |
Place cups at the beverage end, not next to the pie knife. Keep sugar and stirrers beside the drink they belong to; do not make guests double back across the sweets for milk.
A kitchen counter with only one accessible side may work better as two small service moments: dessert from the dining-facing end and coffee in a nearby nook.

The same separation helps protect the Thanksgiving place settings, as discussed in our small mobile home dining-nook table-setting guide.
Test the route once before your guests arrive: where would a person holding a cup naturally go next?
4. Choose a Coffee Setup That Fits the Available Surface
What equipment is already part of your everyday routine? A full new coffee machine can consume more space than the desserts.
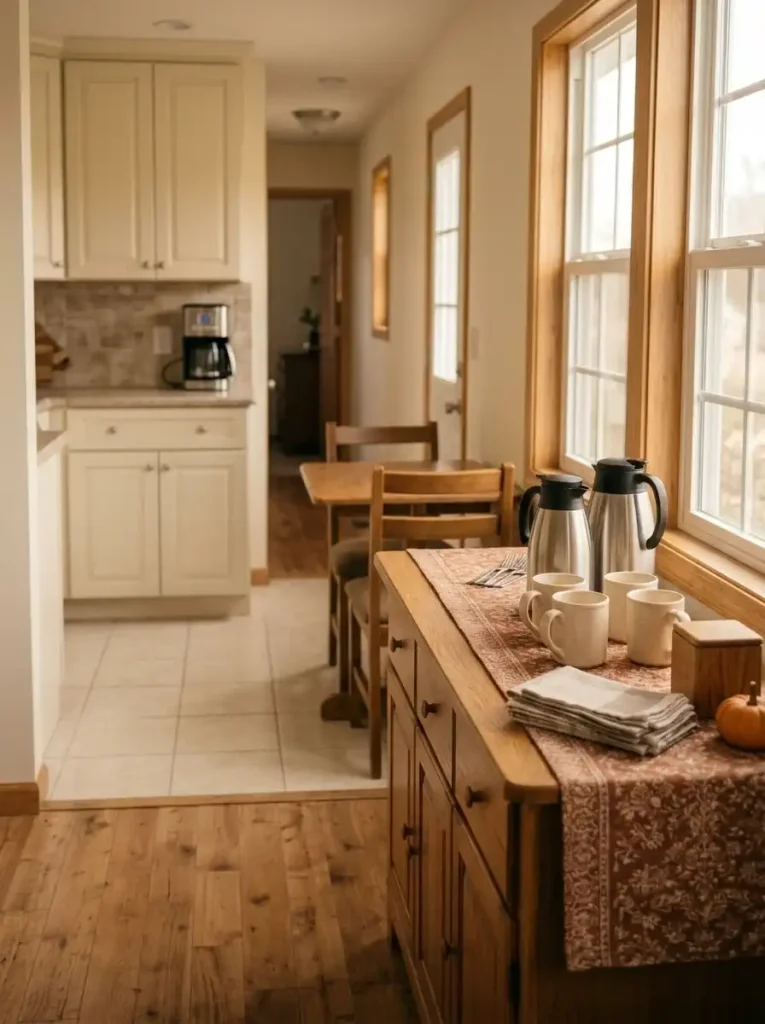
Choose the service style according to available power, available surface, and the number of people who will pour.
- Fresh-brew station: Sensible on a clear, stable kitchen counter with a suitable nearby outlet and room to lift the lid and remove the pot.
- Thermal-carafe station: A flexible serving option when coffee can be brewed in the kitchen and brought to a dining-side surface; prepare a clearly marked decaf or tea alternative if wanted.
- Simple kettle-and-tea setup: Useful for smaller gatherings, provided the appliance remains on a stable, suitable counter with safe cord placement.
Bring out the mugs you truly need, then stash spare cups in a nearby cupboard.
A narrow station feels much larger once it stops storing its entire refill supply in plain sight.
Coffee Service Decision Deck
Pick the drink setup by what your counter can support
Open a service profile ↓01 / Brew right here
02 / Pour from a thermal carafe
03 / Keep it tea-forward
Practical filter: first choose a safe appliance position; only then choose cups, sweeteners, and styling.
5. Protect the Coffee Appliance’s Working Space
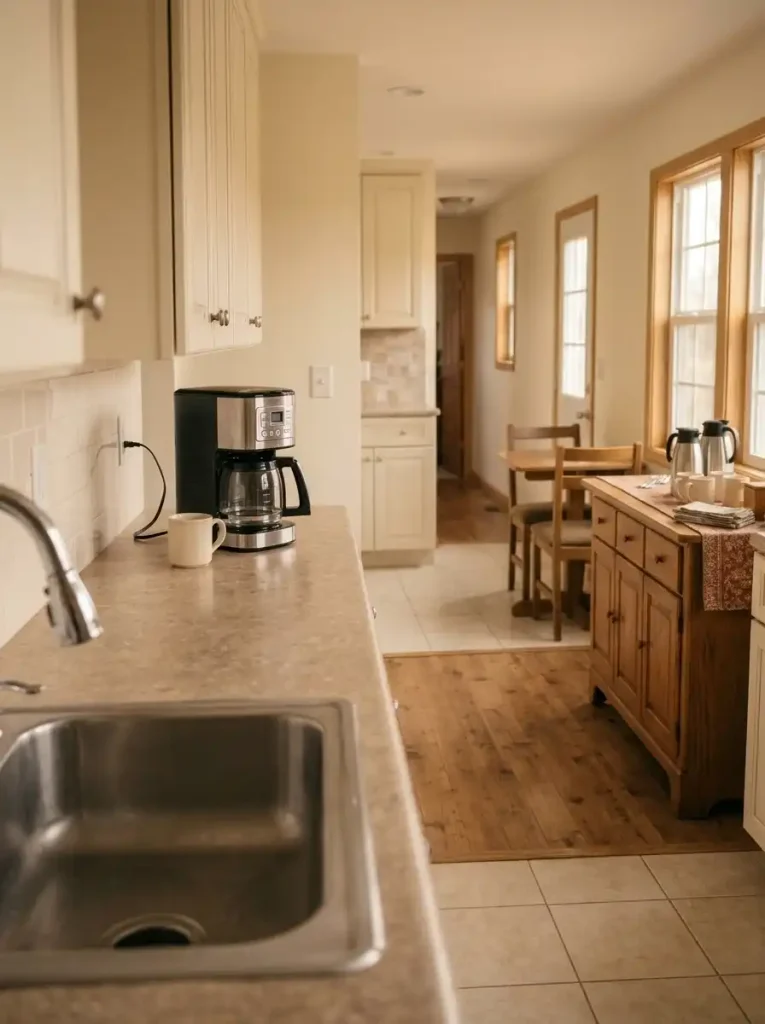
Before hanging a fall sign behind your brewer, imitate the entire task of making a pot: fill the reservoir, lift the lid, remove the carafe, then set a mug down.
A setup that looks tidy while switched off can become awkward the first time someone needs a refill.
Move the machine or change the serving method when:
- Its cord runs through the guest route or close to water.
- The lid cannot open fully or the carafe has no clear landing point.
- Fabric, leaves, or paper signs sit near the appliance’s heat or steam path.
Follow the appliance manufacturer’s instructions for placement, clearances, and electrical use.
The U.S. Consumer Product Safety Commission’s extension-cord guidance explains risks associated with cords that lack required safety features.
A thermal carafe filled in the kitchen is often the simpler solution when the dessert surface lacks an appropriate outlet.
6. Build a Balanced Three-Part Thanksgiving Dessert Menu
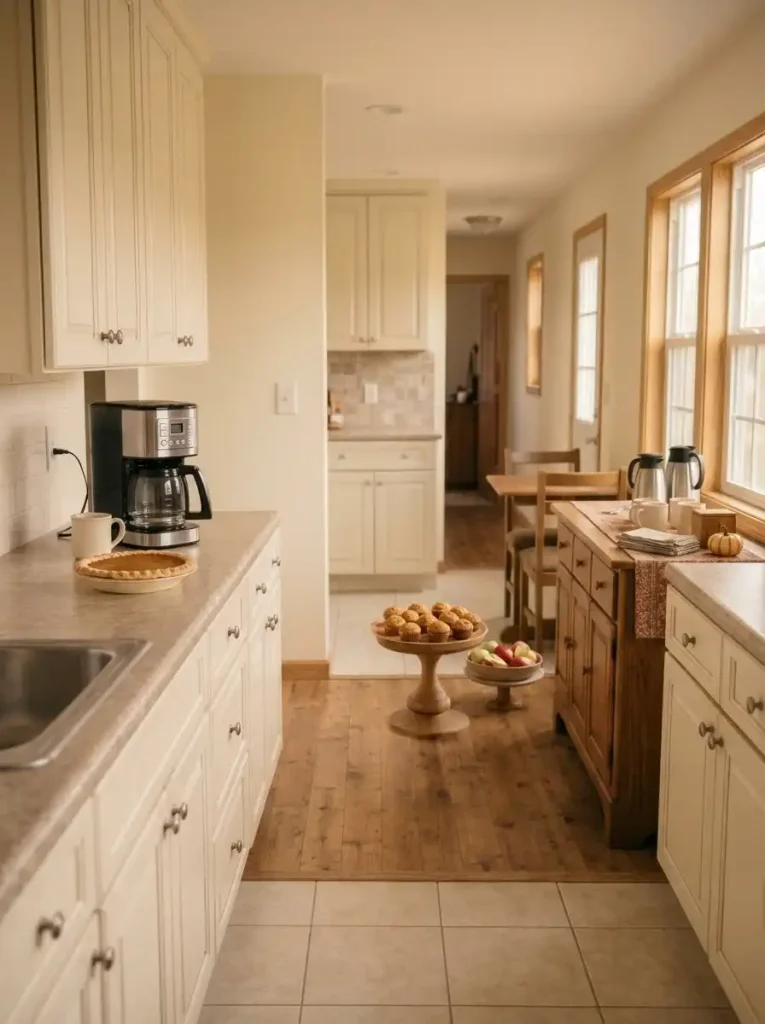
The generous displays in your inspiration images offer a useful lesson about variety, but not about quantity.
For a mobile-home station, give each dessert a different job.
- The Thanksgiving anchor: A pumpkin, pecan, or apple pie for guests who want the traditional finish.
- The small, easy bite: Mini muffins, cookies, or brownies that need no knife.
- The contrast: Fresh apple wedges or another fruit-forward option for guests who prefer a lighter choice.
Example for eight guests: One pie cut into eight reasonable portions, eight to twelve small bites, and a modest fruit tray can be a starting point, not a universal serving formula.
Ask whether your guests usually want seconds or several dessert types, then adjust quantities. Some diners will decline sweets and others will enjoy more than one.
A narrow counter benefits from displaying a few portions of each choice while clean backup servings wait elsewhere.
You do not need four cakes visible at once to make the station feel celebratory.
7. Pre-Portion Desserts Before Guests Approach
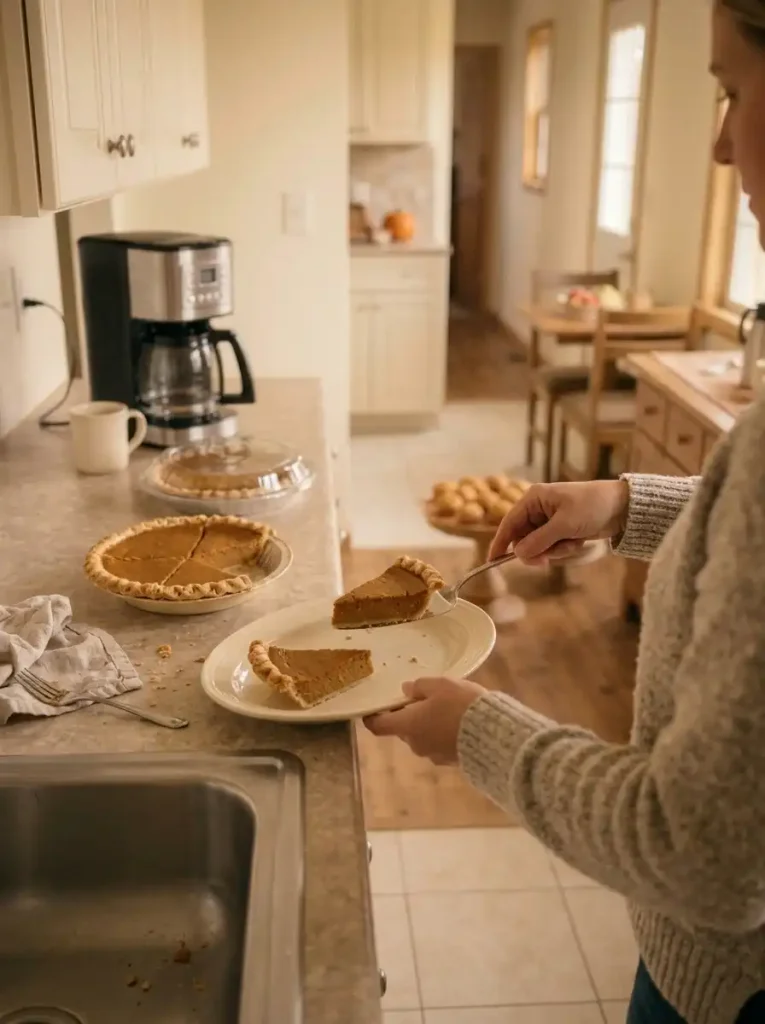
Imagine a guest balancing a mug while trying to slice a sticky pecan pie on a shallow sideboard.
The knife needs elbowroom, and everyone waiting behind that guest has to pause.
Prepare for the first round:
- Slice a few pieces of the main pie in the kitchen, where you have a proper cutting surface.
- Set a pie server beside the plate and leave space for lifting each portion cleanly.
- Offer muffins and cookies whole, but prepare chilled pudding cups only when you can hold them safely cold.
There is a tradeoff: early slices can dry out and occupy more serving space.
Start with a modest number, cover the rest appropriately, and refresh the platter when needed.
A whole backup pie may stay off the main display until someone actually wants another slice.
8. Create Height With a Compact, Stable Dessert Display
The high-low rhythm in your reference photographs is useful, but many of those stands are built for large party tables.
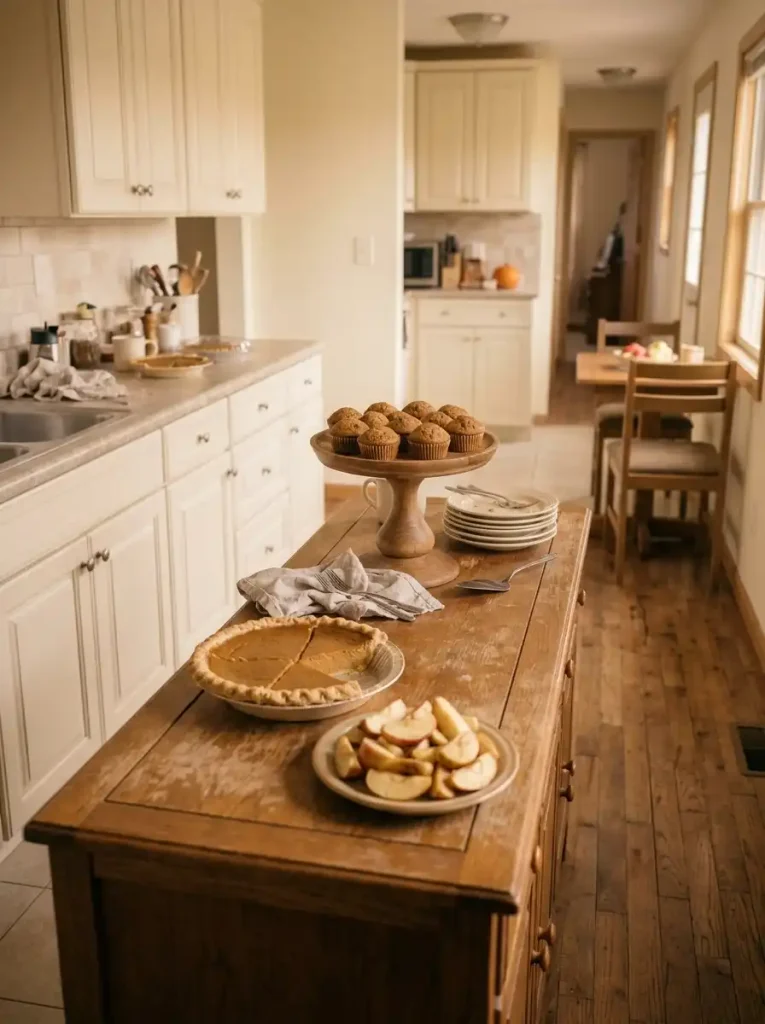
In a mobile home, elevation should make desserts easier to see without forcing guests to reach across one another.
Try a low wooden board in front, a single sturdy cake stand at the rear, and a small intermediate tray only if the surface remains stable.
Reserve the highest position for items guests can pick up easily—such as muffins—not a heavy, unsliced pie that requires leverage with a server.
Avoid the tempting shortcut: An overturned bowl or unstable box may look like a budget riser, but wobbling supports are a poor foundation for hot drinks or valuable serving dishes.
Set up the entire display, then gently test its stability and the reach to each food before the gathering.
If a second tier creates awkward access, choose a generous single-layer presentation instead.
Height also changes who can serve themselves. A low cake stand that works for adults may still hide a back tray from a seated guest.
Walk up to the display from the sofa side, then repeat the test holding a plate.
The stand earns its place only if it improves visibility and leaves enough room for a hand to lift each sweet cleanly.
Interactive Dessert Display Composer
Build the display around the reach
Compare how three display heights use the same serving surface, and decide which arrangement gives guests the clearest access.
Low, clear, easy to reach
A single-level arrangement keeps each sweet accessible on a shallow surface.
One clear focal lift
Raise an easy grab-and-go sweet while leaving heavier dishes at the front.
Photo-ready, but high maintenance
More levels look dramatic on a deep surface but can hide desserts and complicate serving.
9. Add a Small Caramel Apple Dipping Station
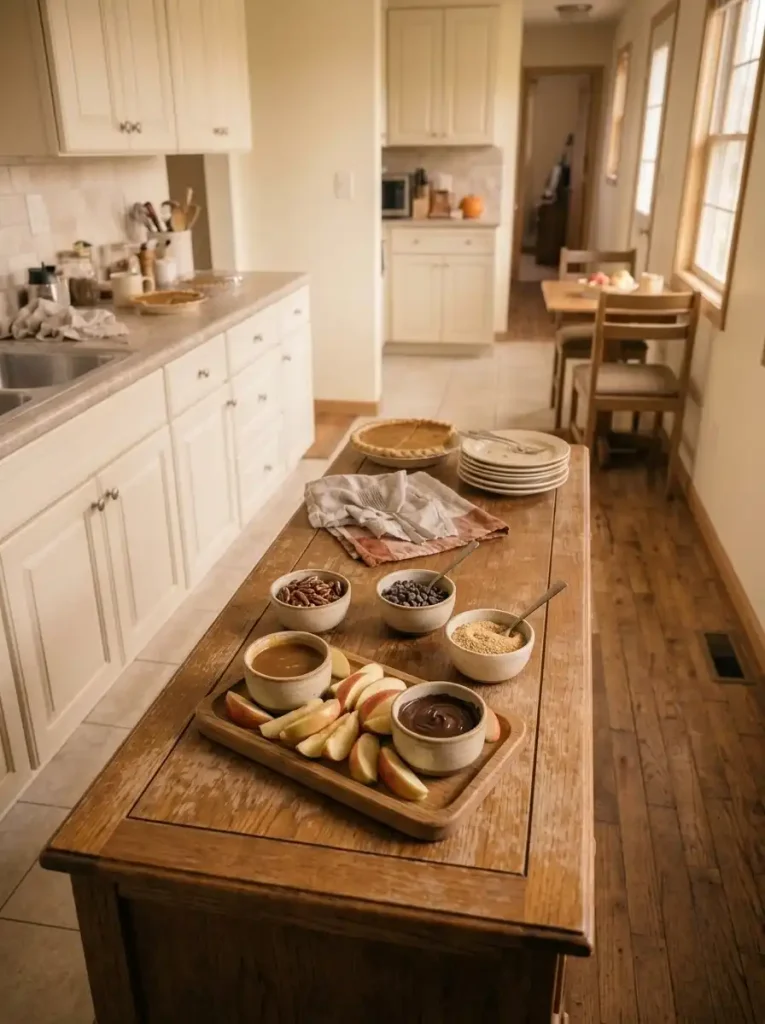
An apple dipping bar brings the playful color of the reference photographs to a single tray.
Choose one shallow board that fits beside the pie platter without occupying the mug landing space.
Assemble it in this order:
- Wash and cut the apples shortly before serving, then arrange a small batch around the outside of the board.
- Place caramel and chocolate dip in separate sturdy bowls at the center, with a spoon for each.
- Add no more than two or three toppings—perhaps graham crumbs, chocolate chips, and chopped pecans kept apart with their own utensil and a clear label.
Keep chilled backup apple slices refrigerated and replenish as needed.
Guests should be able to take or dip a wedge without reaching over coffee.
If the counter cannot accommodate separate dipping bowls, serve a ready-portioned apple-and-caramel cup instead.
Nuts must remain clearly identified, and shared utensils can create allergen cross-contact.
10. Offer Warm Apple Cider Without Complicating Coffee Service
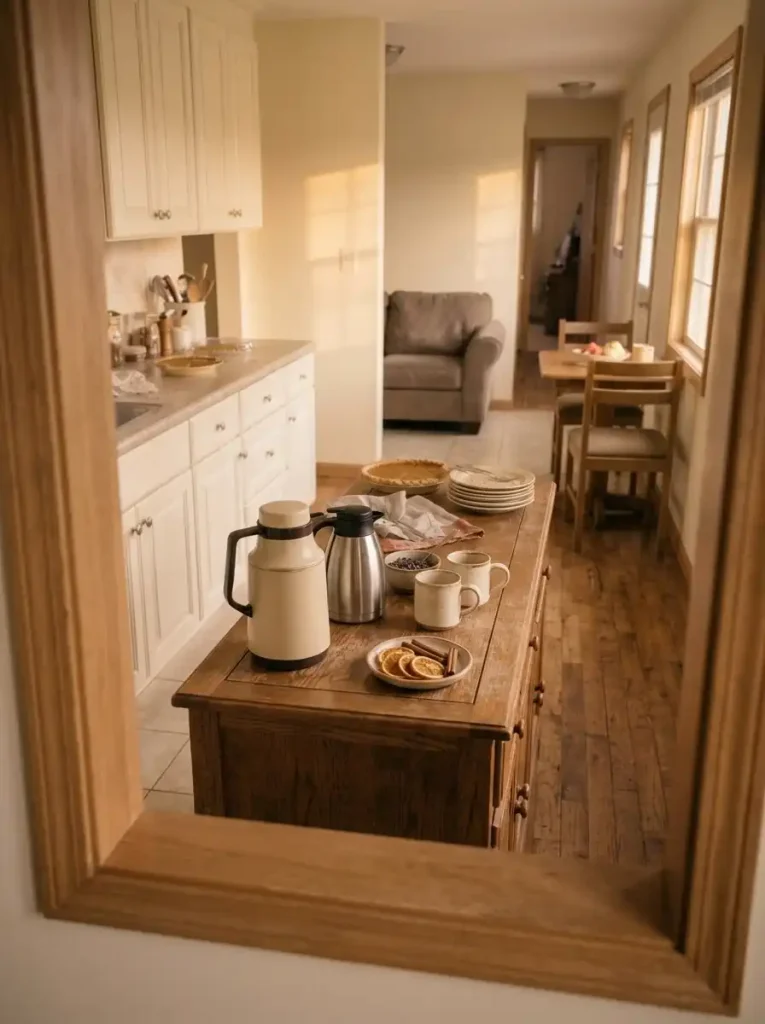
Hot apple cider is a lovely match for pumpkin desserts, yet a second heated appliance can undo the simplicity of a small station.
Decide whether cider is a genuine guest preference before placing it beside the coffee.
| Your situation | Better decision |
|---|---|
| Coffee and decaf already satisfy the group | Skip cider and preserve cup space |
| Several children or non-coffee drinkers are coming | Offer alcohol-free cider in a suitable insulated server |
| Cider needs its own heated equipment | Give it an appropriate separate kitchen position, following the appliance instructions |
Place cinnamon sticks and dried orange slices in a small garnish dish rather than mixing loose décor with serving utensils.
If two beverage containers cannot sit securely with room for pouring, serve them at different times or in different places.
The broader dinner-drink arrangement belongs to the buffet guide linked earlier; the focus here is the after-dinner coffee service.
11. Make Dessert Labels Useful for Every Guest
Two pies can look alike under warm lighting, and a regular coffee carafe can resemble decaf.
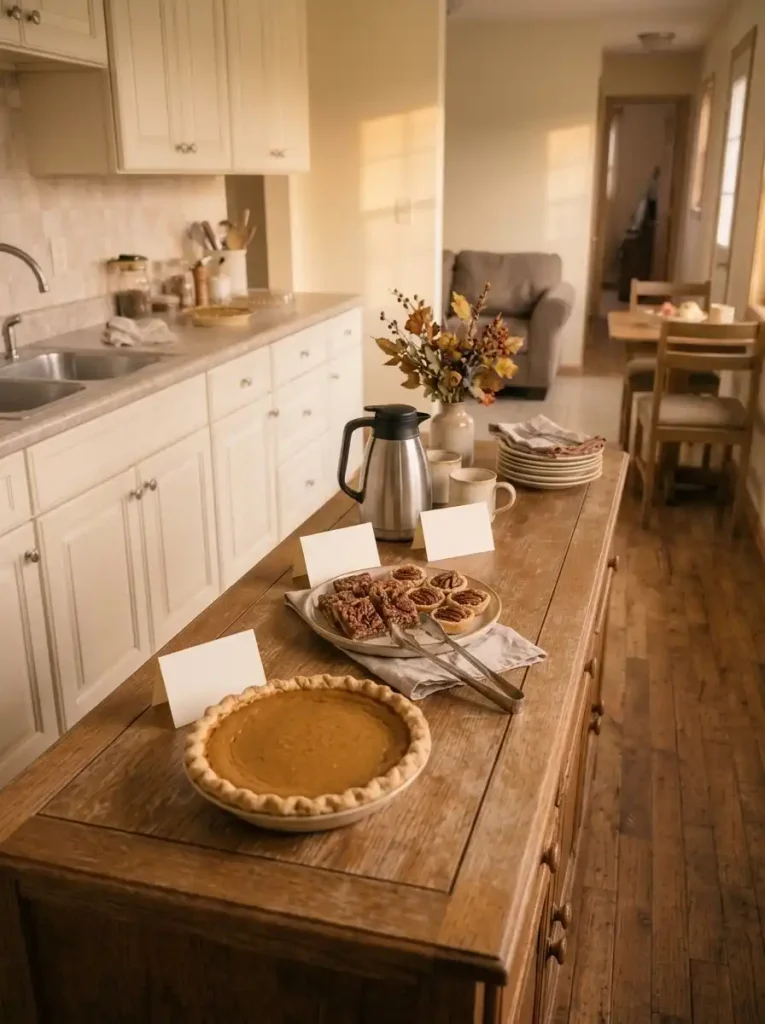
Make the small signs do practical work.
A useful label has three layers: a clear item name, a short ingredient or allergen note when verified, and a position directly beside the correct food or drink.
For example, Pecan Pie may require a tree-nut warning; check the actual recipe or product label before listing ingredients, including milk, eggs, wheat, and sesame where relevant.
For serious food allergies, ask guests about their needs directly and prevent cross-contact in preparation and service.
A handwritten label is not proof that a dish is allergen-free.
The FDA’s food-allergy guidance explains the major allergens.
Keep the cards readable from the guest’s approach—not hidden under cake stands.
Premium Dessert Signage Studio
Decorative enough to belong; clear enough to use
12. Give Chilled Creams and Desserts Their Own Holding Plan
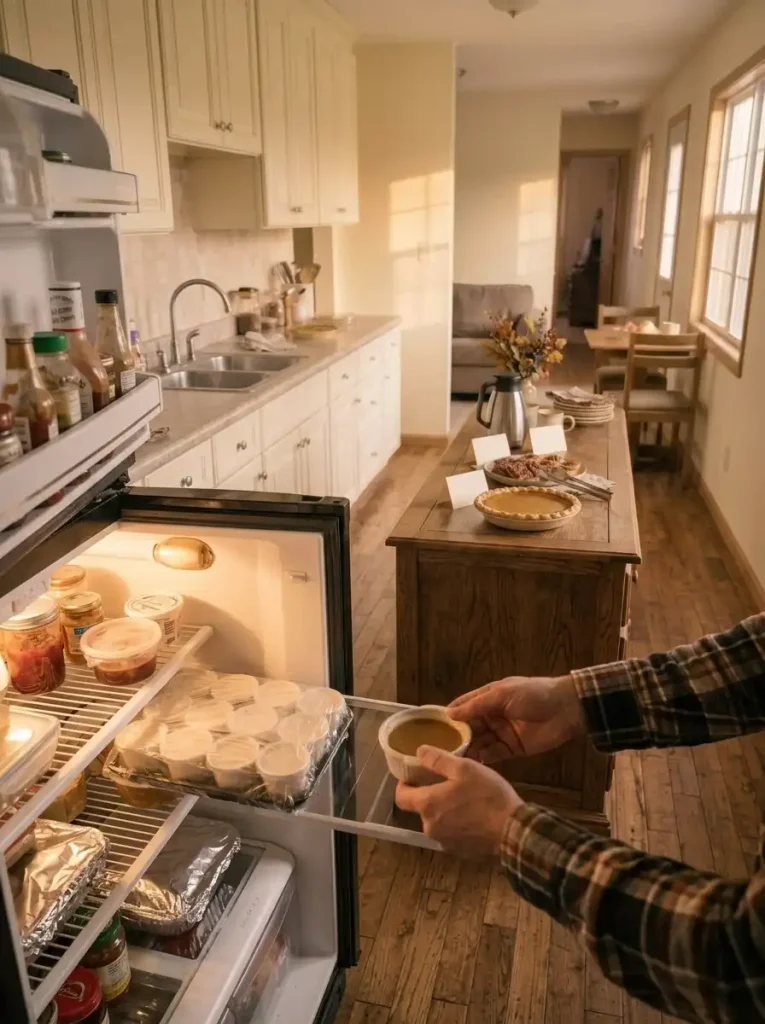
Whipped cream, custard-based pie, dairy dips, and some pudding cups cannot be treated like ordinary cookies.
In a small mobile-home kitchen, keep the decorative display and the safe storage plan separate.
Choose the holding method before the serving dish:
| Service situation | Appropriate holding decision |
|---|---|
| Backup custard or cream dessert | Keep it refrigerated until the next clean serving round |
| Cold dessert displayed longer | Use verified cold holding with suitable ice or equipment and a thermometer |
| Long dessert hour without cold holding | Serve fresh smaller rounds or choose desserts without refrigeration requirements |
According to the FDA’s safe buffet guidance, cold perishable foods should stay at 40°F (4°C) or below.
Perishables held without safe hot or cold temperature control should be discarded after two hours at room temperature, or one hour above 90°F (32°C).
Do not place new servings into an already-used dish; replace it with a clean, freshly filled one.
Check each dessert’s recipe or packaging for its storage requirements, and do not rely on appearance to judge safety.
13. Style the Station With a Restrained Harvest Palette
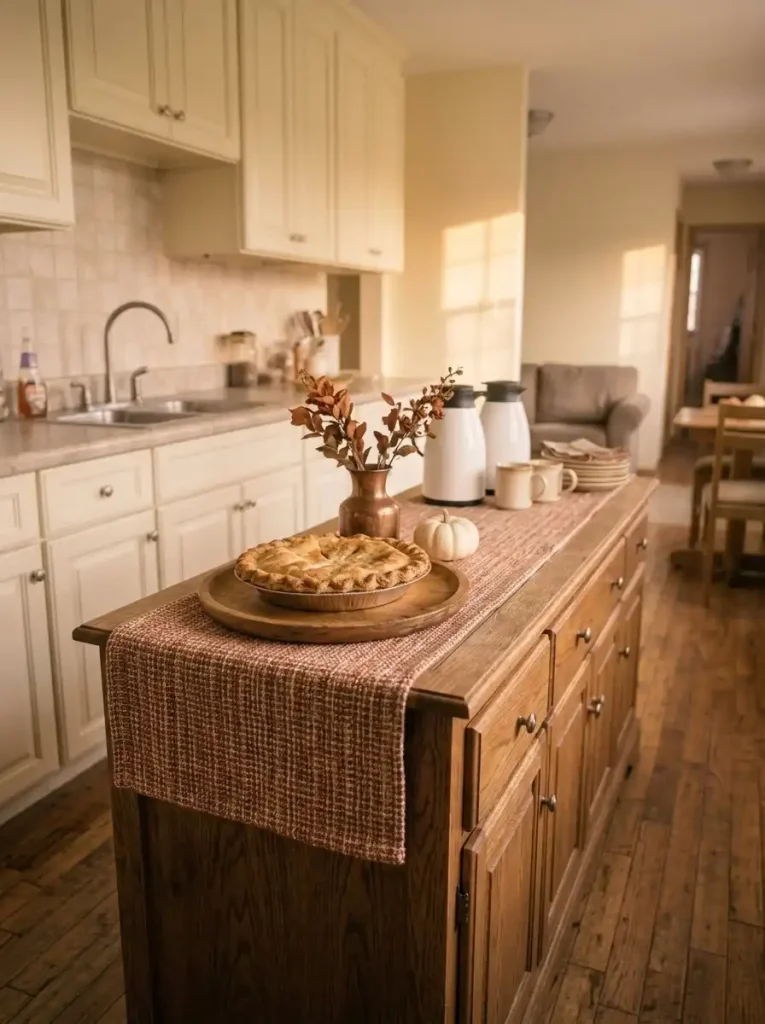
The references combine warm woods, cinnamon, rust, cream, and amber glass.
On a small sideboard, choose a short palette so the food remains the central attraction.
- Quiet base: Cream linen or a washable oatmeal runner.
- Two accents: Copper and burnt orange through one small vase, napkins, or miniature pumpkins.
- Natural finish: Oak boards, apple skins, pie crust, and a modest bundle of dried leaves behind the food—not beside a hot appliance.
Try removing one decorative object after everything has been set out.
If you can now reach the pie server or coffee cups more easily, leave that piece off.
For larger seasonal decorating choices elsewhere in the room, see our fall mobile-home kitchen decorating guide.
14. Make the Dessert Station Glow After Sunset
After sunset, your station needs two different qualities of light: a reliable view of cups and labels, plus a softer ambient glow that makes the nook inviting from the living area.
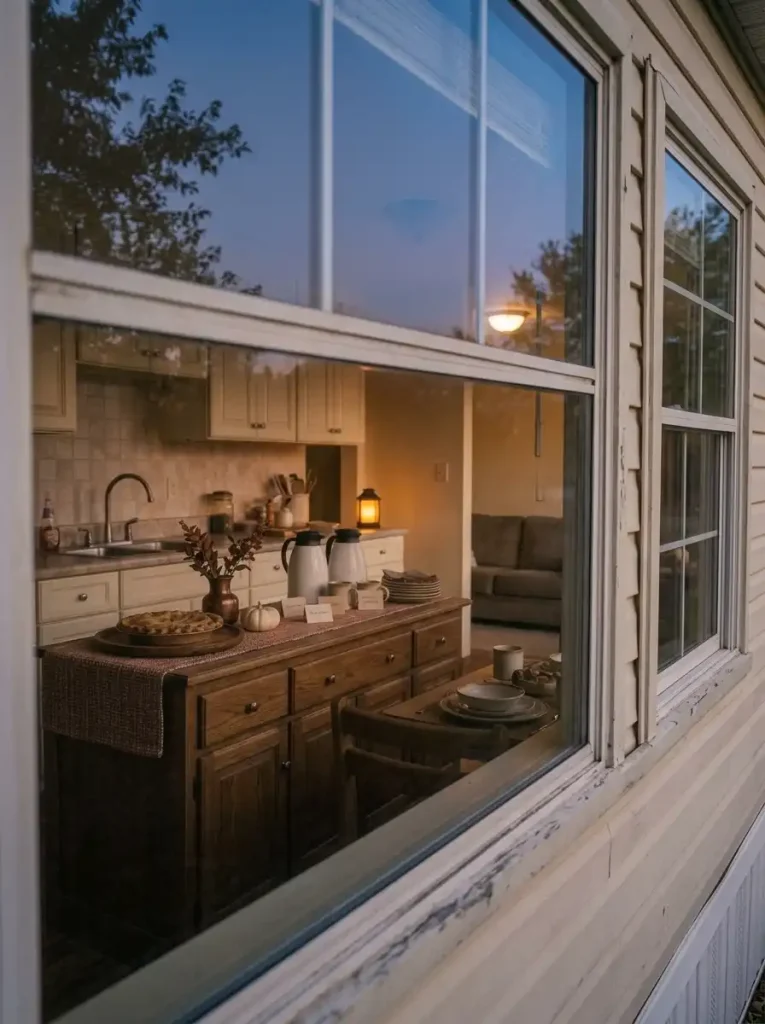
A string of fairy lights alone rarely supplies both.
Try the label-and-pour test: Stand where a guest would pour a cup and read a small dessert sign.
If your hand casts a deep shadow or the label is hard to read, switch on the kitchen task light or redirect a safe nearby light source.
Use a battery-operated LED lantern farther from food and décor as the atmospheric layer; keep cords, heat, and dried foliage separated.
A little autumn light is enough.
The broader dining-table treatment belongs to our small Thanksgiving centerpiece guide; here the lighting must support serving, not compete with it.
Interactive Evening Lighting Studio
Can guests read the station?
Compare three evening lighting conditions. The recommendation changes according to label visibility, pouring safety, and atmosphere.
Easy to see, little atmosphere
Bright overhead light helps with pouring and cleanup, but can flatten the warm holiday display.
Try: preserve the task lighting and add a gentle accent farther away.A cozy scene you can actually use
Keep the food and labels visible, then frame the area with a battery lantern or distant decorative light.
Keep: this is the strongest balance between atmosphere and function.Beautiful from afar, awkward up close
Dim light makes signs harder to read and reduces visibility around hot beverages.
Fix: add directed, glare-free task lighting before opening the station.15. Make Coffee, Plates, and Treats Comfortable to Reach
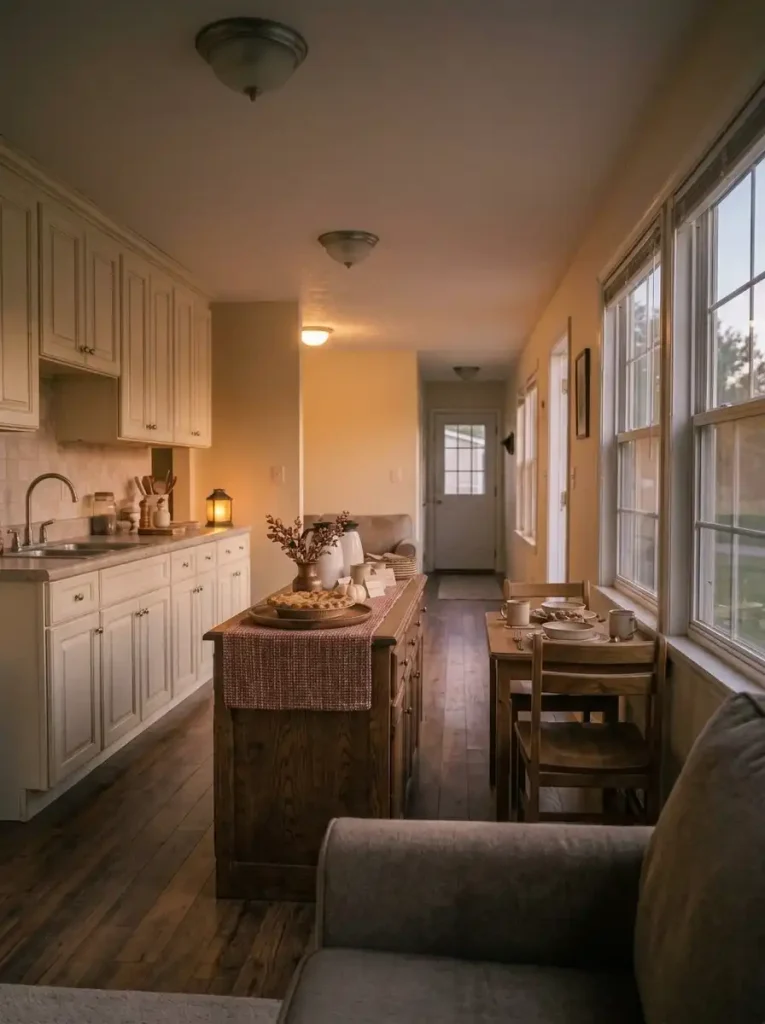
The prettiest arrangement can still be uncomfortable for someone carrying both a mug and pie.
Test the station from the actual side your guests will approach, including the view from nearby seating.
Run these four practical checks:
- Lift a dessert fork without putting either item down.
- Reach the most popular dessert without leaning over hot coffee.
- Find a small clear landing spot for the mug while pouring or adding milk.
- Return to the sofa or dining chair without cutting back through the queue.
Keep heavier pies and frequently used plates on stable, easy-to-reach surfaces.
If a guest has mobility or reach requirements, ask what serving arrangement they prefer and offer help where wanted.
For children, let an adult handle hot drinks.
A generous landing spot often serves guests better than a taller display.
16. Create a Dessert Refill Plan That Doesn’t Crowd the Counter
A photogenic station is only the front half of the setup.
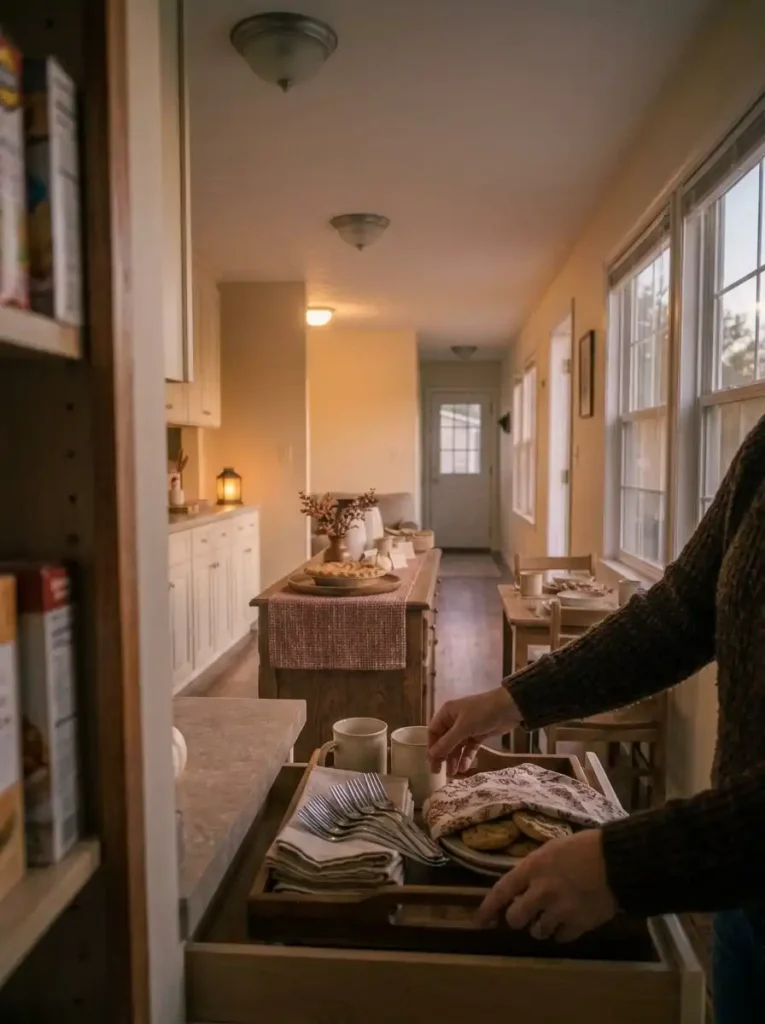
The other half is a nearby refill point where you can prepare the next dish without crossing guests or blocking the sink.
Divide the station into two jobs:
- On display: The first round of pie, muffins, dips, mugs, napkins, and utensils.
- Behind the scenes: Clean replacement dishes, spare supplies, and refrigerated perishable desserts.
Replace nearly empty serving dishes with fresh ones at natural pauses; don’t add new treats onto a platter guests have been handling.
The interactive refill checklist below covers the practical handoffs.
If you cannot reach the backups without walking into the dessert queue, move them to a more convenient shelf before guests arrive.
A small carry tray for backup utensils and napkins is often more practical than a second tier of decorative serving stands.
Interactive Host’s Refill Checklist
The host’s refill circuit
Check each task as it becomes ready. A completed-state message appears when all four tasks are checked.
17. Pack Away the Station Without Disrupting Tomorrow’s Kitchen
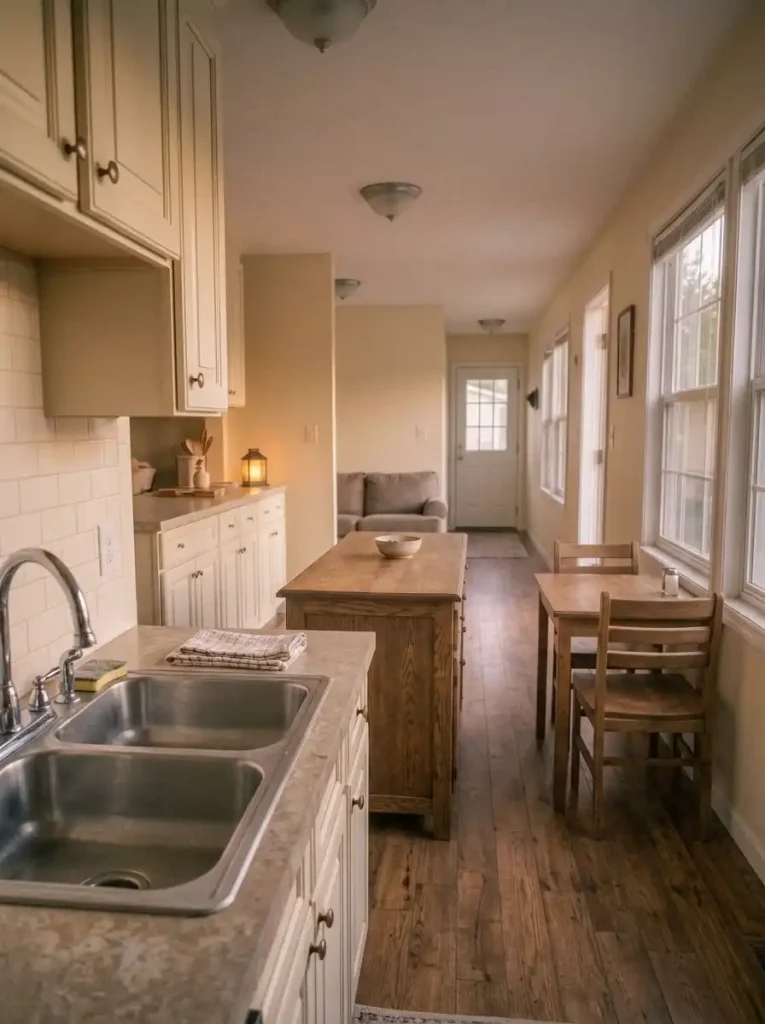
Tomorrow morning’s kitchen should not have to work around last night’s dessert buffet.
Before the gathering, choose one storage destination for seasonal signs, serving boards, and any borrowed dishes.
Close the station in three passes:
- Food: Check how long each perishable item has been out, discard anything that has exceeded safe holding limits, and refrigerate safe leftovers promptly.
- Serviceware: Gather sticky dipping utensils and used cups, then wash or properly set aside serving dishes and dry reusable decorations before storage.
- Surface: Remove the runner, put the coffee equipment back in its normal place, and restore the prep space needed for breakfast.
The final visual check is surprisingly useful: stand at the kitchen doorway and look for an uncluttered working counter.
Leave only the everyday items you will need in the morning.
Conclusion
A comfortable Thanksgiving dessert station begins with the guest route, not the decorations.
Choose an existing surface outside the busiest kitchen path, give plates and desserts a clear pickup order, and select a coffee method that is safe for the available outlet and counter.
A traditional pie, one small baked treat, and a contrasting fruit option provide a welcoming starting menu.
One sturdy riser and a restrained harvest palette finish the display; a refrigeration and refill plan keeps it usable throughout dessert.
Before guests arrive, rehearse one journey with an empty plate and mug.
Save this setup guide for Thanksgiving Day so the beautiful after-dinner moment stays comfortable in the mobile home you already have.