

A few pumpkins and a flowering mum can make a mobile home’s front yard feel ready for fall. The harder part is finding a spot that looks intentional while leaving room to park, mow, collect the mail, and reach the front steps. A shallow bed along the skirting needs a different arrangement from an open lawn or a fence corner.
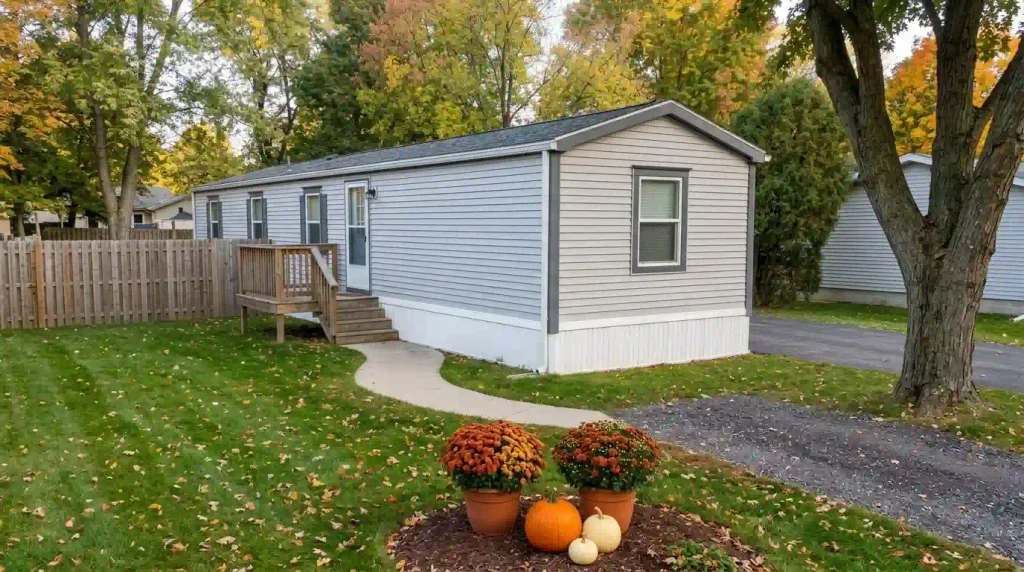
These fall mobile home front yard ideas start with the landscape you already have. You’ll find small planting pockets, movable displays for rented lots, and ways to use existing grasses, trees, and bed edges. Six visual tools help you compare locations, check a corner’s conditions, understand pot drainage, and decide where your decorating budget will do the most work.
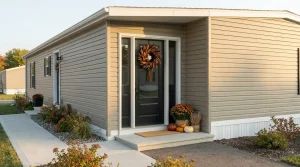
Treat the 19 ideas as alternatives. Choose one location that suits your yard, then add only what that setting needs. Check your mum’s plant label and local growing conditions before committing to a permanent border; a pretty seasonal container and a reliable perennial planting are different purchases.
1. Tuck a Pumpkin-and-Mum Pocket Into an Existing Front Bed
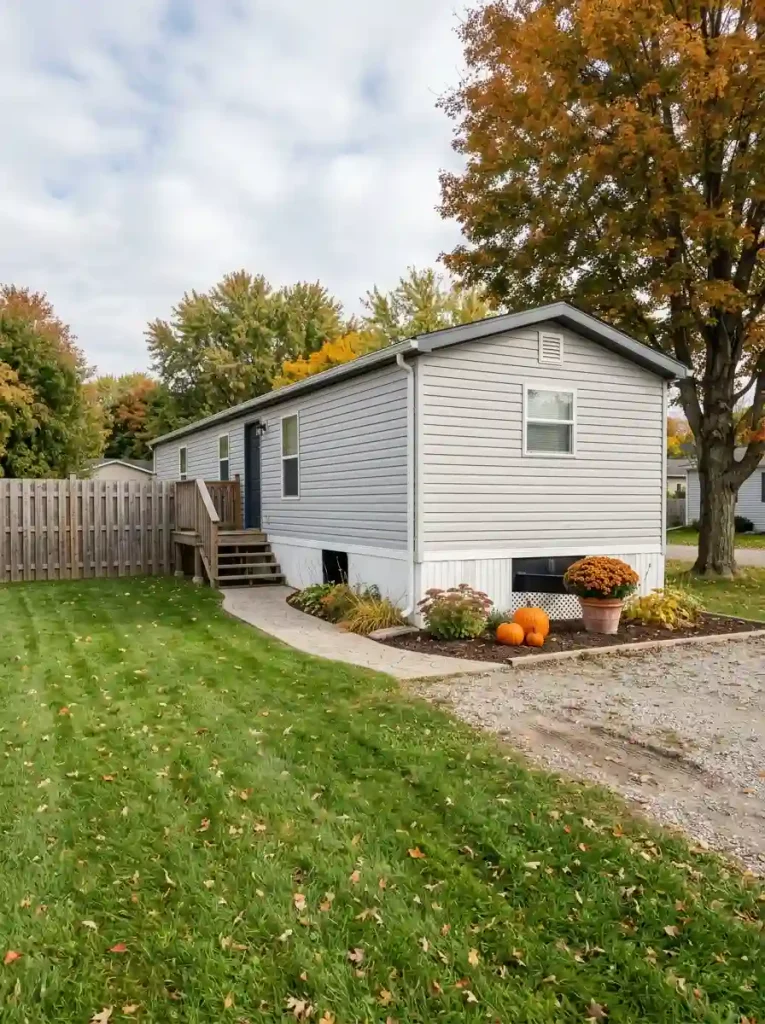
Start with an empty pocket in a bed you already maintain. Its established edge gives a mum and a few pumpkins a clear home, so the display reads as part of the landscaping without requiring a new patch of bare lawn. In a shallow bed beside mobile-home skirting, place the seasonal group toward the front where it can be reached without stepping through other plants.
Try one mum with two pumpkins of different sizes, then view the bed from the usual approach. Leave the border visible and avoid squeezing the mum between established stems. Keep skirting vents and access panels unobstructed; the home’s ventilation and service openings have a working purpose, reflected in HUD’s crawlspace requirements. Choose another pocket when this one cannot accommodate both the flowers and access.
2. Make a Movable Lawn Island for a Rented Mobile-Home Lot
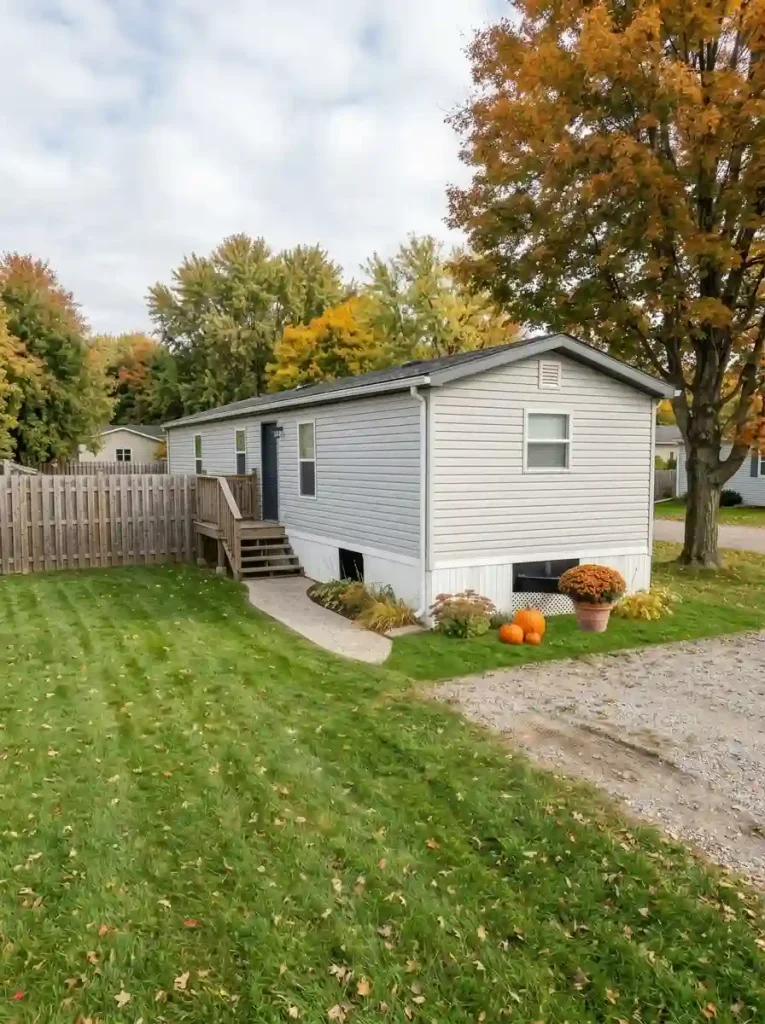
A rented lot may offer an inviting patch of lawn while limiting permanent planting. A compact island of potted mums and loose pumpkins lets you try the location without digging. Gather the pieces into one recognizable group; scattered pots make mowing around the display more awkward.
Yard placement
Where can the fall display live?
Choose the pocket you already have. Compare what belongs there before adding more pieces.
Temporary footprint
Keep the whole group liftable
A lawn island suits a reversible arrangement, provided it leaves the lot’s regular chores easy to complete.
Try this: Place one potted mum and pumpkins together. Walk and mow around the footprint; move the pieces to inspect the turf.
Contained planting
Borrow the bed’s existing edge
An established bed supplies a clear boundary. Its spare pocket must still leave plants, skirting vents, and access panels reachable.
Try this: Test one mum at the forward edge. Choose another spot when the flower mound crowds an existing plant or opening.
Approach accent
Use the outside of the bend
The path’s curve can frame a low group without adding an obstacle to the approach. The usable walking space comes first.
Try this: Carry an everyday load along the path, then place the group beyond that route. Remove a piece if it forces a detour.
Conceptual arrangements. Actual sunlight, lot rules, and everyday access decide which pocket is suitable.
- Check the lot’s rules and test the mower’s route with the arrangement in place. Keep each pot liftable for watering and removal.
- Periodically move the pieces and inspect the grass beneath them; a temporary display still covers living turf.
Keep the first version small. Use an existing bed pocket when the island repeatedly interrupts a chore or walking route. Add extra pumpkins only after the basic footprint proves workable.
3. Place Low Mum-and-Pumpkin Groups at a Walkway Bend
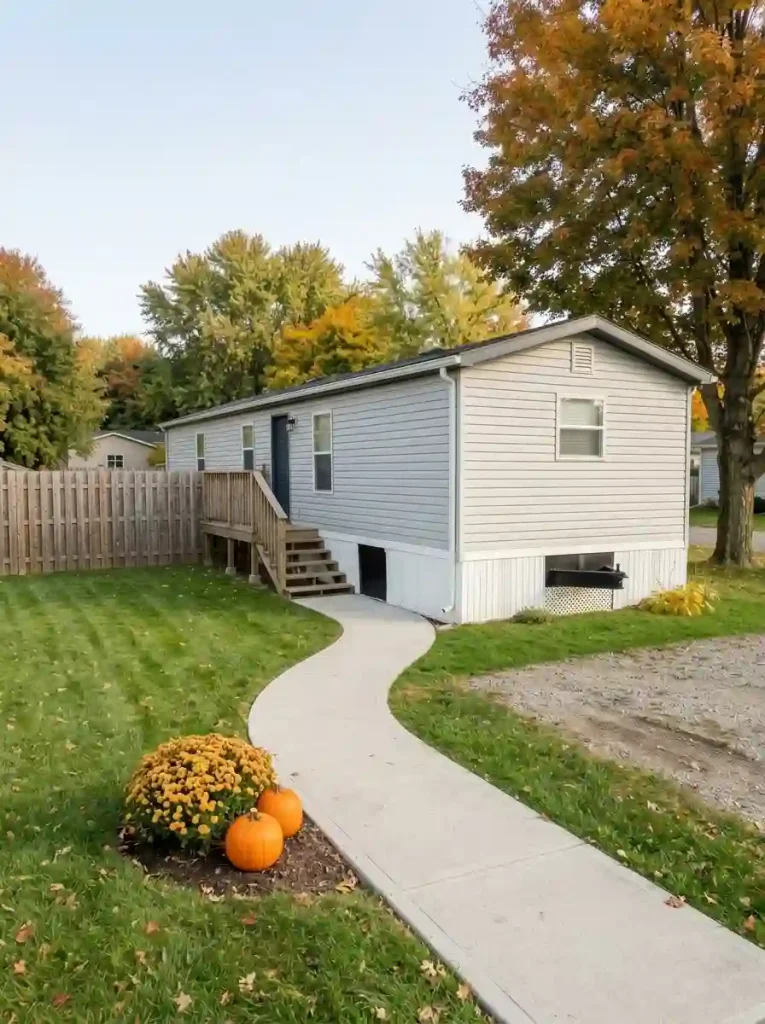
Where does the approach to your front steps change direction?
That bend can be a useful focal point, especially when a mobile home’s porch sits off to one side. A low display in the outside planting pocket follows the curve and leaves the entrance visible. Judge the flower mound’s full width, including stems that extend beyond the nursery pot; the container alone understates the space it occupies.
- Walk the usual route carrying a grocery bag or another everyday load.
- Set a mum and a small pumpkin beyond the edge of that usable route.
- Repeat the walk and approach the steps. Shift or reduce the group wherever it causes a detour, touches a handrail, or hides a step edge.
The successful location is the pocket you can enjoy while still approaching the door comfortably.
4. Create a Mailbox-Side Fall Crescent With Delivery Access
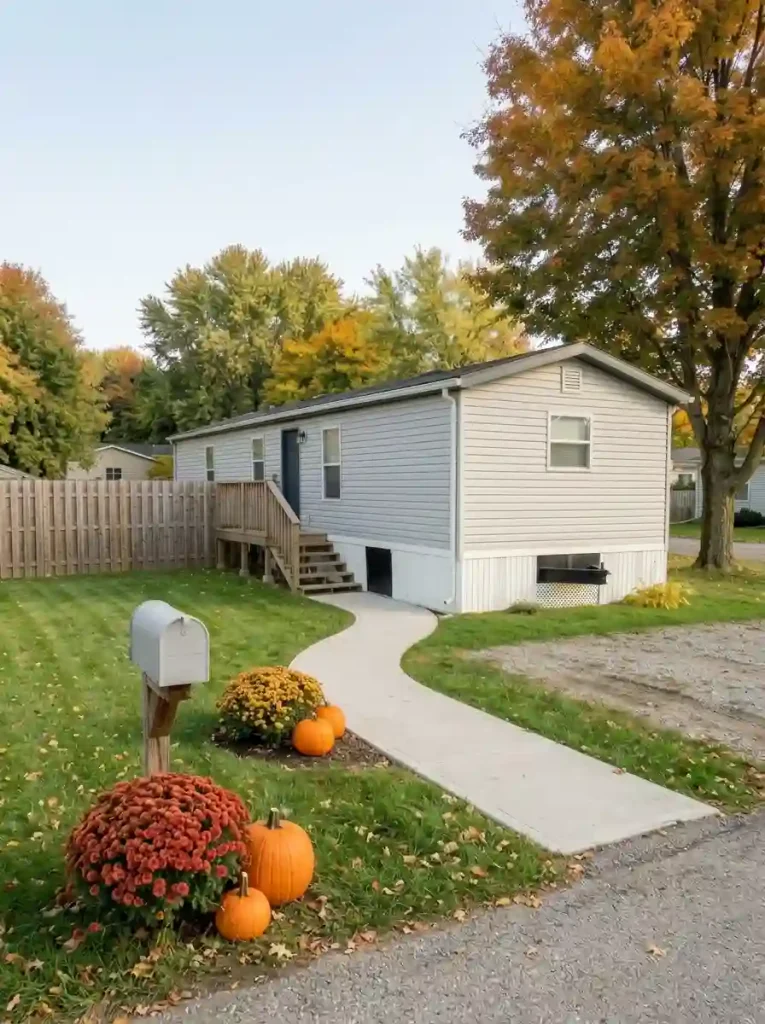
A small crescent around an existing mailbox bed can bring fall color to the street end of a compact lot. Keep the open side facing the delivery approach, with mums and pumpkins concentrated toward the yard. On a manufactured-home lot beside a shared road, the permitted planting area may be much smaller than the space that appears available.
| Placement | What to check |
|---|---|
| Yard-side arc | The group stays inside your permitted space; the mailbox door and address remain visible. |
| Carrier-facing arc | Decorations can intrude on the approach or door movement. Move them before committing to this layout. |
USPS requires safe, unobstructed mailbox access. Check your actual delivery arrangement and any local instructions. A decorative crescent belongs somewhere else when it narrows that access.
5. Stretch a Narrow Single-Wide Front Bed With Staggered Mum Drifts
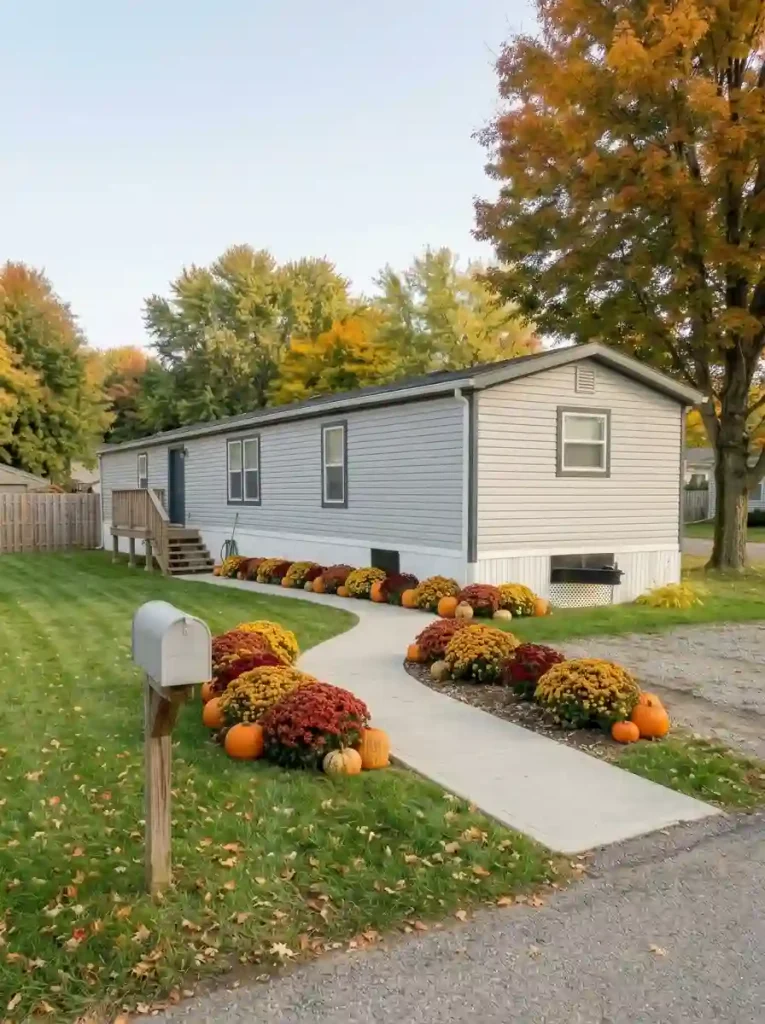
A long single-wide can make one small flower pot look stranded. Two unequal mum drifts give the front bed a rhythm: a fuller group near the porch end, followed by a smaller echo farther along the facade. Offset the groups within the available planting strip, with pumpkins at their forward edges. The gaps are part of the arrangement.
Front bed rhythm
Give the long bed two unequal beats
A fuller drift near the porch can connect to a smaller echo farther along the home. Leave useful gaps between them.
Use the available front edge, without closing the stair approach.
Offset it in a suitable pocket; match one flower color.
Arrange in this order: reserve service access, place the fuller drift, then decide whether the smaller echo is needed.
Start with the larger drift and step back across the lawn. Add the smaller one only where the frontage needs a visual connection. Reserve the skirting’s working openings first, then check the mature width on each plant label before planting. A shallow strip may suit seasonal pots better than broad permanent clumps. For the rest of the exterior, continue with broader fall curb appeal for manufactured homes.
6. Add a Tree-Side Harvest Group Beyond the Root Flare
Skip the familiar ring of piled pumpkins and added soil around the trunk. The flared base of a tree should remain exposed; University of Minnesota Extension’s mulching guidance keeps mulch away from that flare and the trunk.
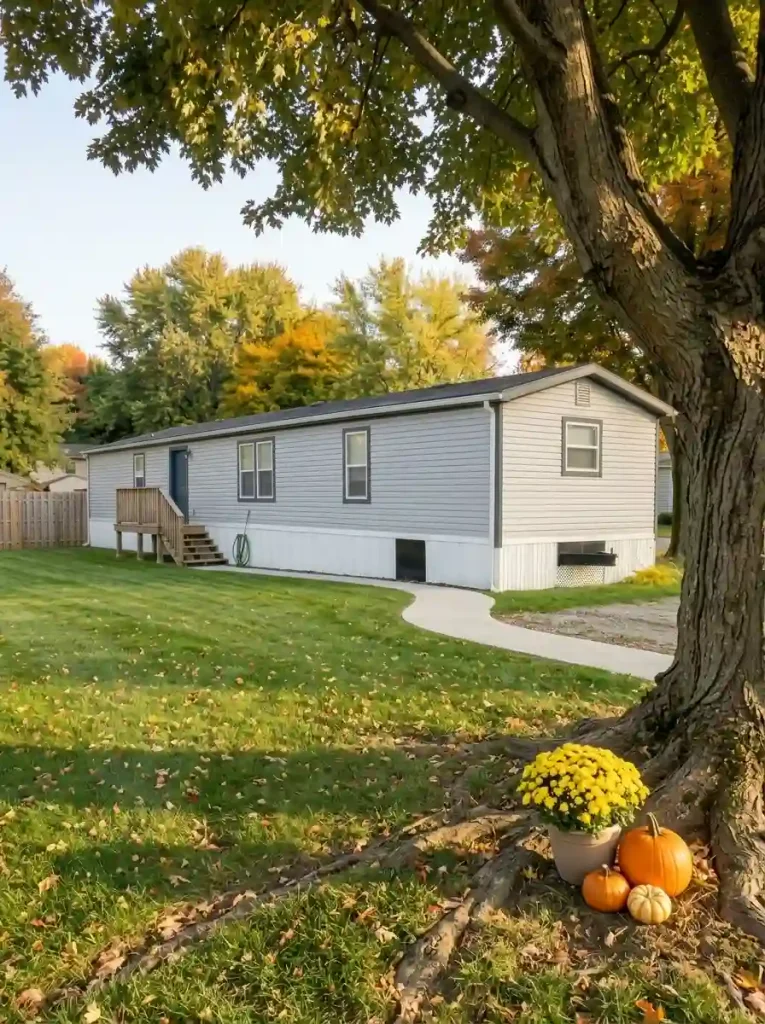
A loose group at the outer edge of an existing tree bed borrows the tree’s height without rebuilding its surroundings. This is especially useful when a mature tree on a managed mobile-home lot is shared or cannot be altered. Set pumpkins on stable ground beyond exposed roots and keep the mum in a removable pot.
- Look down: leave the trunk base visible and avoid digging among roots or adding heavy edging.
- Look up: compare the available daylight with the mum’s label. A shaded tree pocket may suit pumpkins alone.
- Look ahead: choose a position you can water and remove without crossing exposed roots.
7. Let Existing Ornamental Grasses Back a Pumpkin-and-Mum Display
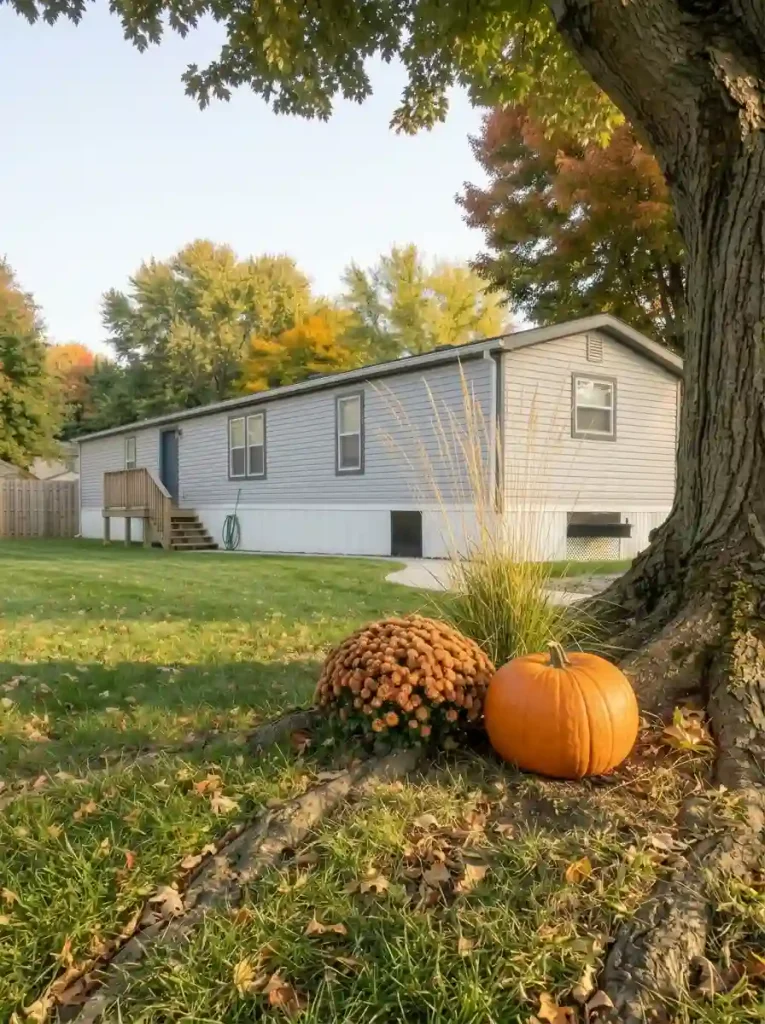
Picture an established grass clump at the end of a shallow front bed: airy stems above, a rounded bronze mum below, and one broad pumpkin toward the lawn. The grass already supplies the tall layer. Another large planter would take scarce space without adding much to the composition.
Place the seasonal pieces outside the clump, leaving its base visible and reachable. Keep the additions below nearby window sills and clear of skirting openings. Look from the mobile home’s driveway approach, where the taller foliage should still show above the mum. Use the grass already growing well there. When its leaves engulf the flowers or the additions crowd the crown, pull the foreground group forward or choose a smaller mum.
8. Use Cream Pumpkins to Separate Mums From Dark Mulch
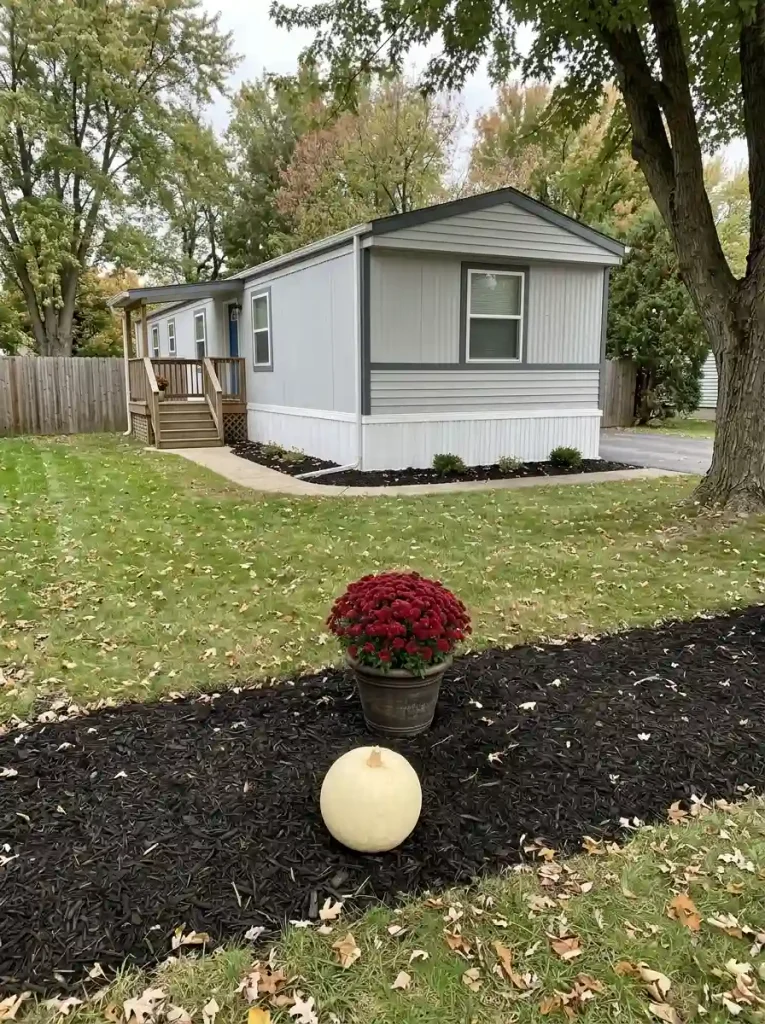
Deep red mums can disappear against dark pots and bark mulch. A cream pumpkin at the front of the group introduces a light shape between those dark surfaces, making the flowers easier to pick out across the lawn.
Test one pale pumpkin before buying a matching set. Place it beside the mum, then look from the street-side approach to your mobile home. Keep the whole bed in view, including the skirting: a pale pumpkin may stand out beautifully on mulch yet disappear where it overlaps white siding. Change its position or try an orange accent when the separation is weak.
Material note: pale gravel reverses the problem. A darker pumpkin can give that bed the contrast it needs.
9. Turn a Sunny Fence Corner Into a Fall Flower Nook
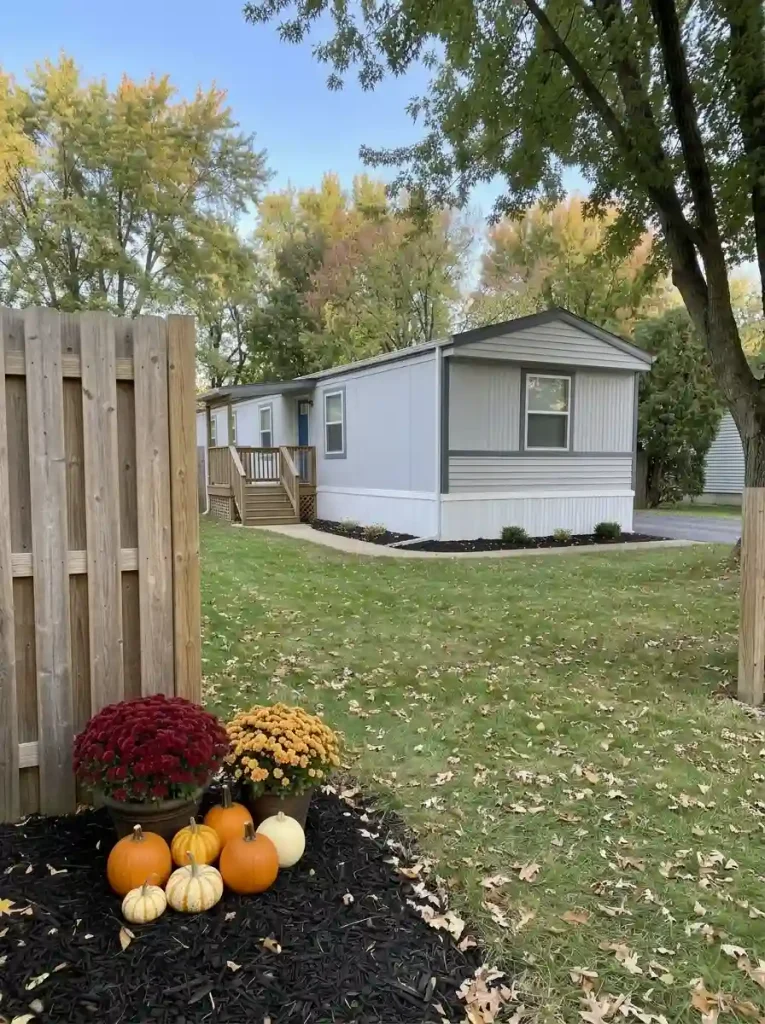
A fence corner gives a ground-level display an existing backdrop. On a compact mobile-home lot, using that boundary can leave the central lawn open. Set the mum pots on the ground with pumpkins in front, so the arrangement does not require brackets or added loads on the fence.
Corner conditions
What does the fence corner allow?
Access takes priority. Among usable corners, compare the daylight with the mum’s label.
Try a ground-level flower nook
The fence can supply the backdrop while a potted mum occupies the available corner.
Before buying: set an empty pot in place and test the nearby gate and route. Add pumpkins within that same pocket.
Move the living flower group
A corner can look inviting yet fail to meet the mum’s light needs. More decorations cannot fix that condition.
Look elsewhere: locate a sunnier permitted pocket. Keep a small pumpkin-only accent here only if it suits the corner.
Leave this corner open
A gate approach or shared passage has a daily job. Moving a display out of the way repeatedly is a sign that this location is unsuitable.
Choose another pocket: compare an existing front bed or a lawn spot beyond the route, then check its light.
Mixed conditions? Treat any access conflict as the third option. A sunny corner still needs a suitable pot and drainage.
Observe the corner at different times of day before shopping. Garden mums generally need a sunny, well-drained setting; Iowa State’s growing guidance is a useful starting point, alongside the plant label. A promising corner can still fail when it doubles as a gate approach or shared passage.
Before choosing the pot: resolve access, confirm suitable light, and then use the size that the permitted pocket can hold.
10. Lift a Small Harvest Display on One Straw Bale
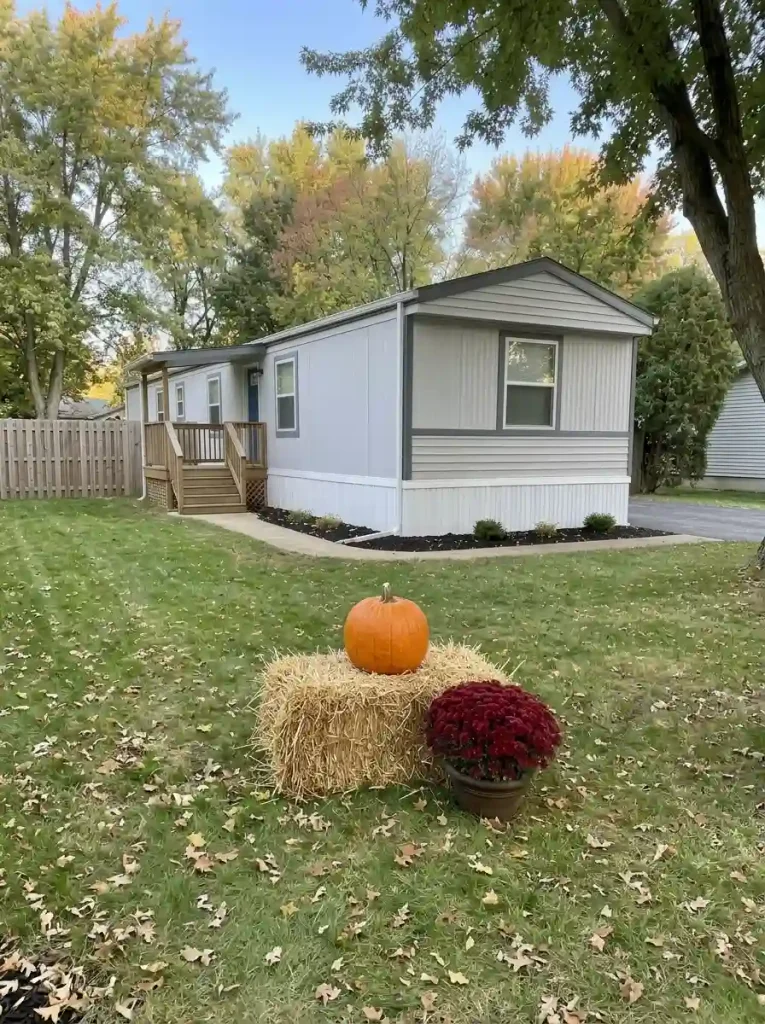
One straw bale can raise a pumpkin above a low mum and make a small lawn display visible from the road. On a modest mobile-home frontage, keeping the bale count to one avoids turning a seasonal accent into a bulky barrier. Place the flower pot beside the bale on firm ground, where watering and drainage remain easy to manage.
- Choose a dry, level spot outside the everyday walking and mowing routes.
- Check that the bale sits steadily before adding a pumpkin with a broad, stable base.
- Inspect the bale after rain and remove loose straw from nearby paths.
Skip the bale when it becomes wet, unstable, or unsuitable for the spot. Keep dried decorations away from flames and heat sources, following NFPA’s seasonal fire-safety advice.
11. Nest Mum Pots Into Weather-Suitable Cachepots
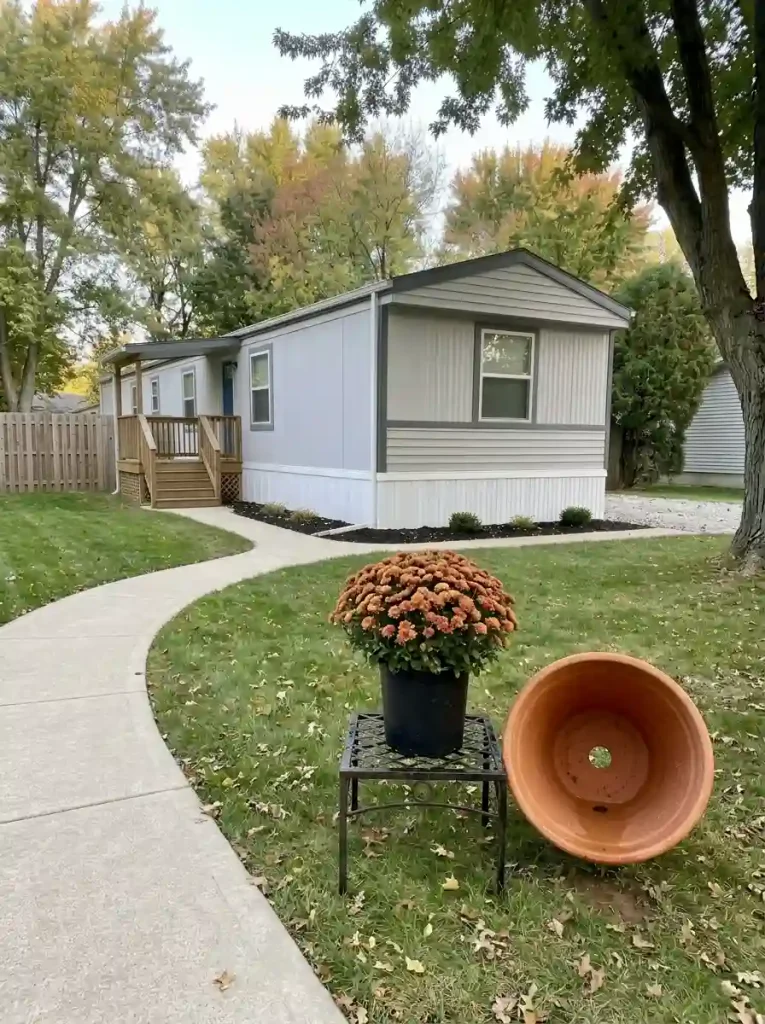
Keep a mum in its draining nursery pot when the decorative container is simply a cover. That removable inner pot lets you water the plant properly, check its condition, and change the display without disturbing the roots. Choose an outer container intended for outdoor exposure; an indoor basket or delicate decorative vessel may not suit an uncovered front yard.
Container care
A good-looking cover still needs a water exit
-
Draining inner pot
Keep the mum in a suitable nursery container with working drain holes.
-
Clear water exit
Lift it out to water. Let excess water drain before returning it to the cover.
-
Empty outer cover
Remove collected water, including after rain. Check that the cover is suitable outdoors.
Keep the distinction clear: the nursery pot holds the plant; the cover changes its appearance. Neither a pretty sleeve nor added gravel replaces drainage.
Iowa State explains the double-pot approach: the inner container provides drainage while the outer sleeve supplies the appearance. Lift the nursery pot out to water it, allow excess water to drain, and empty any collected water from the cover before returning it. After rainfall, check the cover again. Keep the inner drain holes clear; gravel cannot replace missing drainage holes.
12. Set Pumpkins on Removable Pads in a Damp Front Bed
After rain, a pumpkin resting directly on damp soil can be difficult to inspect underneath. A small removable support separates it from the ground and lets you lift it without disturbing the bed. Along mobile-home skirting, keep this a surface detail: a seasonal accent is no reason to pile up soil or alter the yard’s drainage.
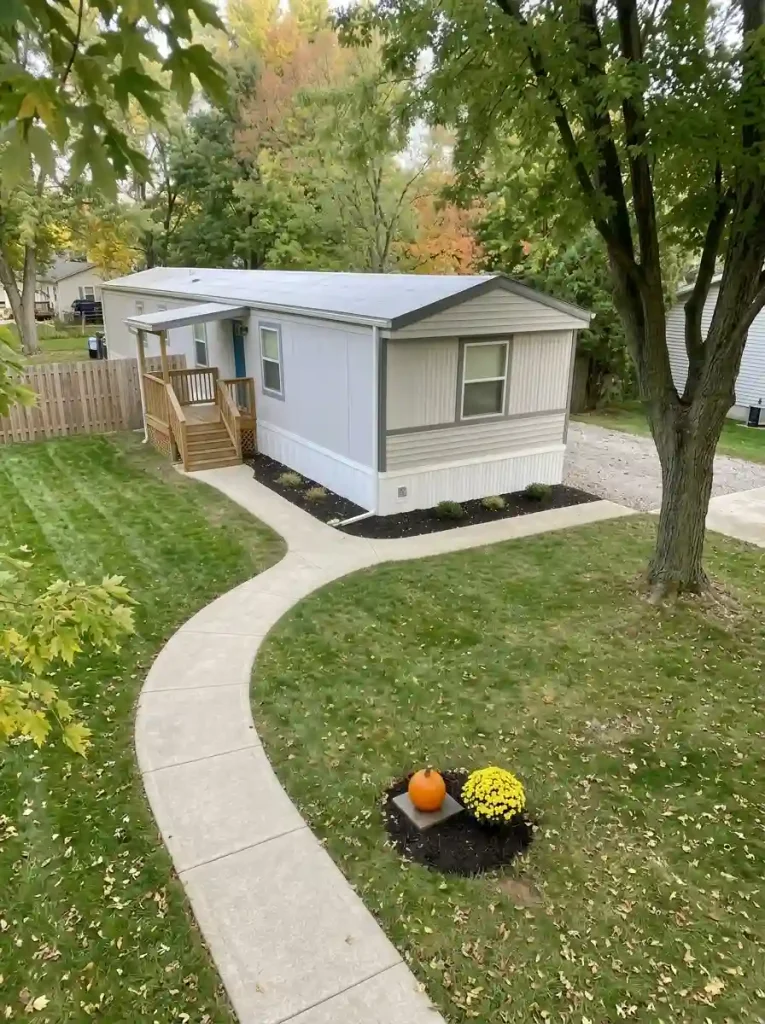
Use a support that is stable, fits beneath the pumpkin, and leaves the surrounding bed easy to maintain. Lift the fruit periodically to look for soft spots and check whether the support is collecting water. Remove a deteriorating pumpkin promptly.
- Spare flat paver: useful on firm ground when it can sit level without digging.
- Outdoor plant stand: suitable only when it securely holds the pumpkin and remains stable.
Neither option fixes standing water. Move the display to a drier pocket when water persists.
13. Mark an Existing Address Post With Low Fall Color
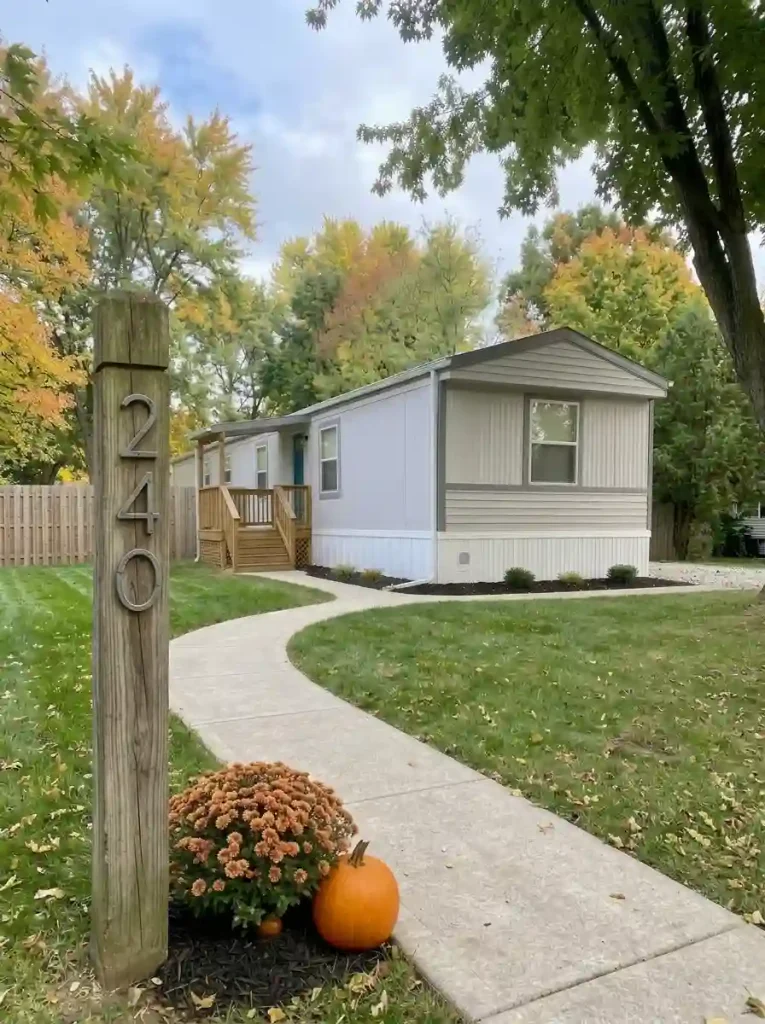
Can someone approaching your mobile home still read the address after the display goes in?
An existing address post can anchor one low mum and a pumpkin without requiring another yard ornament. The flowers draw attention to the post’s base, while the numbers above remain the useful focal point. On closely spaced lots, clear identification matters more than a tall decorative stack.
Stand at the normal visitor approach and compare the view before and after placing the group. Check both the numbers and the pot’s reach into the adjoining path or driveway. Keep decorations on the ground around a stable existing post; leave its attachments and any electrical parts alone. Choose a smaller plant or a different pocket whenever the foliage hides the address.
14. Echo the Porch Palette in a Separate Yard-Level Cluster
An orange pumpkin on the porch can have a quiet partner in the yard: an orange-toned mum beside a cream pumpkin in the nearest suitable bed. Repeating one color connects the entry and the ground planting without extending decorations down every step.
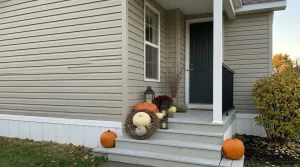
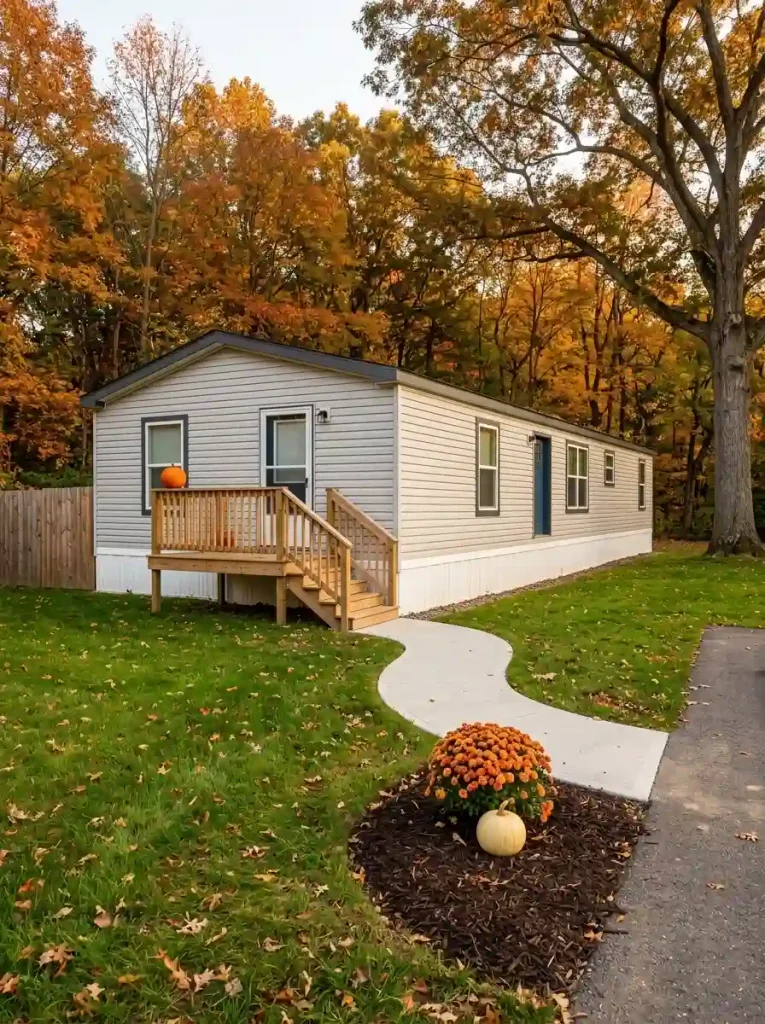
Look at both groups together from the lawn. In a small mobile-home front yard, the yard cluster should have its own footprint beyond the stair approach, with no loose pumpkins bridging the route. Repeat the color first; add another matching object only when the connection remains hard to see.
For the entry arrangement itself, use these pumpkin porch decorating ideas for mobile homes. Keep this yard-level idea focused on that single color echo.
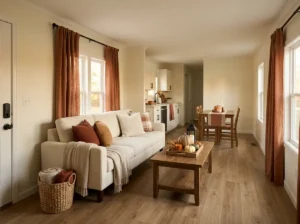
15. Frame the Driveway’s Lawn Edge With One Set-Back Fall Group
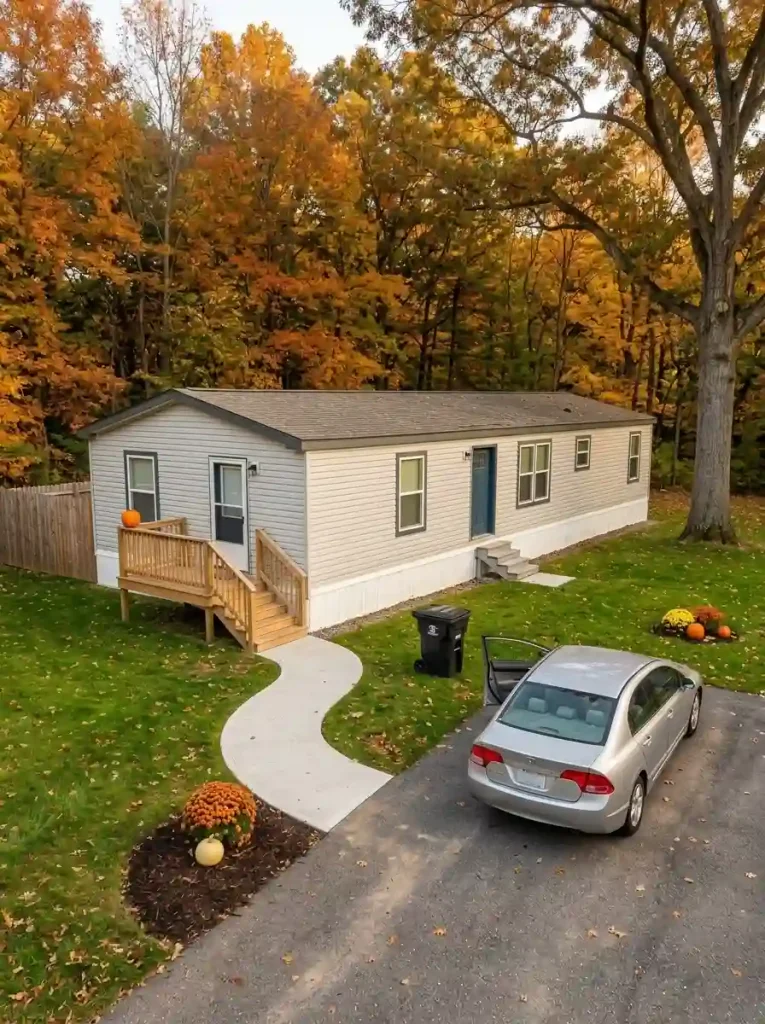
A mum-and-pumpkin group can soften the lawn edge beside a driveway, but a parked car hides how much room daily use takes. Doors swing outward, passengers step onto the grass, and a trash bin may travel through the same gap. On a narrow mobile-home lot, those overlapping uses determine the display’s position.
Driveway edge
Let the car set the display edge
Look beyond the parked outline. Select the use that your lawn edge must accommodate.
Only the parked footprint is shown.
- Car stays on the driveway.
- Display position remains provisional.
Starting view
A parked outline is only the first check
The car appears separate from the flower group, but the drawing does not yet show passenger movement.
Check on site: Open every door normally used before settling the display’s position.
The shaded wedge adds the door’s movement.
- Include the open door.
- Keep the group beyond its actual sweep.
Door movement
Move beyond the door’s sweep
The door needs more room than the parked vehicle. A flower group beside the closed door can occupy that space.
Check on site: Open the actual door fully for normal use. Move the group beyond its sweep, then test stepping out.
The route layer adds movement beside the open door.
- Test the person or bin route.
- Use another yard pocket when the lawn edge is needed.
Everyday route
Reserve the space people and bins use
Door clearance alone can leave too little room for a passenger or a bin travelling alongside the car.
Check on site: Walk and roll the bin through the usual route. Reduce or relocate the display when that route reaches the proposed pocket.
Illustrative layers, without measurements. Your vehicle, parking position, and daily routine determine the space to leave open.
- Park as usual and open the doors normally used.
- Walk the passenger route and roll any bin through its usual gap.
- Set the group beyond that used space; test both sides of the car where relevant.
A pumpkin should not become something to step around. Reduce or relocate the group when the test reveals a conflict. Your vehicle and routine establish the boundary.
16. Show One Bed-Side Display in Evening Light
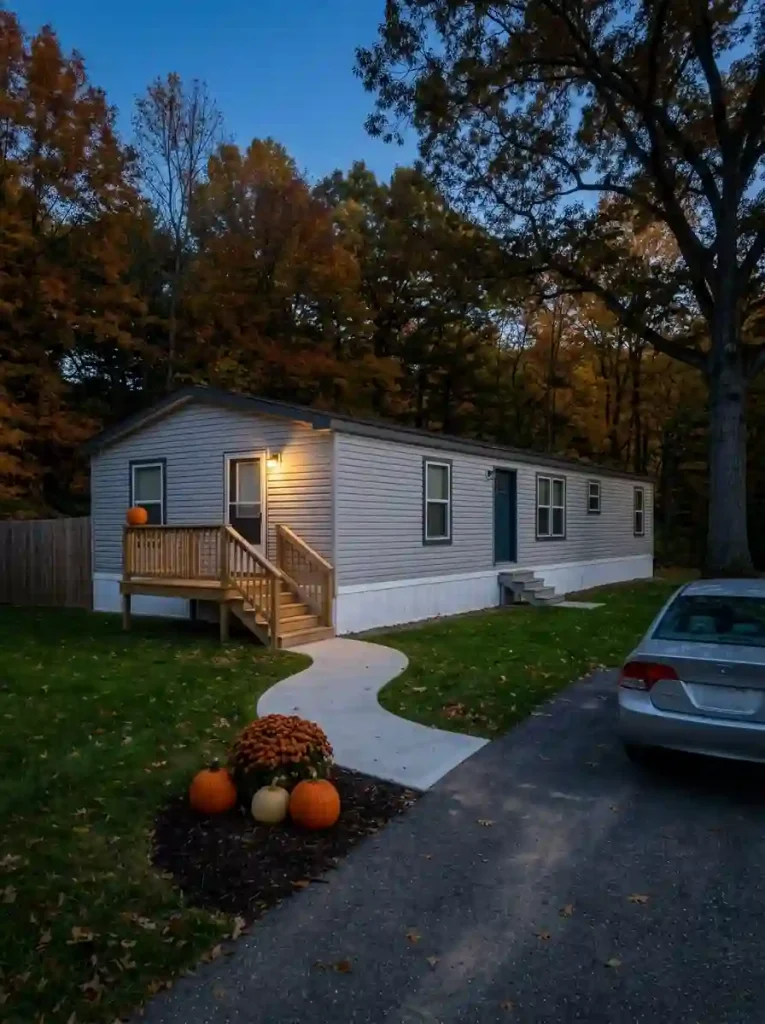
An existing outdoor light may already reveal a pumpkin’s shape and the edge of a mum after dusk. Use that pool of light to choose a visible bed pocket near the mobile home’s approach. A modest display can read clearly without lighting the entire front lawn.
| View | What to look for |
|---|---|
| Daylight | The group has a clear place in the bed and does not depend on a lamp to look complete. |
| Evening | The walkway remains legible; the display catches some light without glare toward visitors or neighbors. |
Use lighting products according to their outdoor-use instructions and keep cords out of walking routes. For a permanent mum bed, avoid continuous night lighting on the plants: Iowa State notes that interrupted darkness can delay mum flower formation.
17. Build a Budget Display Around One Healthy Mum
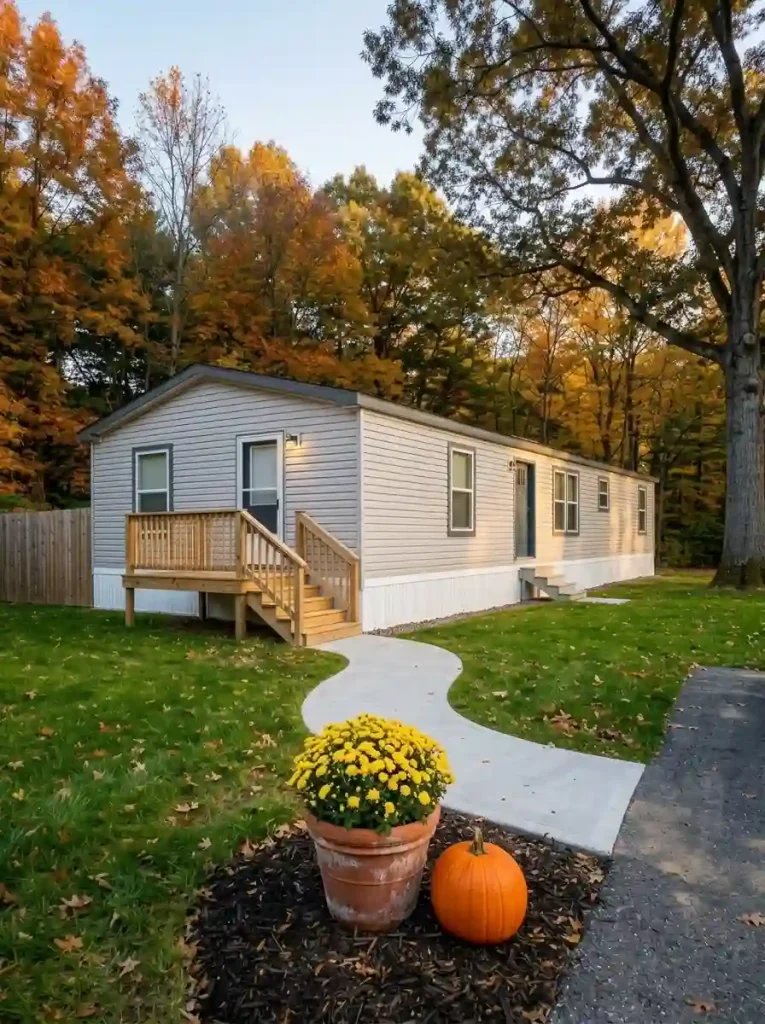
Suppose the front bed already has an outdoor pot and one usable pumpkin. Buying three more containers will not solve the missing flower color. One healthy mum may finish the scene. In a small mobile-home yard, a deliberate group in the right pocket can do more visual work than several purchases spread across the lawn.
Buying priority
Spend where the display is missing something
Choose the situation closest to yours. Your own spending ceiling remains the limit.
Arrange before adding a purchase
The live anchor and its container already exist. Placement is the missing step.
-
Inspect
Check plant health, drainage, and outdoor suitability.
-
Place
Try the mum in one usable front-yard pocket.
-
Edit
Add a pumpkin you own; assess the view before buying extras.
Next decision: keep the existing set when it fills the pocket comfortably.
Buy the missing flower anchor
A suitable pot is useful, but it cannot provide the flower color the scene is missing.
-
Choose
Match one healthy mum to the pocket’s light and available width.
-
Count
Include that plant in your personal spending ceiling.
-
Complete
Use an existing pumpkin, or leave extras until the essentials are settled.
Next decision: buy one suitable plant before considering duplicate pots or accessories.
Finish with fewer pieces
Extras are optional. Going beyond the limit will not make a constrained yard pocket more usable.
-
Keep
Retain the healthy mum and suitable container already budgeted.
-
Reuse
Use a pumpkin or outdoor accent you already own, if it fits.
-
Stop
Omit additional bales, pots, lights, or pumpkins this season.
Next decision: reduce the shopping list and let the small arrangement be complete.
A purchase priority guide, not a price estimate. Check local prices and the condition of the actual items.
- Set a personal spending ceiling. On a managed lot that restricts digging, budget for a suitable draining pot as part of the first plant purchase.
- Inventory what you can reuse, then inspect the actual mum for healthy foliage, intact stems, and a size your pocket can hold.
Check the potting mix regularly and water according to its condition; container watering needs vary with the pot, plant, and weather. Choose the smaller display you can maintain.
18. Choose Bud-Heavy Mums for a Display You Want to Enjoy Longer
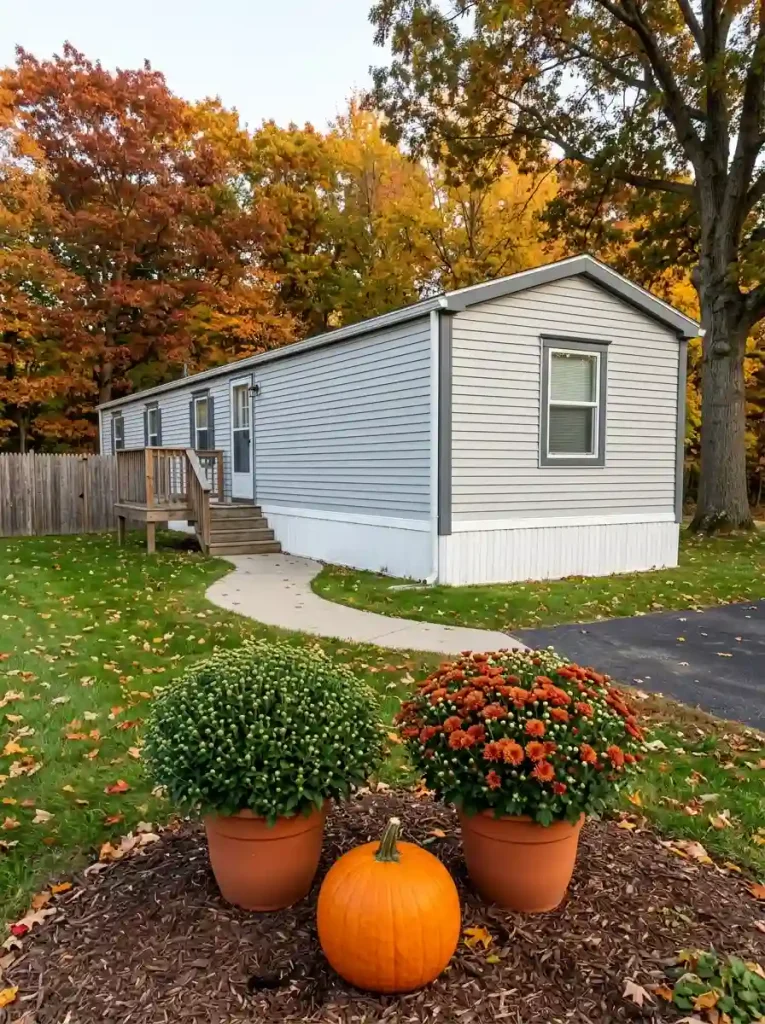
Shop for the stage of bloom that fits your plans. A plant covered in open flowers gives immediate color, while one with more unopened buds leaves more of its display still to come. Illinois Extension recommends considering that timing when choosing a mum.
- Guests arrive soon: select a healthy plant with enough open flowers to show the color clearly from the front-yard approach.
- You are decorating ahead: favor a healthy, bud-heavy plant and accept a quieter display at first.
Use the same size check for either choice: a large flower dome can overwhelm a narrow bed even when its pot looks small. Inspect foliage and stems as well as flowers, then consider your local forecast and care routine. Bud count alone cannot promise a set number of blooming weeks.
19. Turn a Seasonal Mum Display Into a Small Perennial Front Border
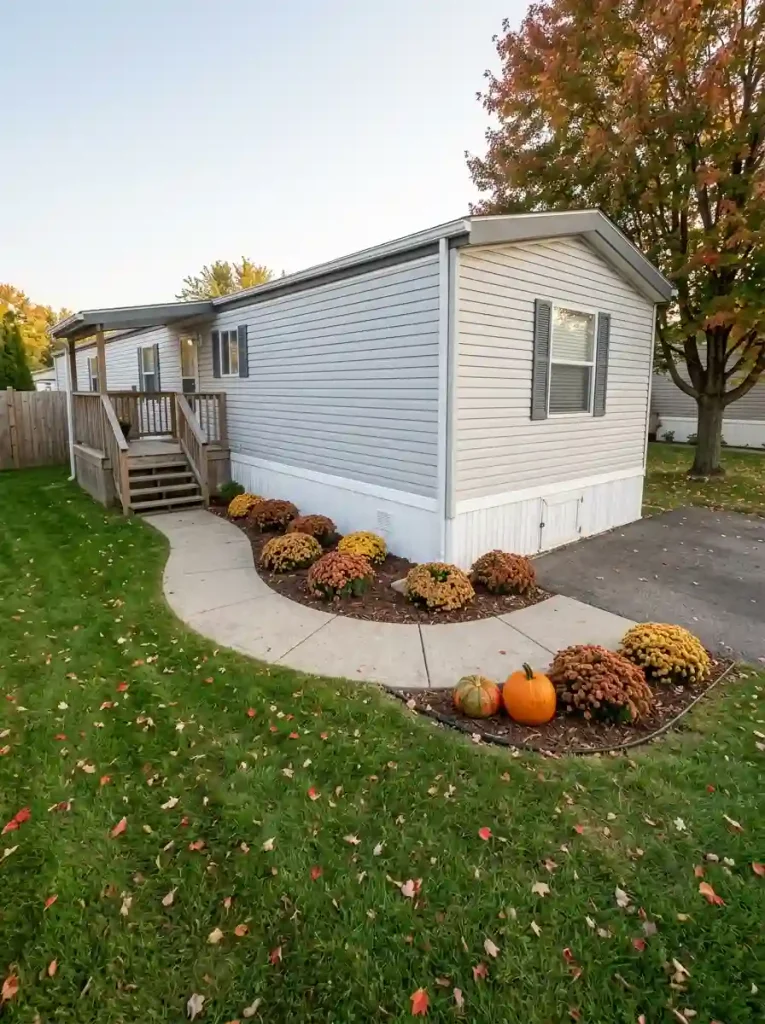
A permanent mum border changes the commitment. The plant must fit the bed after it grows, receive suitable light, and survive your local conditions; pumpkins can remain a removable autumn accent. A narrow strip beside manufactured-home skirting cannot accommodate every spreading cultivar, even when the nursery pot fits neatly today.
- Confirm that planting is permitted and identify a locally suitable garden-mum cultivar.
- Check its expected mature width against the available bed, preserving ventilation openings and service access.
- Ask your local extension office or nursery about establishment timing and the site’s soil and drainage.
Keep the plant seasonal when those checks do not support a permanent border. Winter survival is not assured by the word “mum” or a fall purchase. In cold regions, establishment timing matters: Iowa State recommends spring planting in Iowa, because fall-planted mums may lack time to establish before winter.
Choose One Fall Display That Fits Your Yard
Choose the front-yard pocket that works with your everyday routine, then build one pumpkin-and-mum arrangement around it. A usable location, a suitable plant, and a container you can manage are enough to get started. View the group from the normal approach, try the nearby chores, and remove any piece that makes the yard harder to use.
Decide whether this is a temporary fall display or the beginning of a permanent bed before making further purchases. Once the ground-level arrangement feels settled, these fall mobile home front door ideas offer a natural next step for the entrance.
Save your favorite front-yard idea to Pinterest so you can return to the layout when you’re ready to decorate.