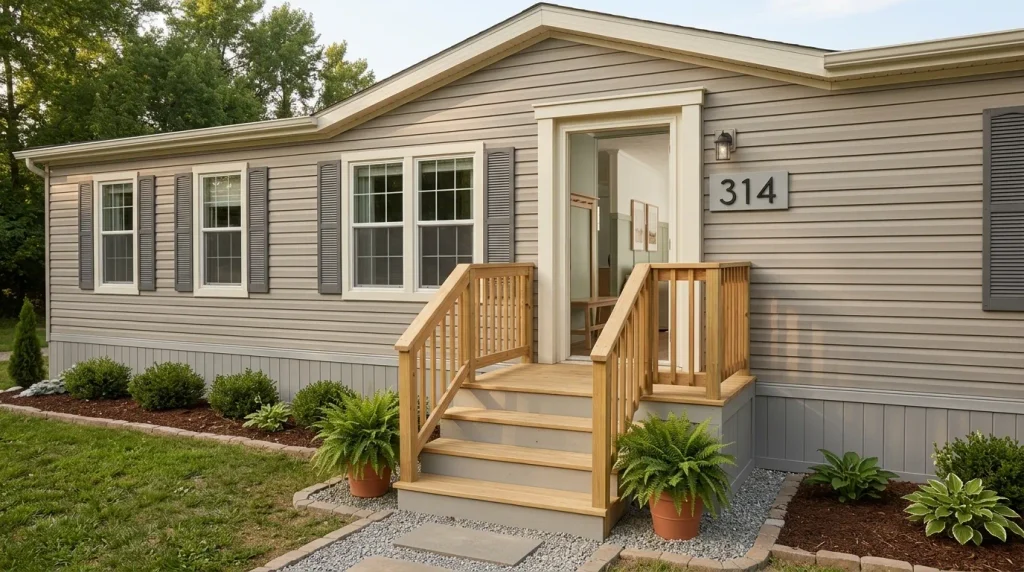
A mobile home can change dramatically without every improvement turning into a full remodel. The most useful mobile home DIY upgrades are often the ones that fix something you notice every day—a flat wall, dark storage area, awkward hallway, tired vanity, plain door, or surface that makes the room feel older than it really is.
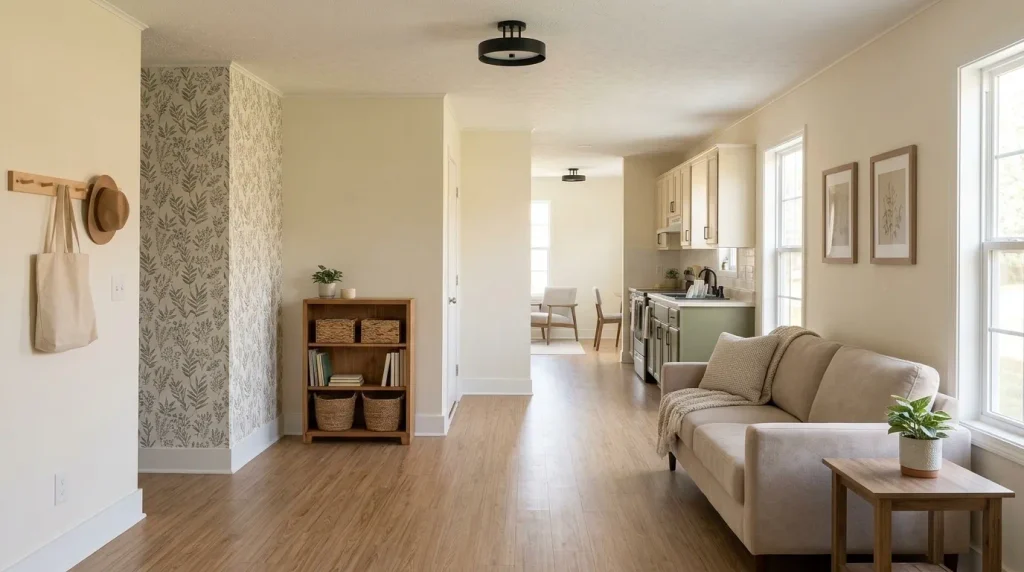
The challenge is knowing where an approachable DIY project ends and a deeper renovation begins. Mobile and manufactured homes can have compact circulation paths, existing wall finishes, lightweight interior components, and building systems you do not want to disturb casually.
So these 19 projects focus on upgrades you can test, reverse, build lightly, refinish, or complete around things that are already working.
Before choosing one, use the DIY Scope Gate below. It will help you decide whether your idea belongs in the easy-project lane, needs a little more investigation, or has crossed into work that deserves a different plan.
How deep does your project actually go?
Choose the deepest thing your upgrade touches. The answer helps you decide whether to start, test first, or investigate further.
What will you change?
Use this as a project-scope filter, not as a substitute for product instructions or qualified help where work extends into building systems.
HUD’s Manufactured Home Construction and Safety Standards cover areas including body and frame requirements, plumbing, electrical systems, thermal protection and fire safety, which is why this article deliberately keeps building-system changes outside its “easy DIY” lane. HUD
1. Test a Removable Wallpaper Panel Before You Commit a Whole Wall
A full accent wall may look easy in an inspiration photo and still be the wrong first move for the wall you actually have.
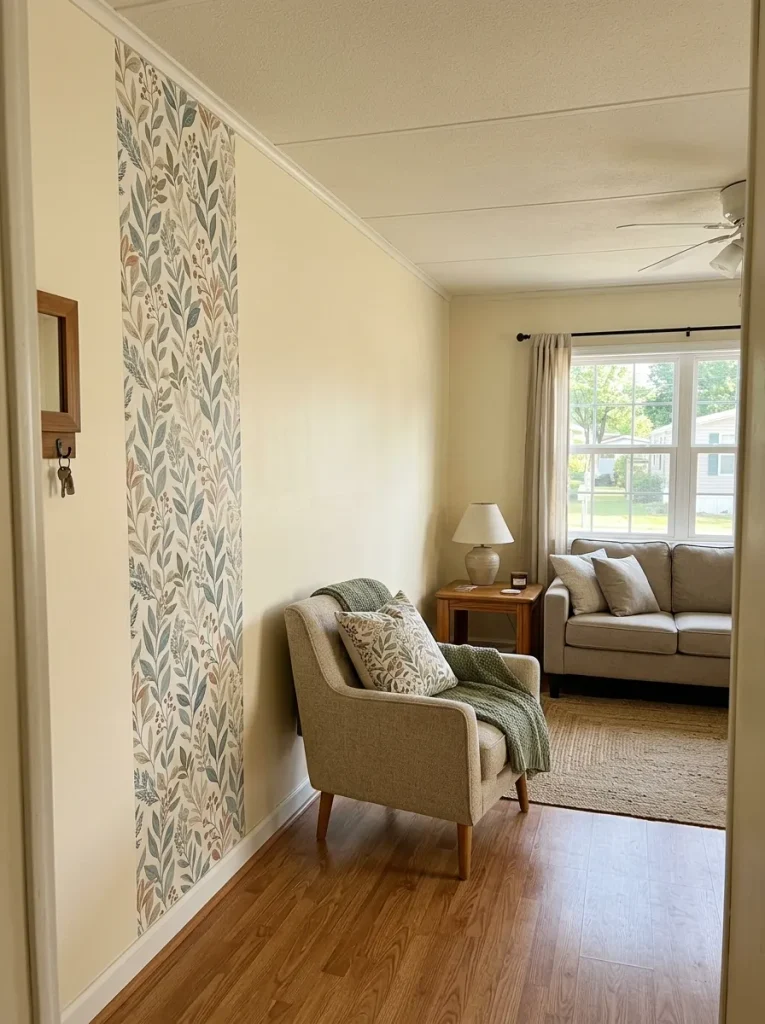
Begin with one full-height removable wallpaper panel in the exact room where you want the finished treatment. That small trial tells you several things at once: whether the pattern feels too large for the wall, whether seams attract too much attention, how the material behaves on the existing finish, and whether the color changes once it sits beside your furniture.
Do not hide the sample behind a dresser. Put it where the finished pattern would actually be seen.
Try this sequence:
- Prepare the test area according to the wallpaper manufacturer’s instructions.
- Apply one complete vertical section.
- Look at it in daylight and again after dark.
- Leave it long enough to notice lifting, bubbling or another compatibility issue before buying the full quantity.
If the test works, expand. If the pattern dominates the room, shrink the idea to a framed panel or smaller zone.
The first panel is not wasted effort. It is the project deciding whether it deserves to become a wall.
2. Build a Low-Profile Hallway Wainscot That Does Not Steal Width
A long mobile-home hallway can benefit from architectural detail, but it has little tolerance for anything bulky.
The useful version of DIY wainscoting is visually strong and physically shallow: slim battens, a restrained top rail, and enough contrast to organize the wall without making the corridor feel like a decorated tunnel.
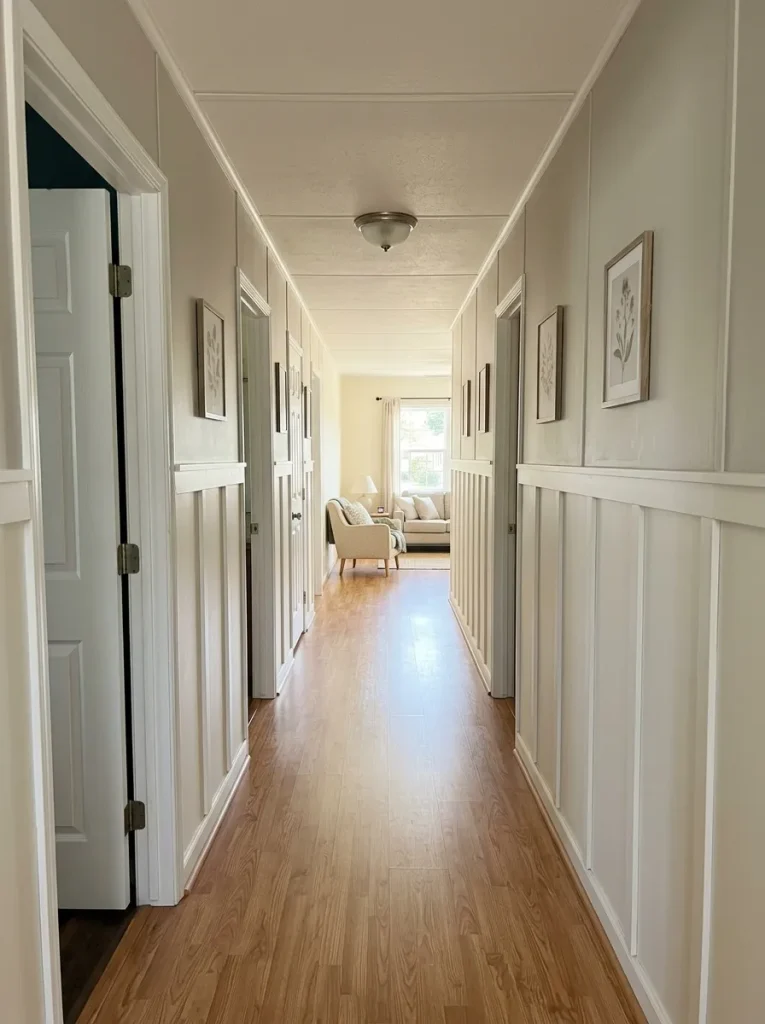
Before cutting wood, draw the complete treatment with painter’s tape. Add cardboard where the top rail would project. Then walk the hallway carrying a laundry basket. Open nearby doors. Look back from both ends.
That temporary mock-up tells you whether the project improves proportion or simply adds more edges to an already narrow space.
What is the corridor already struggling with?
A successful hallway treatment is one you notice visually without feeling physically while you walk through the space.
3. Replace One Damaged Baseboard Run Instead of Hiding It With More Paint
Baseboards are easy to overlook until one swollen, chipped or poorly joined section catches your eye every time you enter the room.
Paint can refresh an intact board. It cannot restore material that has physically changed shape.
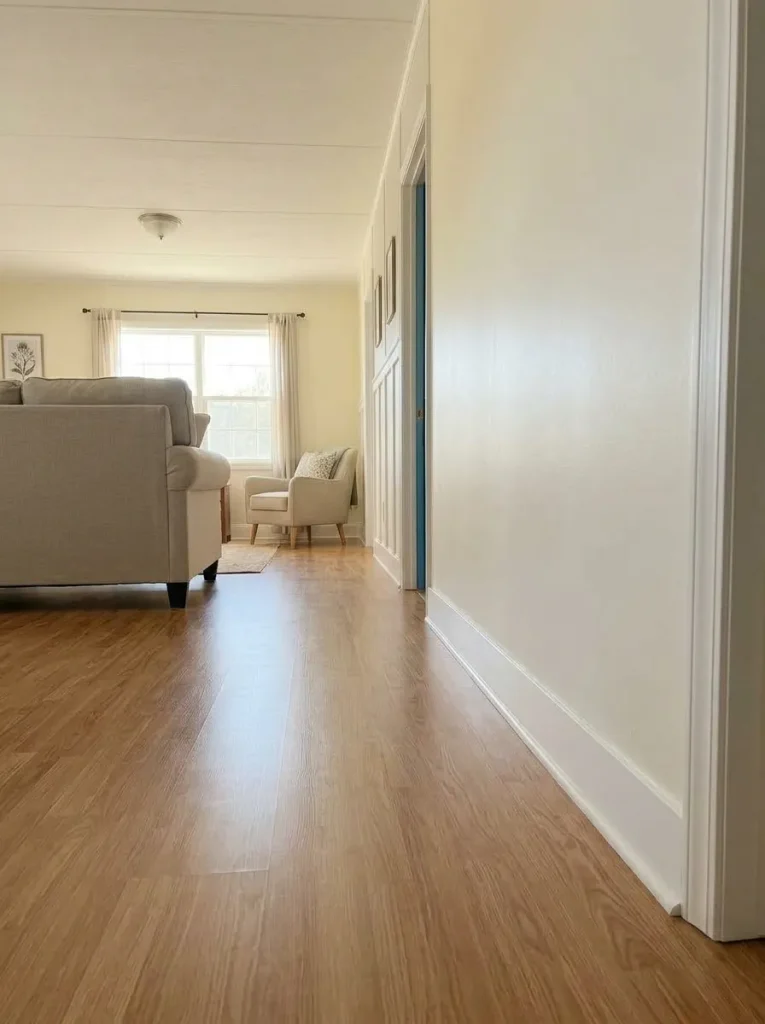
Compare the damaged run with the trim elsewhere before removing anything. Look at its height, profile, thickness, corner treatment, color and the way it meets the floor. If the rest of the baseboard is still serviceable, replacing only the failed section can produce a cleaner result than changing the trim style throughout the room.
Use condition as the decision rule:
Surface wear: clean, patch or refinish if appropriate.
Physical deterioration: investigate and replace the failed section.
Signs of moisture: identify the cause before closing the area back up.
This is also a useful beginner carpentry project because it gives you a manageable place to practice measuring, cutting and fitting before attempting larger decorative trim work.
4. Build a Shallow Peg-Rail Drop Zone Beside the Entry
A conventional console table can consume valuable floor area when a mobile-home front door opens almost directly into the living room.
A shallow peg rail solves the problem vertically.
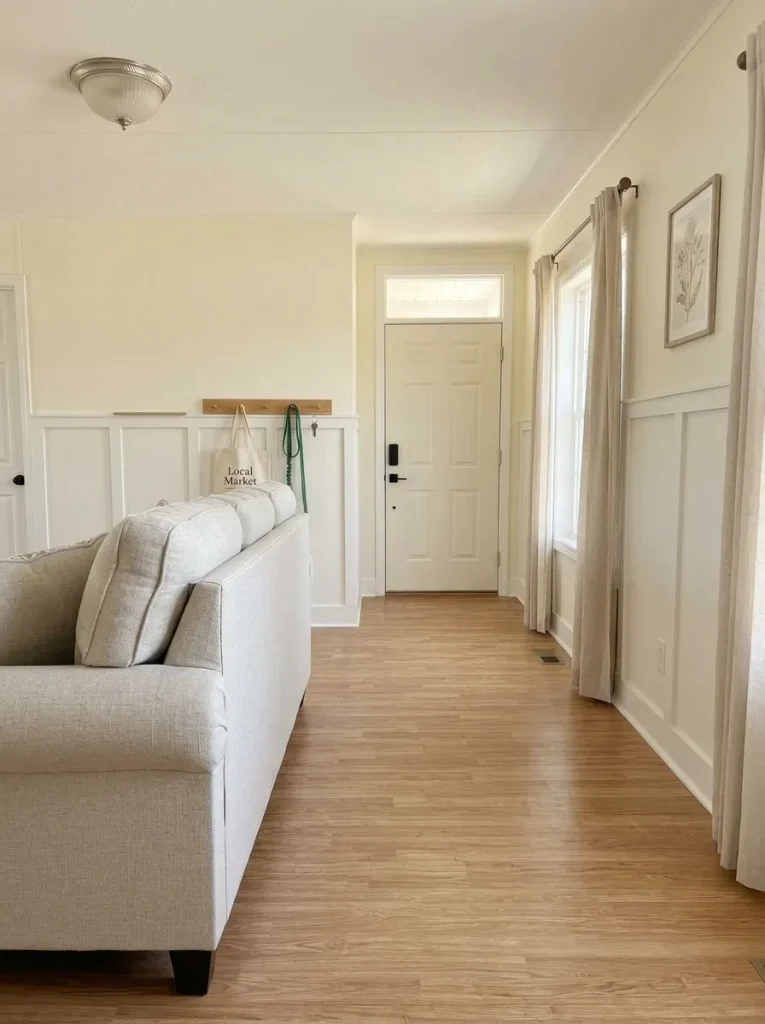
Before building one, watch what happens during the first thirty seconds after you enter the house. Where do keys land? Does a bag fall on a chair? Where does the dog lead end up? Which side of the door remains reachable when another person is entering?
Use those habits to position the rail.
Check three things before mounting it
- The front door should open fully.
- Hanging items should stay outside the main shoulder and walking path.
- Your mounting method should suit the actual wall condition and expected load.
Keep the drop zone intentionally small. It should hold the handful of things that otherwise create clutter near the entrance—not become a storage wall for everything leaving the house.
If the wall condition is uncertain or the required load keeps increasing, a slim freestanding solution may be the better project.
5. Reface a Plain Closet or Utility Door With Lightweight Removable Panels
A plain interior door occupies a surprising amount of visual space. That makes it a useful DIY surface when the room needs character but has almost no spare floor area.
Lightweight removable panel detailing, thin decorative strips, peelable material or a carefully planned painted treatment can transform the door while keeping the original slab in service.
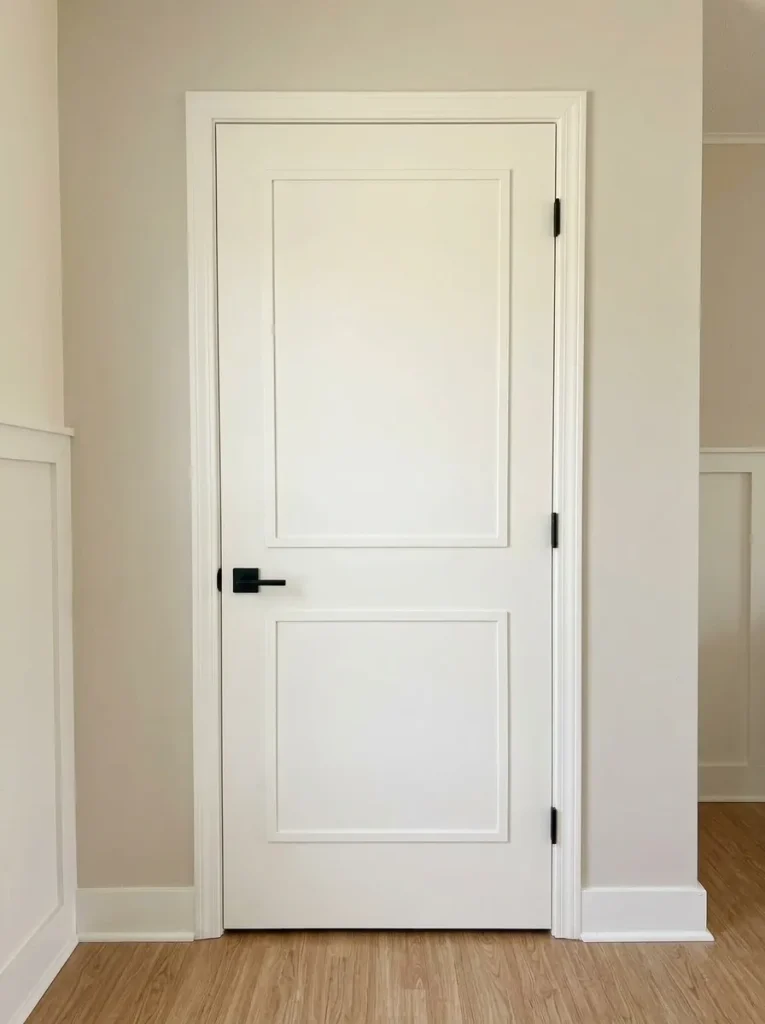
Start with operation.
Open the door fully. Check the casing, handle clearance, adjacent wall, flooring transition and anything stored behind it. Then use painter’s tape to sketch the proposed panel design directly on the door.
Step back to the normal viewing position.
If the taped pattern makes the door feel more intentional, proceed with a lightweight treatment. If the design turns a small hall into a grid of competing rectangles, simplify it.
There is no requirement that every door match.
Sometimes one highly visible utility or closet door deserves attention while surrounding doors work better as quiet background planes.
6. Add Privacy Film Without Turning the Window Into a Dark Patch
Privacy film can solve a real problem with almost no physical construction, especially in a bathroom, entry-side room or another place where curtains feel bulky.
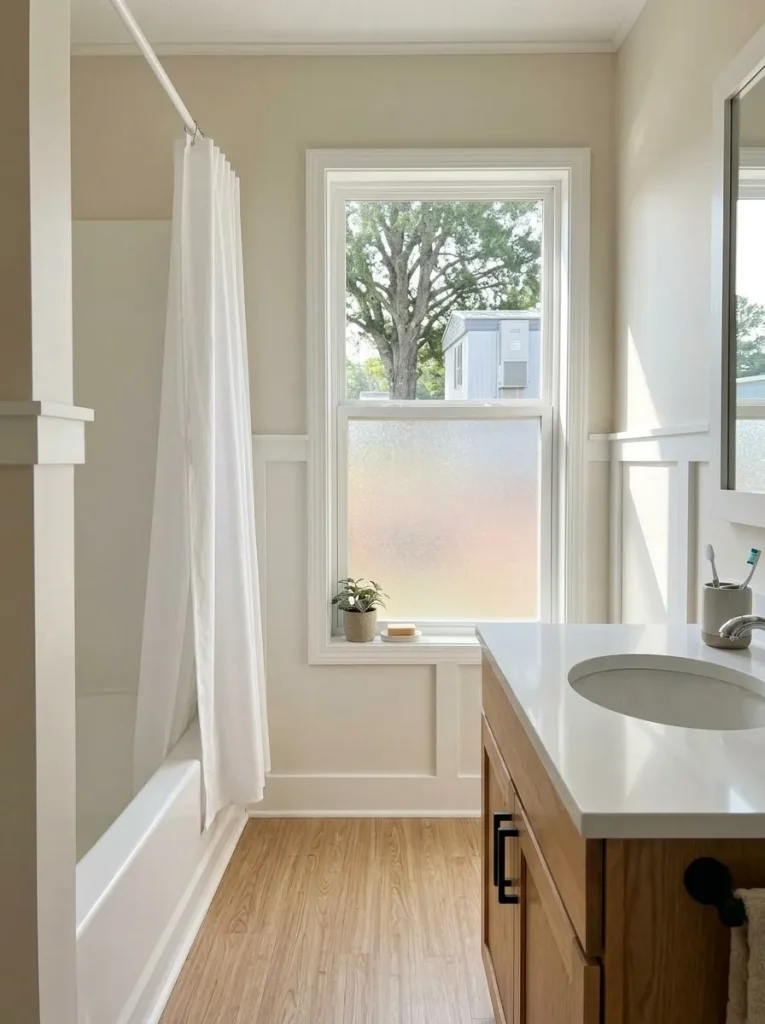
The mistake is covering the entire pane before seeing how the film changes the light.
Start with a generous sample. Place it where privacy is actually needed and inspect the window from both sides during the day.
Then ask what problem you are solving:
- privacy from a neighboring property,
- glare,
- decoration,
- or a combination of those needs.
Those are different jobs.
A lower-half treatment may block the exposed sightline while keeping the upper glass open for daylight. On another window, full coverage may be appropriate.
Check the window again in evening conditions before committing.
The decision is not “film or no film.” It is how much glass needs treatment to solve the problem without removing something valuable from the room.
Follow the selected film manufacturer’s instructions for compatible glazing, preparation, application and removal.
7. Give a Sound Laminate Countertop a Small-Sample Surface Makeover
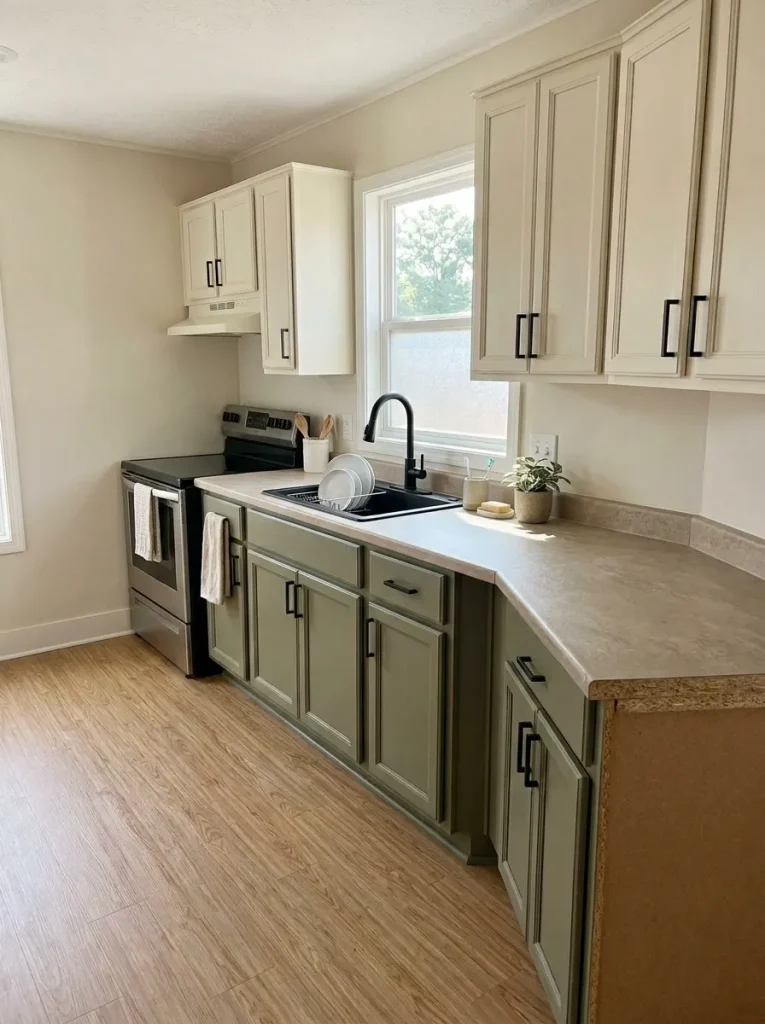
A dated countertop can dominate a compact mobile-home kitchen because so much of the work surface appears in one view.
That does not automatically make replacement the first useful project.
Begin with the substrate.
A cosmetic countertop treatment belongs in this DIY list only when the existing surface remains usable and compatible with the coating, film or resurfacing product you are considering. Swelling, recurring moisture damage, looseness or failing joints are reasons to investigate before adding another layer.
Is this still a cosmetic project?
Choose the condition that best describes the counter before selecting a new surface treatment.
What are you actually working with?
If the counter passes that gate, test the finish in a discreet location and evaluate the entire kitchen—not only the sample.
A quieter counter can be the stronger choice when the cabinets, backsplash, flooring and appliances already create several competing finishes.
The real decision is whether the existing counter is sound enough to earn a cosmetic second life.
8. Install Peel-and-Stick Backsplash Only After the Wall Passes a Substrate Test
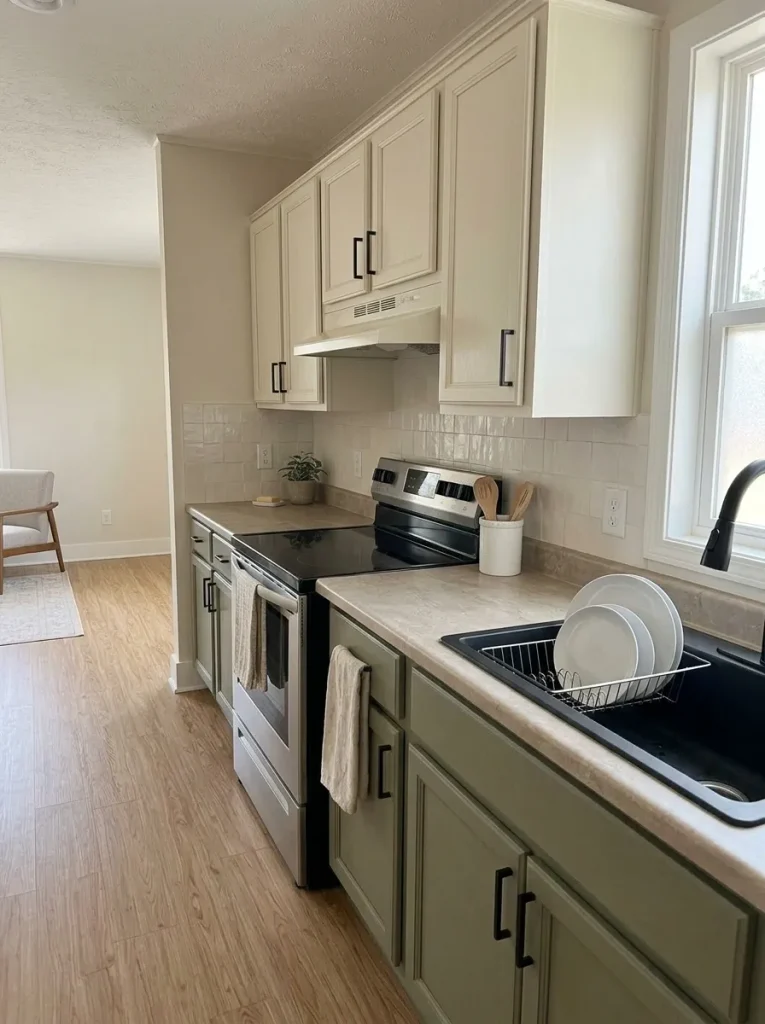
Peel-and-stick backsplash can be a manageable weekend upgrade, but the most important decision happens before the first sheet reaches the wall.
Inspect the surface closely.
Is it clean and stable? Is the finish secure? Are there loose areas, damage, deep texture or another condition that conflicts with the installation requirements of the product you want to use?
Then sample a small section.
Compact mobile-home kitchens often have relatively short backsplash runs, which means alignment mistakes and overactive patterns can become obvious quickly. Lay several pieces out before installing them so you understand how the design will meet corners, outlets, cabinets and countertop edges.
If the job expands into damaged wall material, electrical alterations, countertop replacement or larger kitchen planning, it is no longer just a backsplash project.
For that broader scope, continue to 17 Mobile Home Kitchen Makeover Ideas on a Budget. It already owns the larger kitchen budget and scope-control decisions. Stylish Galore
9. Paint One Cabinet Bank Before You Commit the Whole Kitchen
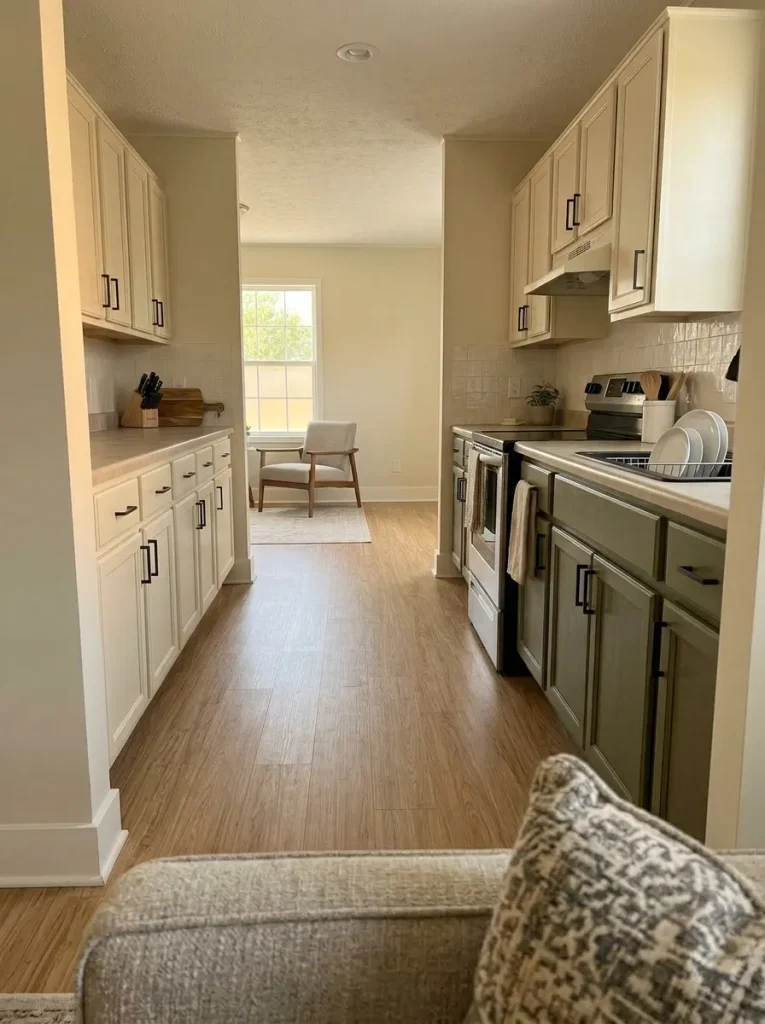
Painting every cabinet at once creates a large project before you know whether you like the color, sheen, preparation process or relationship with the rest of the kitchen.
Use one visually complete cabinet bank as your test.
Choose a small run that can look intentional on its own. Prepare and finish it according to the requirements of the actual cabinet surface and product system. Reinstall the doors and hardware before making the final judgment.
Then evaluate it from three positions.
From the adjoining room: Does the color improve the long view into the kitchen?
Standing at the counter: Does it cooperate with the counter and backsplash?
At night: Does household lighting shift the color in a way you dislike?
A successful test gives you a repeatable process. An unsuccessful one contains the mistake before it reaches every cabinet.
For surface identification, adhesion testing and the complete keep-the-boxes process, continue to 15 Mobile Home Kitchen Cabinet Makeover Ideas Without Replacing Them. Stylish Galore
10. Build a Narrow Freestanding Pantry or Entry Shelf Instead of Loading the Wall
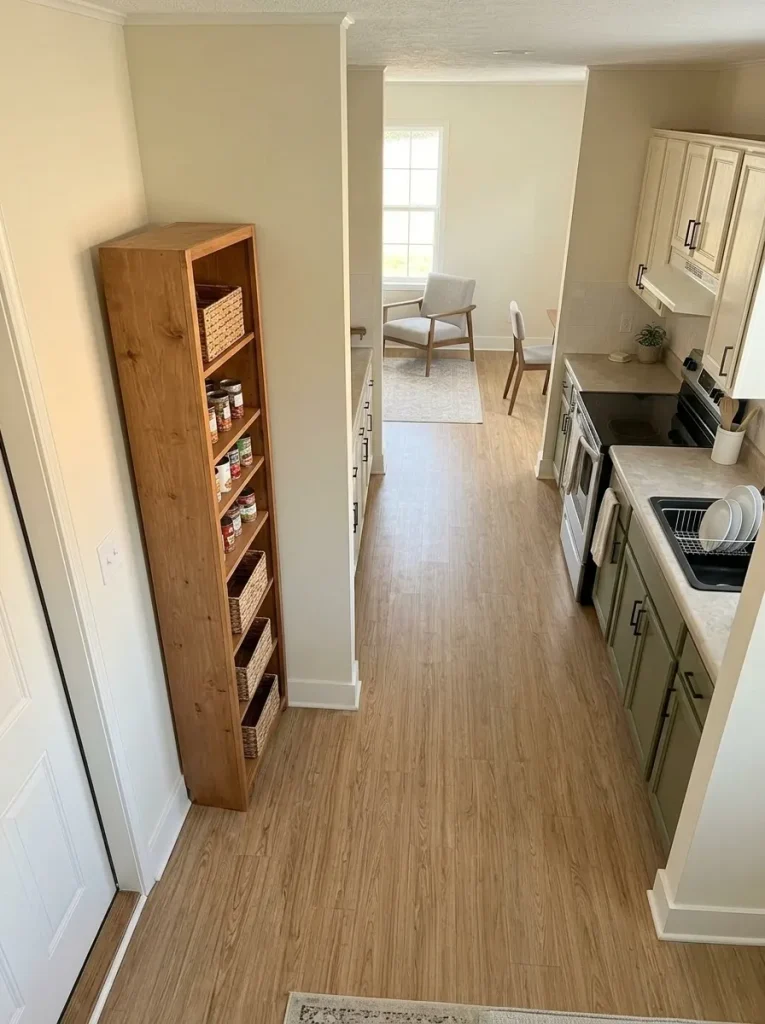
Storage becomes a problem when its depth is selected from a product photo rather than from the walking route beside it.
A freestanding shelf may sit at the edge of a mobile-home kitchen, near the entry, at the end of a hallway or beside a dining zone. Those locations can already carry a large share of daily movement.
Prototype the footprint before building.
Place boxes, painter’s tape or another temporary outline on the floor. Open the nearest door. Pull out the dining chair. Carry groceries or a laundry basket through the route.
The unit that survives those tests is more useful than the deepest shelf that technically fits against the wall.
Let circulation decide the shelf
Think of storage depth as space left over after everyday movement has been protected.
Which condition best matches the location?
Once the footprint survives the movement test, recover capacity vertically. Place frequent-use items in the easiest positions and reserve the highest shelves for lighter, less frequently used belongings.
The shelf succeeds when it adds storage without making movement feel like an obstacle course.
11. Refresh the Bathroom Vanity Exterior Without Moving the Plumbing
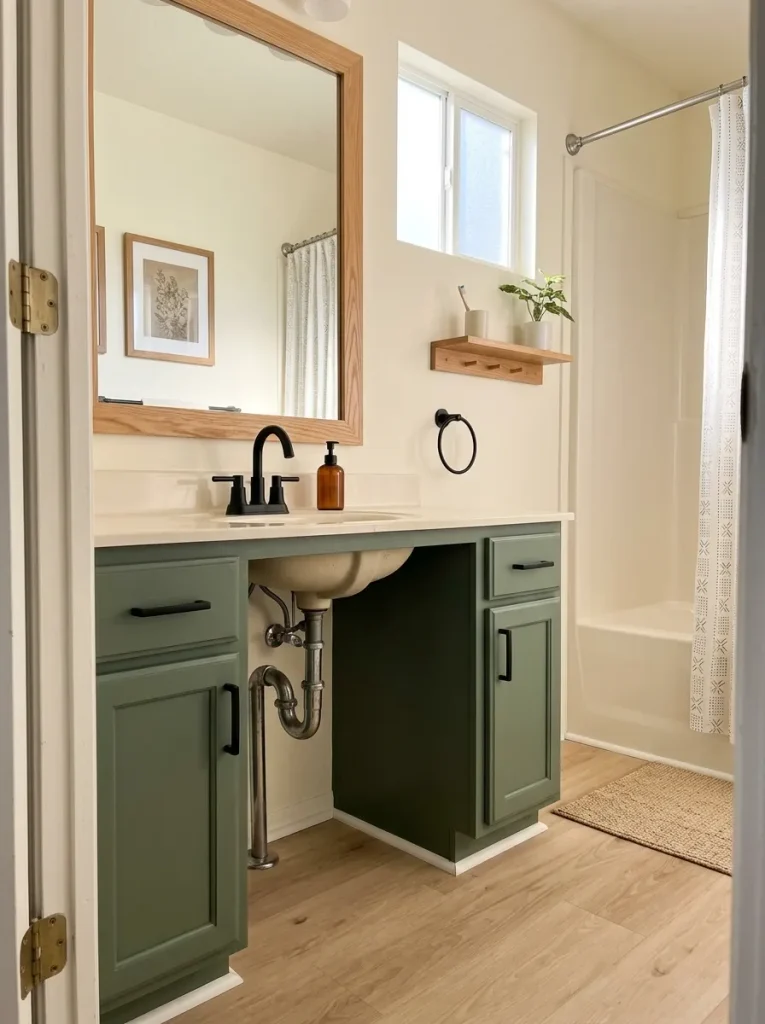
A mobile-home bathroom vanity can be a good DIY target when the cabinet still works but its visible surfaces make the room feel tired.
Separate it mentally into components:
cabinet box → doors → drawer fronts → hardware → counter → sink → faucet → plumbing
That simple breakdown protects the project from scope creep.
If the box is sound, a cosmetic refresh may mean cleaning and refinishing the exterior, replacing worn hardware, simplifying the counter and coordinating the finishes around the existing sink.
Pause when you discover swelling, ongoing moisture damage, instability or another condition that changes the job from decorating to repair.
If you are planning to disturb plumbing, wet-area construction, flooring or other deeper bathroom components, continue to 17 Mobile Home Bathroom Remodel Ideas on a Budget. That specialist guide already organizes bathroom projects by how deeply they disturb the room. Stylish Galore
The best DIY vanity makeover knows exactly what it intends to leave alone.
12. Frame the Existing Mirror With a Lightweight Removable Border
A builder-basic mirror can make a vanity wall feel unfinished even when the glass itself is perfectly usable.
A lightweight border can change its proportion without requiring a completely new mirror.
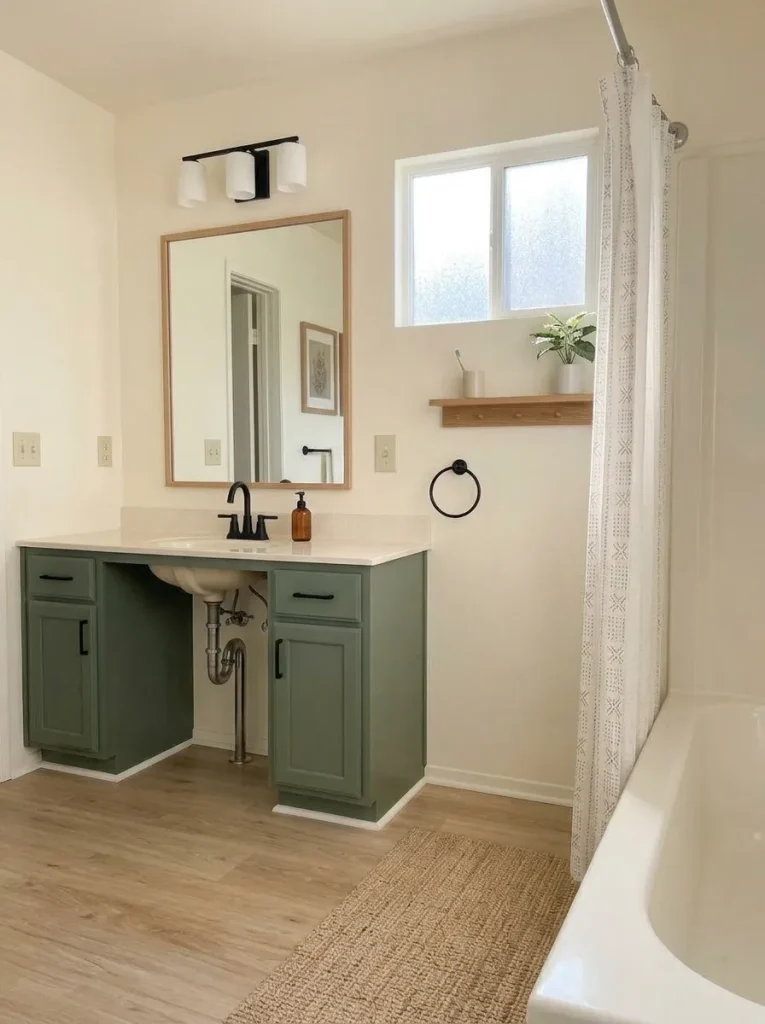
Test the frame visually before making it permanent. Use painter’s tape to mark the proposed outer edge, then stand at the bathroom doorway.
Does the new outline make the mirror relate more clearly to the vanity below it?
Now inspect nearby conflicts:
- light fixtures,
- switches,
- outlets,
- medicine cabinets,
- backsplash edges,
- side walls.
The frame should organize the wall—not squeeze into every remaining gap.
A warm wood tone can soften an otherwise pale bathroom. A painted border can quiet a wall with several finishes. A thin profile often works better when the vanity and hardware already carry enough detail.
If the existing glass is damaged, badly positioned or fundamentally wrong for the vanity, decorative trim is simply dressing up the wrong problem.
13. Add Battery or Plug-In Task Lighting Inside Dark Storage Zones
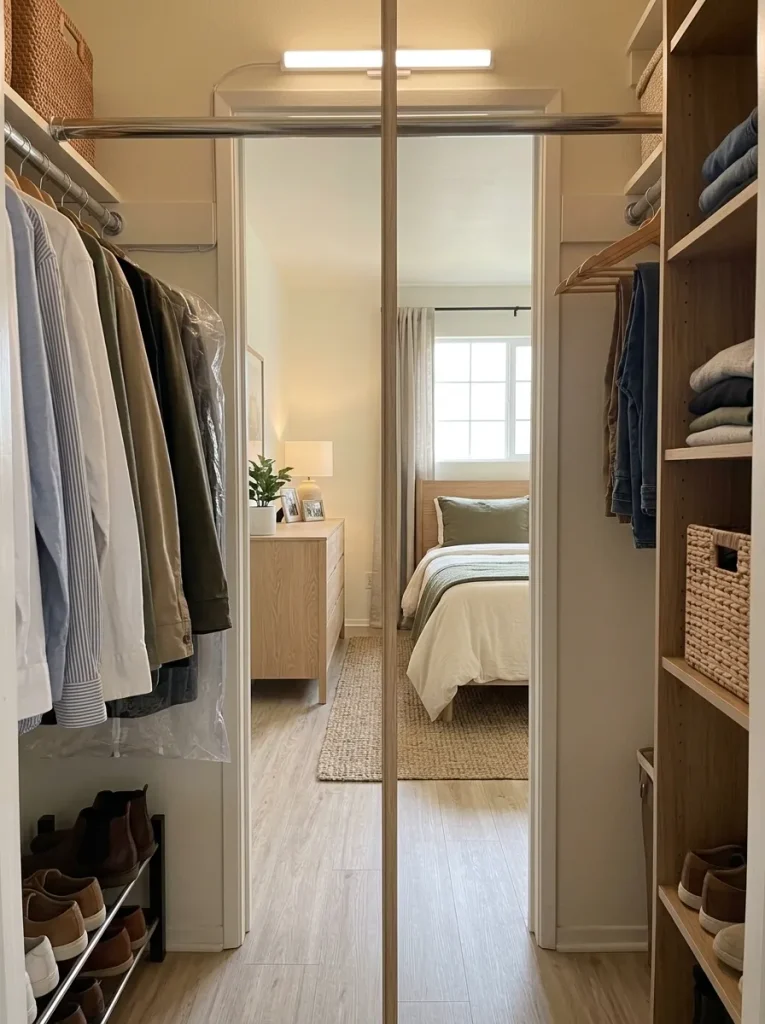
Storage can have enough physical capacity and still work poorly because half of it disappears after sunset.
Before buying another organizer, test the space with light.
Use a battery-operated or plug-in task light suitable for the location and place it where shelves or hanging clothing will not block the useful beam.
Then open the cabinet or closet exactly as you normally would.
Can you immediately identify the items toward the back?
This test is especially useful in:
- a deep pantry,
- a hall closet,
- an enclosed utility-storage area,
- the darker side of a wardrobe,
- a cabinet where your body blocks the room’s main light.
Keep the project in the simple-lighting lane. It should not require modifying household wiring.
If improved visibility makes the existing storage suddenly work, another shelf may be unnecessary.
If lighting changes nothing because the area is simply overloaded, reorganizing is the stronger next move.
Sometimes illumination is a diagnostic tool before it becomes an upgrade.
14. Give the Bed Wall Structure With a Removable Panel Instead of More Décor
Small bedrooms can accumulate many small decorative fixes without ever developing a strong focal point.
Another frame goes up. Then another shelf. More pillows arrive. Blank wall fragments get filled.
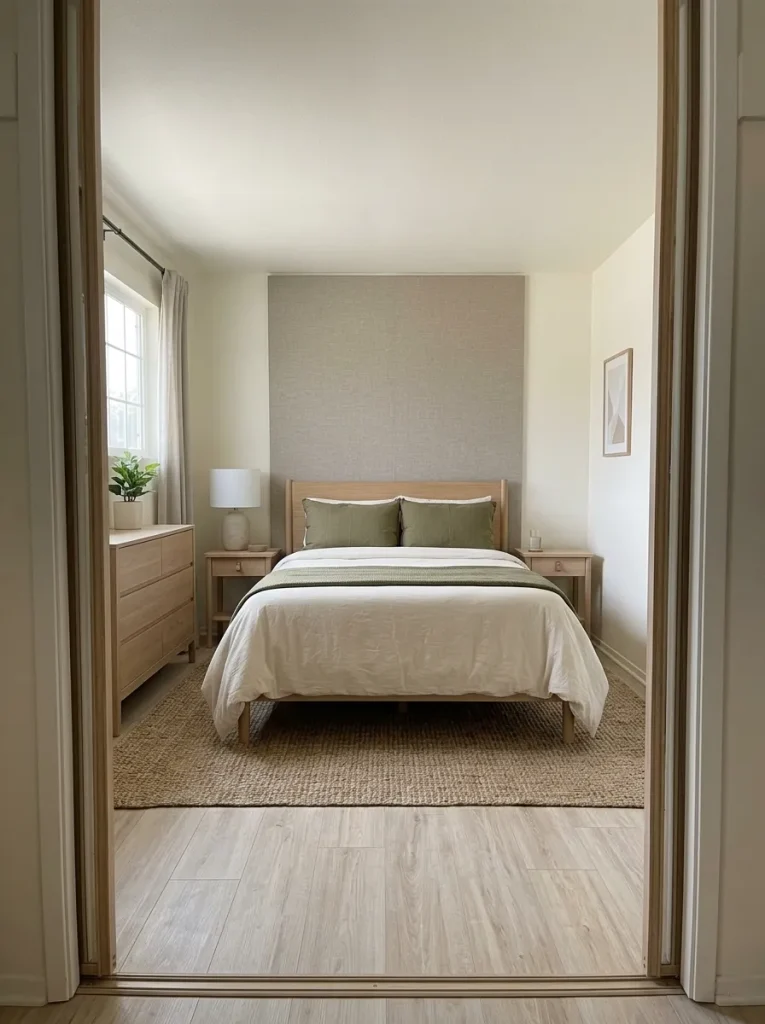
One removable panel behind the bed can solve that visual fragmentation more efficiently.
It might be wallpaper, a lightweight textile, a removable painted panel or another low-commitment surface treatment appropriate for the wall.
Mark its width with tape first. Then photograph the bedroom from the doorway.
If the new field visually anchors the bed while the closet route, window and remaining walls become quieter, the idea is working.
If the room still looks crowded, the problem may be furniture scale or circulation—not a shortage of decoration.
For those larger bed-placement, furniture-scale and doorway-sightline decisions, continue to 25 Mobile Home Bedroom Ideas for a Comfortable, Beautiful Space. Stylish Galore
One focal field should reduce the number of decorative decisions the room needs.
15. Add a Second Storage Level in the Closet Without Blocking What Already Works
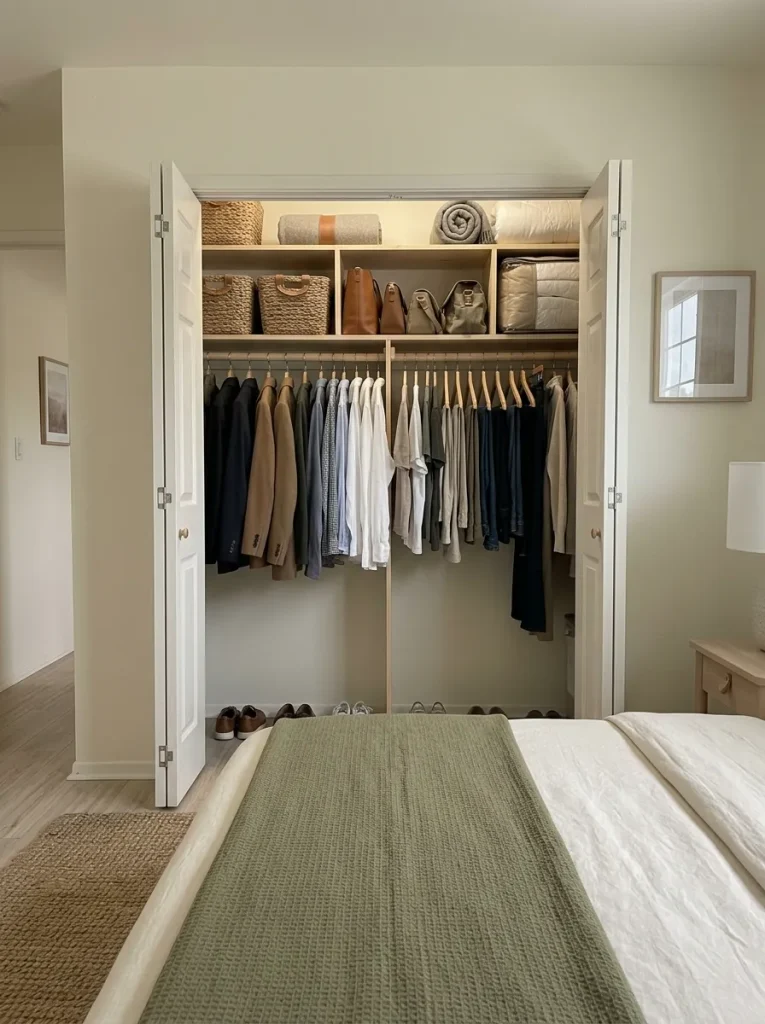
Look above the closet rod before deciding the bedroom needs another dresser.
Upper closet volume often goes unused, but filling it carelessly can make daily clothing harder to reach or interfere with doors and hangers.
Empty enough of the closet to understand its real geometry.
Check:
- how the door moves,
- where hanging clothes end,
- what sits on the floor,
- which belongings need everyday access,
- which items can tolerate an inconvenient reach.
Then give the upper level a specific job.
Seasonal bedding, spare bags, light boxes and rarely used clothing can move higher while daily items stay below.
Before building, place an empty box or cardboard mock-up at the proposed shelf height and use the closet normally.
If the mock-up makes hangers awkward or hides too much, revise it.
For a deeper bedroom-storage plan that considers the bed footprint, vertical storage and circulation together, continue to 19 Small Mobile Home Bedroom Storage Ideas. Stylish Galore
16. Replace Worn Weatherstripping and a Door Sweep Before Replacing the Door
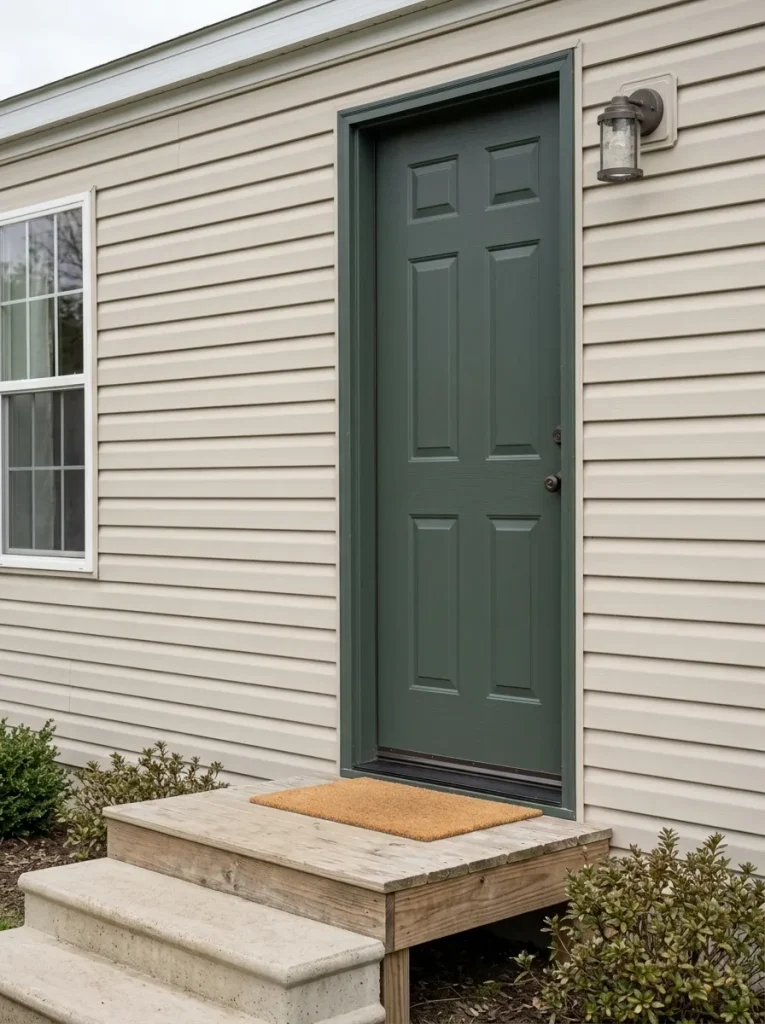
An older exterior door can appear to be the problem when the weak point is actually around its perimeter.
Before planning a complete replacement, inspect where the closed door meets the frame and threshold.
Look for visibly worn, missing or damaged sealing material and determine whether the door itself still opens, closes and latches normally.
Door or perimeter? Diagnose before replacing.
Close the door and inspect the contact points around the frame and threshold.
Separate worn replaceable sealing pieces from damage to the door, frame or surrounding construction.
If the project remains a compatible weatherstripping or sweep replacement, follow the replacement product’s fitting instructions.
This is where the DIY boundary matters. HUD’s manufactured-home standards cover more than visible finishes, including body and frame requirements, plumbing, electrical systems and fire safety. HUD
If replacing a clearly worn perimeter component does not address the problem, stop treating the door as a cosmetic project and investigate further.
17. Add a Removable Screen-Curtain Layer to an Existing Covered Porch
An existing covered porch can become noticeably more comfortable without being rebuilt.
For a DIY-scale upgrade, work with the structure already there.
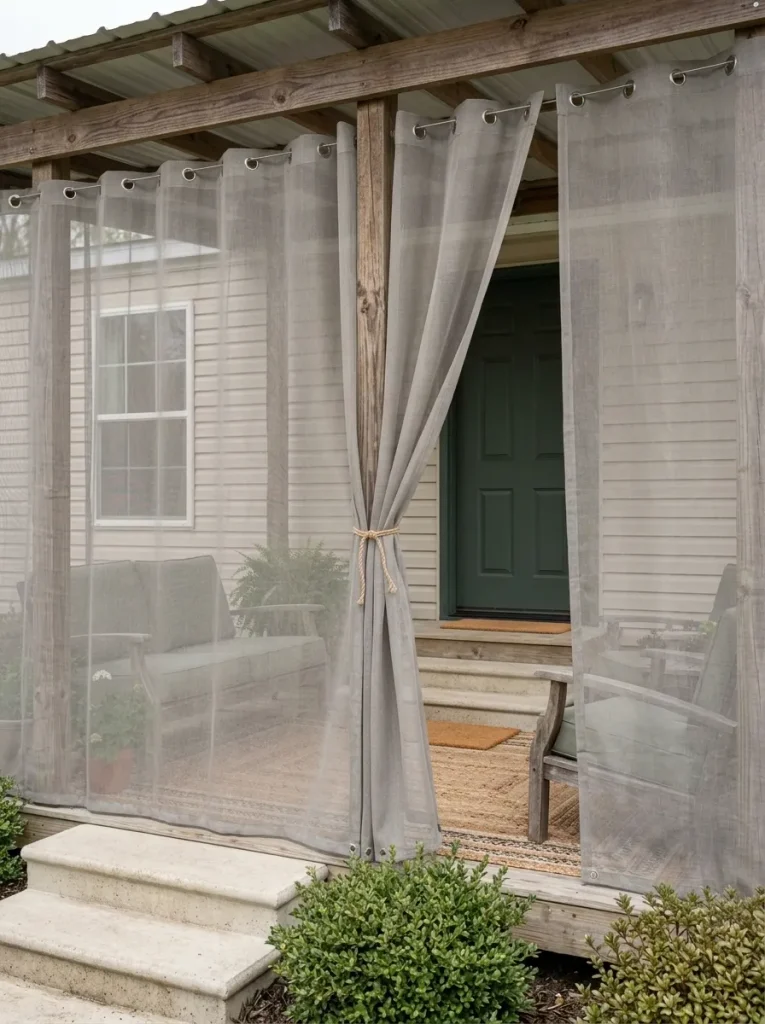
A removable screen-curtain layer can reduce insect nuisance or create a softer edge around the seating zone while keeping the porch open to the yard.
First decide what the porch actually needs.
Solve the problem the porch actually has
A removable layer works best when its purpose is clear before installation.
Preserve the path between the home’s door, seating and steps. If the plan starts requiring new permanent framing, roof modification or structural work, it has moved beyond this article’s simple-upgrade scope.
For seating, rugs, curtains, shades, lighting and broader porch styling, continue to 21 Summer Mobile Home Porch Decor Ideas for a Fresh, Welcoming Outdoor Space. Stylish Galore
18. Refinish a Sound Porch Floor as a Surface Project, Not a Structural One
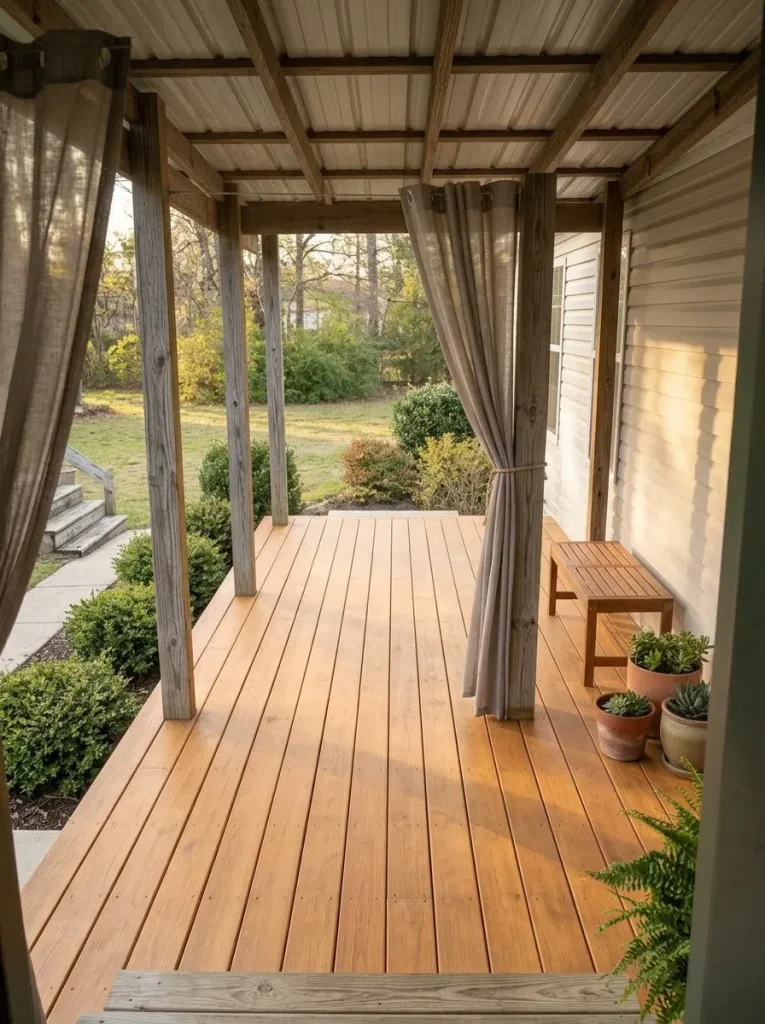
A porch-floor refresh can make the front of an older mobile home feel noticeably more cared for because the surface sits directly in the route to the door.
But the finish should be the last decision.
Walk the porch first.
Look for movement, deterioration, loose components, unstable steps or rails, and other conditions that suggest the project goes beyond an unattractive surface.
Only after the porch appears sound should you choose a compatible cleaning, preparation and finishing system for the existing material.
Follow that product’s requirements rather than assuming every exterior floor accepts the same treatment.
Afterward, resist the urge to hide the new surface under layers of décor.
One compact seating group, an open path to the entry and a few intentional planters may be enough.
Stop here if:
- the floor moves unexpectedly,
- boards or other components appear deteriorated,
- steps or railings feel unstable,
- water or structural issues appear involved.
The DIY project is refinishing the surface—not concealing a construction problem beneath a prettier finish.
19. Refresh Existing Exterior Window Trim or Shutters Without Creating New Penetrations
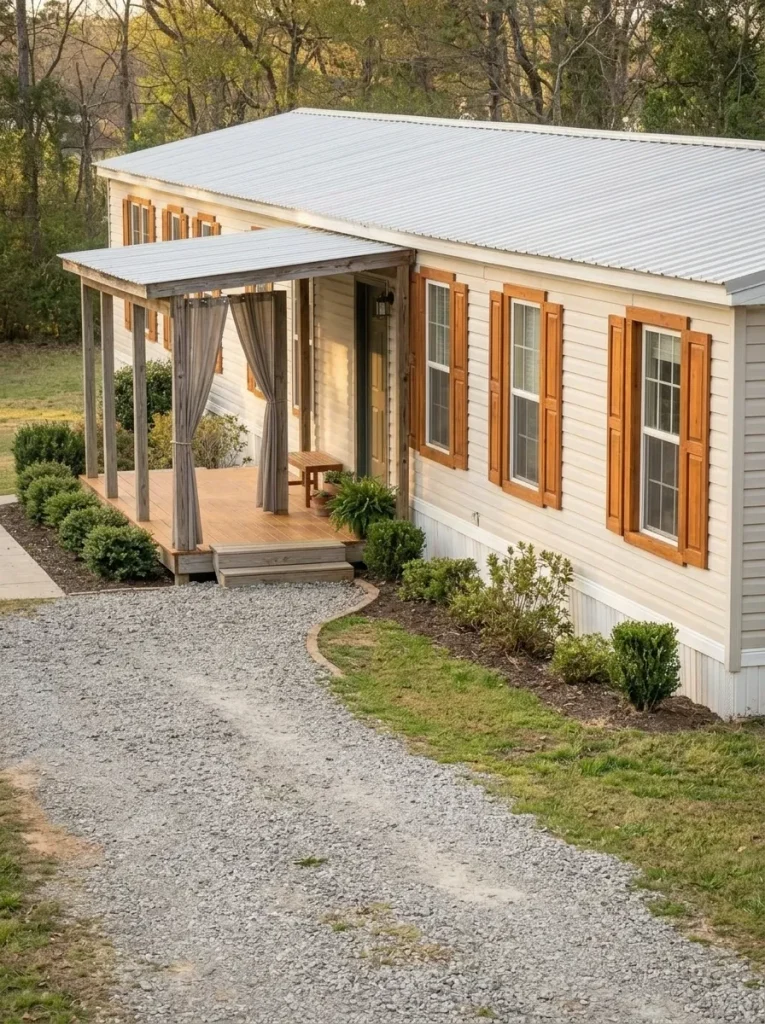
Window trim and shutters can influence the entire front elevation because the same detail repeats across a long mobile-home façade.
That repetition makes consistency more important than novelty.
Begin with what is already attached.
If the existing decorative shutters or trim remain sound, cleaning and refinishing them can sharpen the exterior without requiring a redesigned shell.
Do not choose the color while standing six inches from one shutter.
Move far enough away to see multiple windows, the front door, siding, roof and skirting at once.
Then decide what role the accent should play.
Warm wood: useful when the exterior needs natural warmth.
Deep charcoal: useful when pale siding needs stronger definition.
Siding-adjacent color: useful when the windows already feel too visually busy.
Keep the project finish-based. Avoid casually creating new penetrations through the exterior simply to imitate an inspiration image.
The success test is the full elevation: several windows should read as one intentional repeated detail.
Where to Start With Your Mobile Home DIY Upgrades
The best first project is rarely the biggest transformation on your wish list.
Start with the upgrade that has a clear problem, a testable first move and a stopping point you understand before work begins. Finish it fully. Photograph the whole room or exterior zone. Then decide what still deserves attention.
That sequence keeps small improvements from turning into a house full of unfinished experiments, and it protects features that were already doing their job.
Once you understand which projects genuinely need doing, you can explore StylishGalore’s separate 21 Cheap Mobile Home Upgrades That Look Expensive for projects chosen specifically for high visual impact. Stylish Galore
Found an upgrade you want to try? Save this guide to Pinterest so your next mobile home DIY project is easy to find when you’re ready to start.