
A mobile home can have plenty of baskets, cabinets, and shelves and still feel disorganized. The problem is often less about how much storage exists and more about what happens to everyday belongings after they are used. Mail lands on the counter. Pantry backups drift between shelves. Cleaning supplies spread into several rooms. A charger gets put down wherever there happens to be an outlet.
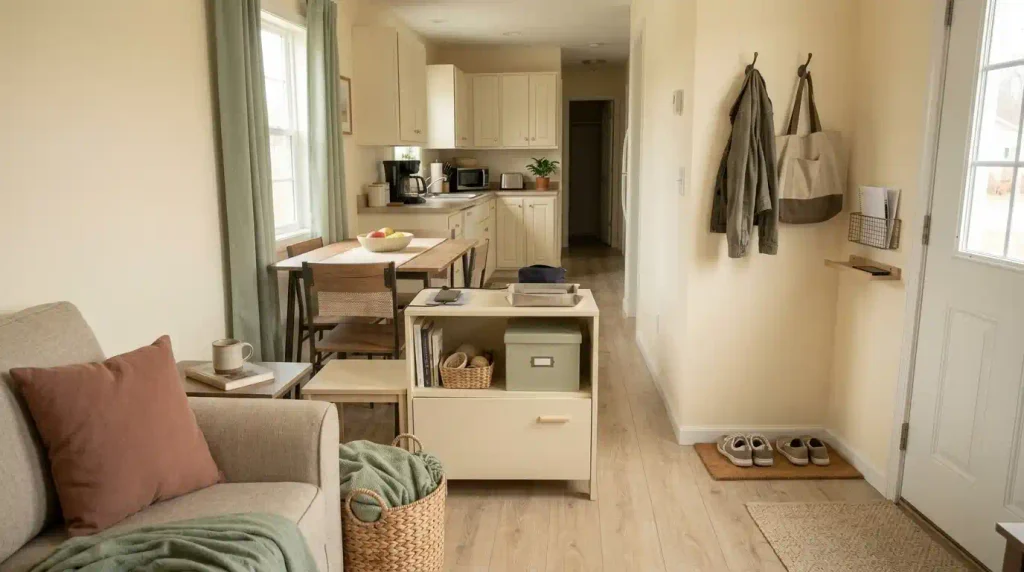
The most useful mobile home organization ideas solve those repeat patterns first. In a compact manufactured home, connected rooms, shorter walking distances, limited work surfaces, and long sightlines make small amounts of misplaced clutter unusually visible. That means organization has to support both function and visual calm.
The 19 ideas below focus on giving belongings clear addresses, reducing the effort required to put them back, organizing categories around real household routines, and knowing when another container would only hide the problem. Start with the clutter-route diagnostic below before buying anything new.
1. Trace the Clutter Loop Before Choosing Another Organizer
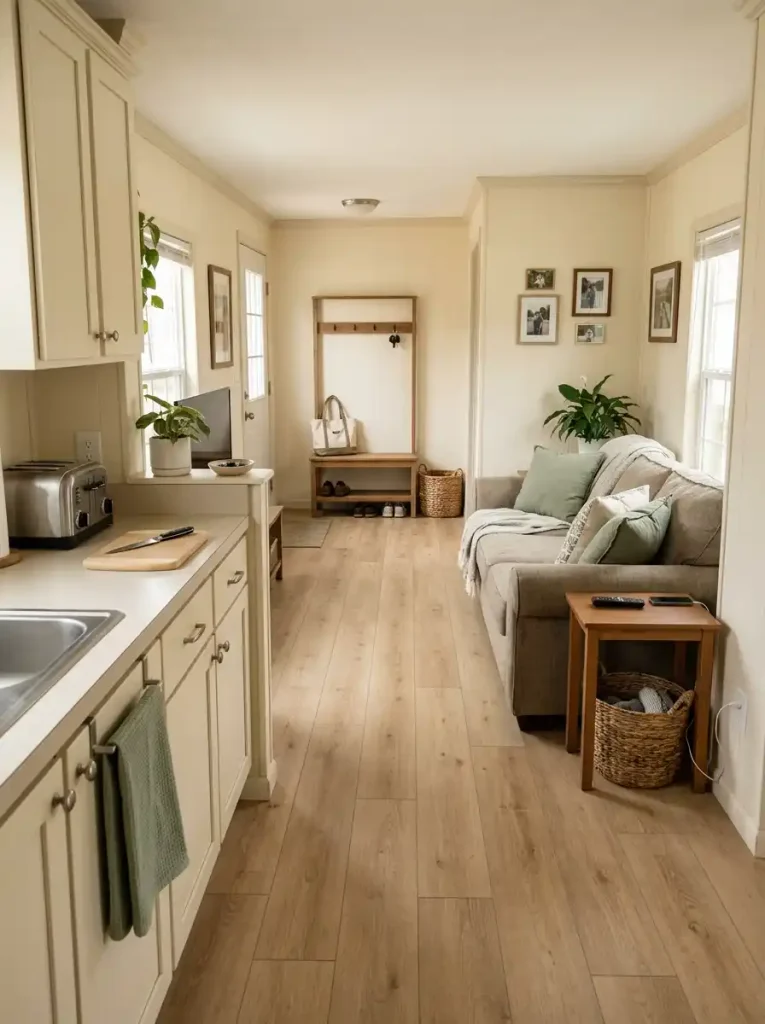
A pile is usually the end of a process, not the beginning of one.
Pick three objects that regularly end up where they do not belong and trace what happens to them. Where are they first used? Where are they dropped? Where is their official home? Most importantly, how many actions separate the drop point from that home?
In a compact mobile home, a storage location can be physically nearby and still fail because returning an item requires opening two doors, moving another object, reaching an awkward shelf, or walking against the normal household route.
That distinction matters because a clutter problem caused by return friction does not necessarily need more capacity. It may need a better address.
If your walkthrough reveals that the existing home genuinely lacks room for a category, continue with StylishGalore’s <a href=”https://stylishgalore.com/mobile-home-storage-ideas/”>mobile home storage ideas for small spaces</a>. That guide covers the deeper capacity question; this organization system starts by determining whether capacity is actually the problem.
Whole-home diagnostic
Where does your clutter loop actually break?
Before adding storage, identify what happens between using an item and returning it. The failure point tells you whether to relocate, simplify, or genuinely add capacity.
What happens most often?
Choose oneShorten the return route.
Storage already exists, but everyday behavior is showing that its location creates too much friction.
Create one unmistakable address.
The category wanders because the household has several plausible destinations but no clear final one.
Now test actual capacity.
You may have a genuine storage shortage, but separate active belongings from reserves and low-use overflow before expanding.
Before purchasing another organizer, you can now identify whether the actual failure is return friction, an undefined category, or insufficient capacity.
2. Give Daily Categories a Return Distance They Can Actually Survive
The easiest shelf should not automatically go to the item you use most. It should go to the item that is used often and repeatedly fails to make it back.
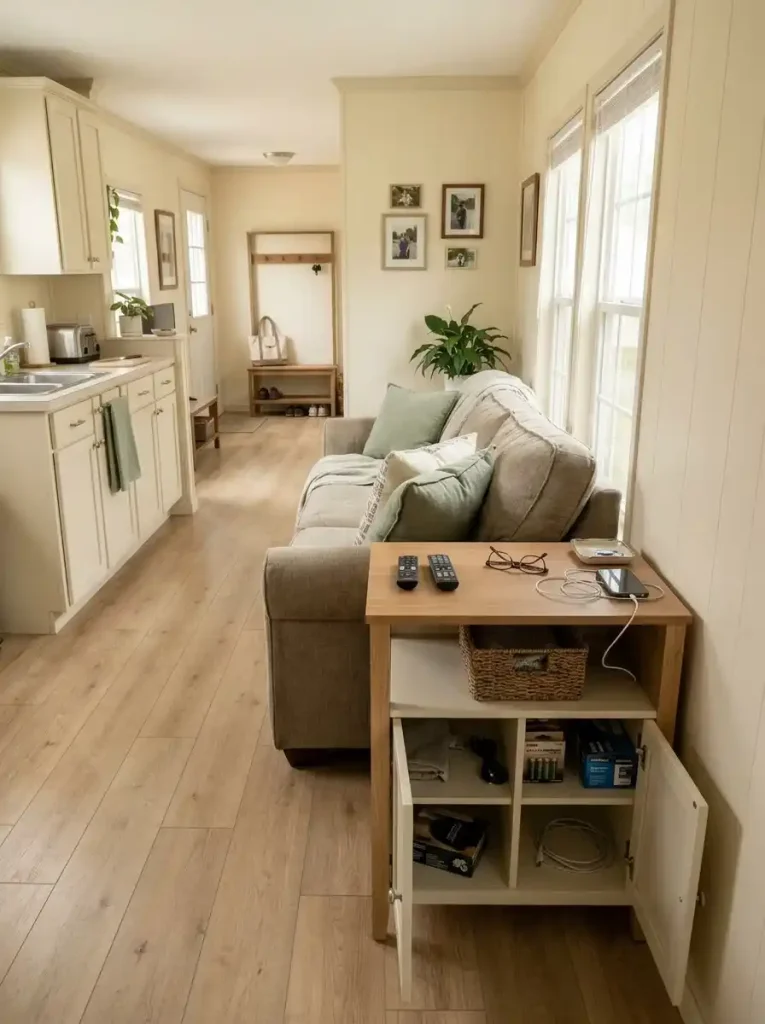
That difference is useful in a mobile home because several rooms may be only a few steps apart. A basket across the room can look reasonably close on paper, yet the item may still end up on a counter because returning it interrupts the routine.
Watch one normal day and notice the categories that accumulate outside their assigned homes. Keys, charging cables, hair products, cleaning cloths, children’s items, pet supplies, or paperwork are stronger candidates for prime reach than belongings that already get returned reliably.
Use a simple rule: the more frequently something becomes visible clutter, the fewer steps its return should require.
Do not reorganize every category around convenience. Reserve your easiest addresses for the belongings creating the most repeated friction.
Return-distance test: If an item is routinely abandoned within a few feet of where it is used, move its official home toward that landing point before blaming the household for not putting it away.
3. Separate Pantry Food Into Open, Next and Back-Up Stock
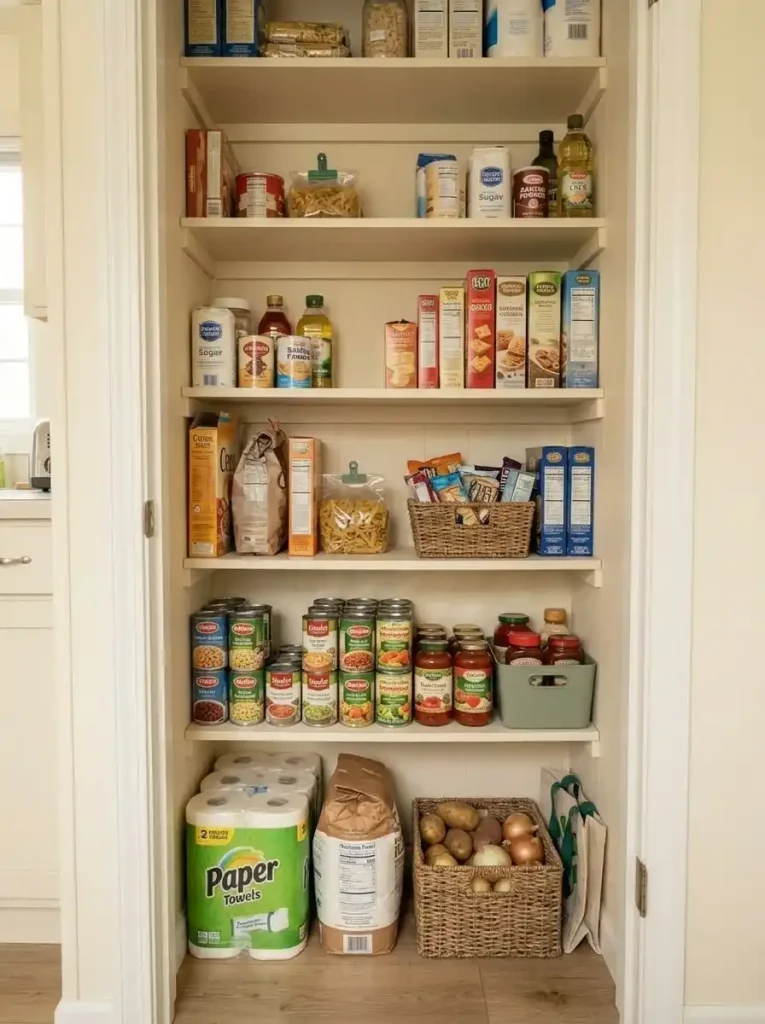
A pantry can look beautifully categorized and still create duplicate buying if three boxes of the same food are mixed across several shelves.
Organize repeat purchases by inventory status.
Keep the package currently being used in the easiest position. Put the next unopened package directly behind or above it. Larger reserves belong together in a clearly bounded back-up zone. The system lets you see when a category is actually running low without turning the entire pantry into matching containers.
This matters especially in a compact mobile-home kitchen where pantry shelves may be shallow, narrow, or split among several cabinets. Scattering backstock makes the household feel as though it has less food storage because nobody can see the complete inventory.
Use transparent containers when visibility genuinely helps loose staples, but do not decant every packaged item merely for visual uniformity.
Pantry inventory logic
One food. Three states.
The shelf tells you what to open, what comes next, and what should stay in reserve.
OPEN
The package currently in use earns the fastest, clearest access.
Use first → keep visibleNEXT
One unopened replacement sits immediately behind or beside the active item.
Refill signal → one step awayBACK-UP
Extra reserves share one bounded zone so you can count them at a glance.
Inventory check → buy only when neededBoundary rule: when the back-up zone is full, use existing stock before expanding the pantry system.
The decision is no longer simply “Which container should hold pasta?” It becomes “How much active stock and reserve stock deserves space here?”
4. Use Pantry-Door Pockets as a Packet Index, Not a Second Pantry
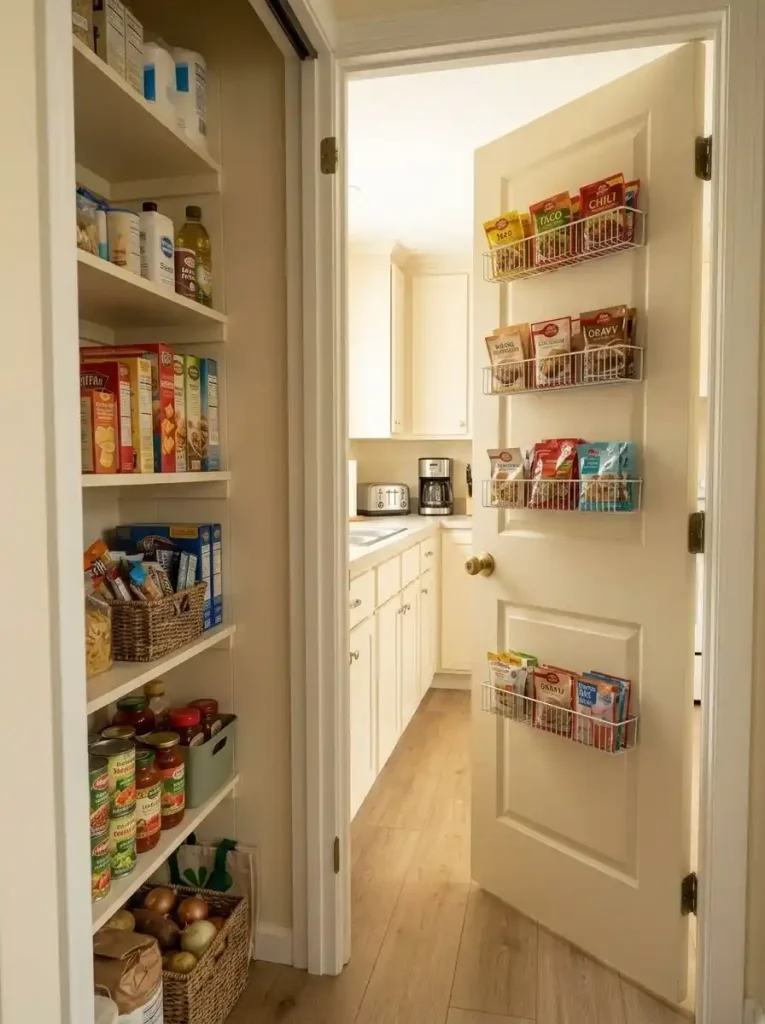
The back of a pantry or cabinet door can be useful for small packets, but filling every inch with unrelated food creates another place that has to be searched.
Give door pockets a narrower job.
They work especially well as an index for flat categories: seasoning envelopes, sauce packets, baking add-ins, drink mixes, small snack packets, or other lightweight items that otherwise disappear behind larger boxes.
Group each pocket by use rather than packaging color. A “taco night” pocket is more useful during cooking than an assortment arranged only to look symmetrical.
Keep bulky food, heavy jars, and deep containers on the shelves where they are easier to see and support.
For deeper kitchen-specific decisions—including cabinet-door backs, vertical dividers, cabinet cavities, backsplash rails, and other inch-recovery methods—use StylishGalore’s <a href=”https://stylishgalore.com/small-mobile-home-kitchen-ideas/”>small mobile home kitchen ideas</a> guide.
Quick test: if you have to open three door pockets before finding one packet, the door has stopped functioning as an index and started functioning as another crowded pantry.
5. Draw a Counter Reset Line and Protect the Space in Front of It
A counter does not become cluttered all at once. One appliance stays out, then mail lands beside it, then a grocery item waits to be put away, and eventually the work surface becomes general storage.
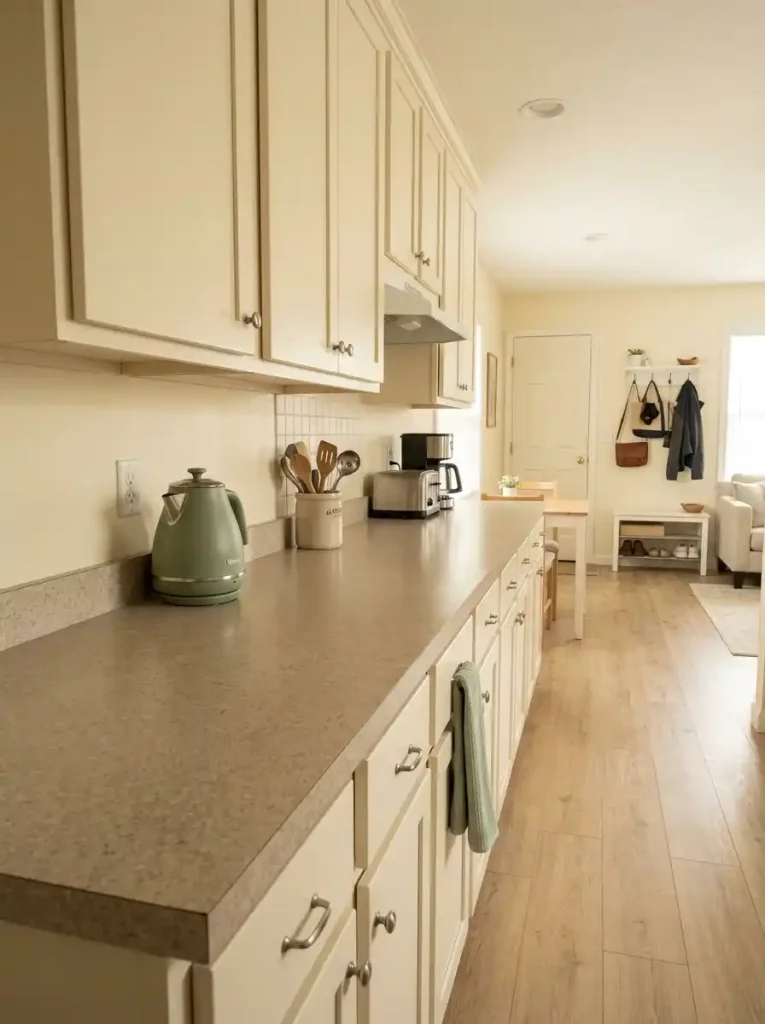
Give one kitchen counter a visible functional boundary.
Choose the stretch used most often for food preparation and imagine a line running across it. Everything behind that line may have permission to stay—perhaps a kettle, utensil crock, or another genuinely daily item. The surface in front remains temporary work space and should return to empty after the task ends.
This is more useful than aiming for a completely bare kitchen because it distinguishes resident objects from temporary arrivals.
If mail, medicine, keys, or tools repeatedly cross the reset line, do not keep shuffling them sideways. Their real organization problem exists somewhere else in the home.
A counter reset is successful when clearing it no longer requires deciding where each object belongs. Those decisions should already have been made.
Stop signal: If an organizer placed on the counter permanently reduces your best prep area, it has probably solved the wrong problem.
6. Keep Food Visible Enough to Prevent the Forgotten Back Row
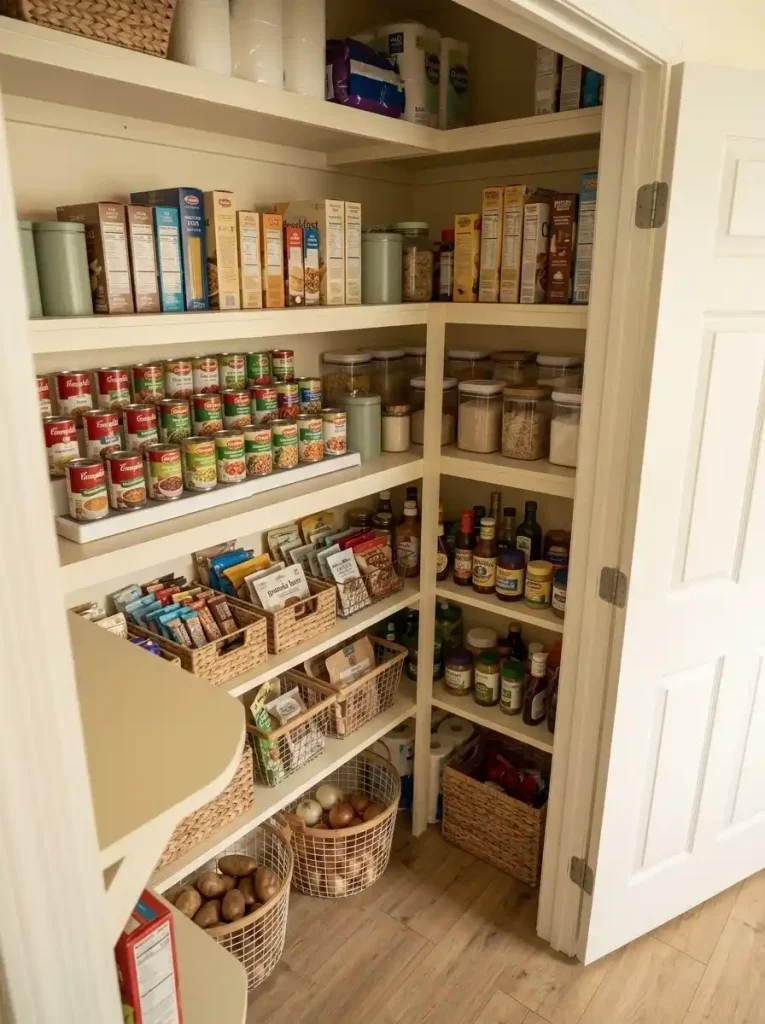
A pantry does not need every package displayed like a store shelf, but important categories should be readable without unloading half the cabinet.
Start with the foods most likely to disappear behind something else: canned goods, small baking ingredients, snack packets, produce, and duplicate dry goods. Shallow bins, stepped can risers, open-front containers, or one-category rows can make inventory easier to scan.
The useful question is not “Can I fit more here?” Ask, “Can I tell what I own before I buy another one?”
Deep stacking is acceptable for low-use reserves when the front item clearly represents what sits behind it. It becomes a problem when several unrelated products form layers that must be dismantled every time someone cooks.
For produce stored outside the refrigerator, an open bin can work better than a visually perfect closed container because the remaining quantity stays obvious.
Pantry visibility rule: prioritize a readable inventory before maximizing the number of packages that technically fit on the shelf.
7. Build the Under-Sink Layout Around the Plumbing Footprint
An under-sink cabinet is an irregular storage cavity. Pipes divide the back wall, the sink bowl removes useful height, and plumbing connections interrupt the clean rectangular space shown on organizer packaging.
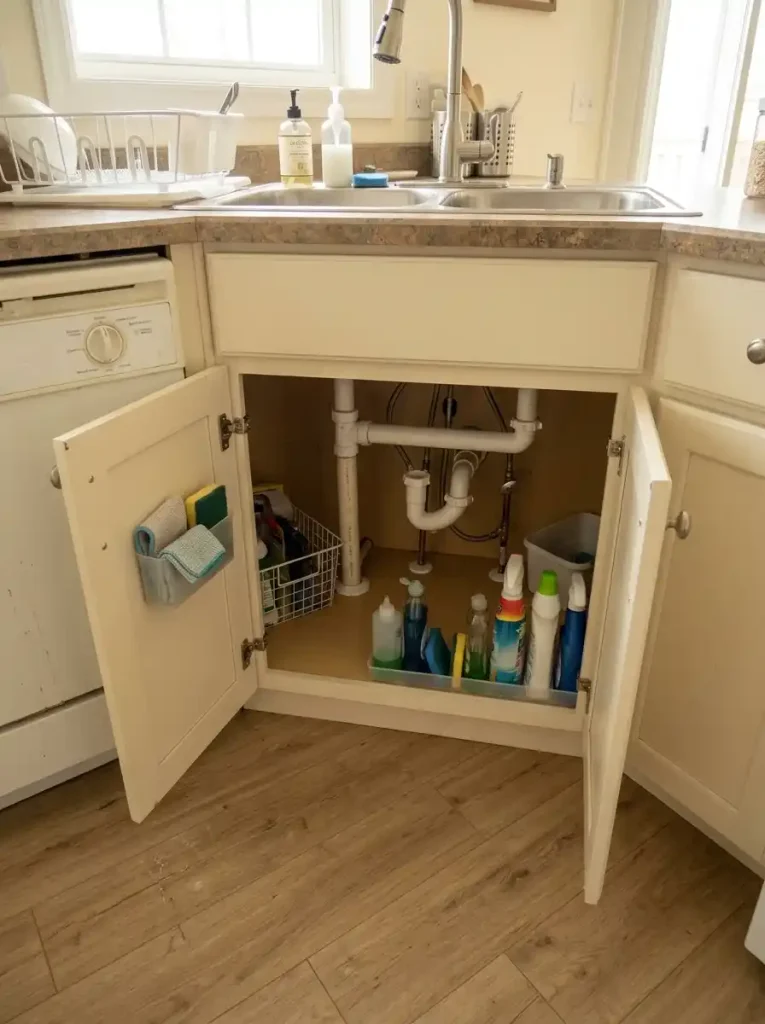
Treat those fixed elements as the starting geometry.
Begin by emptying the cabinet and looking at the usable zones: low floor space, the narrow areas beside the plumbing, the door interiors, and any uninterrupted span across the front. Then assign categories according to the shapes that actually fit.
Cleaning bottles may work along the front edge. Compact bins can occupy the sides. Frequently used cloths or lightweight accessories may suit a door-mounted solution where appropriate.
Avoid forcing a large organizer into the cabinet simply because it has several compartments. A smaller system that works around the real footprint can produce easier access.
Any plumbing alteration falls outside an organization project; organize around the existing system.
For a deeper layout specifically dedicated to this awkward cabinet, see StylishGalore’s <a href=”https://stylishgalore.com/under-bathroom-sink-organization/”>under-bathroom-sink organization guide</a>.
Decision test: choose the organizer only after you know which portions of the cabinet are genuinely usable.
8. Split Bathroom Storage Into Daily Use and Refill Stock
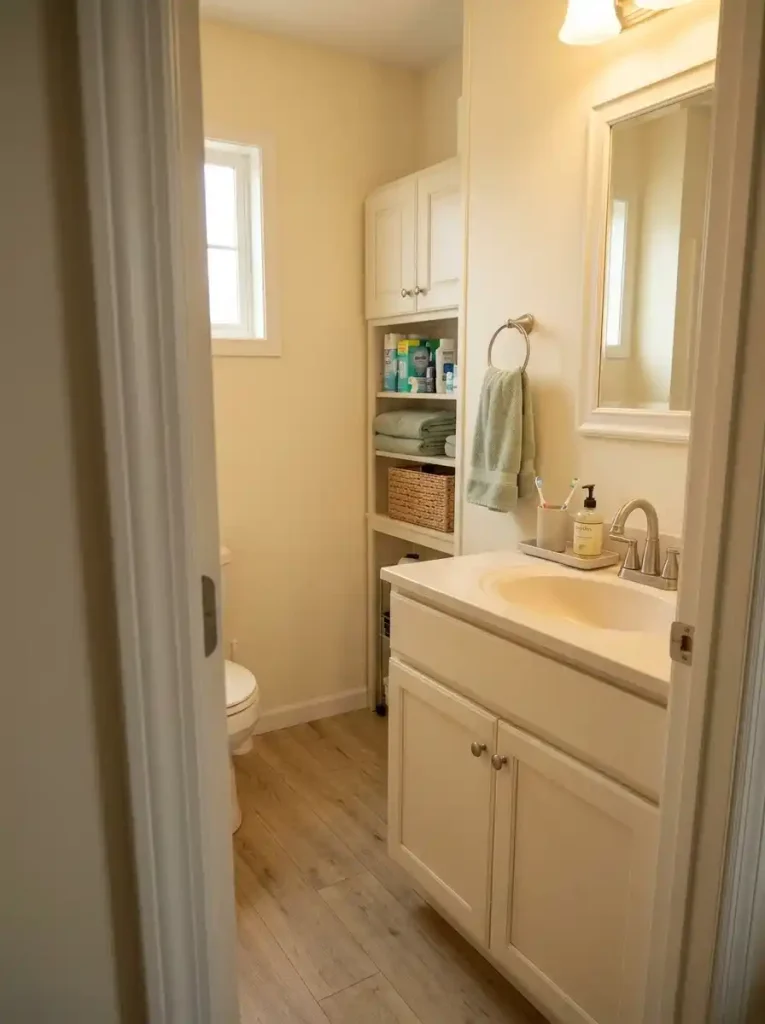
A small bathroom becomes crowded quickly when the product being used today sits beside every replacement that may be needed next month.
Separate those two jobs.
Create a daily-use zone for toothbrushes, current skincare, active toiletries, and other items used frequently. Then move unopened refills, extra soap, spare toiletries, and backup towels into a secondary zone.
The daily zone should remain easy to reach with minimal movement. Refill storage can tolerate a less convenient position because it is accessed less often.
This separation can also reveal category excess. Six half-used products are harder to manage than one active product plus a clearly bounded reserve.
In a mobile-home bathroom, where vanity and counter space may already be limited, removing backstock from prime reach can calm the room without remodeling anything.
For deeper room-specific capacity ideas, use the <a href=”https://stylishgalore.com/mobile-home-bathroom-storage-ideas/”>mobile home bathroom storage ideas</a> guide.
Bathroom check: If you can see more backup products than products currently in use, prime storage is probably being spent on the wrong inventory.
9. Arrange the Laundry Zone in the Same Order Clothes Actually Move
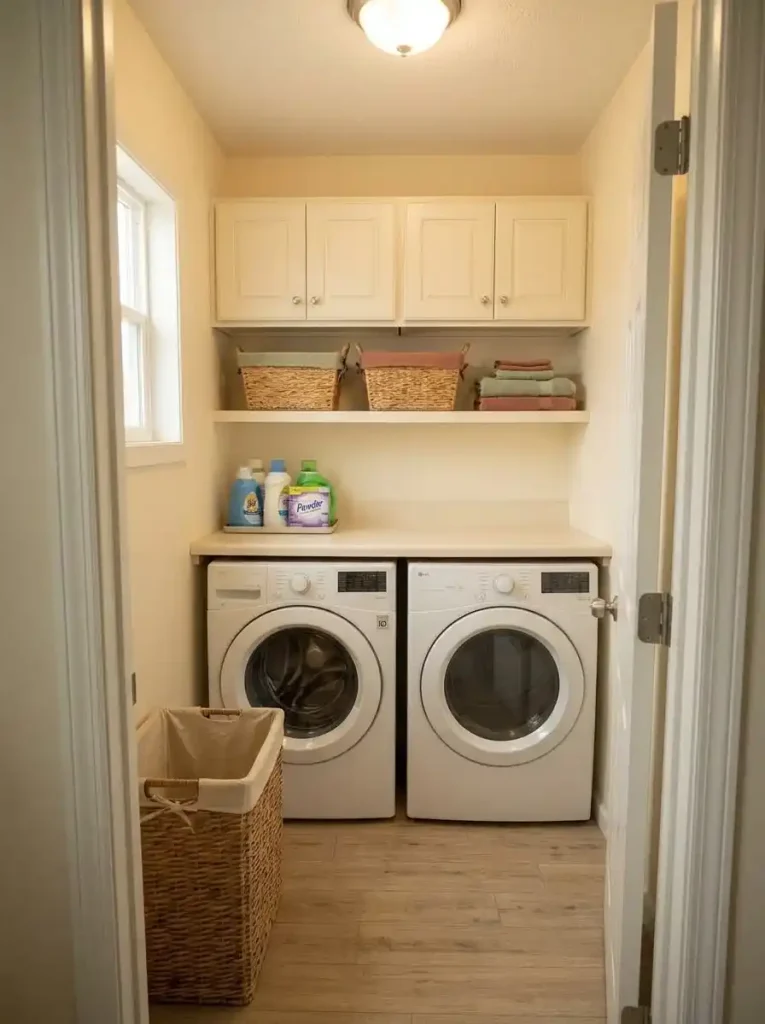
Laundry organization becomes easier when the room follows the life of the clothing.
The sequence is simple:
dirty → wash → dry → fold → return
Yet many laundry areas are organized by object type rather than workflow. Detergent is on one wall, baskets are somewhere else, hangers sit behind a door, and clean clothing accumulates because the folding or return stage has no obvious landing point.
Observe where your laundry process stalls.
If dirty clothing collects outside the room, the intake stage may be weak. If clean garments sit on the dryer, folding or return is probably the bottleneck. If products spread across appliance tops, wash supplies need a clearer working zone.
Fix the stage that breaks most often before adding another shelf.
Laundry flow diagnostic
Fix the stage where laundry stops moving.
Laundry clutter often comes from one weak transition in the cycle. Find the stage that regularly stalls before adding another basket, shelf or organizer.
Where does your laundry process usually break?
Select the closest patternStrengthen the intake stage.
Clothing is entering the household routine somewhere else, so the laundry zone begins too late in the process.
Create one wash-supply service zone.
Detergent and treatment products have become surface storage, making the appliance tops part of the clutter system.
Create a folding checkpoint.
The load successfully reaches the clean stage, but the next task has no protected place or immediate cue.
Shorten the return stage.
Folding is working, but completed loads are waiting for a later trip back to bedrooms or closets.
The strongest laundry organizer is therefore the one that repairs the weakest step in the sequence.
10. Give Brooms, Mops and Long Cleaning Tools One Vertical Parking Zone
Long-handled tools create disproportionate clutter because they are difficult to place casually. A mop leaning beside the washer becomes a broom beside another door, then a duster appears behind the refrigerator, and suddenly cleaning equipment occupies several visual corners.
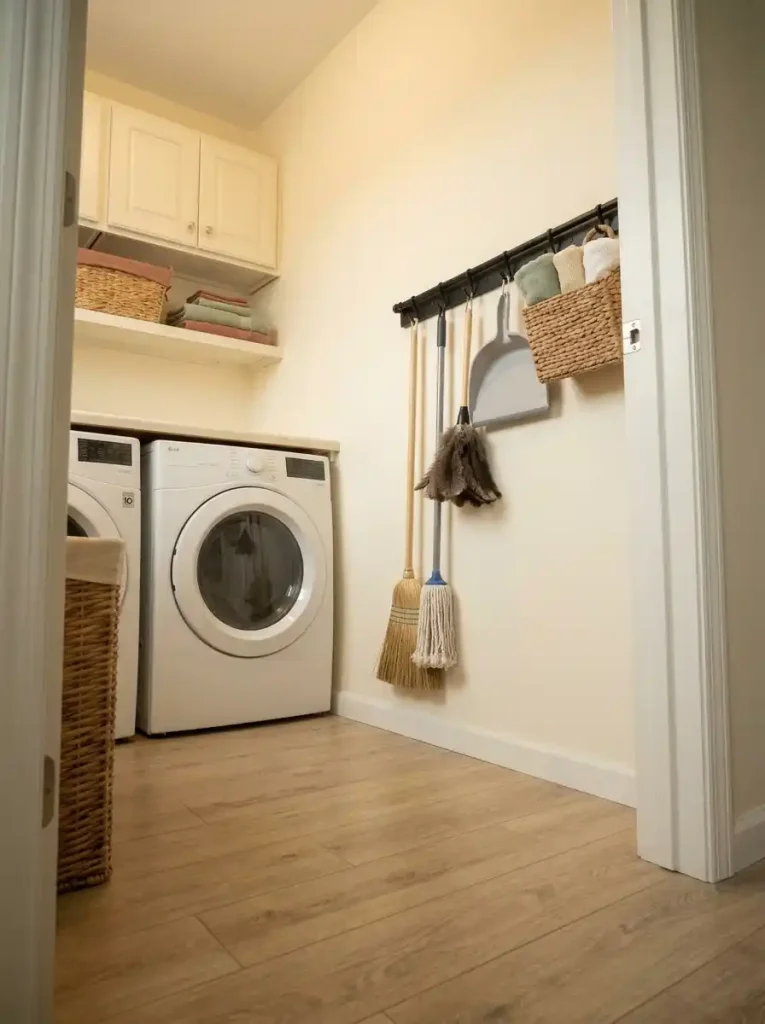
Consolidate tall tools into one narrow vertical zone.
A wall-mounted grip rail, utility hooks, a shallow service closet, or a slim section beside the laundry area can keep awkward items upright while freeing the floor around them.
Choose the location according to where cleaning routines begin, not simply where there happens to be a blank wall. Frequently used tools should be accessible without moving a hamper, basket, or appliance accessory first.
Small accessories can sit in a nearby basket, but avoid turning the same wall into storage for every cleaning product in the house.
For buildable wall systems, carts, benches and similar projects, continue with StylishGalore’s <a href=”https://stylishgalore.com/diy-mobile-home-storage/”>DIY mobile home storage projects</a>.
Useful stopping point: once every long tool has one stable parking place and can be removed individually, additional wall hardware adds little organizational value.
11. Hide the Categories That Create the Most Visual Noise From the Main Sightline
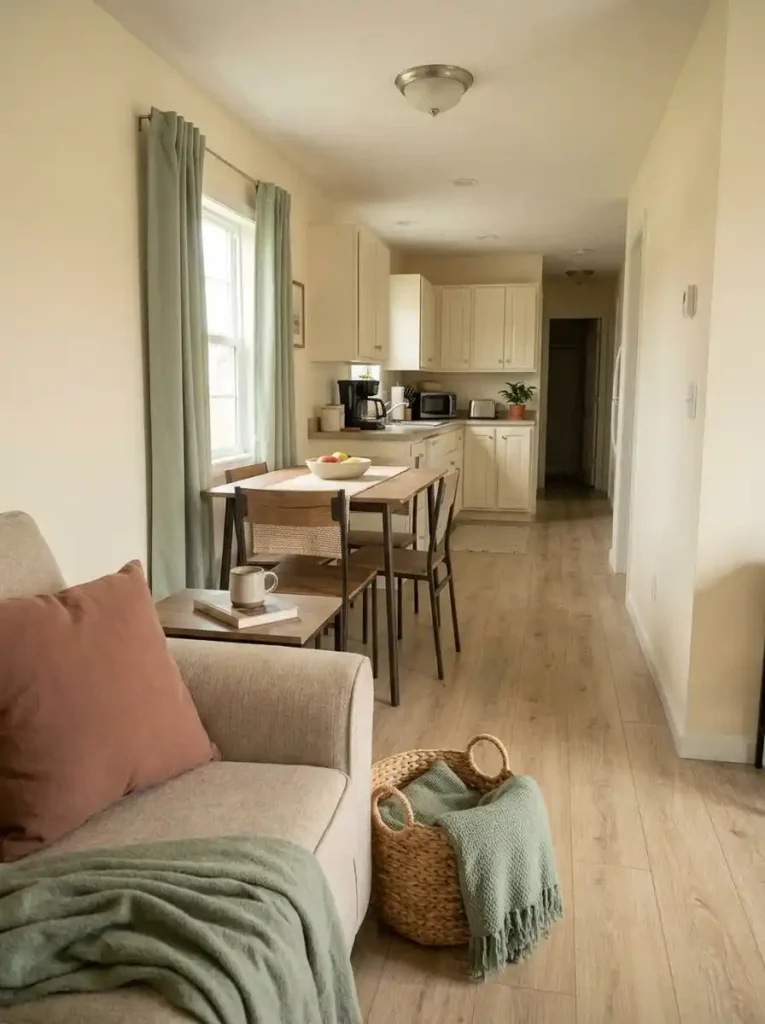
Mobile homes often connect the kitchen, dining area and living room more closely than larger compartmentalized houses. That means clutter in one zone may be visible from several others.
Stand at the main entry or at the position where you spend the most time sitting. Look down the longest uninterrupted view through the home.
Which categories dominate that view?
Bright food packaging, paper stacks, cleaning bottles, tangled cords, open laundry supplies and miscellaneous plastic containers tend to read as visual noise because they contain many small shapes, labels and colors.
Those are strong candidates for concealed storage or quieter containers.
Meanwhile, a simple basket of folded throws or one open shelf of frequently used neutral dishes may not require the same treatment.
Prioritize concealment according to visual pressure, not according to a rule that everything must be hidden.
Try one change, then step back to the same viewing position. If the room already feels significantly calmer, stop before buying additional matching containers.
12. Build an Entry Landing Zone Around What Actually Arrives Through the Door
A small entry does not need a full mudroom. It needs enough infrastructure to intercept the categories that would otherwise travel deeper into the home.
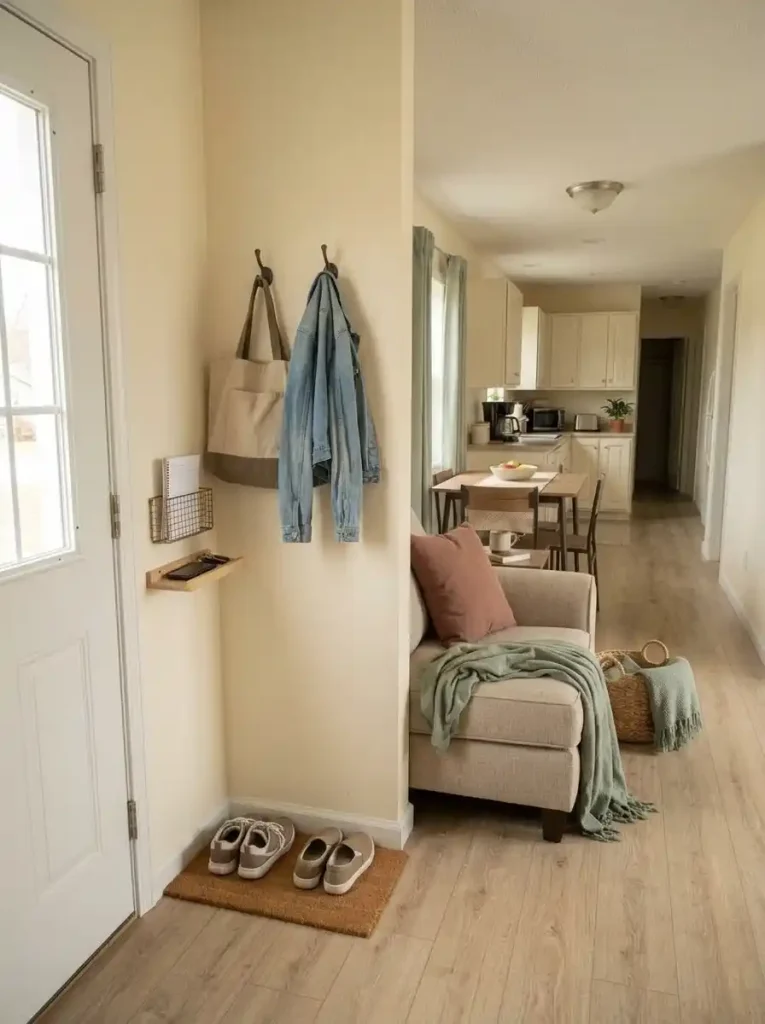
Watch what enters with you on a normal day: keys, shoes, handbag, backpack, mail, sunglasses, dog leash, reusable shopping bags, work items, or children’s belongings.
Then build only for those categories.
A household carrying keys and one bag may need little more than a hook and shallow tray. A family entry with shoes, backpacks and mail needs a different system. When the front door opens directly into a living room, vertical or wall-based solutions can preserve the circulation path better than a bulky console.
Threshold planning
Match the landing zone to your real arrival load.
A small mobile-home entry does not need to imitate a full mudroom. Give the doorway only enough infrastructure to stop the belongings that normally travel deeper into the home.
Which arrival pattern is closest to your home?
Choose oneKeep the footprint deliberately tiny.
A larger console or storage bench would solve more categories than your entry actually receives and could consume useful floor space.
Separate the arrival categories vertically.
A busy family threshold works better when bags, shoes and paper each have their own level instead of disappearing into one oversized catch-all basket.
Let the wall become the foyer.
When the front door opens directly into the living room, organization should define the threshold without making the room feel narrower.
The entry system is complete once normal arrivals can stop at the threshold instead of migrating to the kitchen or sofa.
13. Organize the Bedroom by Reach Frequency Before Adding Another Piece of Furniture
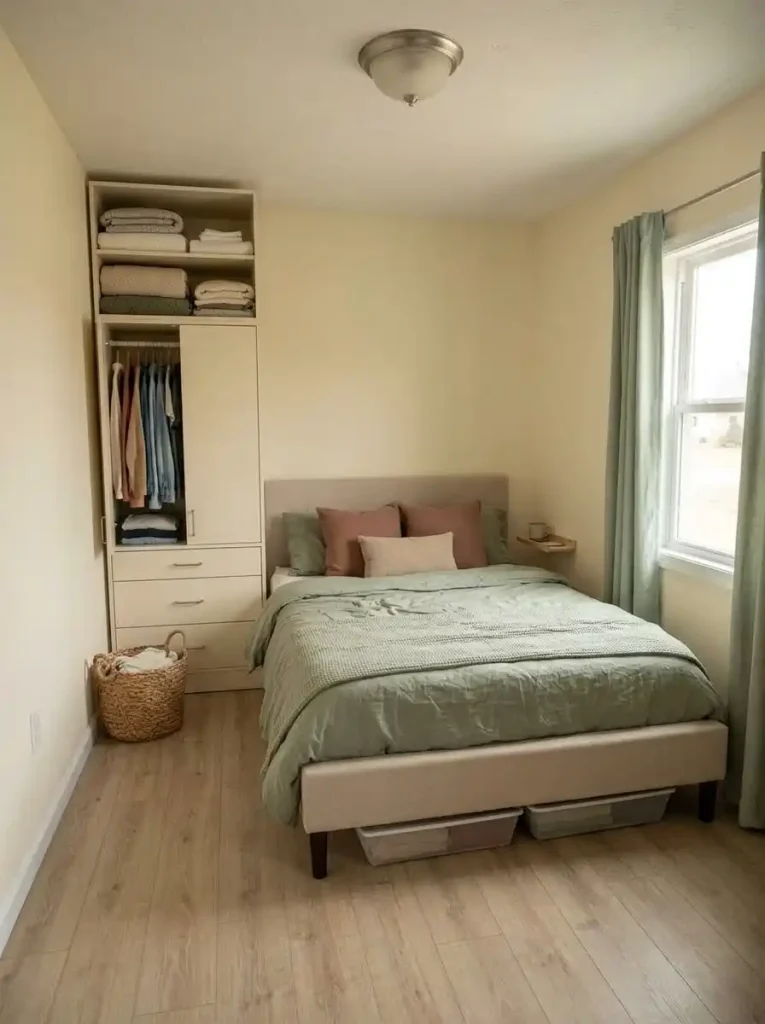
Bedroom clutter is often treated as a furniture shortage even when the existing wardrobe, dresser and under-bed space are simply allocated poorly.
Divide belongings into three access levels.
Daily: current clothes, sleepwear and frequently used personal items deserve the easiest drawers, shelves and hanging positions.
Occasional: extra bedding, special-event clothing and less-used accessories can occupy secondary reach.
Seasonal or reserve: items needed only a few times a year belong in the least convenient usable areas.
This hierarchy is valuable in a mobile-home bedroom because an extra dresser or storage bench can consume circulation space very quickly. Reassigning prime and secondary storage may solve the problem without adding another footprint.
Look closely at drawers containing rarely used items while daily clothing remains on a chair. That is an allocation mismatch, not necessarily inadequate storage.
For deeper bedroom-specific capacity solutions, continue with <a href=”https://stylishgalore.com/mobile-home-bedroom-storage-ideas/”>small mobile home bedroom storage ideas</a>.
Furniture test: do not add a new storage piece until daily categories have been given the easiest portions of the furniture you already own.
14. Keep Bulk Paper Goods and Household Backstock in One Countable Reserve Zone
Extra toilet paper above one doorway, paper towels in the laundry room, tissues in a bedroom closet, and cleaning refills beneath two sinks may all fit individually. Together they create invisible inventory.
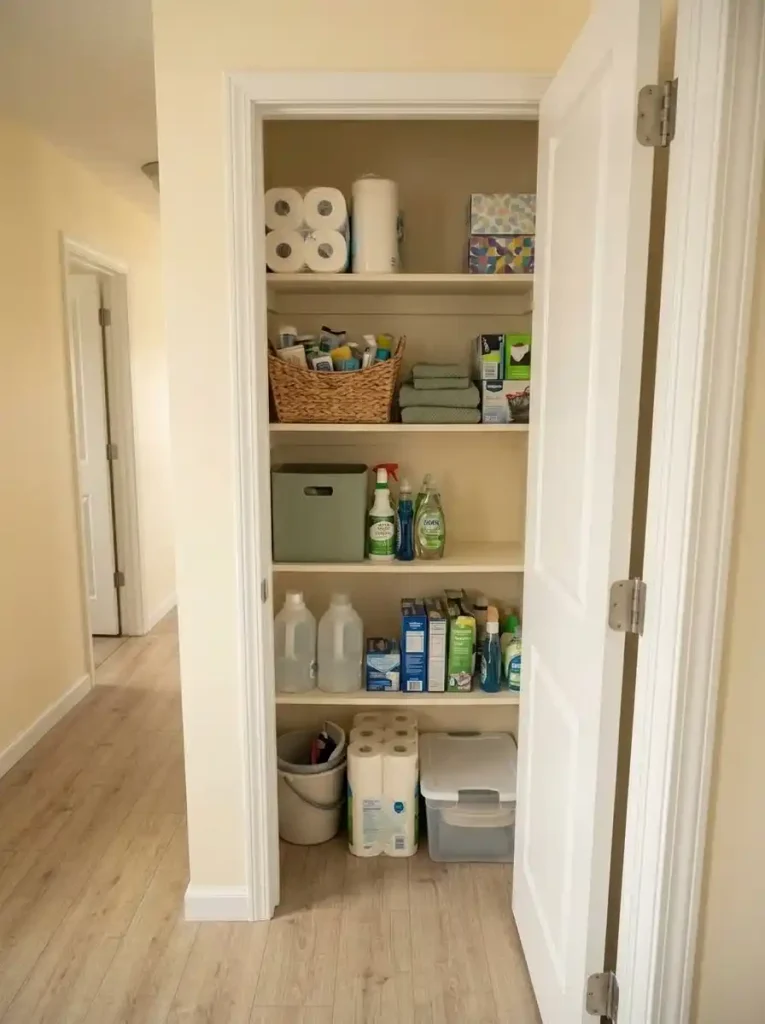
Consolidate bulk household reserves.
Choose one zone that can hold most unopened paper goods and non-perishable household backstock. It does not need prime access because these items are retrieved infrequently. What matters more is being able to see the quantity before purchasing replacements.
A high shelf, secondary closet, laundry cabinet or other low-frequency location may work depending on the home.
Give the zone a physical boundary. When the assigned space is full, pause new purchases until inventory falls.
This prevents a “good deal” from quietly becoming a whole-home organization problem.
For very bulky packages, breaking the retail bundle into a smaller working quantity plus a defined reserve can also reduce pressure on bathrooms and kitchens.
Buying decision: check the reserve zone before adding any paper or household staple to the shopping list.
15. Give Household Paperwork One Inbox, One Archive and One Review Point
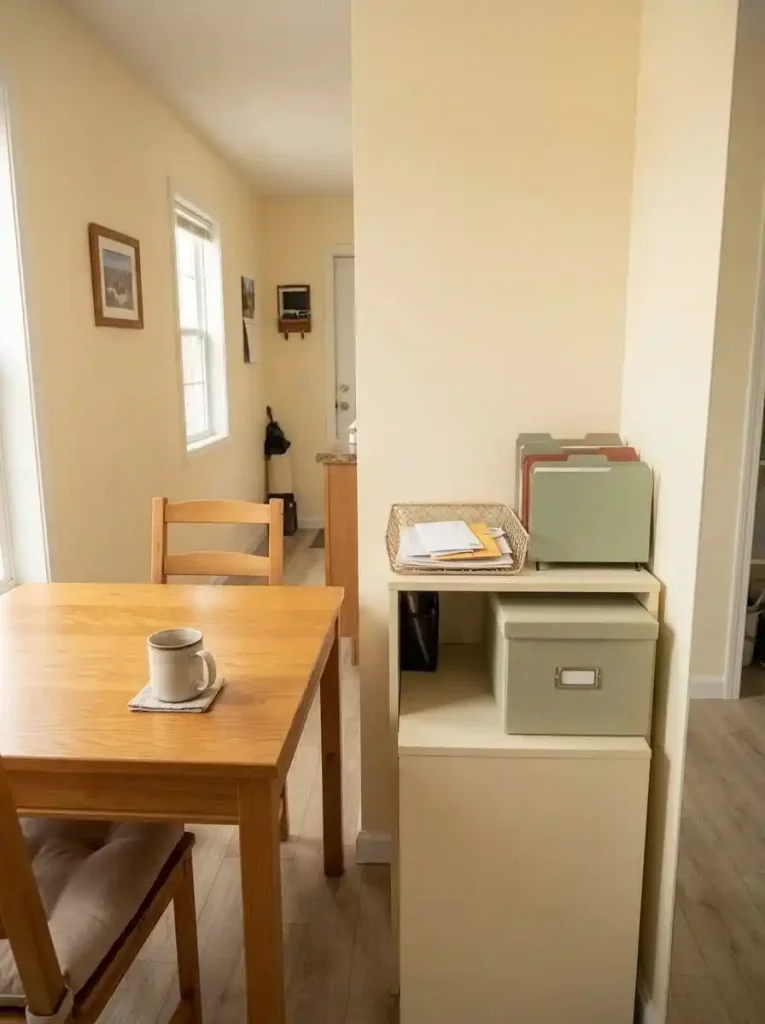
Paper clutter grows because a document often has no status.
It might need action, might need filing, might be temporary, or might simply need recycling. When all four possibilities share the same counter, the pile stays because every sheet requires a fresh decision.
Use three destinations:
- Inbox — newly arrived paperwork that has not been processed.
- Action/short-term file — bills, forms, appointments, school notes or other items that still require attention.
- Archive — documents you have intentionally decided to retain.
Everything else leaves the system.
The inbox should remain small enough that it cannot become permanent storage. Assign a recurring review time that matches how much paper enters your household.
Do not build a large filing system before deciding what genuinely deserves archival space.
Paper rule: “I may need this someday” is not a category. Give the document a purpose, a review date, or permission to leave.
This small system can prevent a surprisingly large amount of visible kitchen and dining-area clutter.
16. Give Chargers and Small Electronics a Home Beside the Routine They Serve
Charging cables behave like roaming objects. They move from bedroom to sofa to kitchen counter, accumulate in drawers and become difficult to identify.
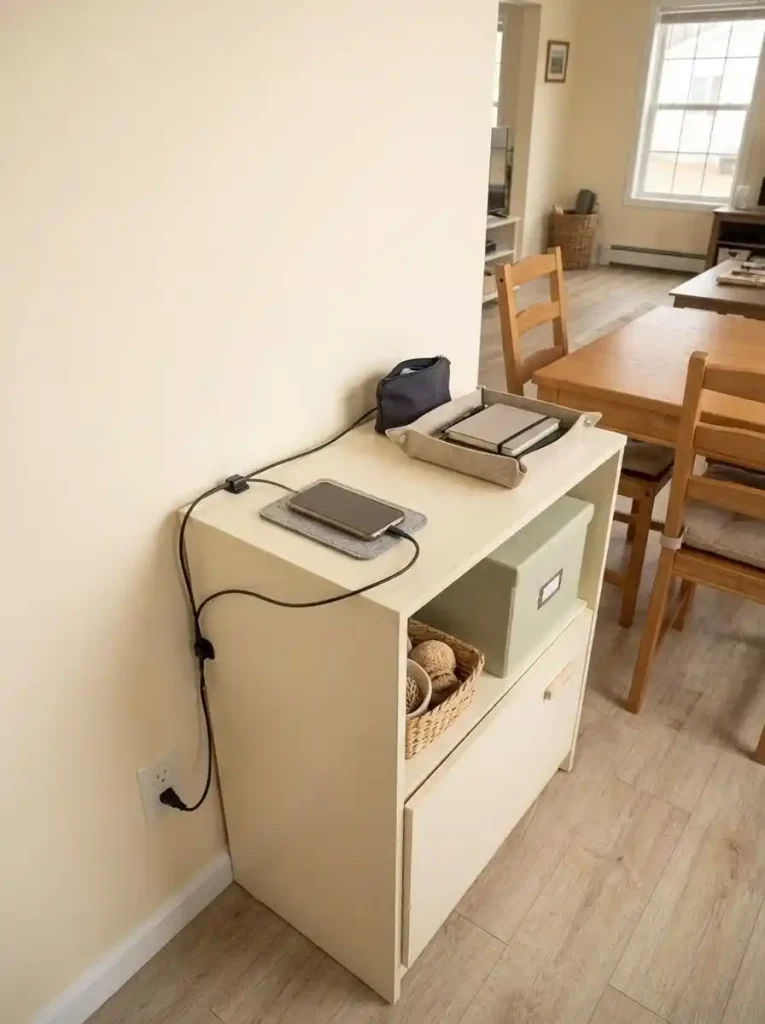
Organize them by device relationship, not simply by cable type.
A bedside charger that serves one phone can remain with that routine. A shared family charging point may make more sense near the main living area. Laptop accessories used for work belong with the work setup.
Begin by identifying duplicates and obsolete cords. Then give the remaining chargers a destination where the associated devices already spend time.
Loose spare cables can live in one labeled backup pouch or small box elsewhere.
Avoid creating a giant charging station simply because it looks organized online. Concentrating every device in one place can add visual clutter or create an inconvenient routine if the household naturally uses them in different rooms.
A good electronics system answers two questions immediately:
What does this cable belong to?
Where does it return after use?
Once those answers are obvious, cable organization becomes much easier to maintain.
17. Use a Short Reset Route That Follows the Home Instead of Cleaning Rooms Randomly
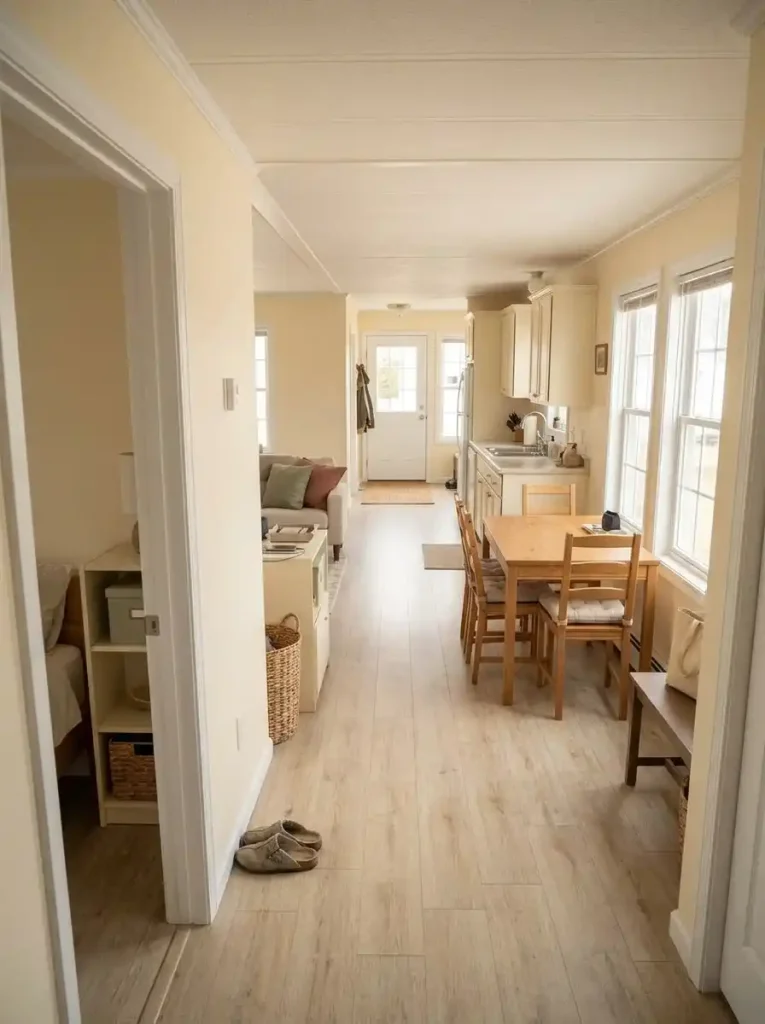
Clutter often returns faster than a large organizing session can be repeated. A shorter reset route is easier to maintain.
In many mobile homes, one long visual axis connects several high-use spaces. Use that geometry to your advantage.
Begin at one end of the home and move in one direction. Collect only misplaced objects, return obvious items, clear the most visible work surfaces, and stop when the chosen time expires. Do not turn the reset into deep cleaning, drawer editing or a full decluttering project.
The route matters because bouncing between rooms creates unfinished loops.
Whole-home reset route
Move through the home once, then stop.
Use the mobile home’s long axis as a reset route. Work in one direction, finish the most visible organization tasks first, and avoid turning a short reset into a full cleaning session.
Follow one continuous path through the home.
The highlighted route changes with the amount of time you choose below.
Visible rescue
Stop after the visible core. Leave drawers, closets and deep sorting for another session.
Whole-axis reset
Finish at the far end. Avoid restarting the route after reaching the bedroom side of the home.
Reset plus one system repair
One repair only. The extra five minutes should improve a recurring system failure, not turn the reset into a full decluttering session.
The 5-minute route protects visual calm. The 10-minute version restores the connected sequence. The 15-minute version earns one small system correction after the visible home is reset.
18. Let the Container Define the Maximum Size of a Category
Containers are most useful when they create boundaries.
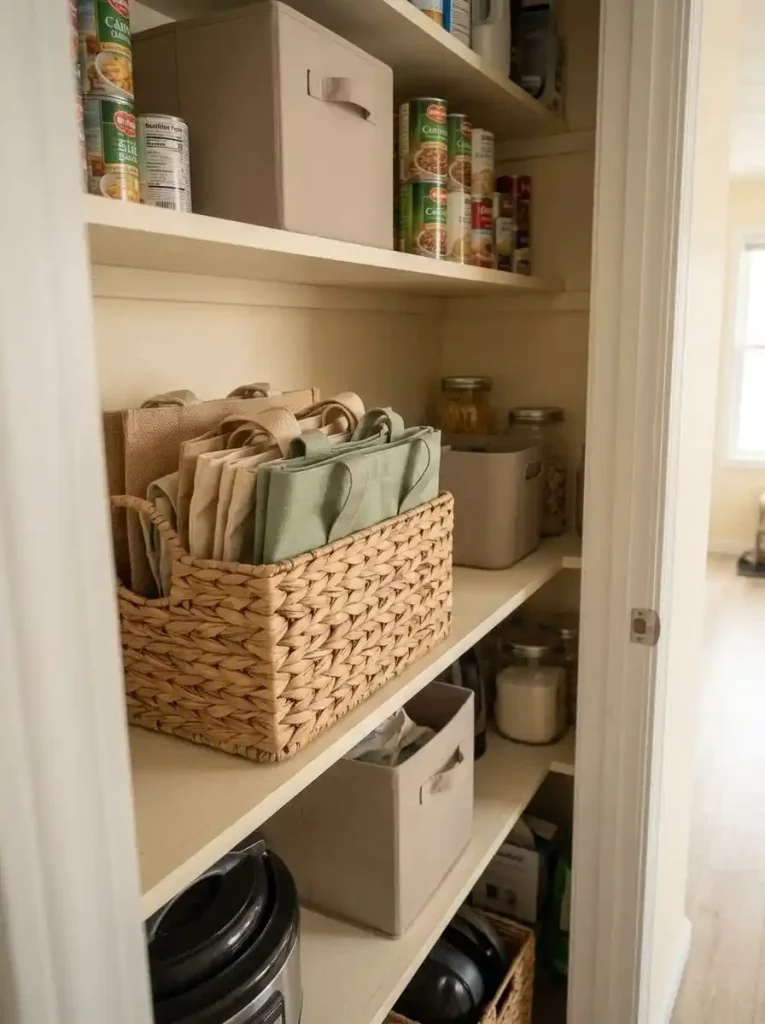
A basket for reusable bags, bin for snacks, drawer for workout clothes, shelf for cleaning refills or box for cables can tell you how much space that category is allowed to occupy.
Once the boundary is full, do not automatically purchase a second container.
First ask what changed.
Did the household acquire more of the category? Are duplicates hiding inside? Has the container become a catch-all for unrelated items? Does the category deserve more space because the routine genuinely changed?
Sometimes the answer will be yes, and expanding storage is sensible. Frequently, however, overflow is useful feedback that editing has been postponed.
This matters in a mobile home because solving every overflow with another basket gradually converts circulation, counters and open walls into secondary storage.
Think of the container as a capacity contract.
Overflow sequence: remove obvious mistakes → remove duplicates or unused items → reassess actual demand → enlarge the category only when its importance genuinely justifies more space.
19. Run the One-Move Put-Back Test Before You Call the Home Organized
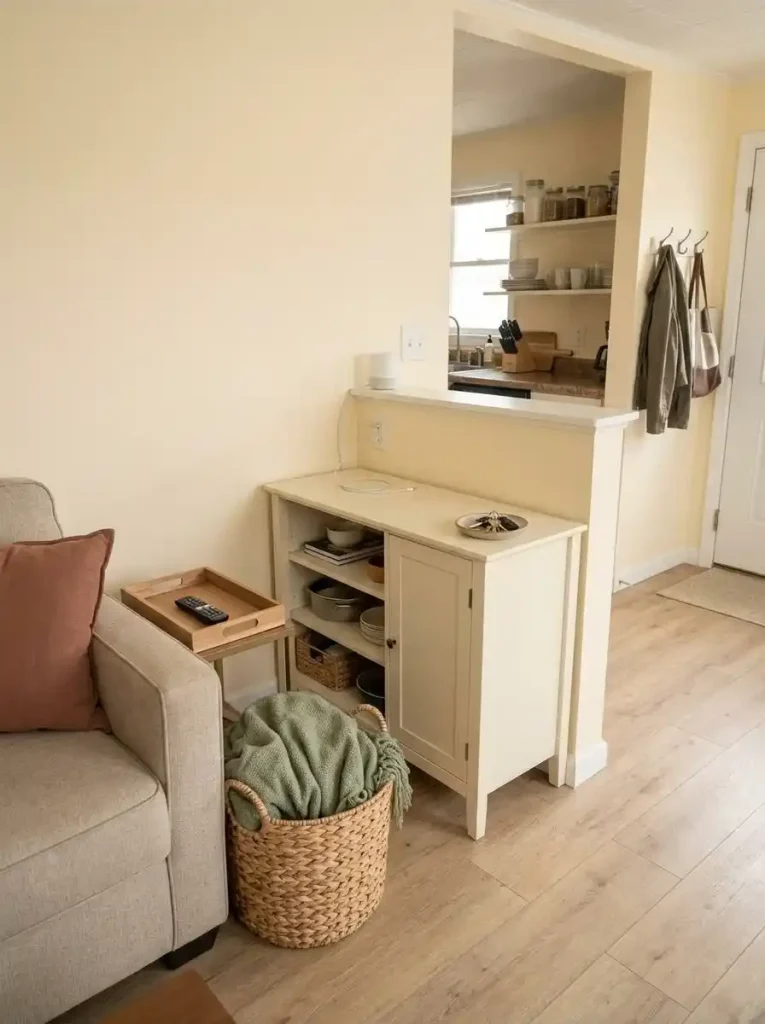
A beautiful organization system can still fail during ordinary life.
The final test is simple: pick representative objects from the categories that cause the most clutter and return each one to its assigned home.
Watch the process.
Does returning the object require moving another container? Opening several nested lids? Rearranging a stack? Walking past where the item is normally used? Deciding between two possible homes?
One extra action is not automatically a problem. Repeated friction becomes important when a frequently used object is consistently abandoned because the storage sequence is too complicated.
One-move organization audit
Can your belongings get home easily?
Test the categories that create the most everyday clutter. The system is working when frequently used belongings can return without several decisions, obstacles or unnecessary movements.
Which description fits most of your high-use categories?
Choose a friction levelKeep the system.
Your high-use categories already have low return friction. The organization system is doing its job during ordinary life, so adding more organizers may create complexity without solving a real problem.
Simplify the exceptions.
The whole organization system does not need rebuilding. Identify the few categories that still require awkward reach, competing homes or several movements and repair only those.
Reduce complexity before adding capacity.
The current system asks too much during everyday use. Before purchasing more storage, simplify the path between using an object and returning it to its home.
A home does not need every object accessible in one motion. What matters is that the categories used constantly do not require a miniature organizing project every time they are returned.
Make Organization Easier to Maintain, Not Just Better to Photograph
The most effective mobile home organization ideas make ordinary routines easier to finish. Start with the categories that repeatedly become visible clutter, shorten their return routes, and reserve the most convenient storage for belongings that truly need frequent access.
After that, improve capacity only where a genuine shortage remains. A pantry does not need more bins because one shelf looks busy, and a bedroom does not automatically need another dresser because clothes collect on a chair.
Use the one-move test after each change and keep the solutions that reduce friction during a normal week. Once everyday belongings have clear addresses and predictable limits, maintaining a clutter-free mobile home becomes a smaller daily task instead of another major organizing project.
Save this guide to Pinterest so you can work through the organization ideas one zone at a time.