A tiny closet can have enough room for your clothes and still be frustrating to use. The hanging rod may sit behind a half-open sliding door. A wide shelf may hide everything at the back. In a compact mobile-home bedroom, the obvious answer—another dresser—can take away floor space you need just to walk around the bed.
These mobile home closet ideas begin with the space you can actually reach. Some call for a second hanging level; others use a narrow shelf tower, an easier closet front, or simple storage you can remove later. The right choice depends on your closet opening, clothing mix, wall construction, and how much work you want to take on.
Think of this as a closet-layout guide rather than a shopping list. Each idea shows where storage should sit, what it must clear, and when a tempting improvement is likely to fail. You can start with an inexpensive reorganization and move toward custom carpentry only if the first changes prove useful.
1. Measure the Closet Before Choosing an Organizer
Two closets with the same interior width can need completely different organizers. A hinged door may expose nearly the whole opening, while a bypass door keeps part of the contents covered. In a small manufactured-home bedroom, a shelf tower that fits on paper can still leave one side of the rod almost impossible to use.
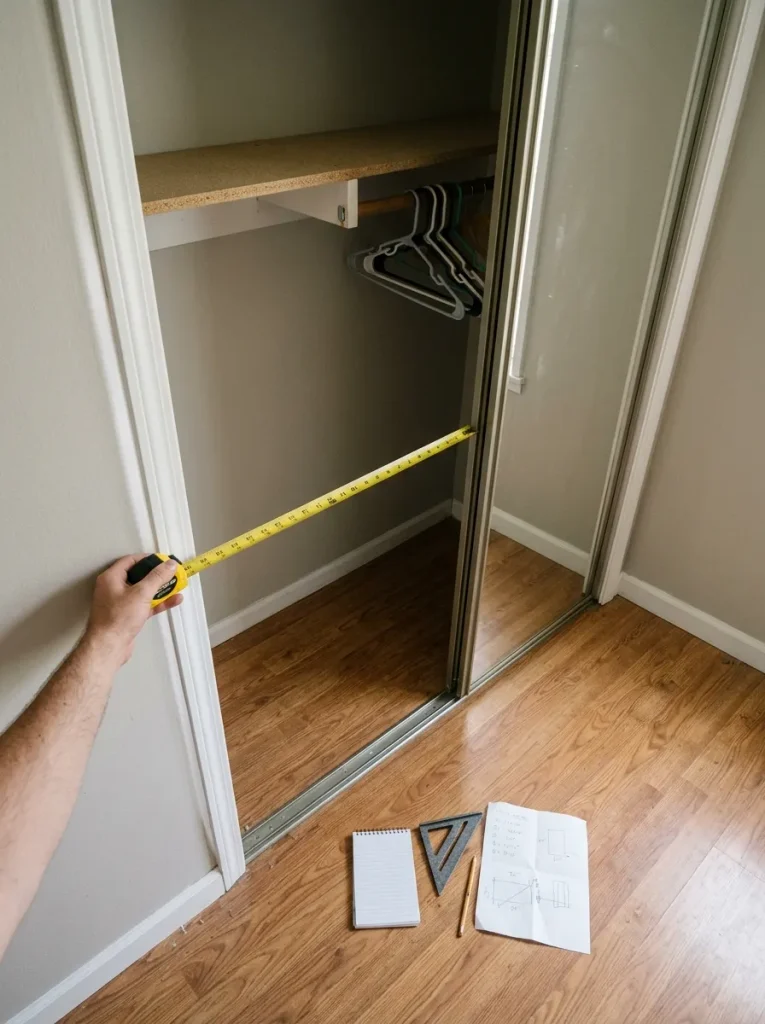
Measure the interior width at the front and back, depth, floor-to-ceiling height, and the narrowest unobstructed doorway opening. Note baseboards, trim, switches, vents, door tracks, and the location of sound framing before planning any mounted shelf or rail. Then use the interactive fit guide below to narrow down a sensible starting layout.
Interactive Closet-Fit Diagnostic
01 / Closet-fit diagnostic
Design for the opening, not just the wall.
Pick the internal width of your empty closet and the access your doors allow. A practical starting configuration appears below.
These width bands are editorial planning categories, not manufacturer fitting instructions. Always mock up shelves and check hanging clearance.
Keep one clear storage bay
Try a single hanging rail with compact shelves above or a short second rail for shirts. A slim removable basket can occupy the floor without dividing an already narrow opening.
Skip: a fixed middle tower that leaves unusably narrow hanging sections.
Prioritize the visible strip
Put daily clothes directly behind the accessible opening. Keep the partly concealed portion for light, occasional-use items you can remove without reaching around a deep cabinet.
Skip: deep drawers or cubbies hidden behind the door overlap.
Balance one shelf bay and one rail
Test a narrow side tower against a mostly continuous hanging rail. If folded clothes dominate, widen the shelf bay; if jackets dominate, give the rail more width.
Check: whether hangers clear the divider and side wall before cutting any shelf.
Assign functions by reach
Locate everyday hanging clothes where the opening is widest. Use the partly concealed area for shallow shelves or boxes that slide out sideways.
Skip: a pull-out drawer that needs more door opening than you have.
Test a center tower with hanging on both sides
There may be space for a cubby spine and distinct garment zones, but make a cardboard-width template first. Favor narrower dividers when long clothes need full drop length.
Check: wall support, component depth, and usable reach before building.
Build around the accessible doorway
Separate the cavity into a daily-use front zone and a less frequently accessed side zone. Move the tower toward the most reachable section only after testing the door travel.
Skip: symmetrical designs that look tidy in photos but hide half their storage.
Planning only: the chosen configuration is a starting point, not a load rating or guaranteed product fit. Measure individual garments and use the mounting hardware specified for your wall and organizer.
Before buying: Place painter’s tape on the floor and an empty cardboard box where a shelf tower would sit. Open the closet doors fully, remove a hanger from each intended section, and reach for the back corner. If the test already feels awkward, choose a simpler arrangement now.
2. Double the Hanging Zones for Shorter Clothes
A second rod sounds like an automatic closet upgrade—until a winter coat covers the lower one. Double hanging earns its space only where the clothing is short enough for two genuinely usable levels.
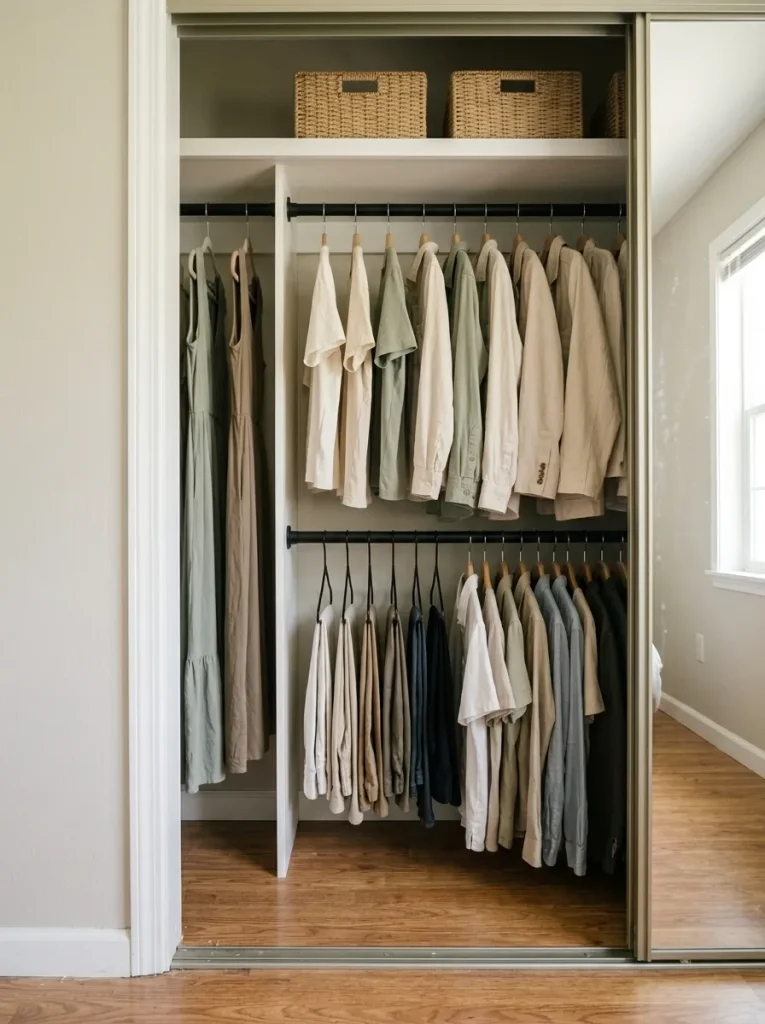
- Good candidates: Shirts, folded-over trousers, skirts, and shorter jackets that clear the rail beneath them.
- Keep a full-height section: Dresses, long coats, and anything that would bunch against the lower rod or floor.
- Check the opening: Make sure both rails sit in an area you can reach, particularly with sliding closet doors.
ClosetMaid’s planning guidance shows reference shelf heights around 84 inches and 42 inches in a double-hanging arrangement. Treat these as system-specific starting points, not universal rod positions: a lower mobile-home ceiling, a shallow hanger clearance, or your actual garment lengths may rule them out. Follow the hardware maker’s installation guidance for load support and fastening.
For a quick test, hang your longest everyday shirt at the proposed upper level and mark where its hem falls. Repeat below. If either level snags, shorten the double-hang section and keep an uninterrupted bay for longer clothes. You gain useful capacity only when both rows can be used without a daily wrestling match.
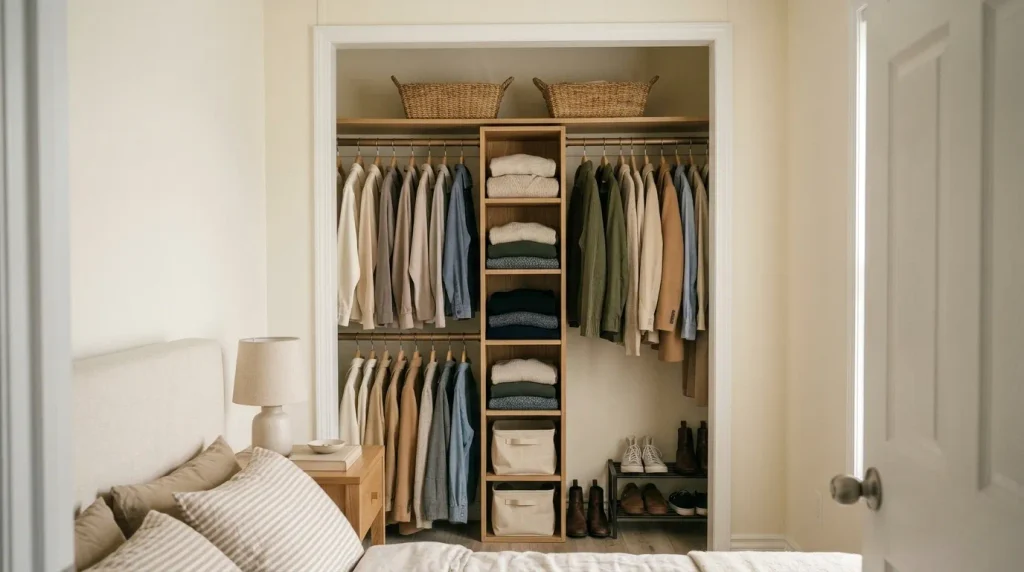
3. Build a Central Shelf Tower Between Hanging Sections
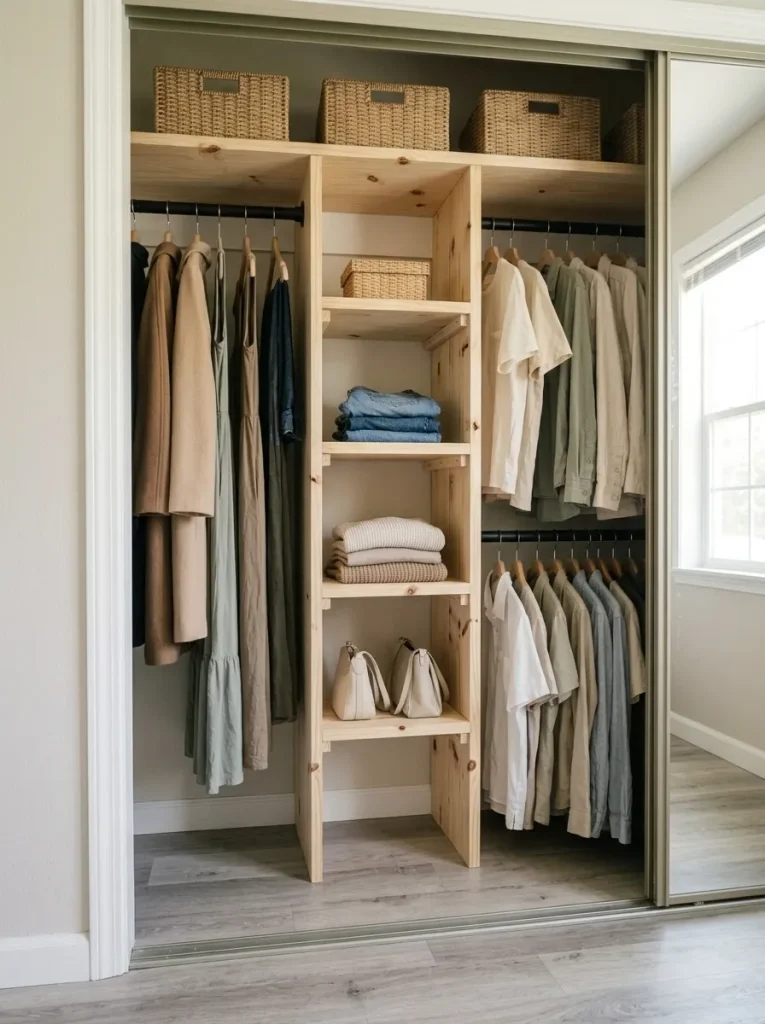
A slim timber shelf tower can divide a tiny closet into distinct jobs: folded clothes occupy the cubbies, and garments hang to either side. The crucial measurement is the width you have after the divider is in place. A wide middle unit may look beautifully balanced yet leave neither hanging section useful.
Interactive DIY Closet Organizer Atlas
03 / DIY organizer atlas
Choose which storage deserves the middle.
Two conceptual elevations for the same type of reach-in closet. Switch priorities to compare the trade-off.
Diagram A · wider center tower · not to scale
Give the tower more width
Useful when folded sweaters, jeans, and accessories currently spill out of the closet. The two hanging bays become narrower.
- Keep at least one bay tall enough for longer clothes.
- Check that hangers do not catch on the tower edges.
- Avoid this version if most of your wardrobe stays on hangers.
Diagram B · narrower center tower · not to scale
Protect more garment width
Useful when shirts, workwear, and jackets outnumber folded items. A slimmer center tower leaves longer rods to either side.
- Reserve one bay for long garments.
- Test both hanging levels before committing to the second rod.
- Choose shallow cubbies only if their contents remain reachable.
For a DIY version, work from a measured drawing before buying timber. The sequence is short, but each test can prevent an expensive cut:
- Mock up the footprint. Place a full-size cardboard template of the proposed tower on the closet floor and test the door travel and reachable hanging width.
- Assign the cubbies. Size each opening around the folded stacks, shoes, or bags it will hold; leave sufficient hand clearance to lift items out.
- Plan the support. Choose an appropriately designed, load-supported shelf system, check rod hardware compatibility, and identify secure anchoring points before assembly.
- Test before finishing. Put actual hangers beside the mock-up, confirm garment drop, and adjust tower width or location if clothing rubs against the new divider.
Build from a supported plan suited to the actual span and load, with properly supported rods and shelves. Secure tall cabinetry against tipping and use fixings appropriate to verified wall framing; the U.S. Consumer Product Safety Commission recommends anchoring tall furniture. If you are uncertain about the wall or framing, have a qualified installer assess it. The wider DIY mobile-home storage projects guide covers other parts of the home; keep this closet build focused on garment clearance and access.
4. Use the High Shelf for Storage You Rarely Reach
In a small reach-in closet, the shelf above the hanging rod often becomes a dark parking spot for everything without a home. It can work much harder when it has a specific job: lightweight, lower-frequency belongings such as spare pillowcases, off-season accessories, or an empty travel bag. Keeping those items overhead releases easy-to-reach shelves for your actual weekday clothes.
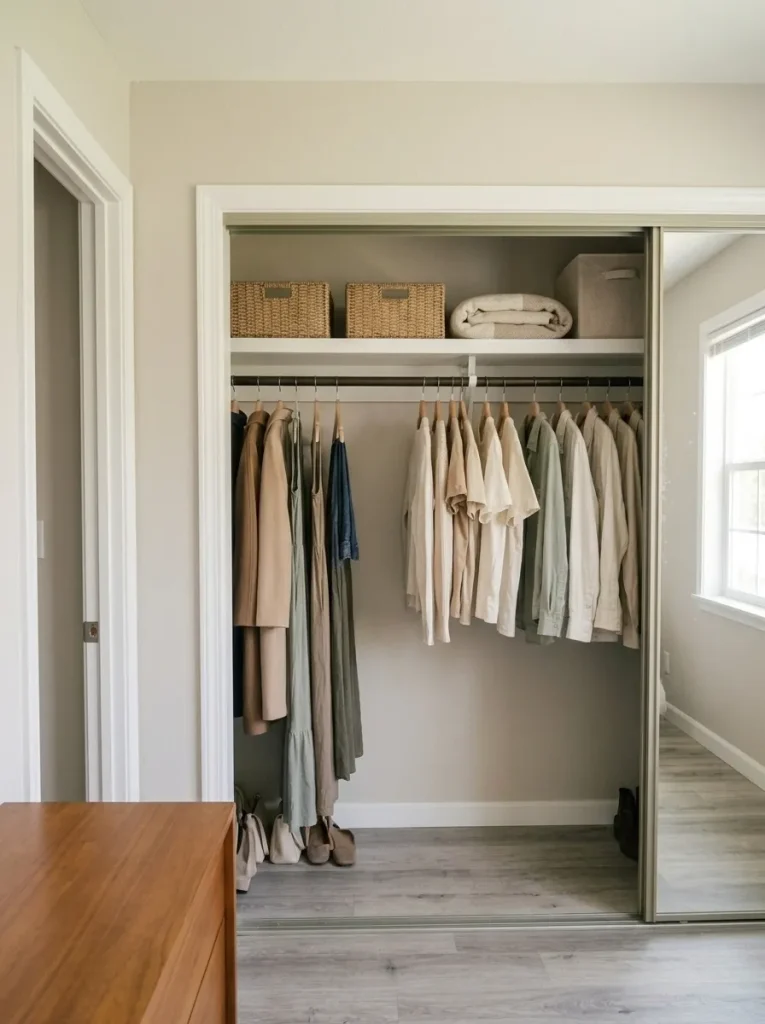
Before adding another shelf, check whether the existing one is securely supported and can safely hold what you intend to put there. Measure the vertical gap, then choose shallow bins you can lift down without tipping them over clothes. Labels belong on the front, not on a hidden lid. Leave a handhold or reachable lip; a tightly packed shelf loses its usefulness whenever you need to retrieve something.
- Keep below eye level: Heavy boxes, daily uniforms, medication, and anything you need during a rushed morning.
- Store above: Light seasonal textiles in two or three clearly separated containers.
- Stop adding height: If reaching the shelf demands climbing on furniture, rethink the storage instead of stacking another row.
This is a closet-specific application of the principles explored in vertical storage ideas for small mobile homes. Avoid fastening new shelving to unverified wall paneling; consult the chosen hardware system’s requirements and the actual framing.
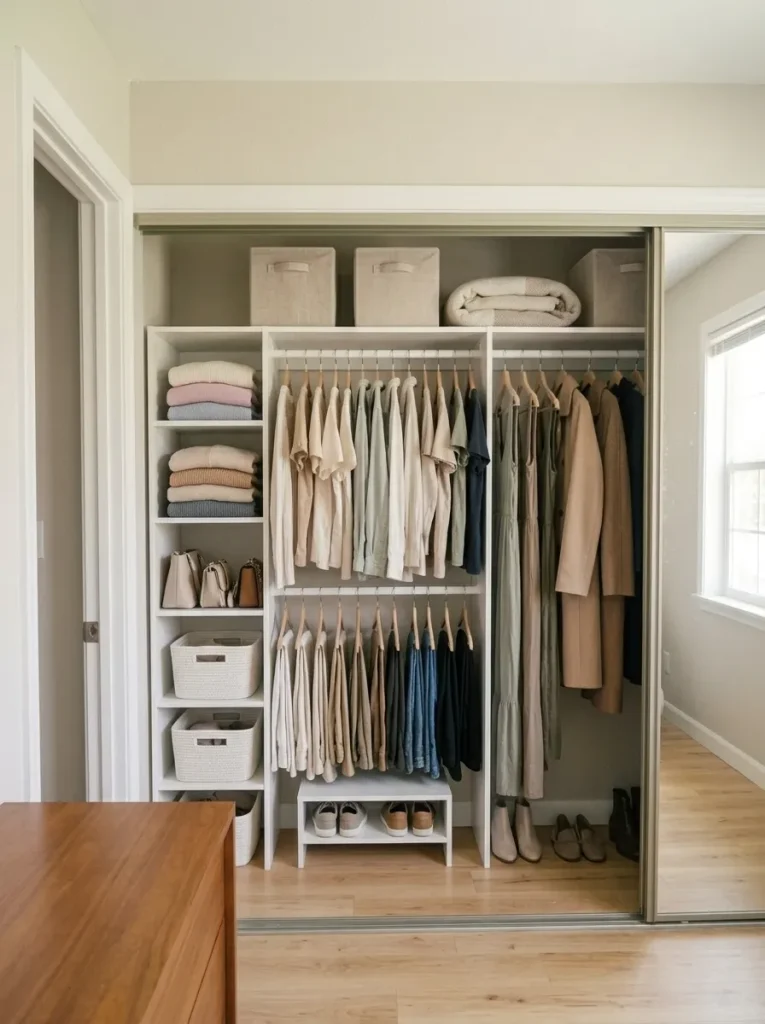
5. Transform a Shallow Reach-In Closet With a White Modular System
A white modular organizer can make a shallow mobile-home reach-in feel finished without building a full cabinet. The important benefit is adjustability: a rail, shelf standard, or narrow basket column can move as your wardrobe changes. But boxed organizer kits often assume a deeper, fully accessible closet than the one you have. Confirm the specified product depth, bracket projection, and door-track clearance before choosing a kit.
Modular Organizer Atlas: Three Arrangements, Three Different Bottlenecks
1 Narrow opening
One continuous rail
Preserve garment access; place a slim column where the door does not obscure it. Useful when a divider would reduce the hanger sweep.
2 Mixed wardrobe
Separate garment lengths
One tall-hanging side, one compact folded zone and one short-garment bay. Best with a fully usable opening.
3 Shelf-heavy wardrobe
Move the tower aside
A side tower keeps the center open, especially where sliding doors make middle cabinetry hard to reach.
Begin with the layout that matches your clothes, not the prettiest product photo. A lightweight wire system may provide flexible shelf positions; a cabinet-style unit hides more of the wall and needs additional depth. Follow the manufacturer’s wall-specific anchors, supports, and rod-hardware limits. For example, ClosetMaid’s installation instructions distinguish drywall, studs, and other substrates instead of assuming the same fastener works everywhere.
6. Turn the Closet’s Side Walls Into Useful Storage
Open a tiny reach-in closet and look at the side returns—the narrow pieces of wall between the front opening and the back wall. They are often too shallow for a normal hanging rod but deep enough for a few small accessories. Whether they are usable depends on how far the wall returns extend and whether the closet door blocks them.
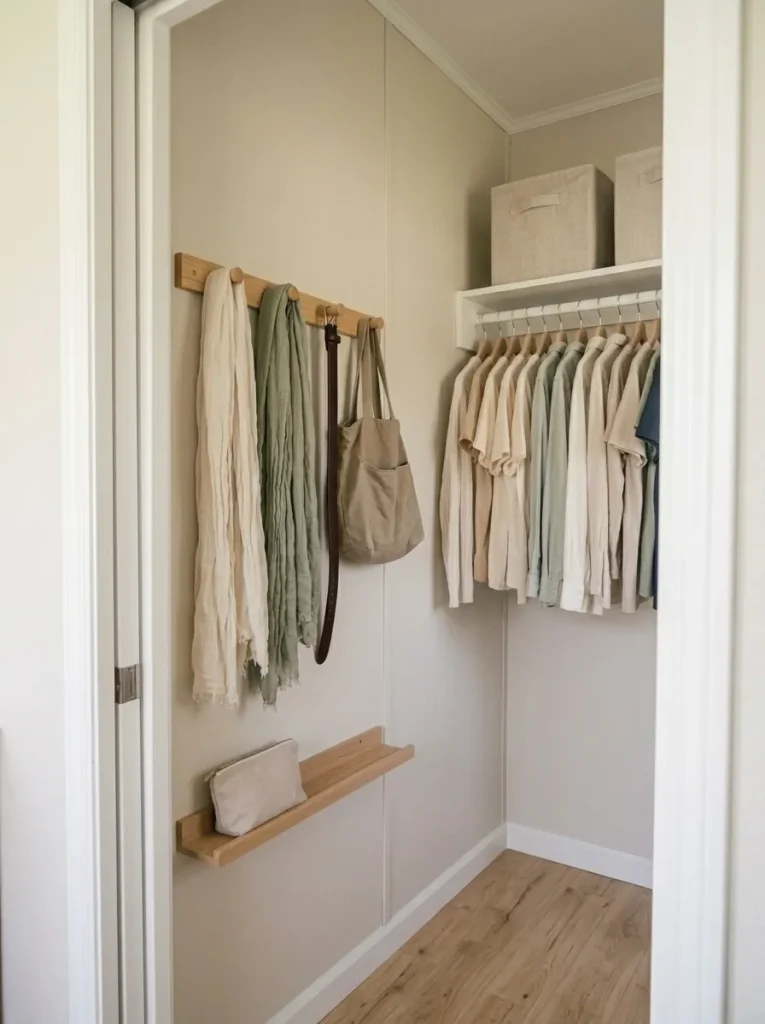
- Shallow return: Test one low-profile hook for belts, scarves, or an empty tote. Nothing should hit the moving door.
- Reachable wider return: Try a narrow shelf for a small bag or folded accessories, keeping its front edge away from the hanger path.
- Deep, concealed return: Store infrequently used items in a removable organizer that can be brought forward in one motion.
Test with the door fully open and your bulkiest coat hanging nearby. If the coat brushes a new hook, or your wrist twists to retrieve a bag, that wall is not an efficient storage surface. Choose low-load accessories and a fastening method appropriate to the actual substrate; thin decorative panels should not be assumed to provide structural support. For small removable organizers beyond this side-wall layout, see our tiny closet organization ideas.
7. Add Drawers Beneath Hanging Clothes Where Height Allows
A tiny closet may have an empty floor beneath short blouses and shirts, even while a bulky dresser crowds the bedroom. Moving some folded clothing into that existing footprint can free the walking strip beside the bed. The catch is drawer travel: a drawer that fits under the clothes can still collide with a closet door before it opens.
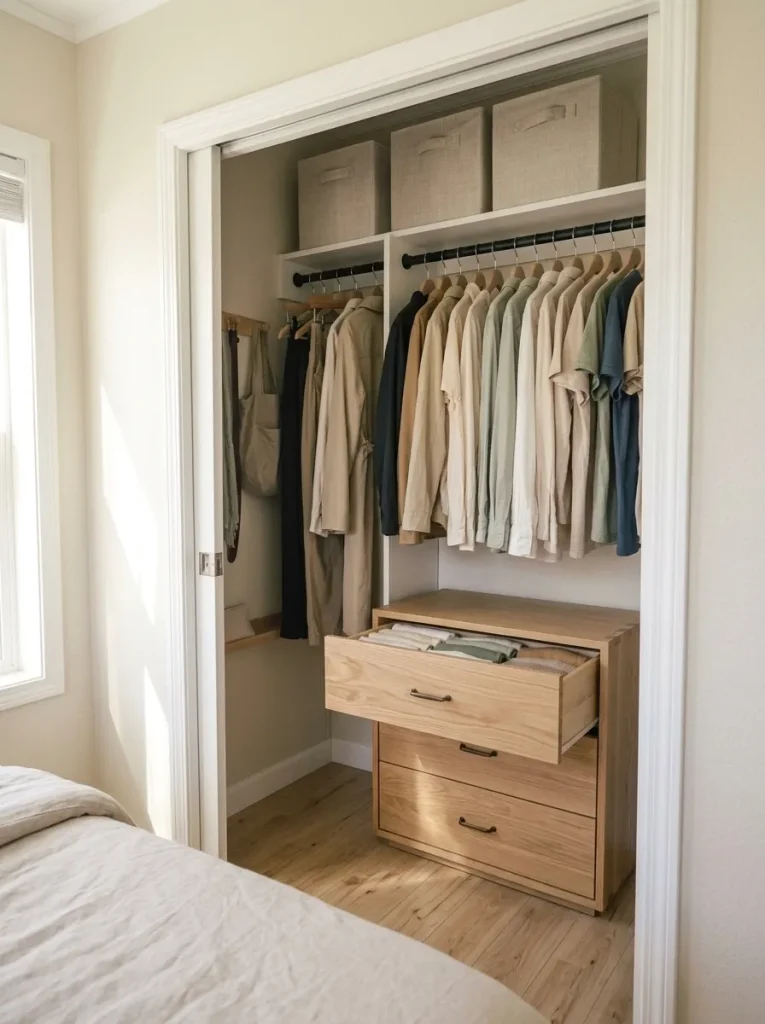
Try this in reverse. First place a box at the proposed drawer height. Hang the longest garment intended for that bay above it, close the closet door, then slide the box toward you as far as a drawer would need to travel. If clothing pools against the box or the door catches it, lower the storage, switch to open baskets, or reserve the lower area for shoes. For sliding doors, put drawers only where the opening exposes their full width.
Anchor freestanding drawer units where required by the manufacturer, particularly tall or tip-prone designs. The mobile-home bedroom storage guide explores other furniture-footprint options if your closet cannot absorb the dresser’s contents. Sometimes keeping a compact dresser is the more usable choice.
8. Replace Awkward Closet Doors With a Soft Curtain Front
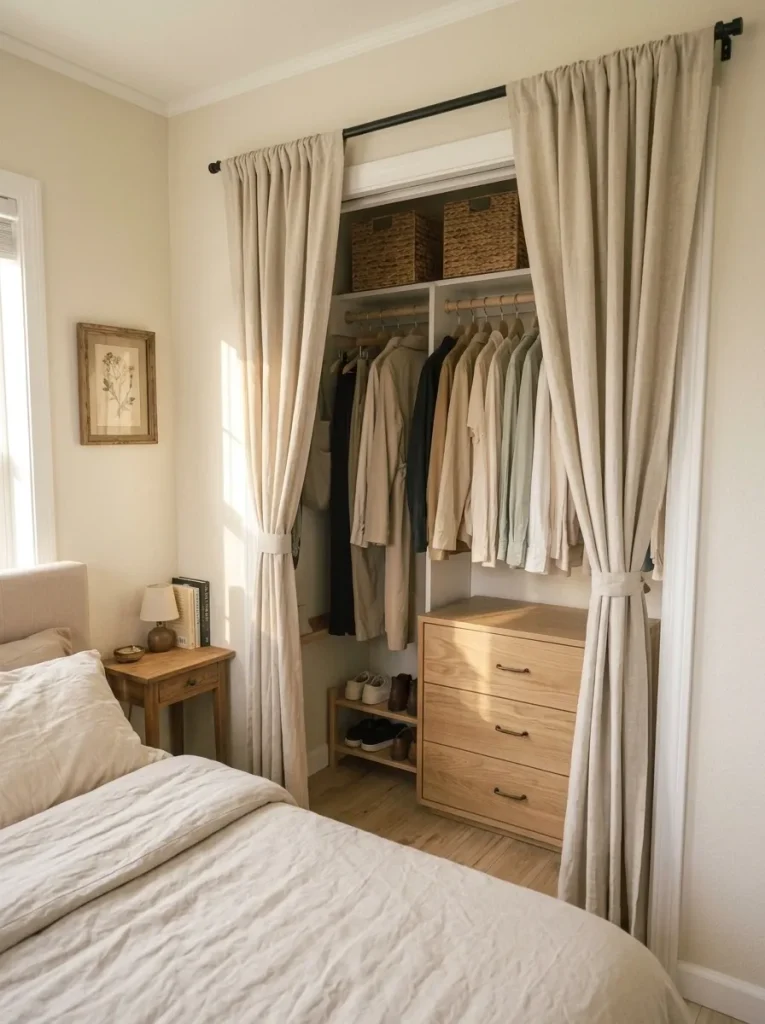
A swinging closet door can consume the same narrow aisle used to walk around a mobile-home bed. A fabric front may recover that floor space and soften the bedroom, but a curtain also leaves the closet easier to see when opened and can collect dust near the floor. Bypass doors occupy little room in front yet obscure part of the interior. Compare the actual trade-offs before removing hardware.
Interactive Closet-Front Access Lab
08 / Access laboratory
Which front really buys room?
Choose an opening style. The diagram and practical advice change with the door mechanism.
Good access, expensive swing
Hinged doors reveal most contents when open. Keep them if the bed and walkway already clear the arc; changing them will not improve storage inside the closet.
Check: the full sweep of the leaf against furniture, vents, and the bedroom entrance.
Floor stays clear; contents overlap
Sliding panels help narrow aisles, but deep drawers behind an overlapping panel may be unreachable. Design shelf bays around each visible opening position.
Check: which shelves are hidden behind the door, even when pushed fully to one side.
Clear the aisle, soften the bedroom
A curtain can avoid an outward door swing and expose nearly the full closet at once. Use a suitable rail and a washable fabric that stacks neatly at the side.
Check: rental permissions, child/pet pulling risks, secure mounting, and fabric proximity to heaters or electrical equipment.
If you choose curtains, hang a temporary length of fabric across the opening for several days before committing. Walk past the bed with it open and closed; try carrying laundry and reaching the rear shelf. That short trial can reveal whether you prefer the soft appearance or miss a solid door. For rentals, use a genuinely suitable removable or permission-approved system rather than assuming a tension rod will safely support any fabric weight.
9. Create a Rustic Wood Closet Without Expensive Cabinetry
A warm timber closet can look custom-built even when its storage system is simple. The strongest rustic examples use one wood finish across shelves and dividers, dark rods, and a restrained mix of baskets. In a tiny mobile-home bedroom, that continuity is valuable because contrasting cabinet fronts and mismatched wire units can make a shallow recess appear visually busy.
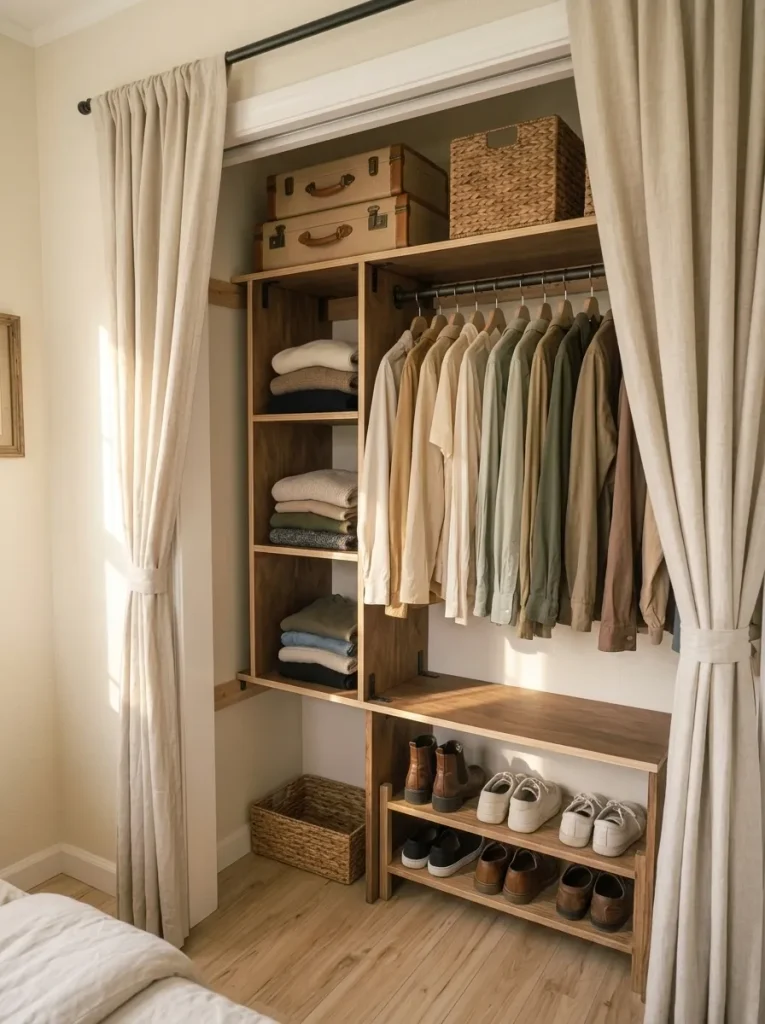
Start by deciding what must be structural and what only needs a finish. Solid timber may suit some properly designed shelves, while lightweight decorative facing can produce a similar visual effect over an appropriate support system. In a narrow mobile-home recess, even thick face trim can steal hanger clearance or catch a sliding door, so check the finished projection before adding it.
Smooth all exposed edges so clothing does not snag. If the existing rails already work, a cohesive stain or compatible wood-look finish may be enough without rebuilding the organizer.
Style test: Photograph the empty closet. Imagine the shelves, rails, baskets, and trim in one quiet material family. If the layout already works, upgrade the visible finish first; decorative cladding is never a substitute for a structural anchor.
10. Separate Shoes From the Main Clothing Zone
The bottom of a reach-in closet often looks empty from the doorway but fills quickly with shoe piles. Before buying another rack, look at the space beneath your hanging clothes and ask whether it must serve footwear, baskets, or long garments. A shoe rack that fits the floor but catches a dress hem is a poor bargain.
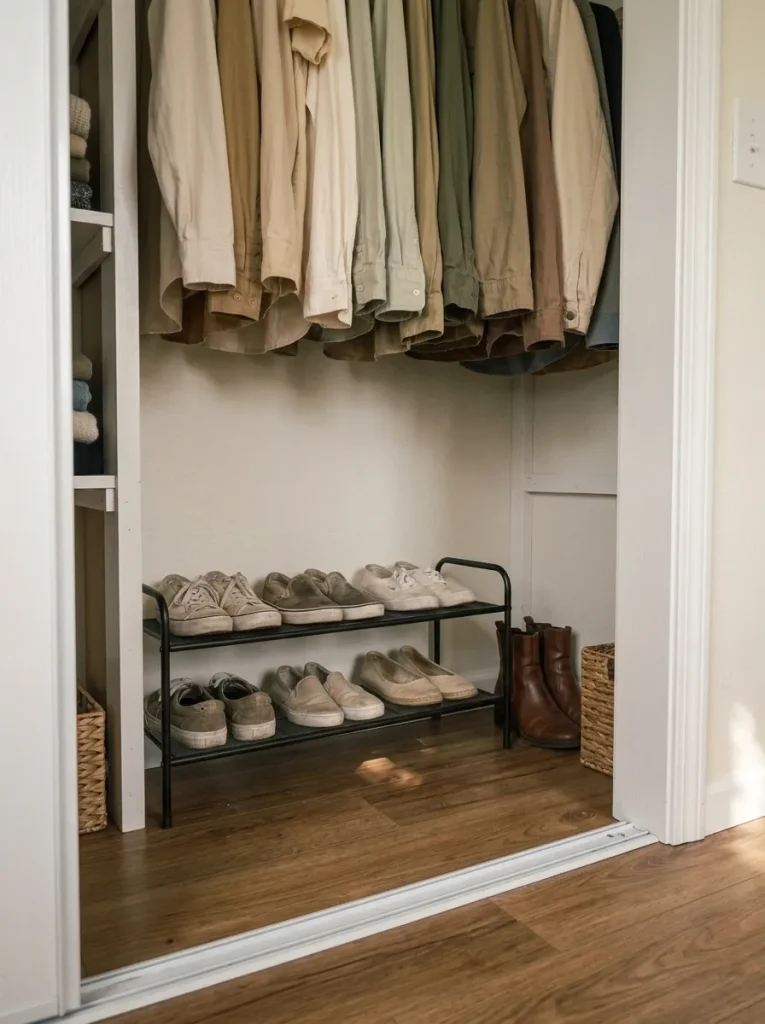
- Daily shoes: A shallow, visible lower shelf near the part of the opening you can reach.
- Tall boots: A taller edge bay where shafts will not be crushed by hanging clothes.
- Occasional pairs: Labeled boxes in lower-frequency storage, provided they are light enough to retrieve safely.
Test the shelf depth with your actual shoes pointing toward the door. Verify that footwear clears the door track and that the lowest garments hang freely above it.
If the closet is particularly narrow, keep only the pairs worn in the current season here. Move occasional footwear elsewhere instead of layering racks three deep. It is usually easier to keep a modest, visible selection than to rummage through an oversized pile every morning.
11. Give Folded Clothing Its Own Vertical Cubbies
When sweaters, jeans, and T-shirts share one long shelf, the deepest stacks tend to collapse whenever you pull a piece from underneath. Separate cubbies can make better use of that same vertical zone by setting a natural limit on each category. Their advantage is retrieval, not an unlimited increase in capacity.
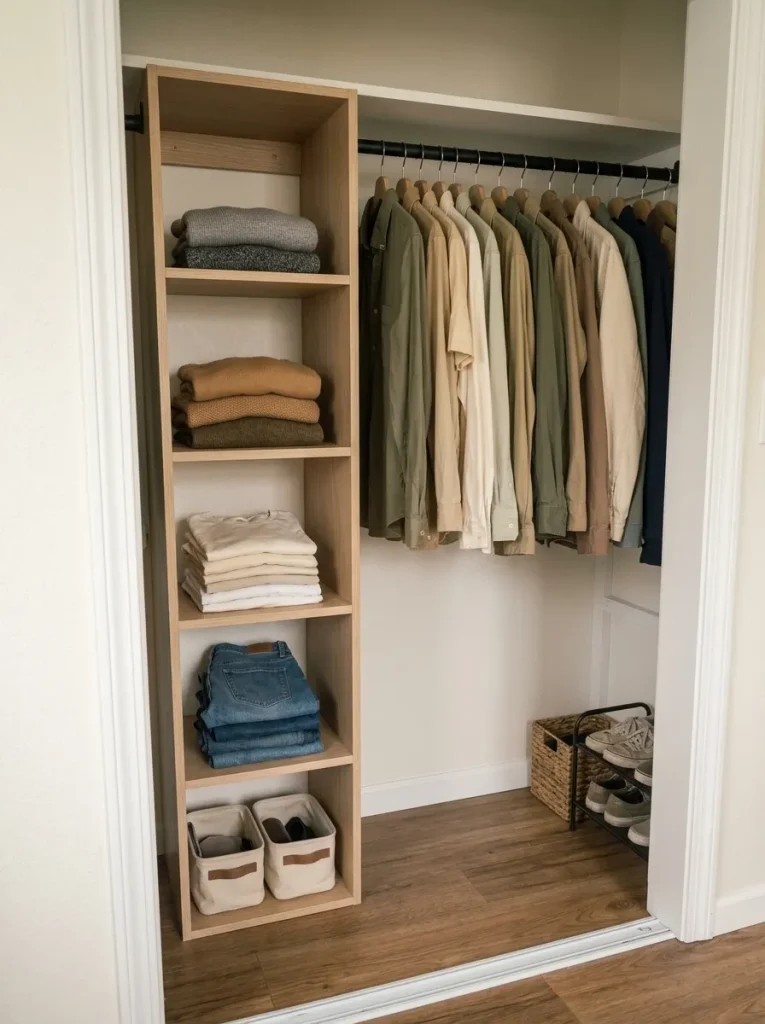
- Group by actual handling: Keep jeans in one compartment, softer knits in another, and accessories where you can see them.
- Test one folded stack: Place your normal stack into a cardboard mock-up, then remove the middle garment. If the entire pile shifts, use shorter stacks or drawers.
- Leave space for the hand: The shelf above should not press against the clothing or prevent you from lifting a folded item out.
Deep closed cubes can become hiding places in a shallow reach-in. If a bypass door covers part of the unit, position everyday folded stacks where the open panel actually exposes them; a beautifully aligned cubby wall is frustrating when its most useful compartment stays hidden.
Keep each shelf only as deep as the garments need. If categories routinely overflow, move infrequent pieces up or reassess the wardrobe. For routines beyond the closet, see mobile-home organization ideas.
12. Design an L-Shaped Closet Around a Difficult Corner
A corner closet can seem generous because it wraps onto two walls. In practice, two hanging rods that meet in the corner may create a cluster of garments that blocks both directions. A mobile home closet with a narrow entry makes that hidden junction even harder to reach.
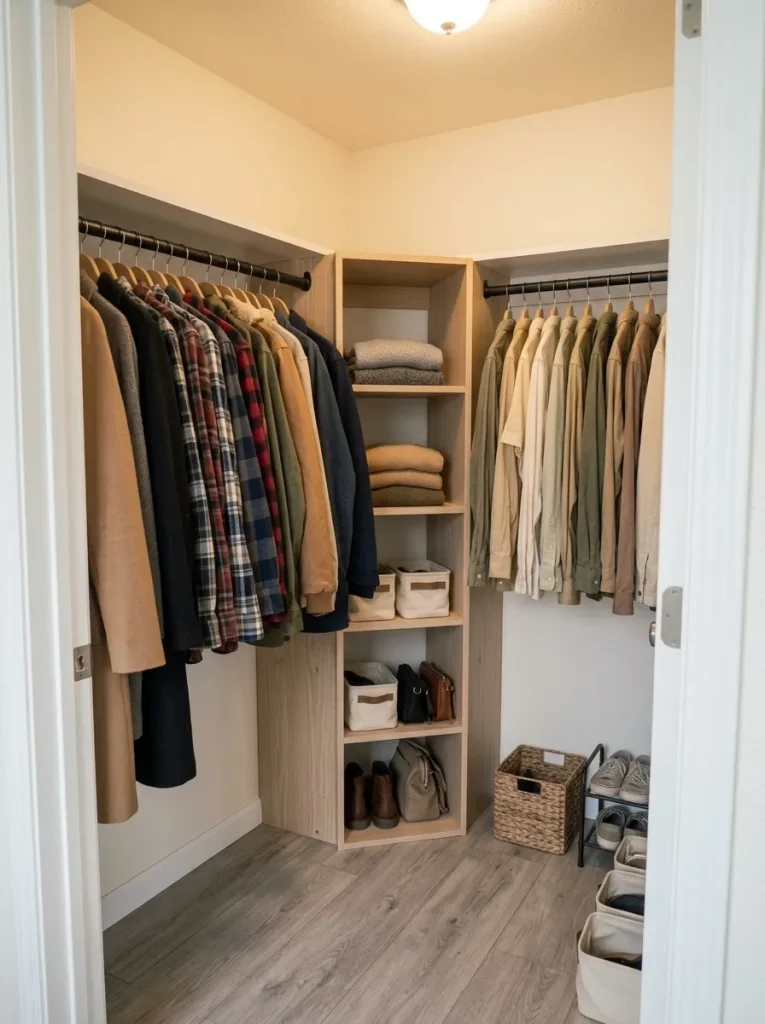
Try the corner empty first: Temporarily hold a full hanger at the end of each proposed rod. If the two hanger footprints overlap, move one rod back, shorten one run, or let a shelf occupy the corner while the hanging sections remain straight.
Keep the most frequently used items on the run closest to the entrance. Curved corner rods are an option only when the product and mounting system are designed for the job.
Where a modular wire system is appropriate, ClosetMaid’s illustrated installation guidance explains that shelf corner joints and rod intersections require specified corner supports. Do not make two unsupported shelf edges meet and assume they strengthen one another. A reachable, partly empty corner works better than an apparently seamless arrangement you cannot use.
13. Make a Small Open Closet Look Intentionally Designed
An exposed closet can look calm and considered, but only if the visible storage reads as a coherent wall in the bedroom. One repeated hanger style, a limited number of basket materials, and a strong balance between hanging and folded clothes give the eye an easy path across the opening. Mixing five storage systems in one recess often produces the opposite effect.
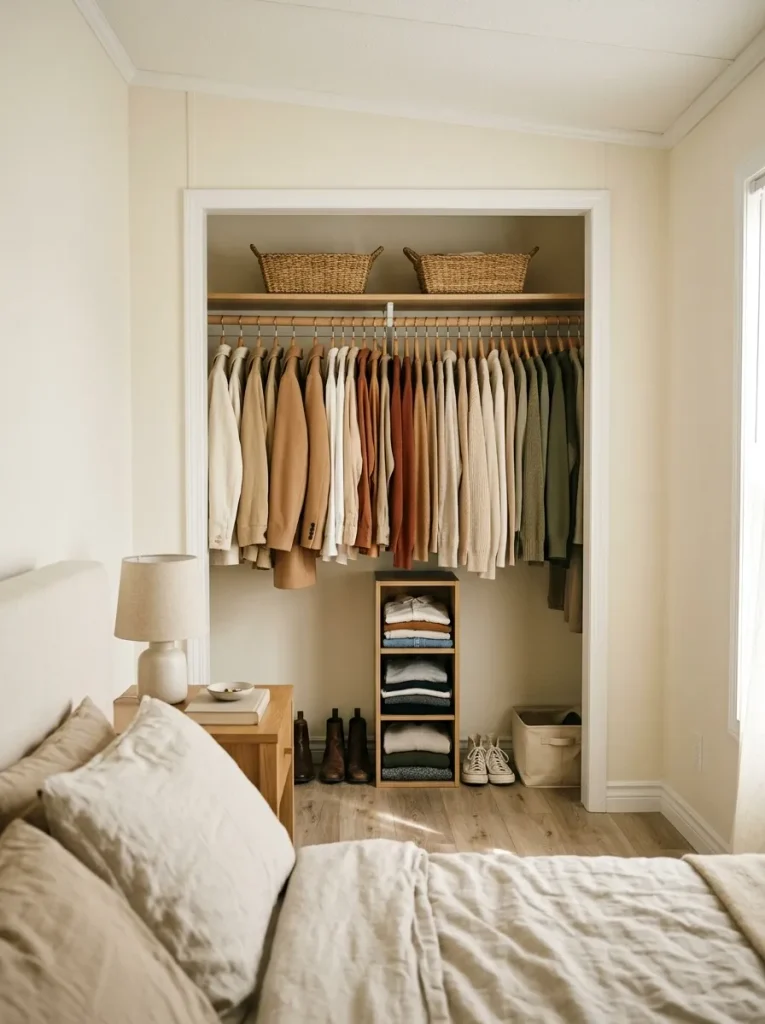
Stand at the bedroom doorway and identify the most exposed section. Edit that zone first so the whole storage recess reads as a deliberate part of the room:
- Hanging zone: Group clothing by length so its lower edge reads more evenly.
- Folded zone: Keep short, accessible stacks and move everyday clutter into shallow, retrievable baskets.
- Display zone: Show one attractive piece only where it will not displace useful everyday capacity.
The easiest edit costs nothing: empty the top of the closet floor, return the useful pairs of shoes, and remove empty hangers. If the open closet still looks distracting from bed, consider the fabric-front option from idea 8 rather than purchasing more matching containers.
14. Add Closet Lighting Without Creating a Wiring Project
A deep or windowless closet can conceal dark clothing even when its shelving is well planned. Small battery-powered or rechargeable task lights may make the back corners easier to see without routing new mains wiring.
Good lighting should reveal labels, shelf edges, and garment colors from the doorway, not produce glare directly into the bedroom.
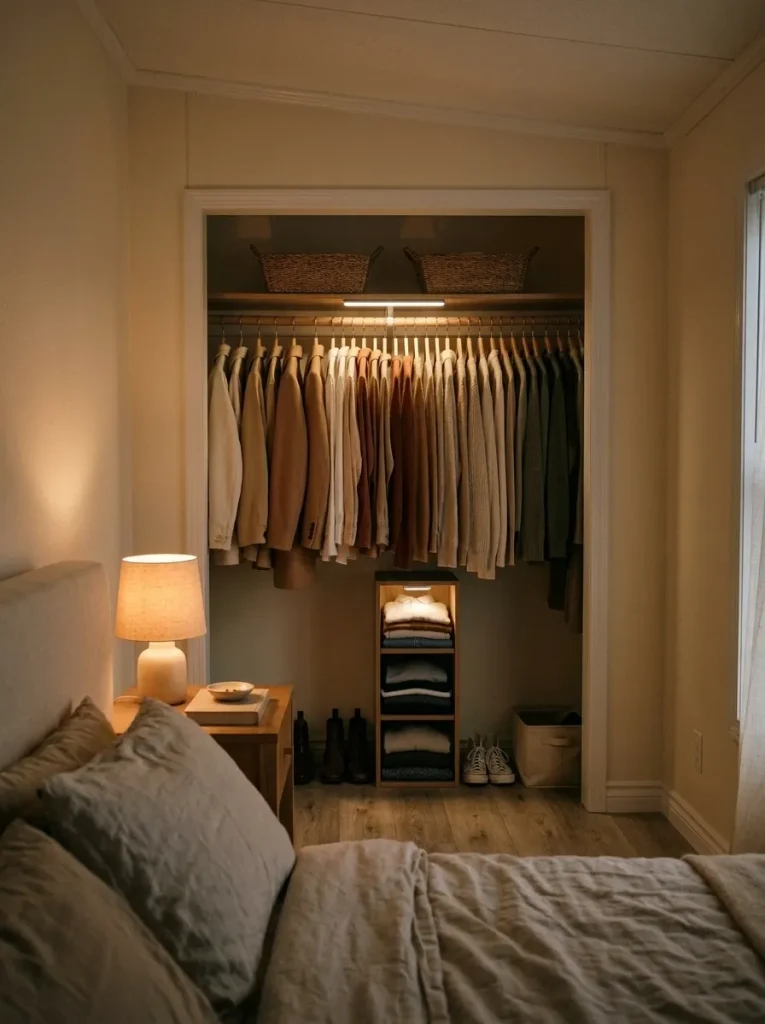
- Check the shadow: Turn on the bedroom lights and stand where you normally select clothes. Identify the shelves you still cannot see.
- Test a removable light: Hold it in place and assess whether it illuminates the garment faces and shelf interiors.
- Keep the installation safe: Use products intended for the location, follow battery/charging and mounting instructions, and keep lights clear of clothing and other combustibles.
Avoid improvised mains connections, concealed extension cords, or fixtures that generate heat against fabric. Electrical changes and new hardwired closet lighting should be designed and installed by a qualified professional under applicable local requirements. If a small light only reveals a completely overpacked closet, solve the access problem first.
15. Build a Budget Closet System That Can Change Later
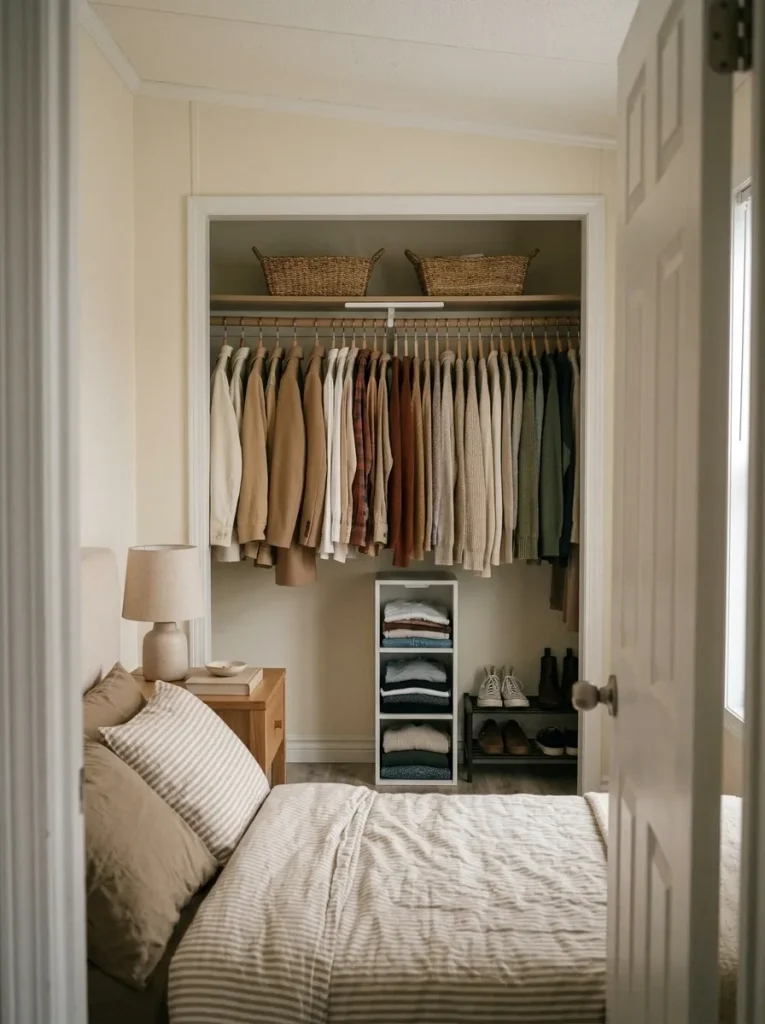
The most effective mobile-home closet makeover may happen in stages. A renter may need everything removable; an owner may want to build cabinetry eventually.
Either way, spending the entire budget on a beautiful organizer before confirming what you own and how the doors work risks buying the wrong thing.
Closet Upgrade Pathway — Three-Phase Planning Tool
15 / Upgrade pathway
Buy capacity only when the first fix works.
Each stage should prove its value before you spend on the next one. Costs depend on your location, hardware, materials, and whether installation is professional.
Audit and rearrange
Measure; remove unused hangers; separate short from long garments; shift lower-frequency items upward.
Try reversible storage
Test freestanding baskets, suitable temporary organizers, and low-load accessory containers compatible with the available space.
Build or install a durable layout
Choose a properly supported second rod, adjustable shelf system, or made-to-fit cubby tower using a verified fastening plan.
Use money where it changes your daily routine. A second rod is worthwhile if it makes short clothes accessible; a built-in tower earns its cost when it reduces the need for furniture elsewhere. If the closet functions well after the first two phases, leave the remaining space open.
Other projects in the mobile-home storage ideas collection may offer a better use of the next dollar.
Make the Small Closet Work for the Way You Dress
A successful small-closet makeover begins with the opening, not with the organizer. Measure what you can reach, give daily clothing the easiest positions, and test garment clearance before cutting boards or installing hardware. If a new shelf makes retrieval harder, it is not a storage improvement.
Start with the simplest change that answers your biggest frustration: a second rail for short garments, a few reachable cubbies for folded clothes, or a softer closet front where doors crowd the bedroom. Save the permanent build for a layout you have already tried.
Save this guide to Pinterest so you can revisit the configurations while planning your closet.