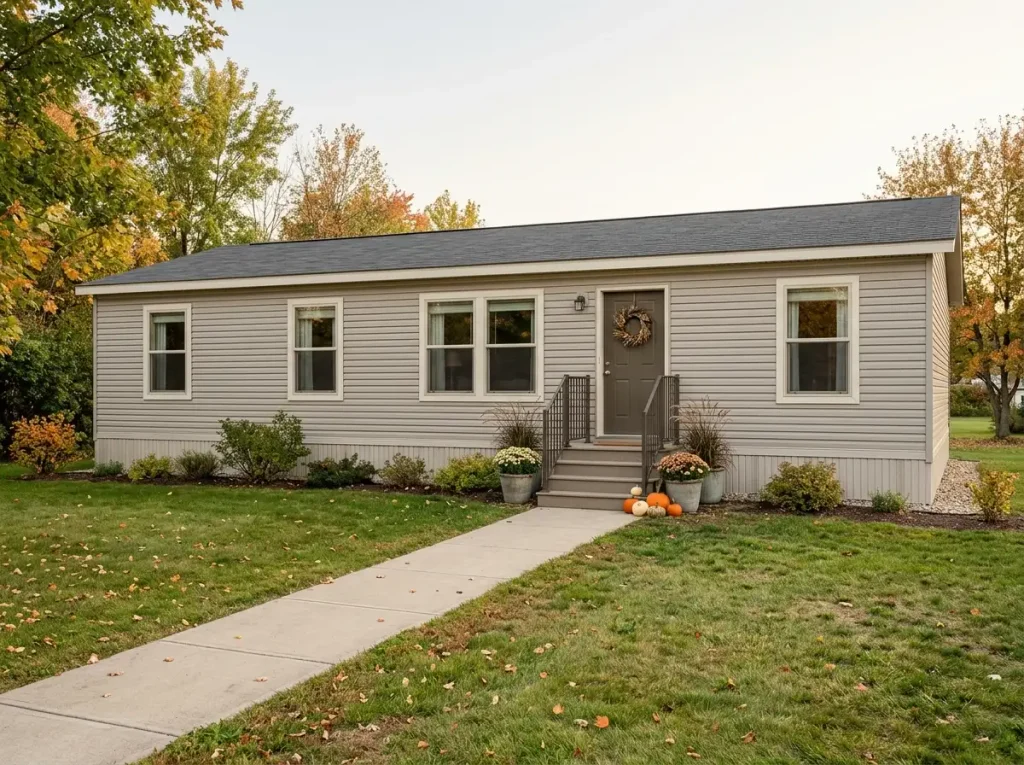
Halloween curb appeal can become expensive surprisingly fast. A few pumpkins, a wreath, novelty lights, lanterns, yard stakes and small props may each seem inexpensive, yet together they can turn a simple seasonal update into a much larger purchase than planned.
Good budget Halloween manufactured home decor works differently. It uses the home’s long exterior lines, visible front windows, compact entry, existing fall pieces and nighttime view to make a small amount of décor feel intentional from the street.
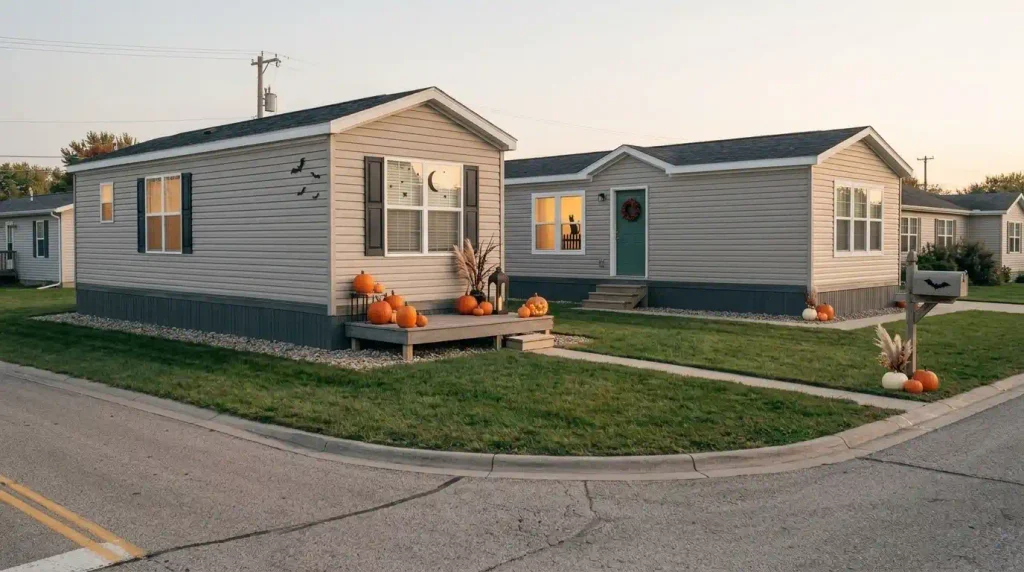
That matters because a manufactured-home exterior rarely needs twenty equally decorated surfaces. One strong scene, a few supporting echoes and enough undecorated space can create more impact than covering the door, steps, skirting, windows and yard with unrelated pieces.
The ideas below begin with a budget triage that helps you decide where your money can make the biggest visual difference. From there, the focus shifts to reuse, low-cost scale, selective lighting, stronger curb visibility and knowing when the display is already finished.
1. Run a Curb-Impact Budget Triage Before You Buy Halloween Decor
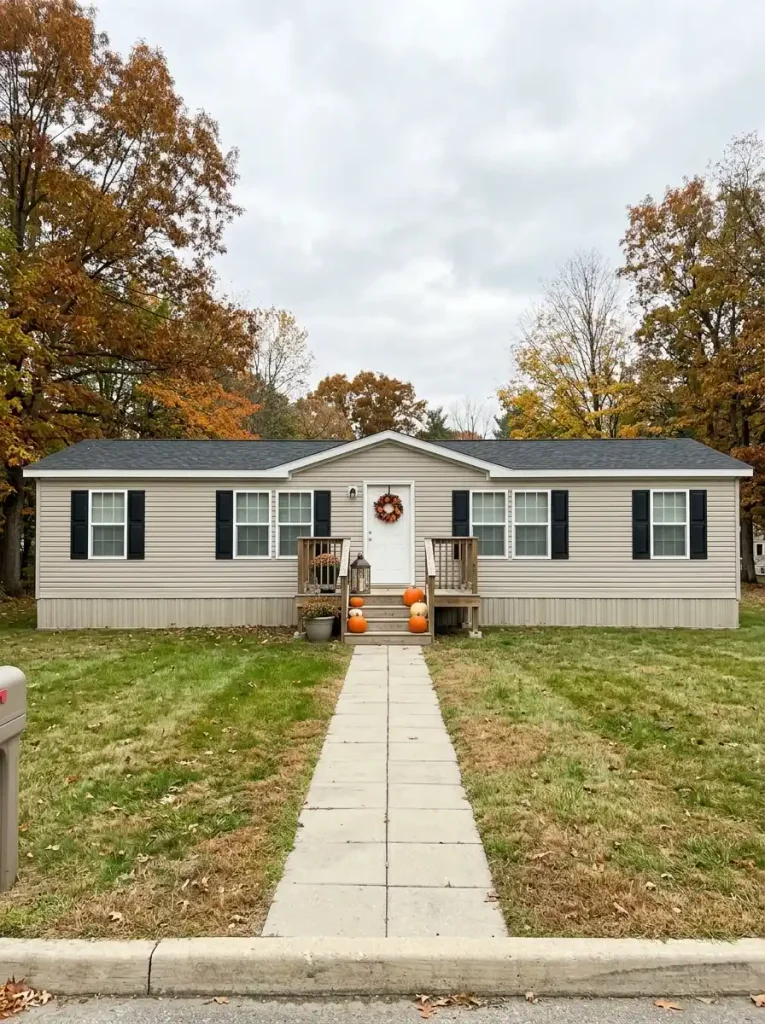
Walk toward the street, driveway edge or normal approach to your manufactured home and take one straight-on photo. Do not begin by asking which Halloween decoration is missing. Ask what prevents the exterior from reading as a Halloween scene at that distance.
A nearly empty façade needs a different first move from an entry already full of pumpkins. A dark front elevation may gain more from one visible light source. A cluttered porch may improve after a free cleanup. If you already own fall planters, lanterns, baskets or pumpkins, those should affect the buying decision too.
Use this planner before opening a shopping cart.
Curb-Impact Budget Triage
Budget-first curb planner
Where should your first Halloween dollar go?
Choose the problem you notice first from the curb. Then compare the recommended move with what you already own before spending.
Use your ceiling as a filter, not a target
These are planning tiers, not promised retail-price ranges. Local prices, weather exposure, materials and what you already own can change the cheapest solution.
If the triage recommends a $0 change, take that seriously. A budget is not a quota you have to spend. Make the first adjustment, photograph the exterior again and only move to a purchase when the next weakness becomes obvious.
2. Give Your Budget One Job: One Lead Scene and Two Smaller Echoes
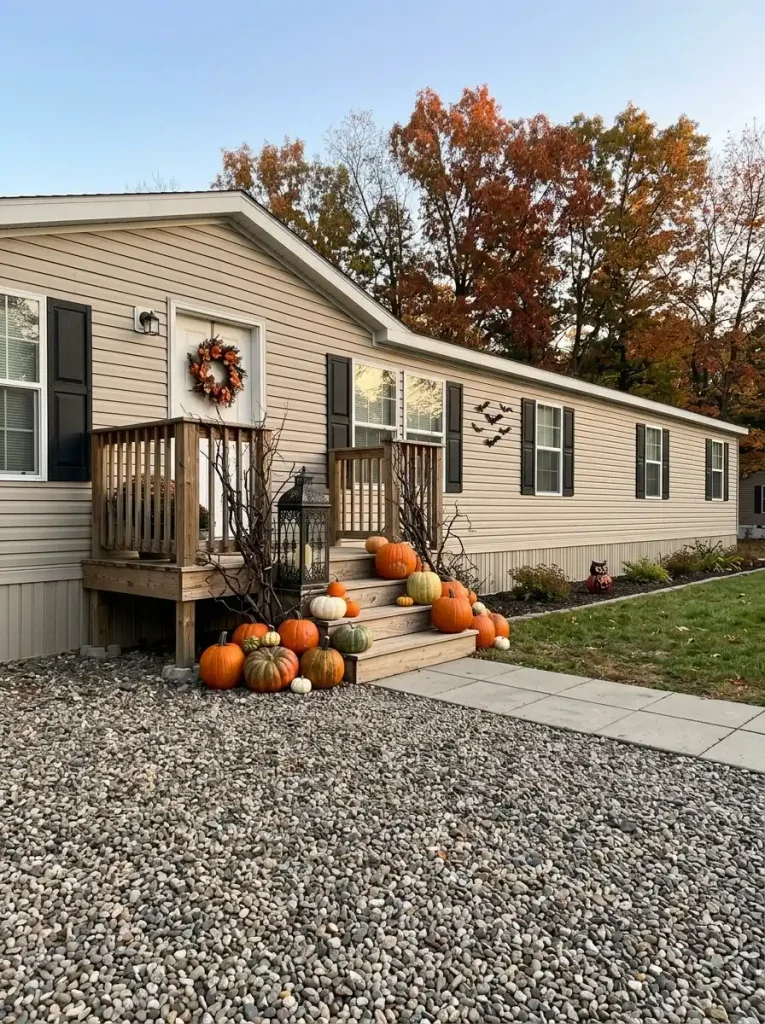
Imagine you have six inexpensive Halloween pieces. Putting one beside the mailbox, two on the steps, one under a window and two near the driveway gives you six decorated locations—but no single scene strong enough to control the curb view.
A more useful hierarchy is:
- Lead scene: the place carrying most of the visual weight, such as the front window, one porch corner or the door-and-step zone.
- First echo: repeat one element from that scene nearby.
- Second echo: repeat the same color, shape or glow farther across the elevation.
Then stop.
This works particularly well on a manufactured home because a long front elevation can make small decorations feel even more separated. Repetition connects that width without requiring a purchase for every window, post or patch of siding.
If the lead scene already controls the curb photo, extra mini-displays are optional.
3. Turn the Fall Pumpkins You Already Own Into Halloween Anchors
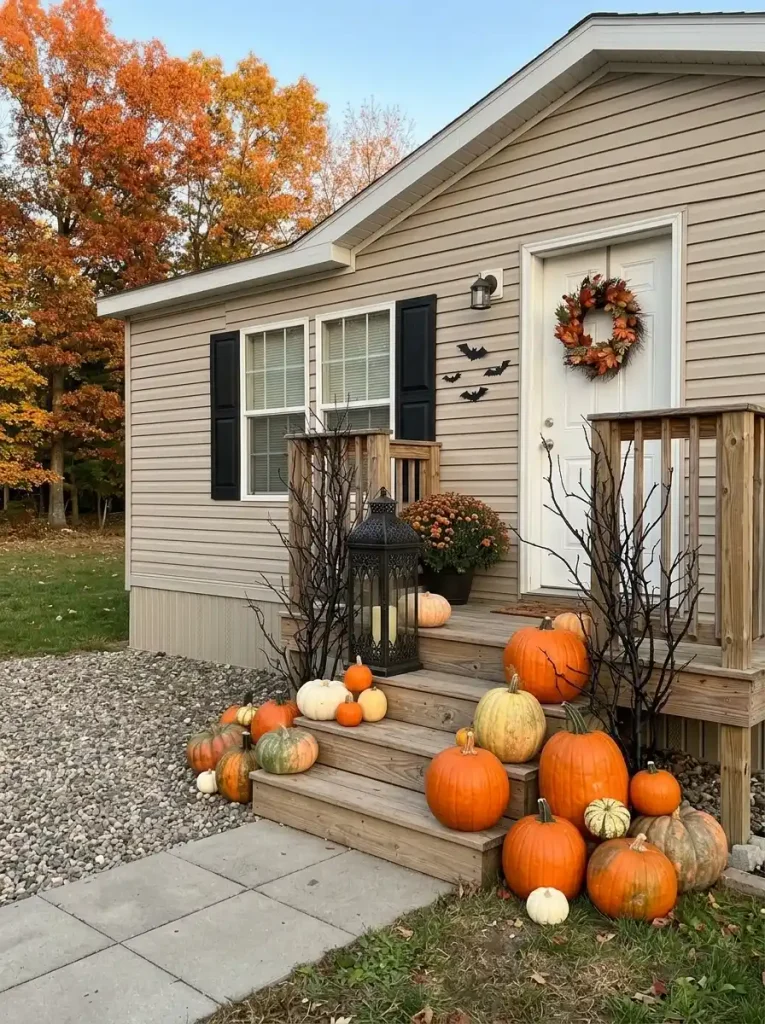
Fall pumpkins do not expire when Halloween decorating begins. Changing the objects around them can move the same pumpkin grouping from harvest to Halloween without requiring a second seasonal set.
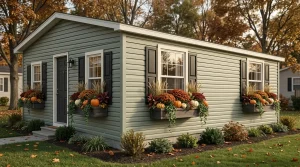
Keep three pumpkins beside an existing planter, for example, then introduce one darker element with enough contrast to change the mood: a lantern, oversized bats above the group, bare branches or one removable spooky silhouette.
Cream pumpkins can move into Halloween with charcoal and rust. Orange pumpkins already supply the classic Halloween color, so they may only need a black or shadowy supporting element.
Ask one question before buying anything:
Does the existing pumpkin group already provide enough volume and color?
If yes, do not buy more pumpkins merely to make the arrangement feel fuller. Spend only on the missing ingredient—height, darkness, glow or directional movement.
For a compact porch, keep the pumpkin mass along an unused edge so seasonal reuse does not become step clutter.
4. Convert Existing Planters, Lanterns and Baskets With Removable Halloween Layers
Before shopping for purpose-built Halloween props, inventory what already lives outdoors.
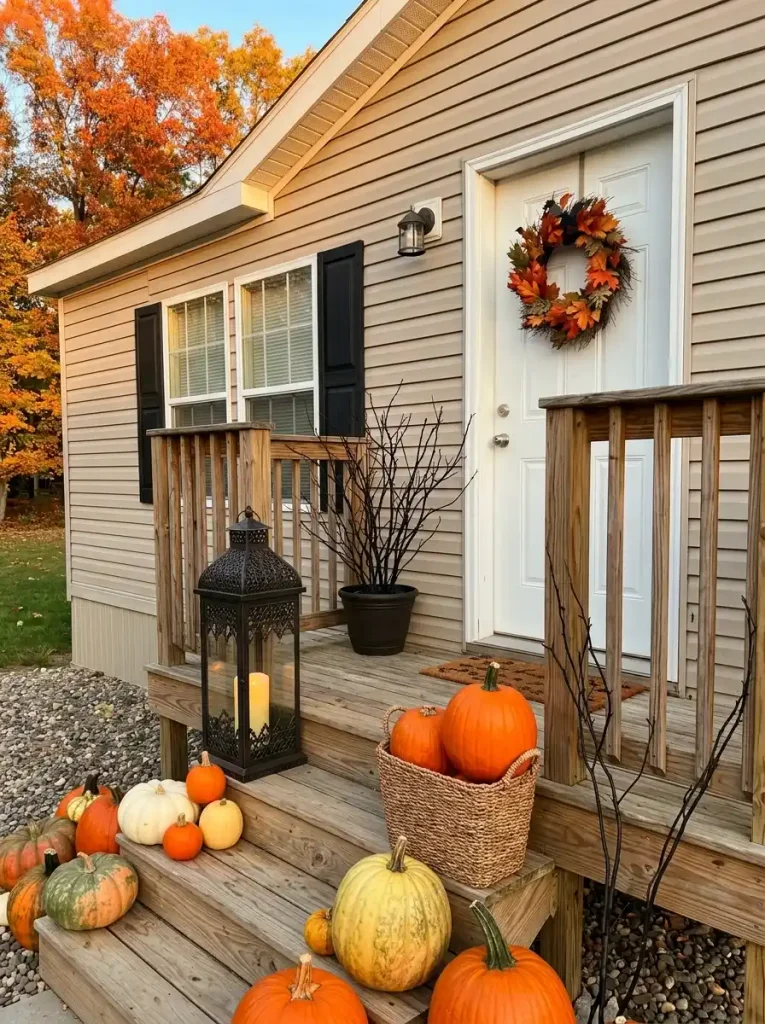
A planter can hold bare branches. A lantern can shift from neutral autumn styling to a darker Halloween vignette. A basket can become the visual base of a pumpkin cluster. An existing fall wreath may need only one darker layer to change seasons.
The most useful transformation remains temporary enough that the original item still deserves its storage space in November.
Existing Décor Converter
Reuse converter
What outdoor piece do you already own?
Keep the base object. Change only the layer that tells the Halloween story.
For a broader low-cost Halloween treatment beyond the curb-facing exterior, StylishGalore already has a specialist article on cheap mobile-home Halloween décor. 21 Cheap Halloween Decor Ideas for Mobile Homes That Look High-End
5. Make One Front Window the Cheapest High-Visibility Halloween Feature
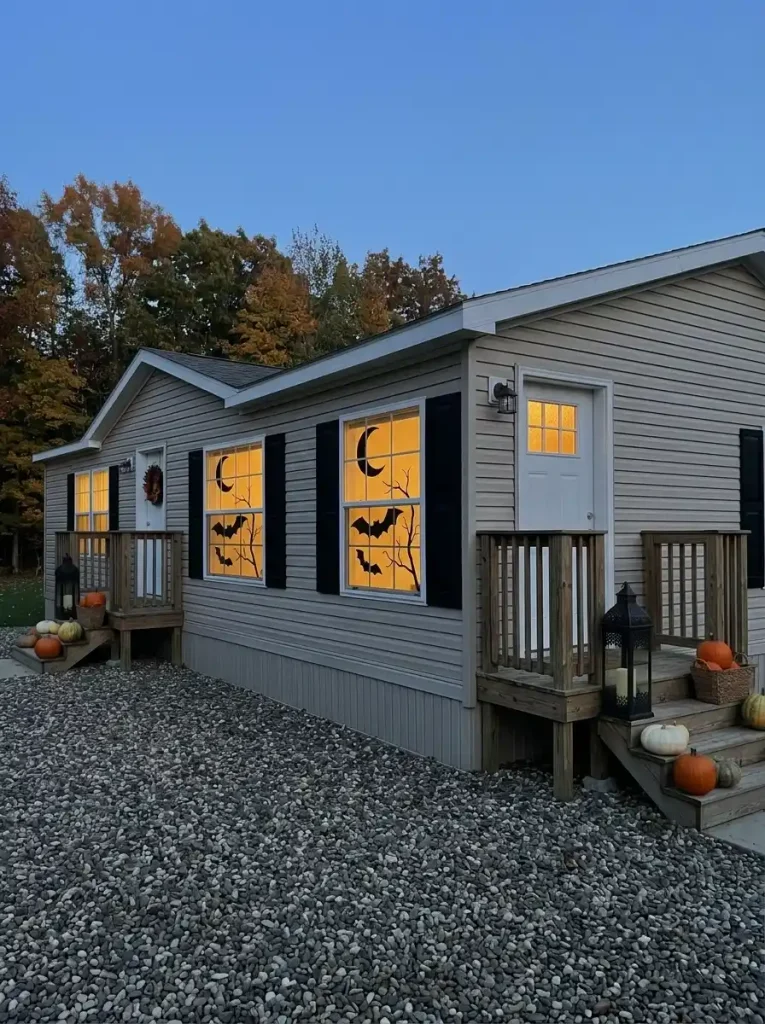
A front window has an unusual advantage: you can create the decorative surface from inside while the visual payoff happens outside.
Try one readable silhouette rather than filling the pane with dozens of tiny shapes. A crooked branch scene, oversized ghost, moon-and-bat composition or several large black forms can hold their shape from much farther away.
After dark, normal interior light behind the treatment may give the window a second identity without adding another object to the porch floor.
Check the composition from your actual curb distance before adding detail. If the silhouette disappears into the window frame, enlarge the shapes or simplify the scene.
This is particularly useful when a manufactured home’s entrance consists mostly of steps and a small landing. The window expands the Halloween scene laterally while protecting valuable walking space.
6. Build One Controlled Bat Flight Instead of Scattering Bats Across the Façade
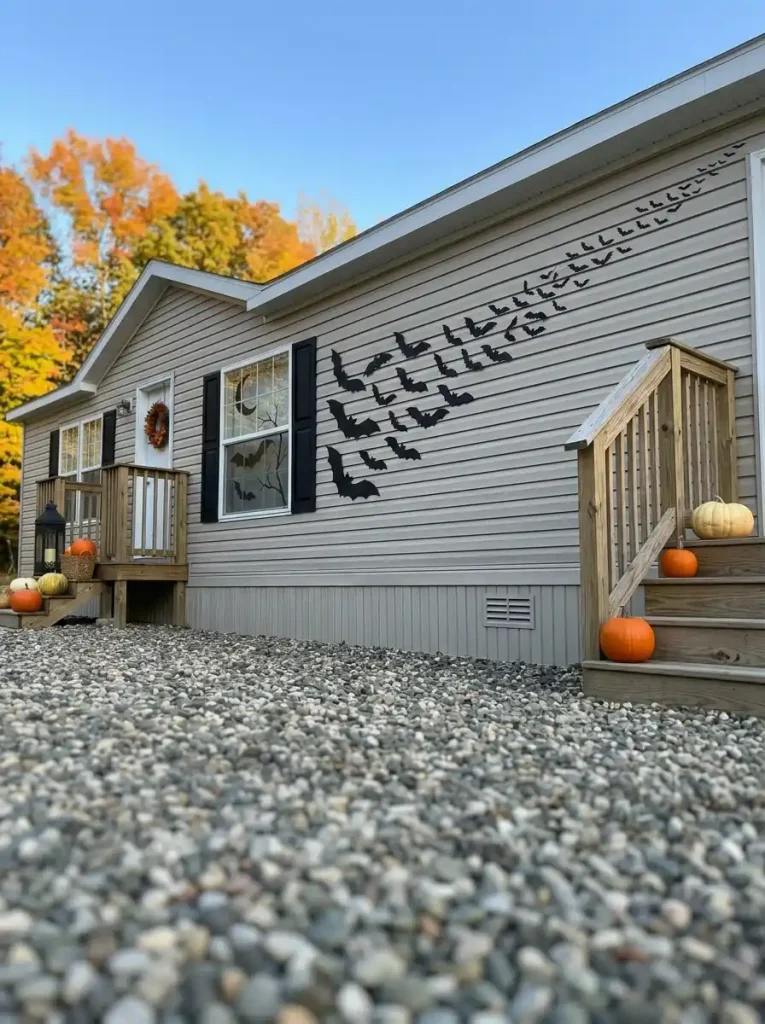
An inexpensive multipack of bats can look much more substantial when all of the pieces behave like one composition.
Choose a starting point—perhaps beside a front window, above one porch corner or close to the main door scene. Place the largest forms near that anchor, then reduce their size and spacing as the flight moves outward.
The changing scale creates direction, allowing a small number of flat pieces to influence a larger section of the façade.
Before attaching anything, stand back and imagine one sweeping line through the group. If you cannot trace a direction, the bats may be behaving like scattered stickers.
Keep the arrangement away from vents, utility components and door operation.
On a longer manufactured-home façade, stop while the final few bats still feel visually connected to the leading scene. Extending them across every empty piece of siding weakens the directional effect.
7. Use Black Mesh or Gauze Along One Architectural Line
Cheap fabric gains visual authority when the architecture gives it a boundary.
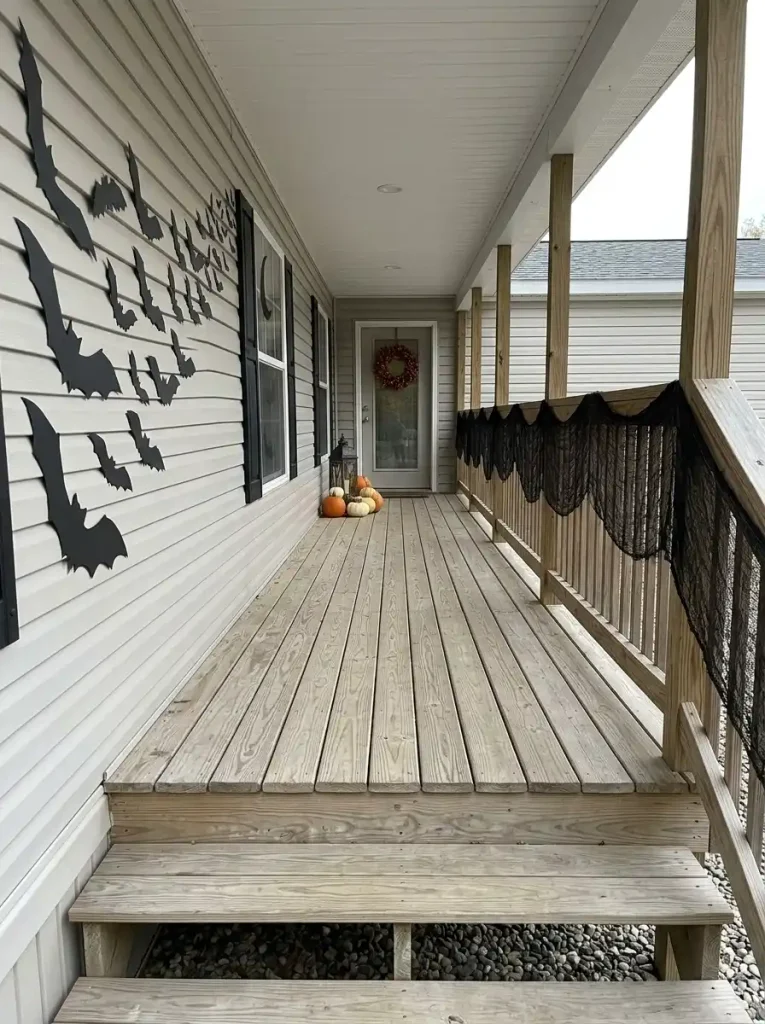
Choose one existing line that already matters to the curb view: a porch rail, the upper edge of a small covered entry or one defined side section framing the main Halloween scene.
A continuous dark band can create more apparent scale than several small hanging accessories because the eye reads it as one long gesture.
Keep the material controlled. Fabric should not spill into the steps, door opening or normal walking route. If wind makes the material difficult to secure appropriately, use a flatter seasonal treatment elsewhere.
Then judge the whole elevation.
From the curb, the mesh should frame or extend the main Halloween focal point. If the fabric becomes the dominant thing you notice and the house visually disappears behind it, reduce the amount.
8. Spend Where the Street Can Actually See It
Budget decorating becomes easier once you separate cheap from visible.
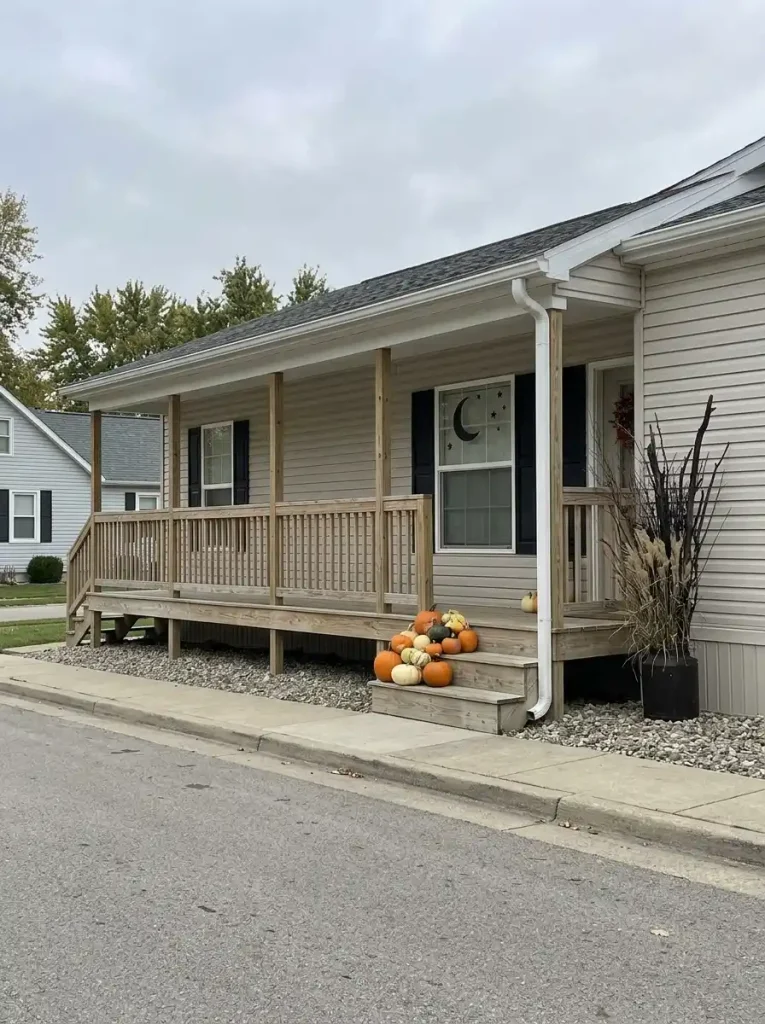
A tiny prop may cost very little and still offer poor value if nobody notices it until reaching the front step. A similarly priced window silhouette, tall branch arrangement or repeated façade motif may influence a much larger portion of the curb view.
Evaluate a purchase on three questions:
- Can you recognize it from your normal curb-view distance?
- Does it enlarge or strengthen an existing Halloween scene?
- How much useful porch or ground space does it consume?
That last question becomes important around compact manufactured-home entries, where floor décor can consume functional space faster than window, wall-adjacent or elevated treatments.
Visibility per Dollar
Visibility-per-dollar field
Which cheap idea earns the strongest curb impact?
Read across by curb visibility. Read downward by how much porch or ground space the idea consumes.
Budget filter: when two options cost roughly the same, favor the one that improves more of the curb view while consuming less functional space.
For the broader seasonal logic behind viewing a manufactured home from the street first, continue with StylishGalore’s curb-appeal specialist. Fall Curb Appeal Ideas for Manufactured Homes Stylish Galore
9. Use Free Branches or Yard Trimmings to Add Height Without Buying a Large Prop
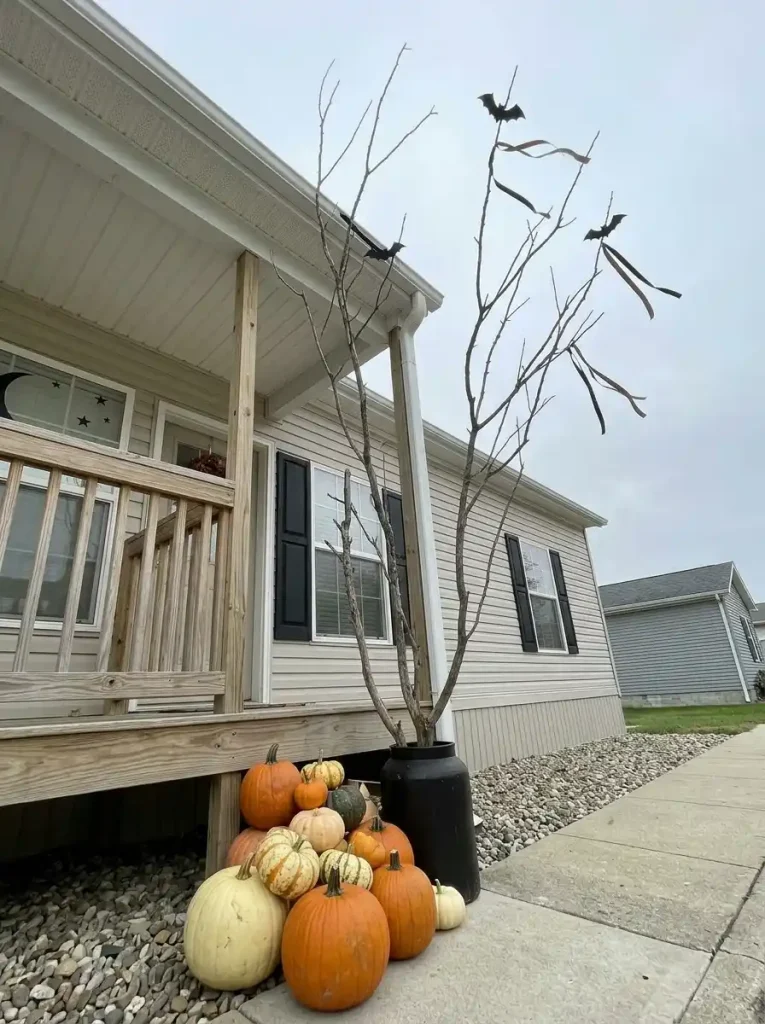
A manufactured home can have plenty of façade width while the Halloween décor remains concentrated close to the ground.
That imbalance is one reason a collection of inexpensive pumpkins can look much smaller from the street than it did beside the porch.
Height can solve it without requiring a tall store-bought prop.
If you already have suitable fallen branches or clean yard trimmings, collect a few with different forks and lengths. Arrange them inside a stable container you already own, then add only enough Halloween detail to connect the branches with the rest of the display.
A few lightweight bats, a dark ribbon element or sparse lighting may be enough.
Keep the silhouette open. A tightly packed bundle can resemble yard waste; several deliberate branches create a clearer shape.
Place the arrangement where its height fills an actual visual gap, such as an empty porch corner or beside a low pumpkin group.
For more handmade seasonal projects, continue with StylishGalore’s DIY specialist. 21 DIY Halloween Decor Ideas for Mobile Homes Stylish Galore
10. Reuse String Lights to Outline One Important Edge Before Buying Specialty Lights
A string of lights does not need to outline the entire manufactured home to matter.
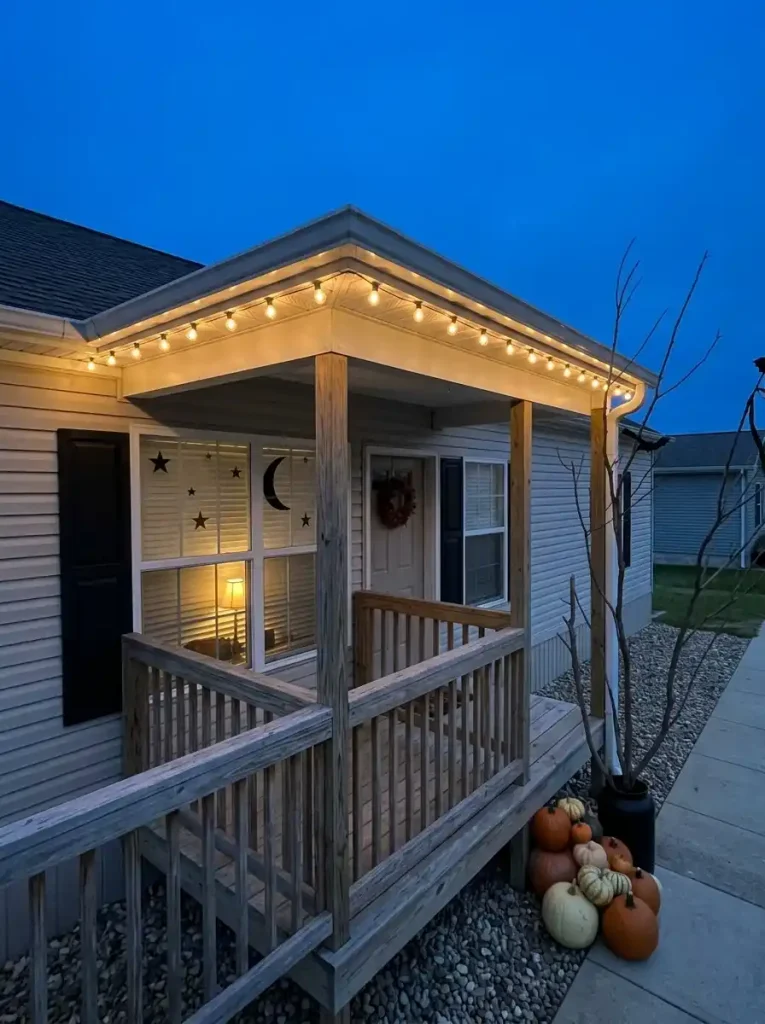
Choose the edge that already organizes the Halloween composition: the top of a small porch, one railing run, the front-window frame or the boundary around the principal entry scene.
Lighting that reinforces an existing visual line makes the architecture easier to read after sunset and gives nearby low-cost décor more presence.
Old lights should not be reused automatically simply because they are free. Check sets for damaged sockets, frayed or bare wires and loose connections. CPSC also advises using lights certified for outdoor use outdoors, choosing extension cords rated for their intended use and connecting outdoor seasonal lighting to GFCI protection. U.S. Consumer Product Safety Commission
Read the CPSC holiday decorating safety guidance
After the safety check, turn the lights on and walk back to the curb.
If the illuminated line strengthens the main scene, keep it. If it produces another unrelated outline, move it or leave it off.
11. Put the Step Display on One Side So Fewer Props Look More Intentional
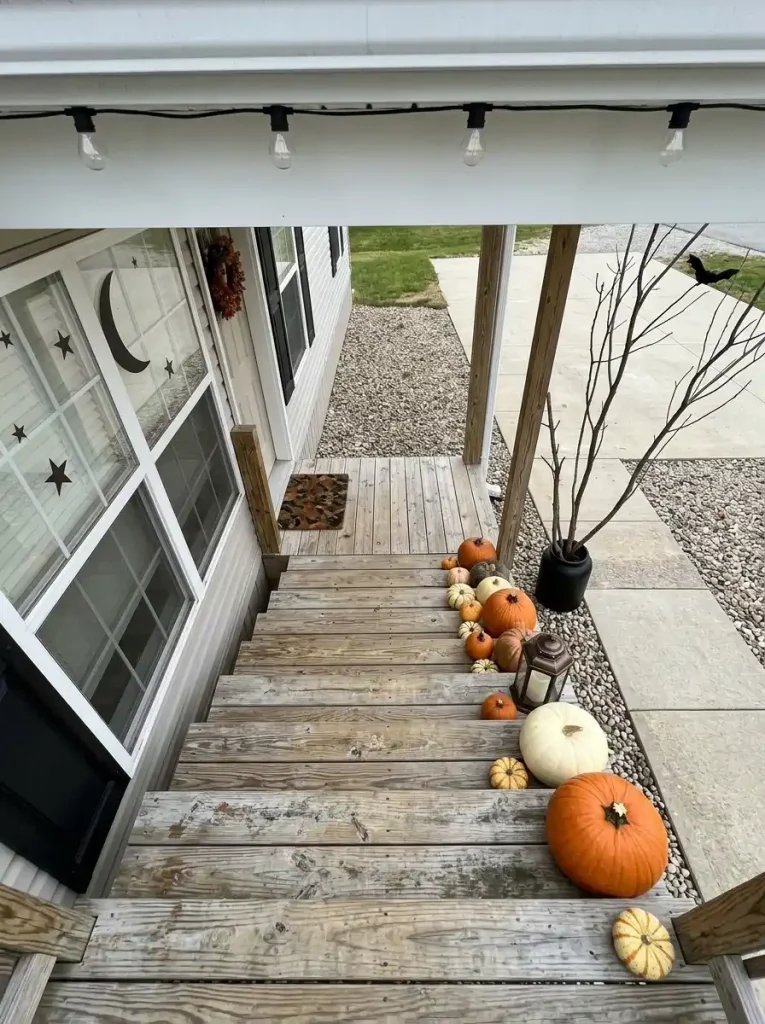
Decorating both sides of every step can double the number of pumpkins, lanterns and accessories needed before the arrangement feels complete.
Try asymmetry first.
Choose the side that interferes least with the normal route to the door. Begin with the largest object close to the porch or upper step, then let smaller pieces descend along the outside edge.
From the front, the eye reads the group as one tapered composition. The opposite side remains quieter and easier to navigate.
This becomes particularly useful where manufactured-home steps are narrow or the landing has limited depth.
Test the arrangement while carrying a bag, approaching from the driveway and opening the storm or screen door. A display that works only when nobody is using the entrance needs another edit.
For deeper advice on compact steps, railings and porch-floor limitations, use StylishGalore’s dedicated porch guide. 25 Halloween Porch Ideas for Mobile Homes Stylish Galore
12. Buy One Thrifted Hero Piece Instead of Six Small Halloween Fillers
A thrift-store price tag may be low, but that does not automatically make the object useful.
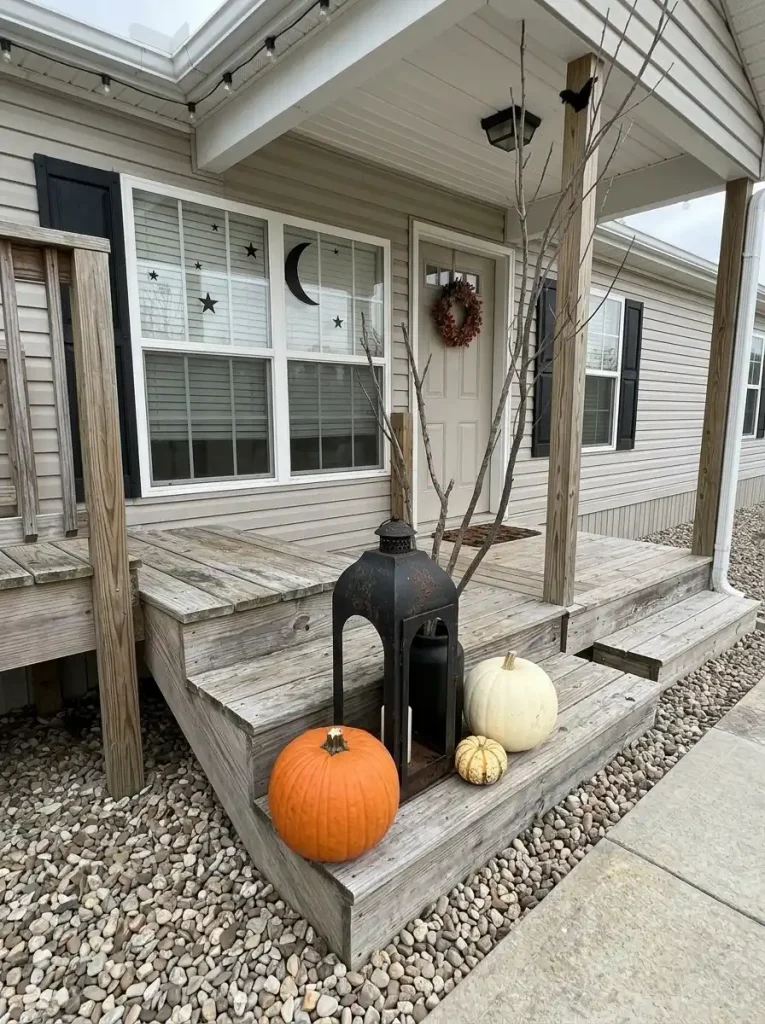
Look for visual weight.
A large old lantern, substantial basket, dark urn, weathered stool or characterful outdoor-suitable container may have enough presence to anchor an entire scene.
Six miniature seasonal objects at the same total cost can still disappear against a full manufactured-home façade.
Use this secondhand test:
- Can you recognize the object’s basic shape from several yards away?
- Can it work with pumpkins, branches or lights you already own?
- Could it remain useful beyond Halloween?
- Does its size fit an unused exterior zone?
- Is its condition appropriate for the intended placement?
Walk away from an object that requires buying several additional pieces just to make the first purchase look intentional.
The most useful thrifted hero may not be Halloween-themed at all. Its scale, material or dark color can give inexpensive seasonal accents something substantial to gather around.
13. Layer the Doormat Zone Without Purchasing a Full Matching Porch Set
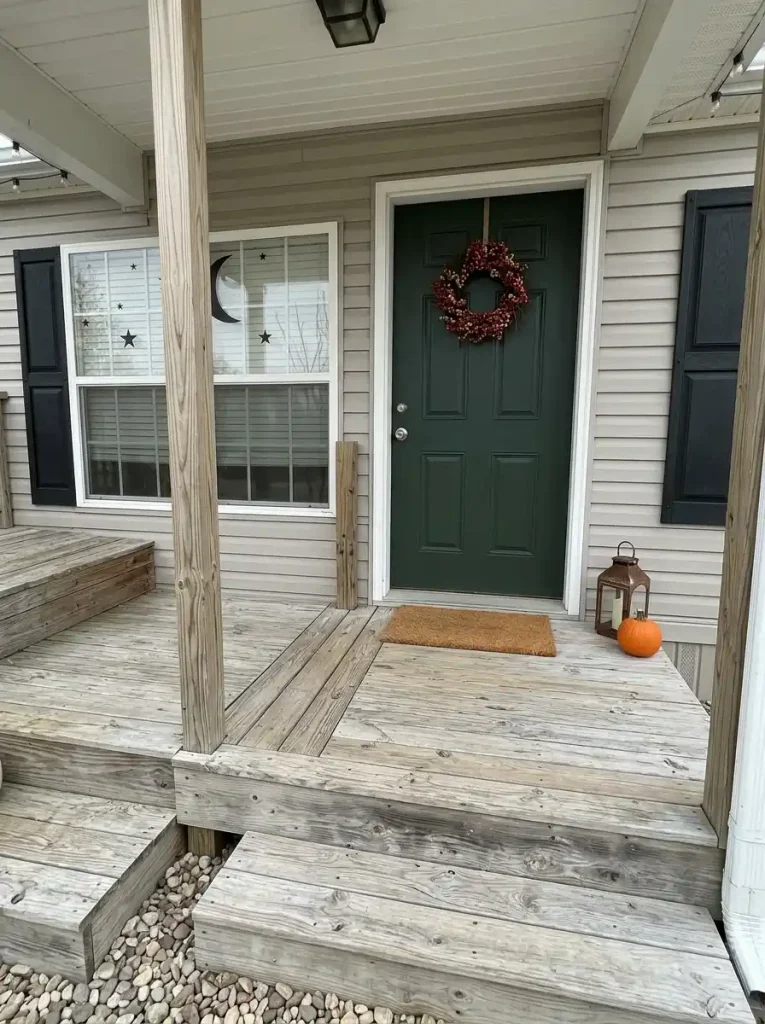
Retail porch collections can make it seem as though a Halloween entry needs a themed mat, larger patterned rug, matching sign, coordinated planters and several lanterns.
A compact manufactured-home entrance rarely needs all of those layers.
Start with the usable footprint.
The door still needs to move. Feet need somewhere to land. The route from the steps should remain visually obvious.
Build seasonal character only inside the space left over.
Small Entry Footprint
Small-entry footprint
Give every layer a zone before giving it a shopping list
Door swing, arrival stance and normal walking route.
Existing mat or one seasonal mat.
One compact accent.
Optional breathing space.
Budget decision: if the door and mat already establish the season, treat the second floor accent as optional.
Use this sequence:
door first → mat second → one edge accent third
If the entry already photographs well after those three moves, a full coordinated porch kit adds cost faster than it adds useful curb appeal.
14. Use the Skirting Line as a Backdrop for a Repeated Low-Cost Motif
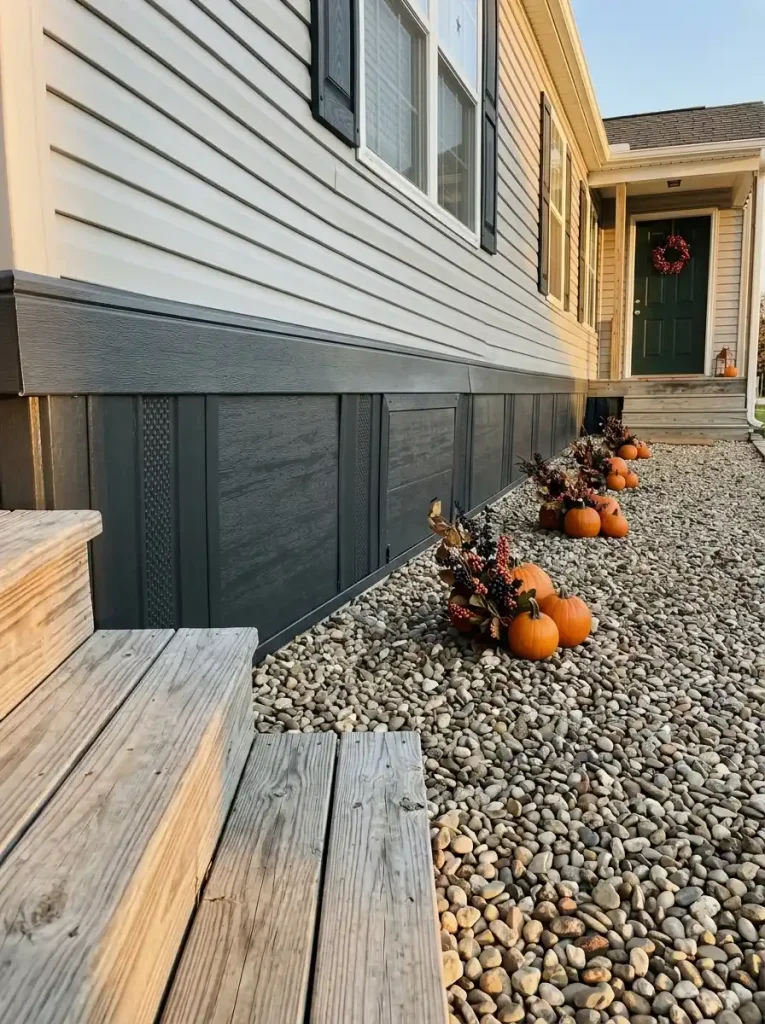
Manufactured homes often have a long, visually continuous base beneath the siding.
That horizontal line can help cheap Halloween elements feel connected without turning the skirting itself into a complicated decorating surface.
Work primarily in front of the base through an existing planting bed, gravel edge or ground zone while preserving ventilation, access points and utility areas.
Choose one repeatable motif:
- a few separated pumpkin groups
- simple dark yard shapes where suitable
- compact lantern-like forms
- one inexpensive repeated silhouette
- another object that remains legible from the street
Leave generous gaps.
Three small groups spaced across a long front bed may connect the width of the home effectively. A continuous row of twenty unrelated objects can flatten the entire base into visual noise.
Take a full-elevation photograph after the first few placements.
If your eye moves naturally from the repeated motif toward the primary entry scene, the low horizontal rhythm is working.
15. Give the Mailbox or Address Post Only a Small Halloween Echo
The mailbox can participate without becoming another decorating project.
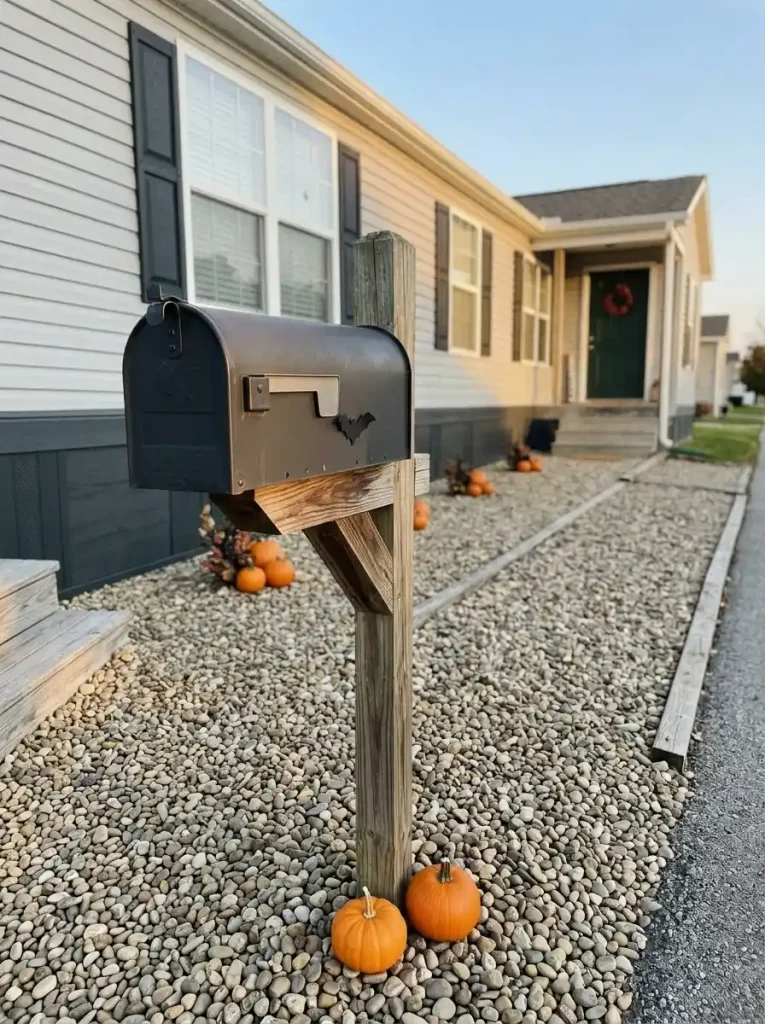
Take one element from the primary house scene and repeat it lightly: a dark ribbon, removable bat motif, miniature pumpkin group near the base or one compatible seasonal accent where appropriate.
Do not reproduce the whole porch composition.
Because the mailbox may sit well away from the home, a heavily decorated post can become a competing focal point. It can also create a fresh shopping category—garland, sign, picks, bows and extra lighting—all for a secondary zone.
Use the mailbox as punctuation.
Stand where a visitor first sees both the mailbox and the home. If the small echo visually connects the road edge to the main Halloween scene, keep it.
If the mailbox demands attention before the house does, remove a layer.
Where local, postal, community or lease rules restrict decoration, leave this zone alone.
16. Spend on One Outdoor Light Only When It Changes the Nighttime Curb View
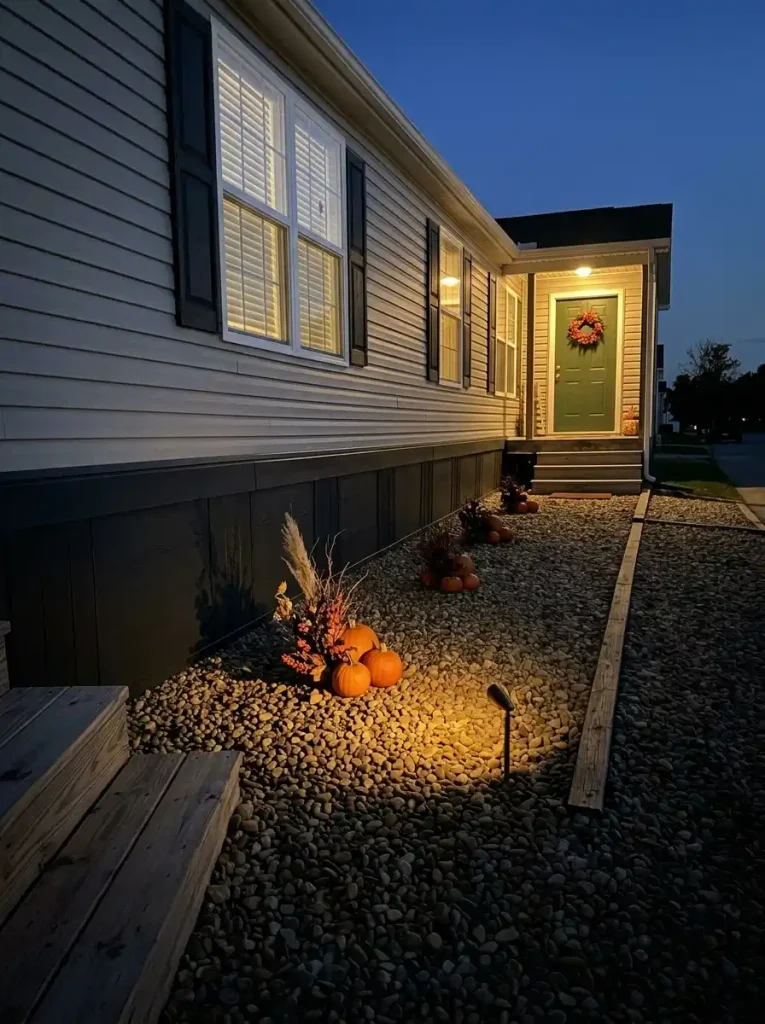
Outdoor Halloween lighting becomes expensive when every prop receives its own light source.
Begin after dark with your normal exterior lighting. Take a phone photo from the same curb position used during the daytime audit.
Look for the missing scene, not merely the darkest patch.
Maybe the porch already glows but the window silhouette disappears. Perhaps the pumpkin group turns into a dark mass. The opposite possibility is equally important: everything may already be visible enough.
If one additional outdoor light would reveal the main composition, the purchase has a specific job.
If it would merely illuminate another small ornament, save the money.
NFPA recommends GFCI protection for outdoor electrically powered decorations and emphasizes using outdoor-rated extension cords while removing damaged cords from service. CPSC likewise advises checking outdoor light certification, damaged light sets and extension-cord suitability. NFPA
NFPA Halloween electrical-safety guidance
Once the setup is safe, return to the curb.
One light fixing one diagnosed visibility problem is a stronger budget choice than adding lighting because the display simply feels unfinished.
17. Remove Everyday Porch Clutter Before Paying for More Halloween Decor
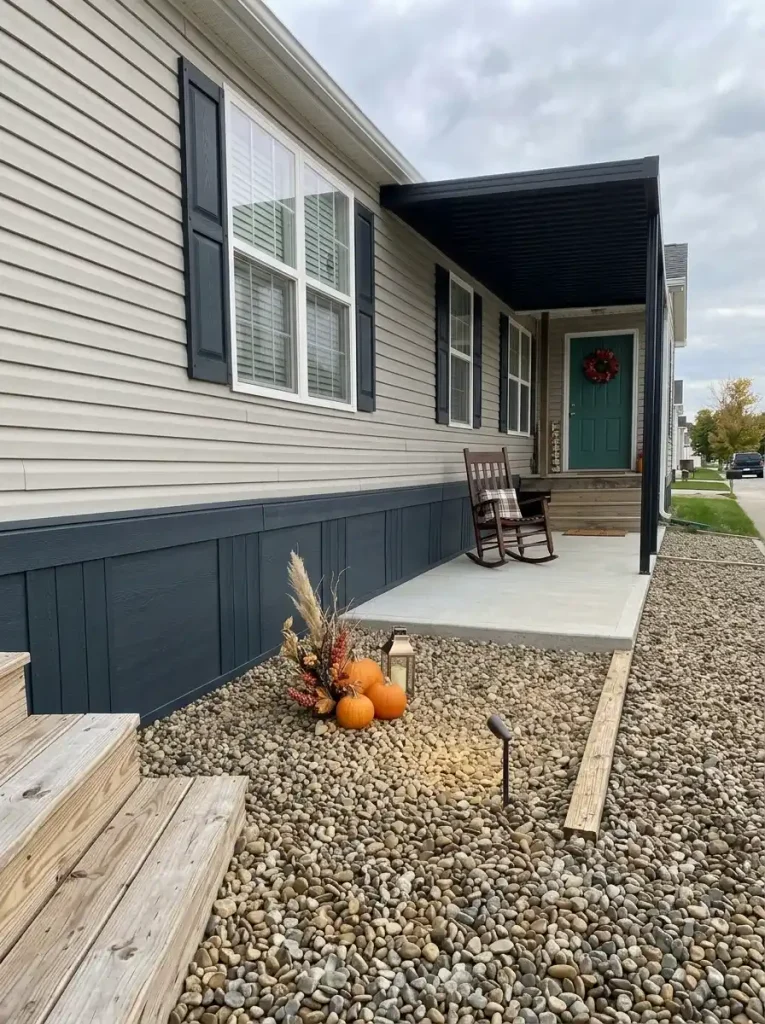
One of the strongest Halloween curb-appeal upgrades may already be hiding under everyday stuff.
Empty planters, watering cans, parcels, spare shoes, gardening tools, summer accessories and unused furniture can all compete with seasonal décor on a compact entry.
Adding more Halloween pieces increases the object count without necessarily improving the composition.
Clear the porch and front-step zone before deciding what you still need.
Do not remove practical items simply for styling. Relocate the objects that do not need to occupy the curb-facing view and keep whatever genuinely belongs there.
Then bring the Halloween elements back in this order:
largest focal → supporting seasonal group → useful everyday item → small detail
Stop once the hierarchy becomes clear.
This $0 reset is especially effective around shallow manufactured-home entrances because reducing visual clutter also makes the usable footprint easier to understand.
The decoration that looked too small may simply have been competing with too many unrelated objects.
18. Favor Halloween Pieces That Store Flat, Nest or Reuse Next October
The cheapest object at checkout is not always the least expensive decoration to own.
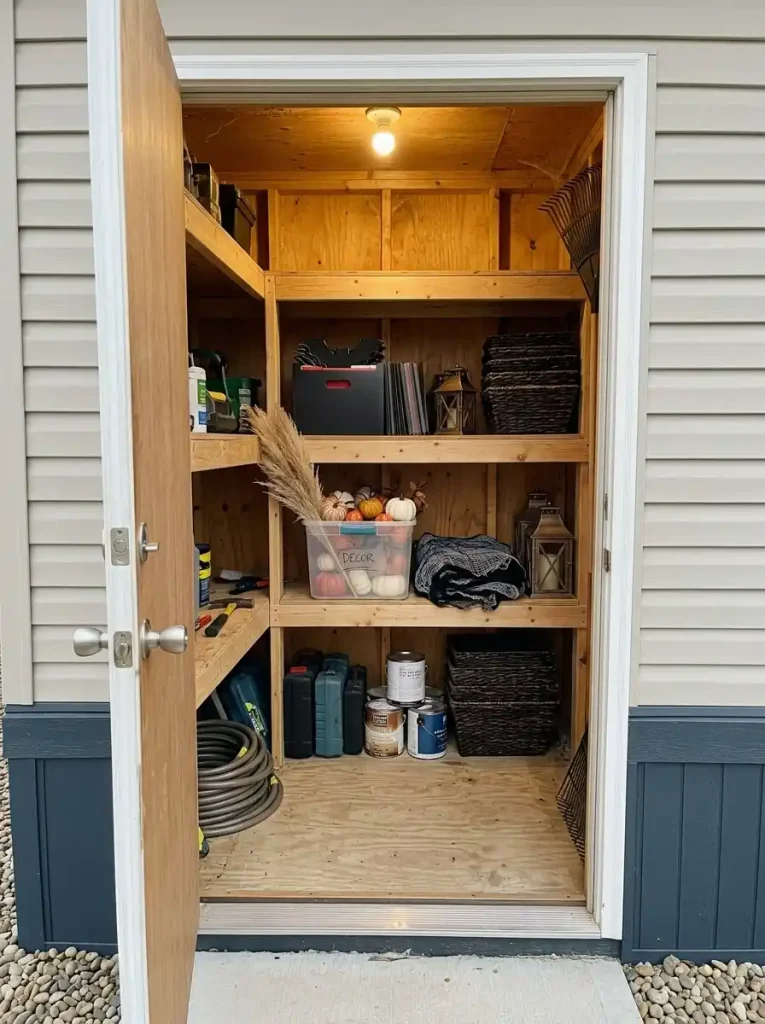
Storage matters, especially when seasonal pieces compete with everyday household storage.
A bulky one-purpose prop may need an entire container or awkward off-season corner. Fabric, flat silhouettes, nesting containers and multi-use lanterns can demand much less space.
Judge a potential purchase across three moments: October, storage season and next Halloween.
Three-Season Reuse Score
Three-season reuse score
Judge the decoration after Halloween too
A strong budget piece should survive more than the moment when you tap “buy.”
Prefer pieces that strengthen an actual curb scene, not items that merely fill an empty shopping category.
Flat, foldable, nesting or multi-use pieces usually demand less off-season space.
A reusable base object can change its seasonal layer without requiring a new purchase every October.
Buy test: if a piece performs poorly in two of the three stages, its low purchase price may be misleading.
Neutral base pieces earn extra value here. A black lantern, basket or substantial planter can move through several seasons while the inexpensive decorative layer changes around it.
19. Take a $0 Night Photo Before Adding the Final Layer
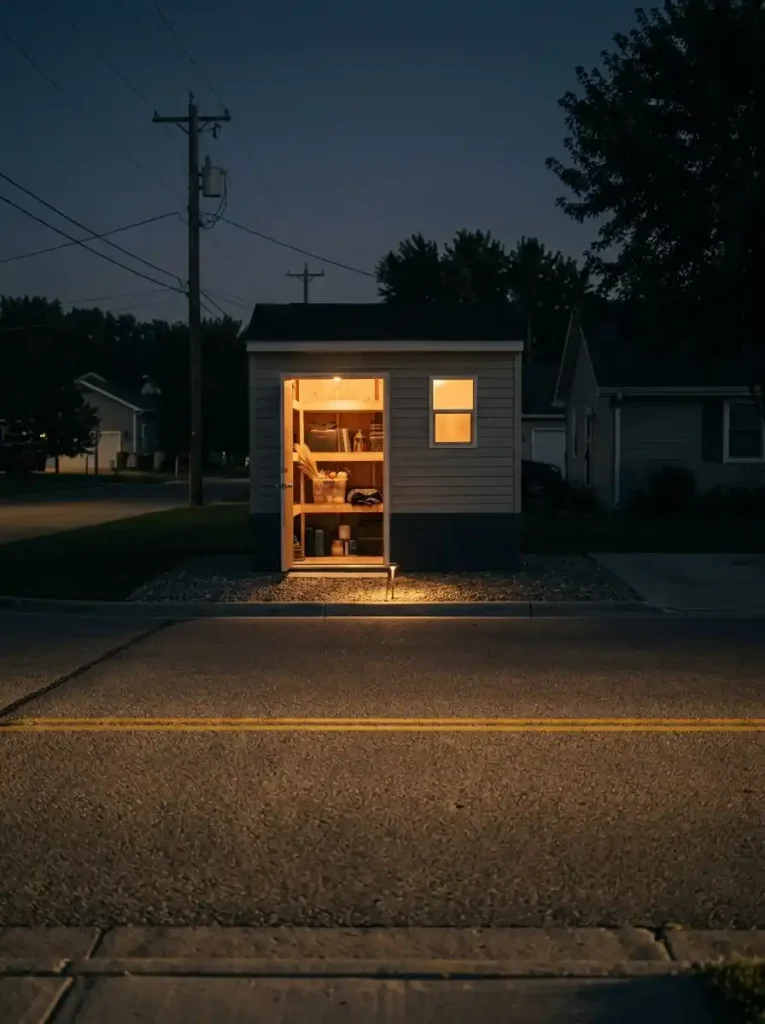
Your eyes adapt to low light surprisingly well. A phone photograph is less forgiving.
Once the display is almost finished, take one image from the curb after dark. Do not zoom into the porch. Capture the whole visible front elevation.
Then diagnose only what the photograph proves.
If the entrance disappears: strengthen the existing focal lighting.
If every light is equally bright: dim or remove one competing element.
If the house is visible but the Halloween theme is not: strengthen one silhouette or color cue.
If the main scene reads immediately: stop.
The same photo can expose overspending. Five individually illuminated decorations may merge into a busy patch, while one lit window and one porch glow can create a clearer nighttime composition.
Take a second photograph after your change.
A final addition deserves its place only when the second image is meaningfully stronger. If you need to zoom in to explain what improved, the purchase probably did not add much curb value.
20. Rebalance the Same Budget for a Single-Wide or Double-Wide Frontage
A wider home does not automatically require twice the Halloween décor.
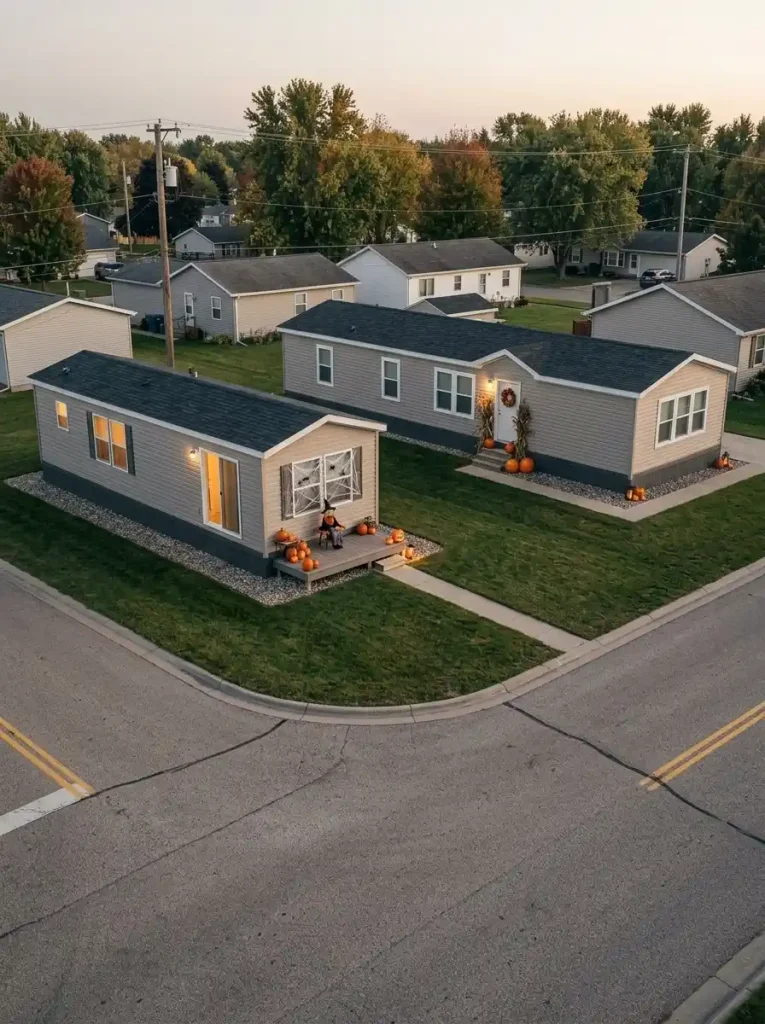
The important difference is spacing.
On a single-wide, one strong entry scene, a nearby window treatment and a small supporting echo may visually influence most of the front elevation.
Packing more focal points into the shorter frontage can make the exterior crowded very quickly.
A double-wide gives those same components more breathing room. The solution still may not involve buying additional objects. You may need to enlarge the spacing, strengthen one primary anchor or repeat one visual cue farther across the façade so the width feels connected.
Think of the two frontage types this way:
Single-wide: concentrate → connect → stop.
Double-wide: anchor → bridge the width → preserve pauses.
For a wider façade, StylishGalore’s double-wide specialist explores the frontage problem in greater depth. 21 Classy Halloween Exterior Ideas for Double Wide Mobile Homes Stylish Galore
The budget can remain almost identical. What changes is the distance each visual element needs to control.
21. Run the Stop-Spending Curb Audit and Remove the Lowest-Impact Purchase First
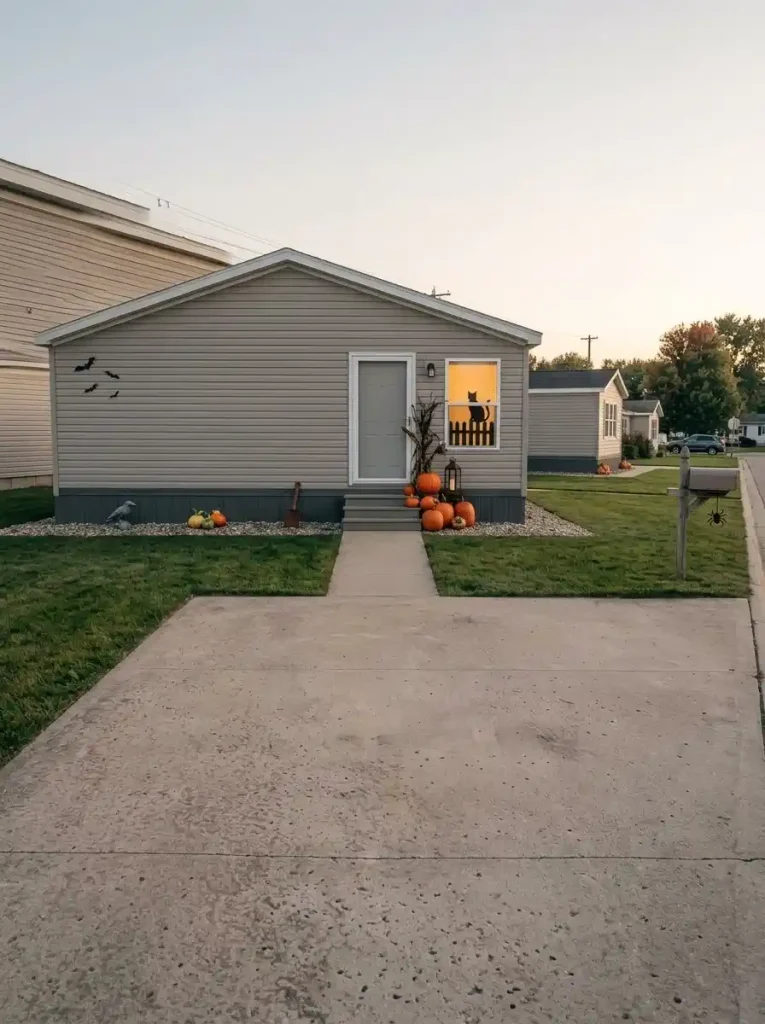
The last Halloween purchase is often the easiest one to skip.
Return to the same daytime curb position you used at the beginning. Look at the home for five seconds, then answer four questions:
Where did my eye go first?
Can I tell it is Halloween without seeing the tiny details?
Is the route to the door obvious?
Would another object solve a visible problem or merely occupy an empty patch?
Run one final audit before spending again.
Stop-Spending Curb Audit
Final curb audit
Does another purchase earn its place?
Run these four checks in order. The purpose is to find the first real weakness—not to invent a reason to keep shopping.
Can you read the Halloween mood from the normal curb distance?
Is there one obvious lead scene rather than several equal mini displays?
Are the approach, steps, door operation and useful exterior zones still clear?
After dark, can you identify the main scene without lighting every object?
The display already solves the curb-appeal problem. Empty space is allowed to remain empty.
Move, remove, reuse or buy one targeted element. Then run the audit again before adding anything else.
Final edit: if the curb view still feels busy, remove the decoration with the weakest combination of visibility, connection and reuse value. The strongest budget finish may be subtraction.
A successful budget is not measured by spending the amount you originally allowed.
It is measured by reaching a clear Halloween curb view before that full amount becomes necessary.
Budget Halloween Curb Appeal Works Best When Every Dollar Has a Visible Job
A manufactured home does not need a porch overflowing with pumpkins or a yard full of new props to look intentionally decorated for Halloween.
Start farther back. Decide what the street actually sees, establish one lead scene, reuse the fall décor and outdoor pieces you already own, then spend only where scale, height or nighttime visibility is genuinely missing.
Around compact entries, protect the walking route and let windows, vertical surfaces and carefully chosen exterior edges do more of the decorative work.
Finish by photographing the whole home in daylight and again after dark. If the Halloween story already reads clearly, allow some empty space—and some of the budget—to remain unused.
Save this article to Pinterest so you can return to the curb-audit steps before your next Halloween décor run.