

Fall is a useful renovation window for a mobile home because small exterior problems are still visible, outdoor work is often manageable, and winter has not yet made every unfinished repair more difficult. But the smartest fall mobile home renovation projects are not always the ones that create the biggest visual before-and-after.
A faded wall can wait longer than water collecting beside the home. New porch stain matters less than a loose step. Fresh skirting should not hide damaged insulation or an unexplained problem underneath.
The practical approach is to work from exposure to enclosure to appearance. Deal with conditions that weather can worsen, close up the vulnerable parts of the home, improve everyday access, and then move toward the cosmetic changes that make the remodel feel finished.
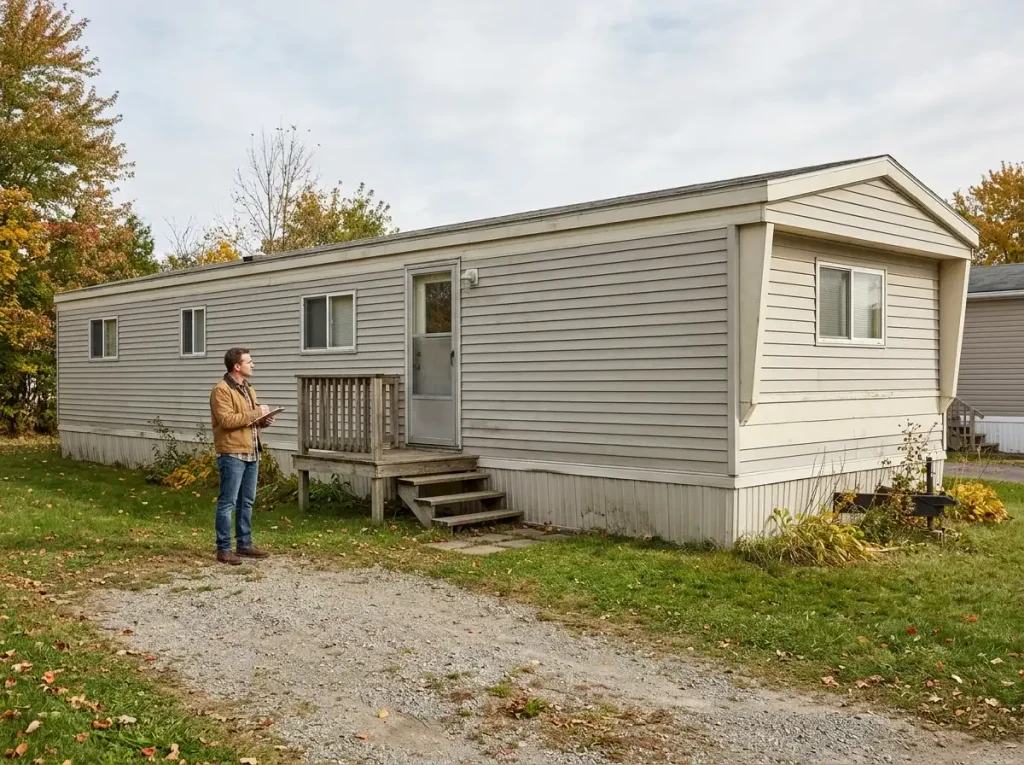
1. Prioritize Your Fall Mobile Home Renovation Projects by Winter Risk
Before buying paint or lumber, walk around the entire home once with one question in mind:

What gets worse if I leave it this way through winter?
That question is more useful than starting with whichever project looks easiest.
A faded exterior, dated wall color, or unfinished shutter idea may bother you every time you see it, but those are usually appearance problems. Recurring runoff, an exposed section beneath the home, an exterior door that will not close correctly, or questionable steps have a different consequence if weather deteriorates.
Sort what you find into four groups.
Weather exposure: Look for recurring wet areas, damaged exterior surfaces, deteriorated trim, roof-edge runoff problems, and other places where rain or snow may keep affecting the home.
Under-home and enclosure problems: Note damaged skirting, accessible tears or openings beneath the floor, hanging material, or anything that suggests the area behind the skirting needs attention.
Daily access problems: Check the route you actually use—the landing, porch, stairs, rails, and door. A problem here deserves priority because you interact with it every day.
Cosmetic upgrades: Paint colors, decorative shutters, interior panel treatments, porch styling, and similar visual improvements can stay on the list, but they should not move ahead of unresolved physical problems.
A useful test is to compare two projects directly. If your exterior needs paint but water repeatedly lands beside one corner of the home, solve the water issue first. If you want new skirting but can already see damaged material behind the old panels, investigate the hidden area before making it inaccessible again.
The best fall plan is rarely the one with the most projects. It is the one that leaves fewer important problems exposed when the weather turns.
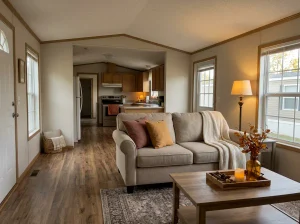
2. Fix Roofline, Runoff, and Drainage Problems Before Cosmetic Work
A dark stain on siding or peeling paint around trim can look like a surface problem. Sometimes the more important question is what keeps reaching that surface.
Before repainting the affected area, follow the likely path of water from the top of the home toward the ground.
Start at the roof edge. Notice where water leaves the roof and what sits below it. If the home has gutters and downspouts, look for obvious overflow, loose sections, or discharge that sends water back toward the home.
Then follow the wall downward. Repeated streaking below one roof section, deterioration around trim, or discoloration beneath a window deserves more attention than a blanket coat of paint. You are trying to understand whether the surface is simply weathered or whether it sits in a recurring water route.
Finish the inspection at ground level. A downspout that ends beside the skirting, an obvious depression that holds water, or a persistently wet strip along the home should not disappear from the plan because the siding above it looks ready for paint.
Think of the house vertically:
roofline → opening or wall → base → ground
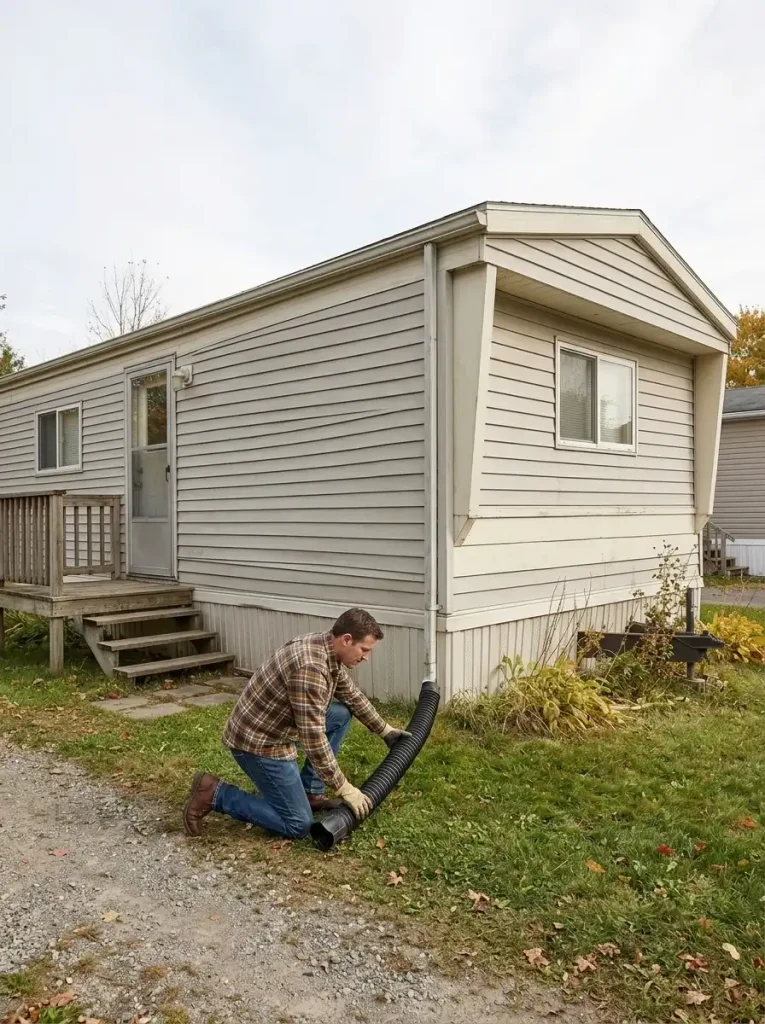
If the same area stays wet after every rain, treat that as a cause-and-effect problem first.
This does not mean every mobile home needs the same gutter system or drainage solution. Site conditions vary. What matters is that runoff has a believable route away from the home and that you are not hiding a recurring moisture symptom behind fresh finishes.
After making an appropriate correction, observe the area again under wet conditions if possible. A repaired surface that stays dry tells you much more than one that simply looks better on a sunny afternoon.
3. Repair and Refinish the Siding and Trim While Weather Allows
Once obvious water problems around the area have a plan, the exterior can finally move from diagnosis to renovation.
This is where an older mobile home can change dramatically without changing its architecture. The before-and-after examples that work best usually keep the long horizontal shape intact and improve the surfaces around it: cleaner siding, sharper trim, a controlled color palette, and one or two warm materials that add depth.
Begin by deciding what kind of condition you are actually looking at.
A dirty or faded panel may mainly need cleaning and preparation. Loose, cracked, heavily corroded, rotten, or poorly patched material belongs in the repair category. Painting the second group as if it were the first usually makes the defects more obvious, not less.
Work in a simple order:
clean → repair → prepare → finish
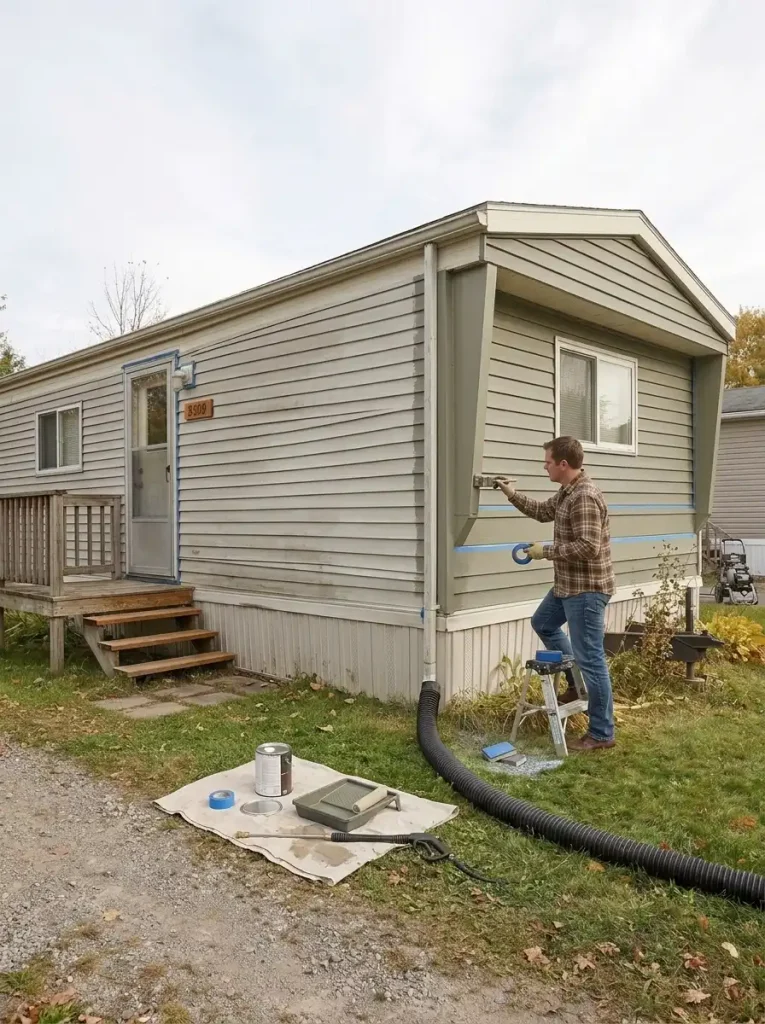
That sequence matters because a dark modern color can make uneven repairs, dents, failing trim, and inconsistent texture easier to notice.
Material also matters. Older mobile homes may combine metal or vinyl siding with wood trim, replacement panels, patched areas, or previous coatings. Avoid assuming that one preparation method or coating is correct for all of them. Use a finish compatible with the actual substrate and follow its manufacturer’s preparation requirements.
For the visual direction, restraint usually helps the mobile home’s proportions. Muted olive, softened charcoal, warm white, dusty blue, taupe, or another controlled field color can make a long façade feel cleaner. Natural wood used at the entrance or on modest shutters can add warmth without covering every window in rustic detail.
If you add shutters, treat them as part of the façade composition—not as proof that every window needs another object beside it.
The renovation is ready to move forward when the wall reads as one deliberate surface rather than a sequence of repairs disguised by color.
After the permanent exterior work is complete, you can shift toward fall curb-appeal updates without asking seasonal décor to hide unfinished renovation work.
4. Repair the Underbelly, Insulation, and Duct Area Before Closing It Up
Fresh skirting can make the base of an older mobile home look finished in a single afternoon. That is exactly why it is worth resisting the temptation to install it too early.
Before closing the perimeter, use safe available access to understand what the skirting will hide.
The underside of a manufactured home can contain several overlapping areas: the belly material itself, insulation, ductwork, plumbing penetrations, and possible evidence of moisture or pests. Treating that entire zone as empty space behind decorative panels can leave important problems untouched.
Begin with what you can observe safely from the perimeter or another appropriate access point.
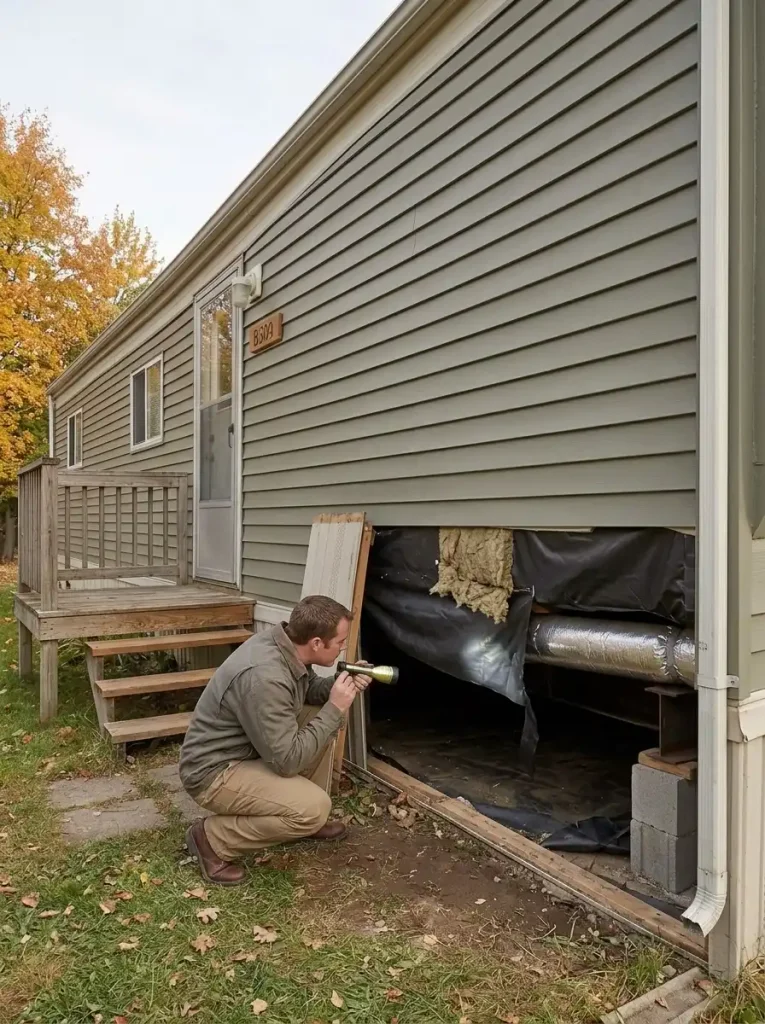
Torn or Open Belly Material
A visible opening deserves attention because it may expose insulation or other components above it.
No single patch or adhesive should automatically be treated as the answer to every damaged belly area. Construction varies, and large or complicated sections may require a repair approach that matches the existing assembly.
Hanging or Displaced Insulation
Insulation hanging below the floor tells you that simply putting skirting in front of it will not solve the underlying condition.
The useful question is not “How quickly can I hide this?” It is “Why is it displaced, and is the surrounding area dry and intact enough to address?”
Suspicious Duct Conditions
A disconnected-looking or visibly damaged duct deserves its own assessment before the perimeter is closed.
Some duct problems can involve diagnostic testing or repair work beyond a beginner visual inspection. If the condition is difficult to identify confidently, document it and keep the area accessible for appropriate evaluation.
Moisture or Pest Evidence
Damp material, repeated wetness, droppings, nests, chewed components, or other unexplained damage changes the job from “replace the skirting” to “understand what is happening first.”
Take photographs before changing anything. A clear record makes it easier to compare conditions after repair and gives a contractor or weatherization professional better context if the problem exceeds your scope.
Most importantly, know where the DIY portion ends. If access feels unsafe, the area is too confined, electrical or structural concerns are visible, extensive ductwork is involved, or you cannot confidently identify what you are looking at, stop before covering the problem.
The checkpoint for this project is simple:
You should know what is behind the new skirting before the new skirting goes on.
5. Restore the Skirting Without Creating a Moisture Problem
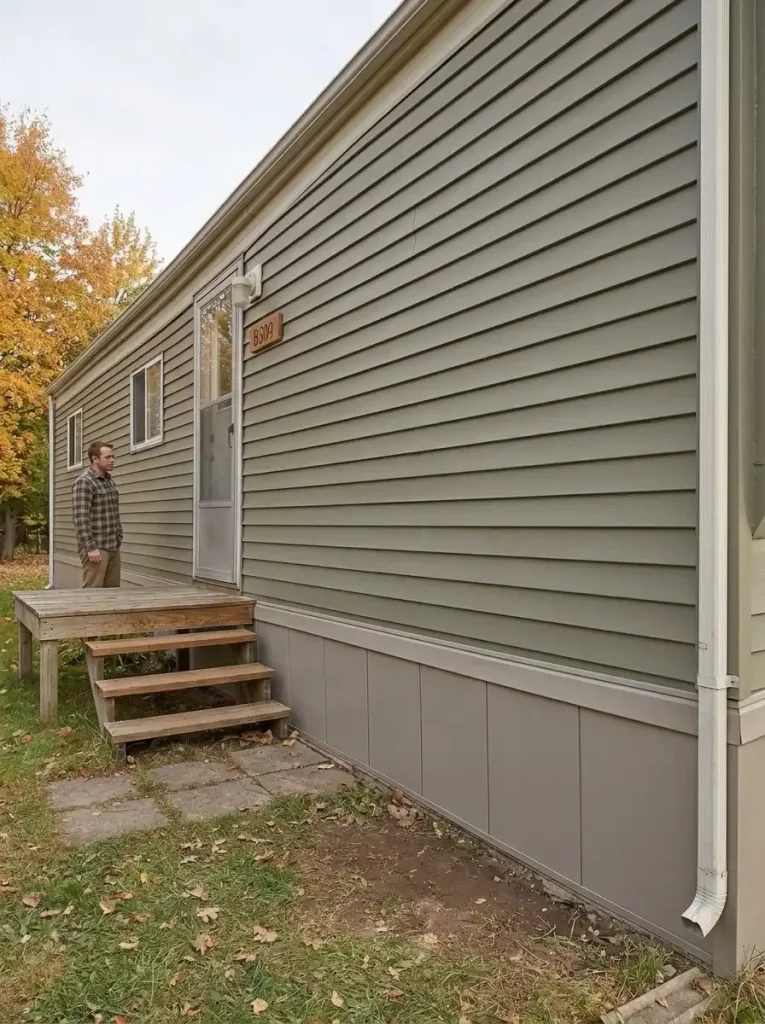
Once the underside has been inspected and any important problems have a plan, the skirting can finally become part of the visible renovation.
Good skirting does more than hide the chassis and supports. It gives the long base of a mobile home a cleaner visual finish, keeps the underside serviceable, and helps the exterior read as one complete structure. The mistake is treating it like ordinary decorative trim.
Walk the perimeter before replacing panels. Look for sections that are cracked, bowed, loose, mismatched, sitting awkwardly against the ground, or difficult to remove when future access is needed.
Pay particular attention to the lowest edge. A panel that repeatedly sits in wet soil or a section surrounded by persistent dampness is telling you something about the site condition. Making that panel prettier does not change what is happening around it.
The exact enclosure and ventilation requirements can vary with the home’s construction, manufacturer guidance, climate, and applicable local requirements. Treat “seal every gap as tightly as possible” cautiously rather than as a universal enclosure rule.
The practical target is a secure, intentional, serviceable enclosure that does not hide unresolved moisture concerns.
Visually, skirting usually works best when it supports the house rather than competes with it.
If the siding is now muted olive, charcoal, blue-gray, or another strong field color, you might:
- keep the skirting quieter and slightly lighter;
- coordinate it with the main siding;
- use a restrained masonry-look finish where it genuinely suits the home;
- repeat one exterior neutral rather than introducing another unrelated color.
Mismatched replacement panels are especially noticeable along a long single-wide elevation. If only part of the skirting needs replacement, view the entire base from several steps away instead of judging each panel independently.
Also preserve practical access. Future plumbing, duct, insulation, pest, or utility work may require getting back underneath the home. A renovation that looks seamless but turns routine access into demolition has solved the wrong problem.
You are finished when the skirting visually settles beneath the siding, stays appropriately serviceable, and no longer draws attention as a collection of patched panels.
6. Tighten Up Windows and Exterior Doors Before Heating Season
A draft around a window or door can feel like one simple problem, but several different conditions can create the same symptom.
Start with how the opening works, not with a tube of sealant.
Open and close each exterior door normally. Check whether it latches without being forced, whether the bottom catches, and whether the door sits evenly enough to make consistent contact with its weatherstripping.
For windows, look at the full opening. Does it operate normally? Is the surrounding trim intact? Can you see an obvious gap? Is there a recurring stain that suggests the problem may involve water rather than air alone?
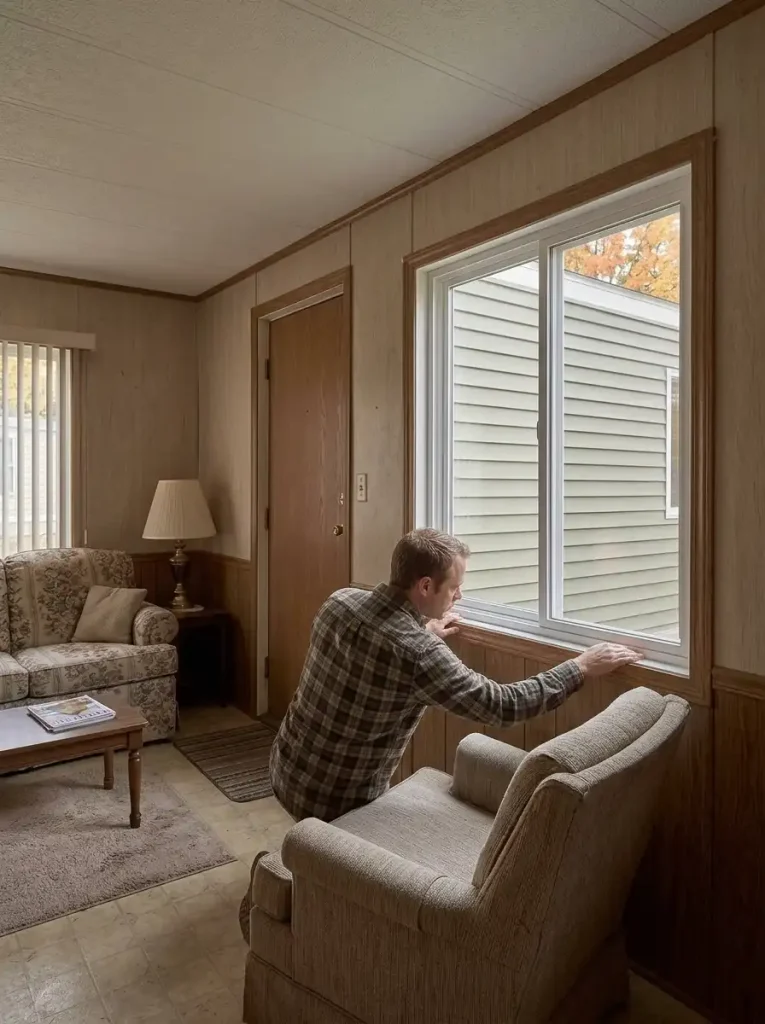
If You Can See a Simple Gap
Worn or missing weatherstripping may be the most straightforward issue.
Replace deteriorated material with a product suited to the opening and verify that the window or door still operates correctly afterward.
If the Door Will Not Close Properly
Adding more layers around the perimeter will not correct an opening that is mechanically misaligned.
A closure or alignment problem needs to be understood as a closure or alignment problem first.
If the Trim Is Deteriorated
Separate cosmetic finish failure from material failure.
Peeling paint can be refinished after proper preparation. Soft, loose, badly damaged, or repeatedly wet material deserves a different response.
If Staining Keeps Returning
Go back to the cause.
A recurring water mark around a window does not become an air-sealing problem simply because you also feel a draft there.
Older mobile homes can also have replacement windows or doors installed during previous remodels, so avoid assuming every opening still matches the home’s original construction.
Once the functional issue is resolved, trim becomes an excellent place to sharpen the exterior renovation. A simple darker surround on a light façade, clean warm-white trim on a deeper wall color, or restrained wood accents can give older openings much more definition.
The checkpoint is both visual and physical:
The opening should close normally, operate normally, and no longer show an obvious simple air gap.
If you keep applying more material while the door or window still works poorly, stop and reassess the problem itself.
7. Repair the Porch, Steps, Railings, and Entry Before Slippery Weather
The entry deserves a different kind of inspection because this is not only something you see. It is something you walk across every day.
Begin at ground level and move toward the door.
Put your attention on the walking surface first. Look for deteriorated boards, unstable-looking areas, loose components, significant surface wear, or anything that makes the route feel uncertain underfoot.
Then check the steps and any rail or guard components that are already part of the entry.
The useful question is:
Is this a finish problem, a repair problem, or a structural problem?
A worn but otherwise sound wood surface may simply need appropriate cleaning, preparation, and refinishing.
One localized damaged component may represent a straightforward repair for someone with the right experience.
Movement, rot affecting important connections, questionable supports, major rebuilding, or plans to attach a new roofed porch or large addition move the project into a different category. Manufactured-home additions and structural alterations can involve home-specific and local requirements, so this is not a good place to improvise an attachment method from a decorative inspiration photo.
A dramatic new porch can completely change a mobile home’s appearance, but the useful lesson is not that every older home needs a large timber structure.
The more transferable principle is that a clear, well-proportioned entry can visually anchor a long façade.
For a small landing, that might mean:
- refinished steps;
- repaired rails;
- one consistent wood tone;
- clearer contrast around the door;
- a neat landing surface;
- better visibility along the approach.
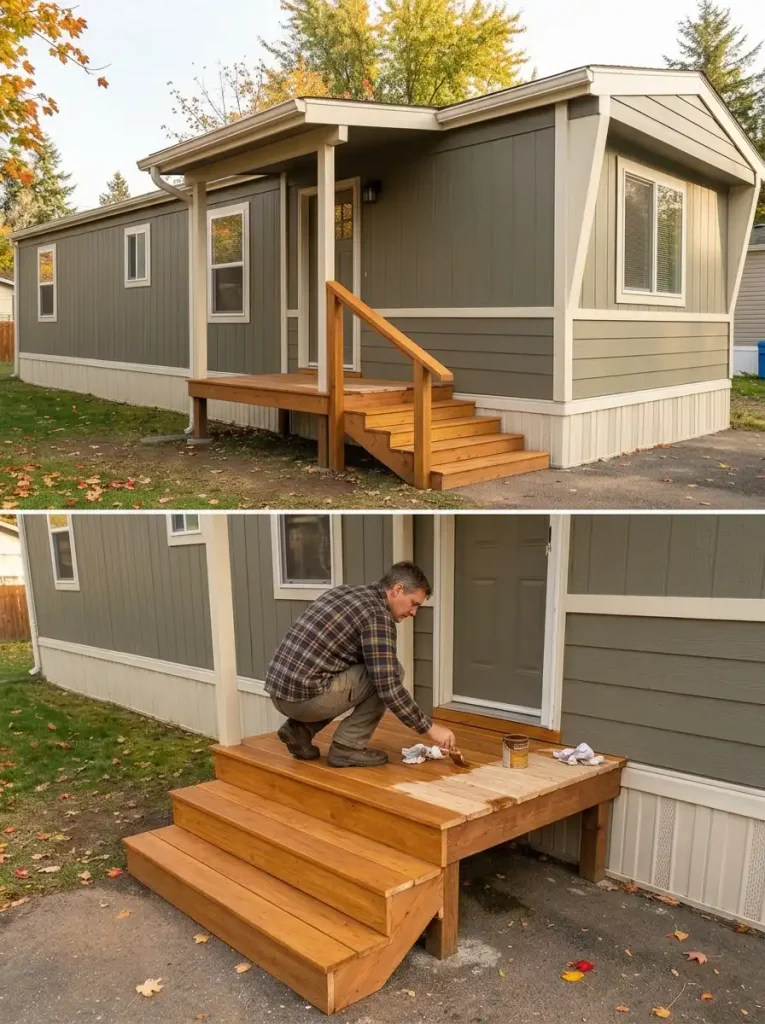
For a larger existing porch, repeat the same wood or trim language already introduced elsewhere on the home. This makes the porch feel integrated without turning the exterior into a collection of separate remodeling styles.
Keep decorative additions outside the usable stair, landing, and doorway route. Large planters, benches, lanterns, or seasonal décor should come later and should not narrow the path you actually walk.
Once the physical entry is ready, you can decorate the porch after the repair work is complete without asking cushions, pumpkins, or planters to distract from unfinished construction.
The project has reached its stopping point when the entry feels stable, predictable, and visually connected to the renovated façade.
A bigger porch is not automatically a better porch.
8. Finish Interior Wall and Ceiling Upgrades Only After the Shell Is Sound
The interior is where all of the less glamorous repair work finally starts to pay off visually.
If a wall or ceiling had staining near an exterior problem, confirm that the outside cause has already been addressed before treating the inside as a finish surface. From this point forward, the job is no longer about tracing water. It is about making the room feel intentionally renovated.

Mobile-home interiors often respond well to a simpler material hierarchy than inspiration images suggest.
Choose one dominant finish first.
That might be:
- a soft warm-white painted ceiling;
- lighter wall paneling;
- painted wall panels in a muted neutral;
- restrained vertical panel detail;
- refreshed trim;
- one natural-wood accent.
Then decide where contrast actually earns its place.
A white planked ceiling with dark wood beams can work beautifully when the bright ceiling remains dominant and the wood behaves like structural punctuation. Copying that treatment into a low, flat-ceiling mobile home could create the opposite effect if dark material becomes too heavy overhead.
For a lower ceiling, keep the broad plane relatively light and move richer wood toward:
- narrow trim;
- a restrained beam-like feature only where construction allows;
- shelving;
- a door surround;
- furniture;
- smaller repeated accents.
In a compact living room, limit the number of competing textures. A wood-look floor, heavily patterned rug, rustic wall panels, dark ceiling, exposed-looking beams, plaid fabrics, and multiple distressed finishes can each be attractive individually but overwhelming together.
Pick a hierarchy.
For example:
light ceiling + muted walls + warm floor + natural wood detail
That is enough to produce a strong before-and-after without making every surface compete.
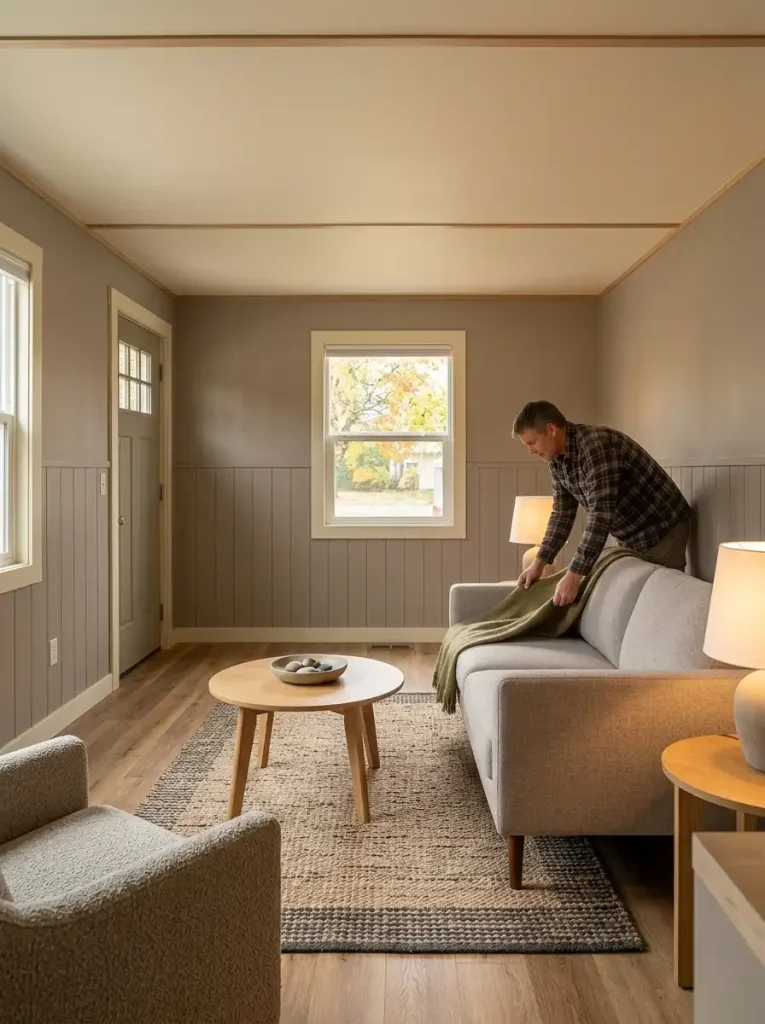
Furniture can stay relatively quiet while the renovated envelope does the visual work. Neutral upholstery, one restrained rug, and a few warm textiles often let newly finished walls and ceilings read more clearly than an entirely new furniture set.
Judge the finished room from its normal entrance and seating positions.
If your eye jumps to five different materials at once, remove one.
If the ceiling suddenly feels lower, reduce overhead contrast.
If the room feels cleaner, warmer, and more coherent while still retaining believable mobile-home proportions, the remodel has reached the right level.
Once the material hierarchy works, more architectural detail is unnecessary.
9. Do One Final Pre-Winter Walkthrough: Finish, Monitor, Defer, or Call a Pro
When the major work is done, make one last circuit around—and through—the home without looking for another makeover project.
This walkthrough has a different purpose. You are assigning an end state to anything that remains.
COMPLETE means the work is finished and functioning as intended.
MONITOR means nothing currently suggests an urgent failure, but you want to watch the condition through rain, colder weather, or regular use.
DEFER belongs to low-consequence improvements that can comfortably wait for spring: another decorative detail, an optional color change, or a cosmetic project that does not affect weather exposure or everyday function.
PROFESSIONAL is for an unresolved condition that is structural, technical, safety-sensitive, difficult to identify, or simply beyond the work you can perform confidently.
During the walk, verify outcomes rather than repeating the renovation process.
Does runoff have a sensible route?
Does the exterior look complete?
Is necessary under-home access preserved?
Do doors and windows operate normally?
Does the entry feel dependable?
Inside, look at the finished walls and ceiling from the positions you actually use—not only from the best photography angle.
Anything still unresolved should now have a clear next move.
That is the stopping point.
A pre-winter remodel does not require every possible improvement to be finished. It requires the important work to stop living in an undefined “later” category.
If the permanent work is complete and you still want another seasonal layer outside, this is the right point to move into fall mobile home exterior decor.
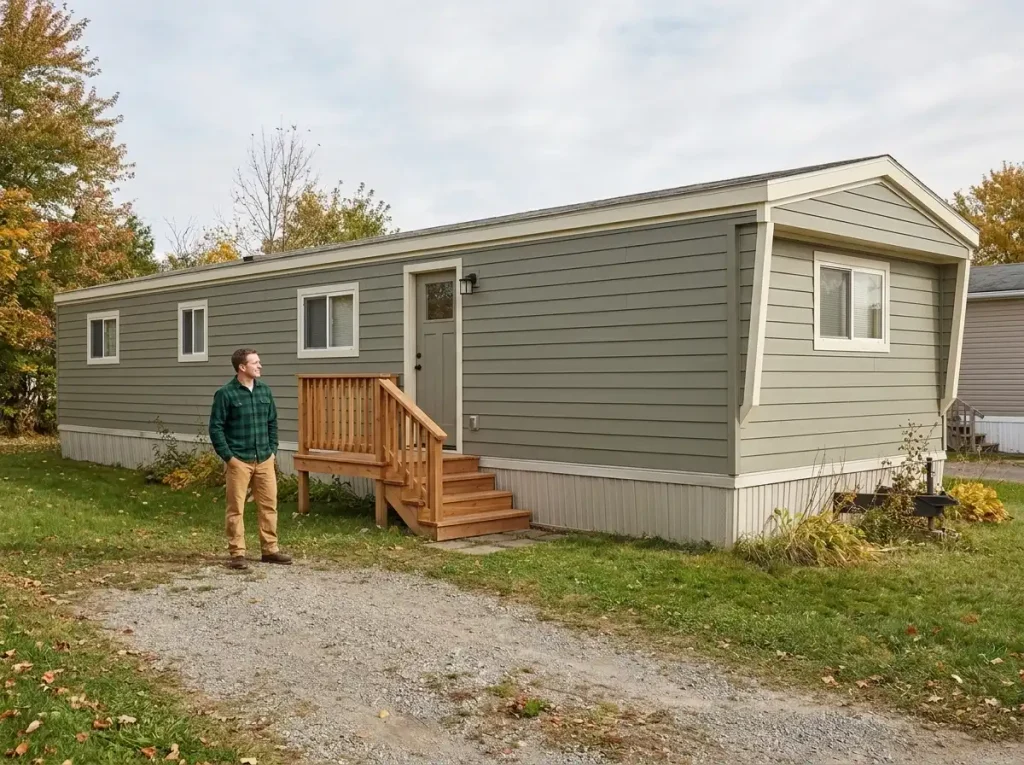
A Remodel That Is Actually Ready for Winter
The most satisfying mobile-home before-and-after is not always the one with the largest porch or the boldest new siding color.
It is the one where the visible improvements sit on top of work that makes sense.
Water is no longer being disguised by paint. New skirting is not hiding a problem that should have been inspected first. The exterior openings work properly. The entrance feels dependable. Interior finishes can finally be enjoyed as finishes rather than acting as camouflage.
That is what makes fall such a useful renovation deadline.
You do not need to finish every idea on your wish list before the first cold week arrives. Finish the work that weather can punish, give unresolved conditions a clear next step, and let the purely decorative projects wait when they need to.
A home can look remodeled in a photograph.
The better goal is for it to feel finished when winter actually arrives.