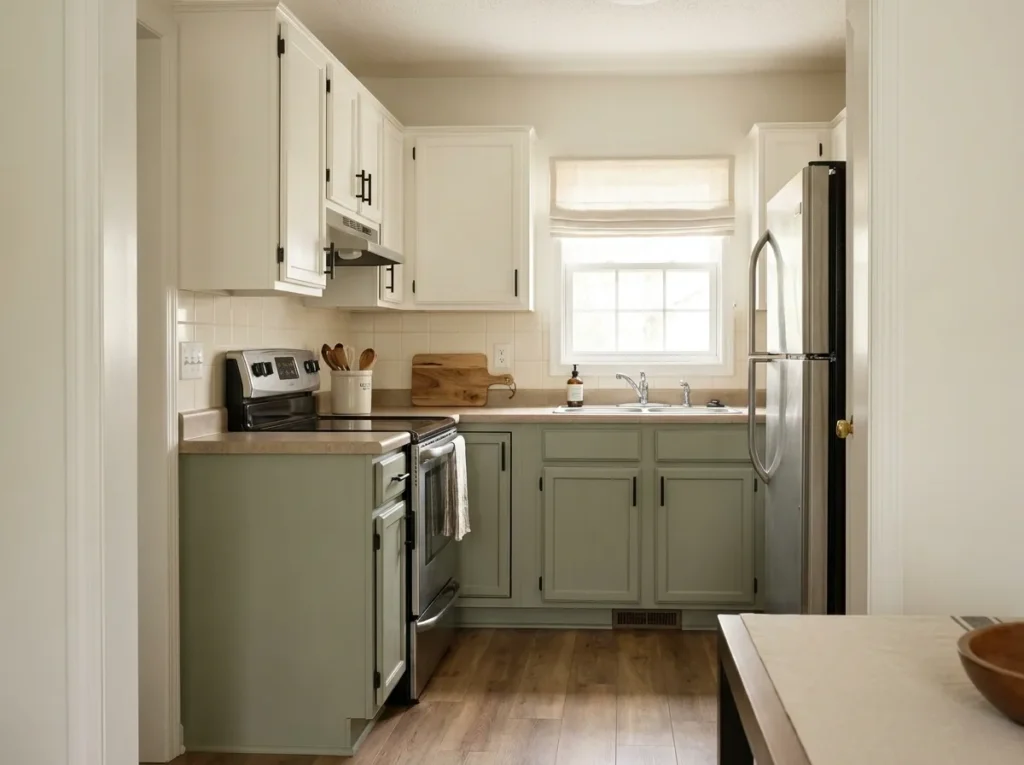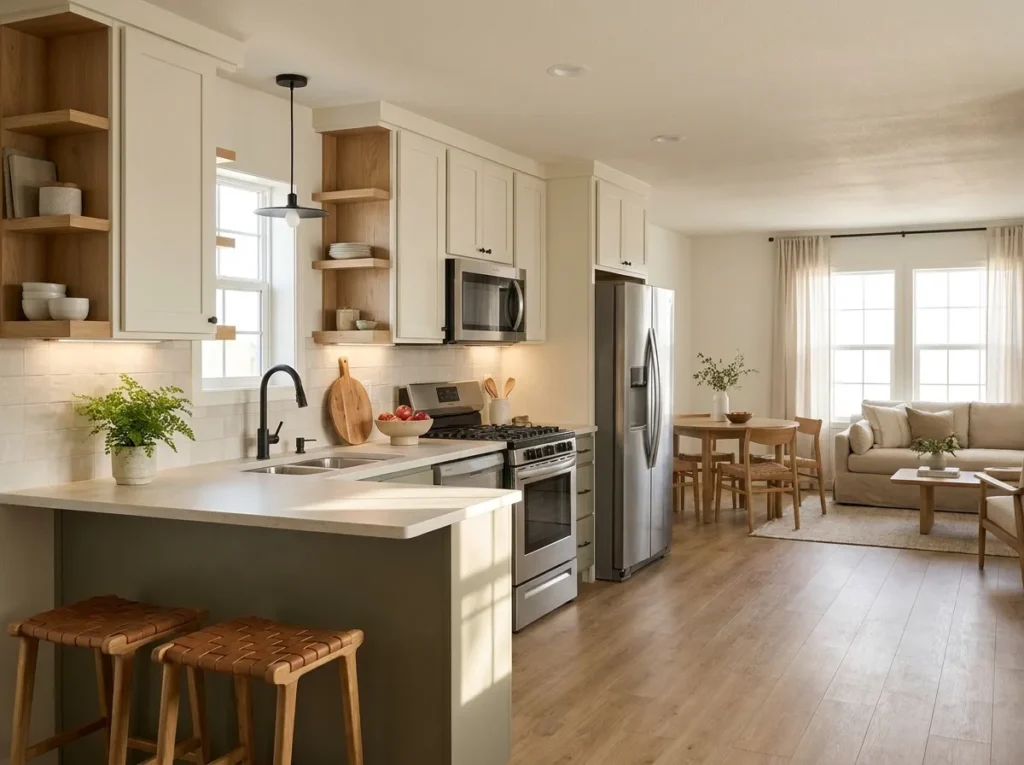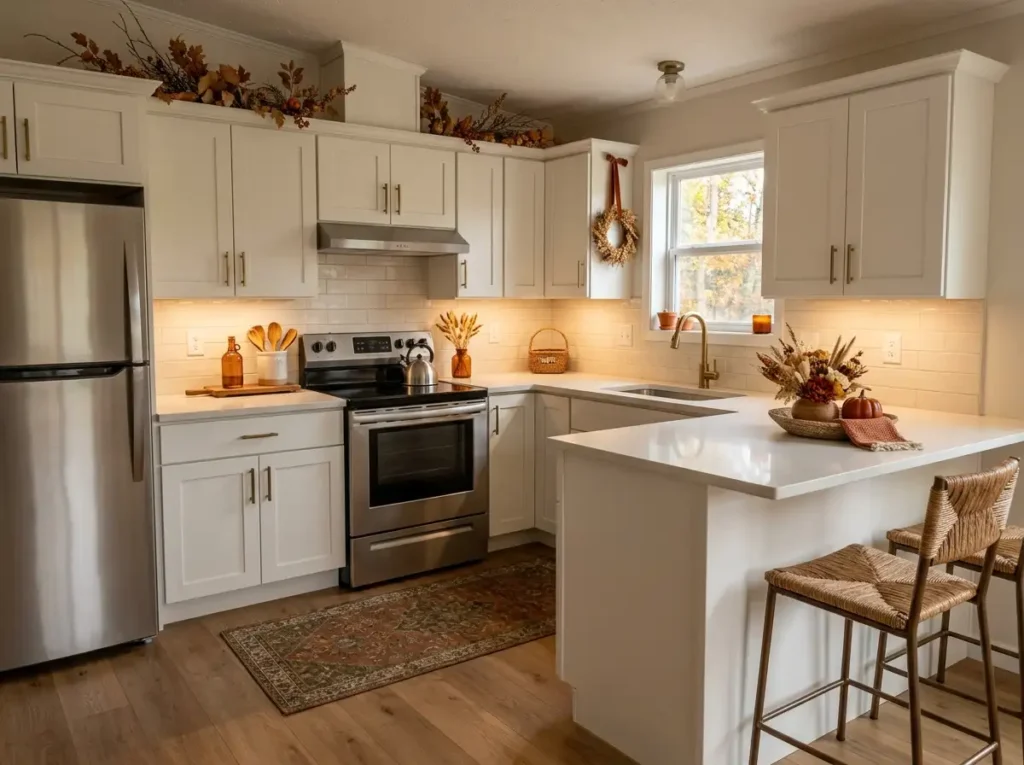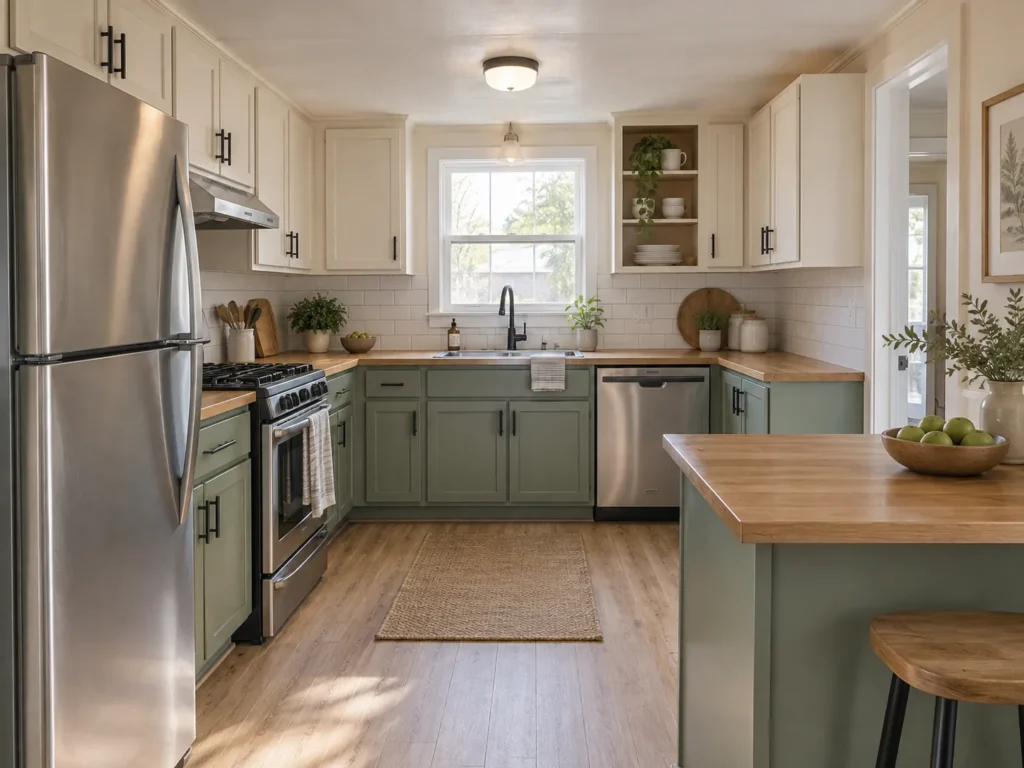
A mobile home kitchen cabinet makeover can transform the room without sending perfectly usable cabinet boxes to the dumpster. The important part is knowing whether your cabinets need a cosmetic refresh, a small repair, or a different plan before you start buying paint and hardware.
That matters especially in a compact mobile home kitchen, where cabinetry occupies a large share of the visible wall area. A dated finish, mismatched hardware, crooked doors, or visually heavy uppers can influence how the whole kitchen feels—even when the layout still works.
The 15 ideas below focus specifically on keeping the cabinetry you already have. We’ll move from cabinet condition and surface identification into prep, paint strategy, two-tone color, hardware, door detailing, open-cabinet treatments, and the often-forgotten surfaces that make a makeover look complete.
The aim is not to make old cabinets imitate brand-new custom cabinetry. It is to decide what is worth preserving, improve what is visibly holding the kitchen back, and know when the cabinet makeover is finished.
1. Run a Keep-the-Boxes Test Before You Touch the Finish
Before choosing a paint color, look past the finish and ask whether the cabinet structure itself is still doing its job. A faded wood door can be refinished. A dated surface may be suitable for a cosmetic update. A box that is badly swollen, unstable, separating at the joints, or repeatedly interfering with doors and drawers needs a different conversation.
Start with the cabinet run you use most. Open every door and drawer. Look inside the sink base for moisture damage, press gently around questionable edges, and watch whether the cabinetry stays stable as doors move. Then photograph the kitchen straight-on. The camera often reveals uneven door lines and sagging sections that daily familiarity hides.
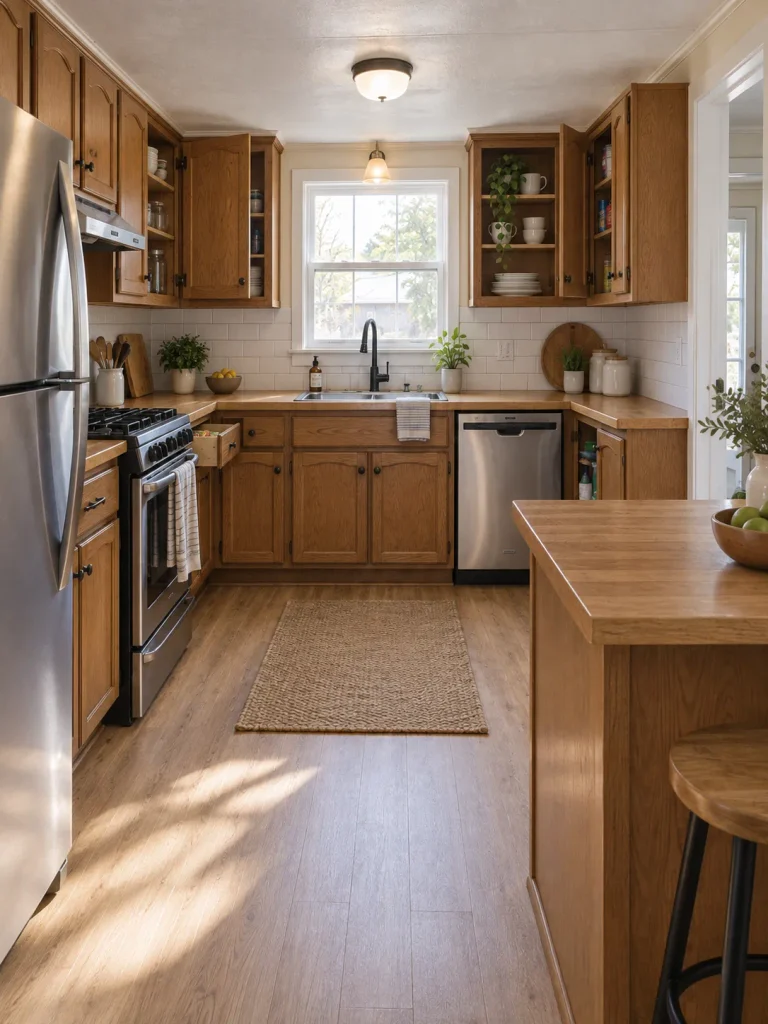
If the boxes feel sound and the main problems are color, finish, hardware, or visual heaviness, keeping them is a strong starting point.
If cabinetry turns out to be only one part of a larger kitchen problem, the broader 25 Mobile Home Kitchen Ideas That Look Fresh and Modern guide is the better next step. That existing StylishGalore article covers the wider kitchen rather than duplicating this cabinet-specific territory. (Stylish Galore)
Cabinet Triage Lab
Before paint, decide whether the cabinet box deserves saving.
Judge the cabinet structure first. The finish can look old and still be a good makeover candidate.
The recommendation below changes with your selection.
Keep the boxes and concentrate on cosmetic change.
Alignment, preparation, paint, hardware, and a more deliberate color strategy can create the transformation without widening the project into cabinet replacement.
Correct the local problems before refinishing.
Stabilize loose components, address moisture-related concerns, and correct obvious door or drawer issues. Then reassess whether the cabinet is ready for a cosmetic finish.
Do not let “without replacing” become an artificial rule.
When deterioration affects the cabinet body rather than the appearance, investigate repair or selective replacement before spending money on a finish that cannot solve the underlying problem.
2. Identify the Cabinet Surface Before You Choose the Prep
Two cabinet doors can look equally dated and still require very different preparation. One may be painted wood. Another may have a veneer, laminate, melamine-type face, thermofoil, or another applied surface over an engineered core. Treating all of them as ordinary solid wood can turn a cosmetic project into unnecessary damage.
Start somewhere discreet: the top edge of a lower door, the underside of a shelf, an interior edge near a hinge, or the back of a removed drawer front. Look for a visible layer over the core, a wrapped edge, grain that continues naturally through the material, or an existing painted film.
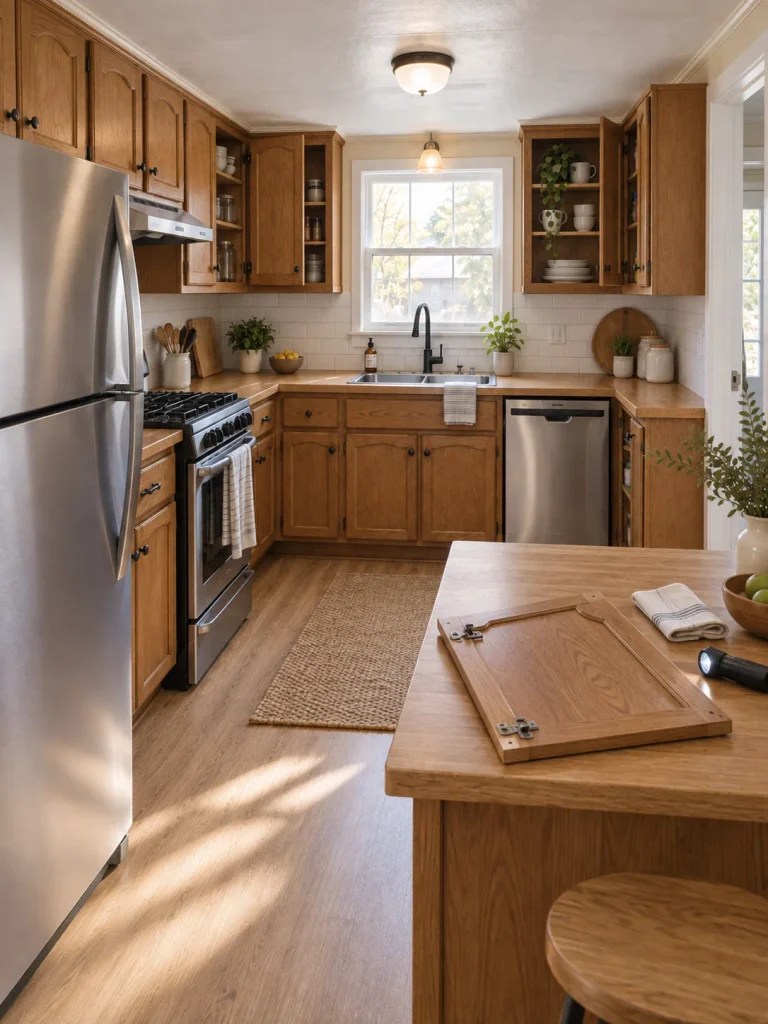
Then make the prep decision after that inspection. If a surface layer is already lifting, bubbling, or separating, resolve that failed material before thinking about color. More aggressive sanding does not identify what is actually coming loose.
A practical rule is simple: the less certain you are about the substrate, the less aggressively you should alter it before testing a compatible coating system.
The manufacturer’s directions for the cleaner, primer, paint, or bonding system you intend to use should control the final preparation method.
3. Square Up Crooked Doors and Drawers Before You Paint
Stand at the kitchen entrance and ignore the cabinet color for a moment.
Do the gaps between the doors look reasonably even? Are two drawer fronts noticeably tilted? Does one upper door sit lower than the cabinet beside it?
Those small alignment problems become easier to notice after a makeover because a cleaner color field gives the eye fewer distractions. A beautifully painted door can still make the whole cabinet run feel improvised when its bottom edge drops below the one beside it.
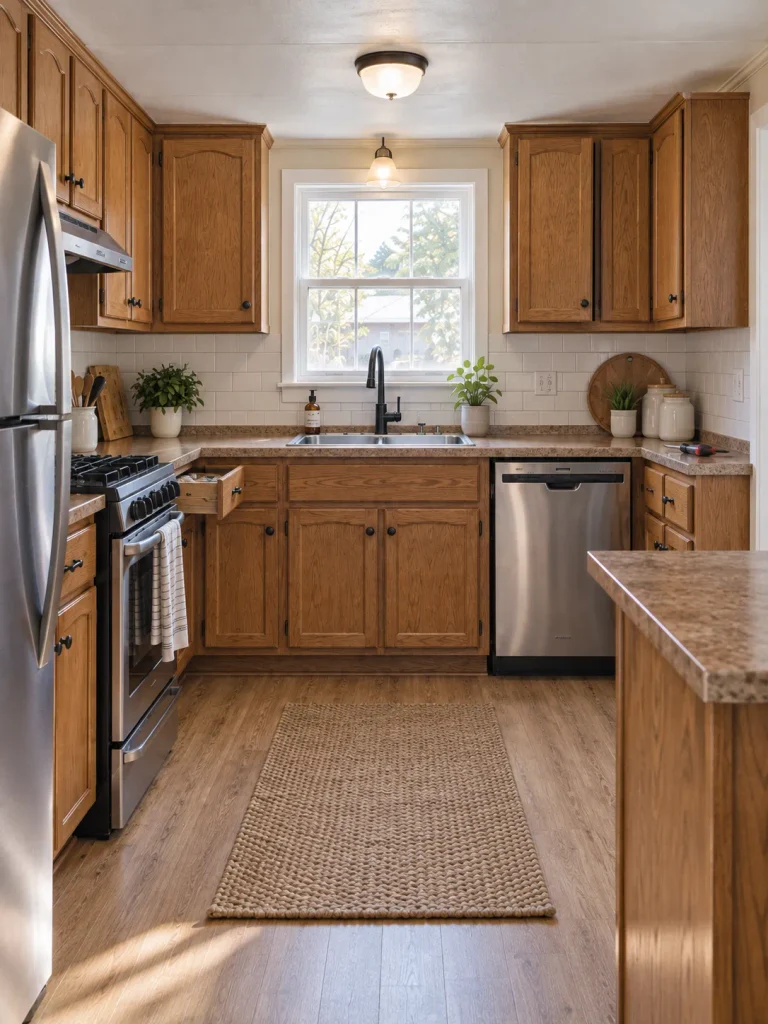
Before removing anything, photograph each cabinet run straight-on. Number doors and drawer fronts discreetly so each piece returns to its intended location. Tighten loose hardware and use whatever adjustment your existing hinge system legitimately provides.
Older exposed hinges may have far less adjustment than newer concealed hinges, so avoid forcing hardware that was never designed to move that way.
Photo check: once the doors are reinstalled, take the same straight-on photograph again. Correct the most noticeable uneven line before asking whether the kitchen needs another decorative upgrade.
That comparison can stop you from trying to solve an alignment problem with another coat of paint.
4. Clean, Patch, and Run an Adhesion Test on a Hidden Spot
Kitchen cabinets collect cooking residue exactly where a new finish needs dependable contact. Cleaning and testing therefore matter more than rushing to the satisfying part of the makeover.
Remove hardware and clean surfaces with a product appropriate for the cabinet material and the coating system you plan to use. Repair only the holes and surface imperfections you have deliberately decided to eliminate.
Then test the proposed primer or coating in an inconspicuous area and allow it to dry or cure according to its instructions before judging adhesion.
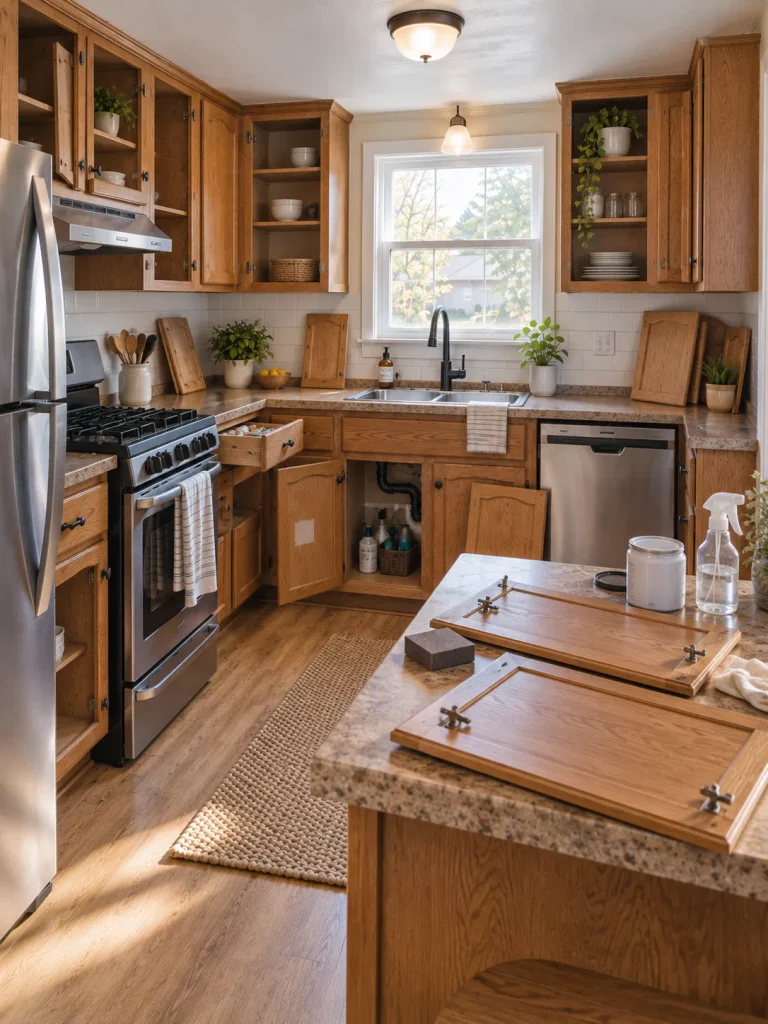
Sherwin-Williams’ current cabinet-painting guidance recommends cleaning/degreasing the cabinetry and applying a test area of primer in an inconspicuous location to establish adhesion before continuing across the full cabinet system. (Sherwin-Williams)
For U.S. homes built before 1978, or where age cannot be established, consider possible lead-based paint before sanding, scraping, drilling, or otherwise disturbing an older painted surface. EPA says renovation work on pre-1978 housing with lead-based paint can create dangerous lead dust and provides specific lead-safe guidance for DIYers. (US EPA)
Prep & Adhesion Gate
Let one hidden test decide whether the full cabinet run is ready.
A successful makeover begins with surface performance, not with committing to a color.
What happened after your test area dried or cured as directed?
The tested system has earned the right to continue.
Repeat the same preparation and follow the product instructions for primer, coating, drying, and curing across the remaining cabinet surfaces.
Do not multiply a failed test across the entire kitchen.
Recheck cleaning, contamination, surface compatibility, preparation, and the coating instructions. Correct the cause, then test again before proceeding.
The loose underlying material is now the real project.
A decorative coating should not be expected to stabilize a surface layer or cabinet material that is already separating. Deal with that condition before calling the cabinet paint-ready.
5. Use One Quiet Cabinet Color to Calm a Visually Busy Kitchen
A compact kitchen can contain a surprising number of competing finishes: wood-look flooring, speckled counters, stainless appliances, patterned backsplash, dark hardware, wall color, and cabinet grain all within one small view.
Adding a complicated cabinet palette to that mixture may make the kitchen feel busier even when every individual choice is attractive.
This is where one restrained cabinet color can be more useful than another visual statement.
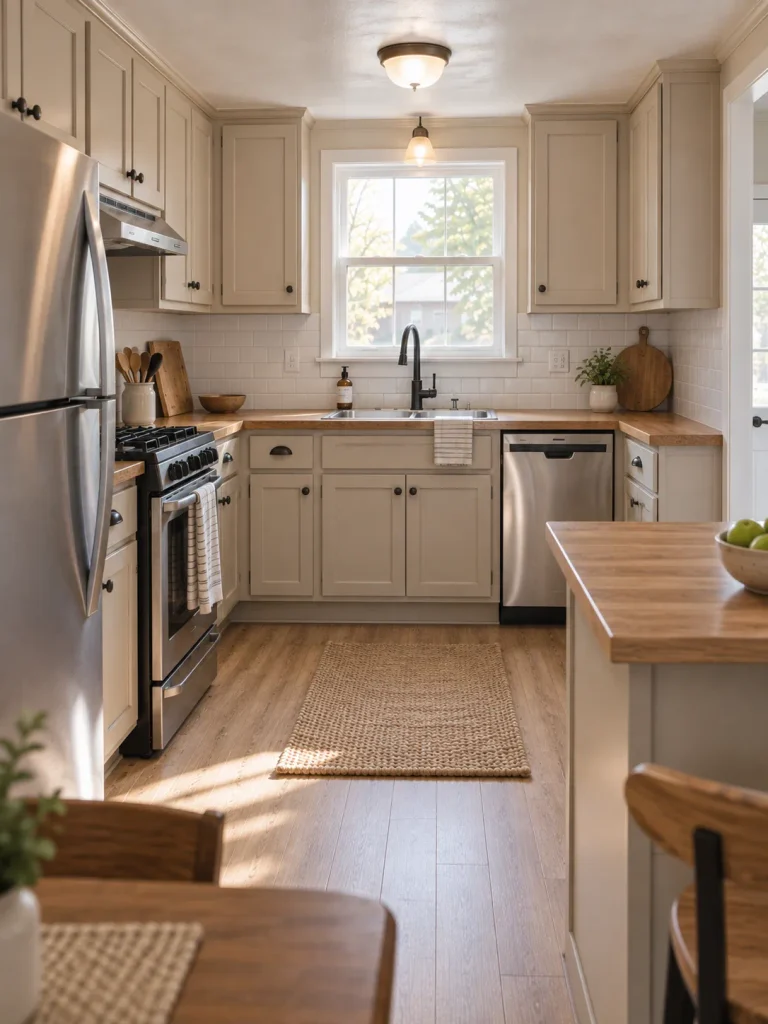
Stand in the doorway with everything you intend to keep visible. If the counter, floor, and backsplash already contain several colors or patterns, test one quieter cabinet field beside all three.
Warm white, mushroom, restrained taupe, muted green, softened gray-green, or another low-noise tone can work—but the undertone must respond to the fixed finishes in your kitchen.
The decision is not “Which cabinet color is trending?”
It is:
Which surface in this room needs to become visually quieter?
If the cabinetry is the answer, let it become the background.
For a project where spending priorities extend beyond the cabinet run, continue into 17 Mobile Home Kitchen Makeover Ideas on a Budget. That guide owns the wider budget-and-scope decisions. (Stylish Galore)
6. Lighten the Uppers When a Low Ceiling Needs Less Visual Weight
In a compact mobile home kitchen, upper cabinets sit close to eye level and can dominate the room before the lower cabinets do.
When those uppers are dark, heavily grained, or visually dense, the kitchen may feel more compressed even though the cabinet layout itself functions well.
That does not automatically mean every cabinet needs to become white.
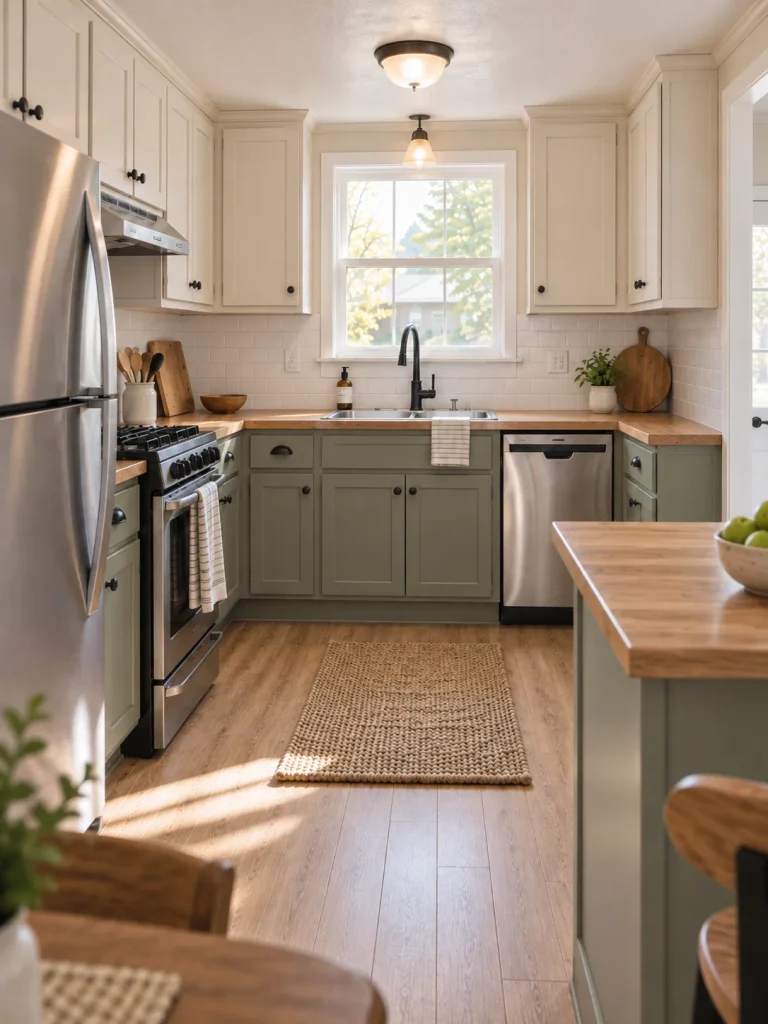
Try separating the cabinet run into two visual jobs. Let the upper cabinets carry less visual weight, while the lower cabinetry can hold a somewhat deeper color.
Warm white over muted olive, soft cream over charcoal-green, pale greige over medium taupe, or another restrained pairing can work when both colors relate to the existing counter and floor.
Test the idea from the doorway, not only while standing at the sink.
In a narrow single-wide kitchen, what matters is how quickly the upper cabinetry begins to feel like a continuous wall. When room proportions and circulation are the larger issue, continue into 21 Single Wide Kitchen Ideas for Small and Narrow Spaces instead of asking cabinet paint to solve a layout problem. (Stylish Galore)
A two-tone scheme earns its place when it makes the upper half of the kitchen quieter. If two colors create more contrast than the room comfortably carries, return to one cabinet color.
Visual-Weight Lab
Should the upper cabinets become visually lighter?
Judge the kitchen from the doorway. Two-tone cabinetry should solve visual pressure, not simply add another color.
Which doorway impression is closest to your kitchen?
Test lighter uppers with a somewhat deeper lower color.
Reduce the visual weight close to the ceiling while allowing the lower cabinetry to ground the room. Compare the change from the kitchen entrance before committing.
Two cabinet colors may add a problem instead of solving one.
When several fixed finishes are already competing, a single restrained cabinet color can create a stronger visual pause than another layer of contrast.
Do not split the palette without a reason.
If upper cabinetry is not visually compressing the room, a cohesive one-color makeover can remain the cleaner and more intentional choice.
Decision rule: two-tone cabinetry should correct visual weight. If it merely adds contrast, it has not earned the extra complexity.
7. Keep Good Wood Visible and Paint Only the Dated Field
Not every wood cabinet deserves to disappear beneath paint.
Some mobile home kitchens have cabinet doors or face frames with attractive grain, useful warmth, or a finish that already works with the flooring. The dated feeling may come from one specific part of the composition: overly dark uppers, mismatched end panels, a tired peninsula, or a finish that clashes with surfaces added later.
In that situation, selective painting can preserve more character than coating the entire kitchen.
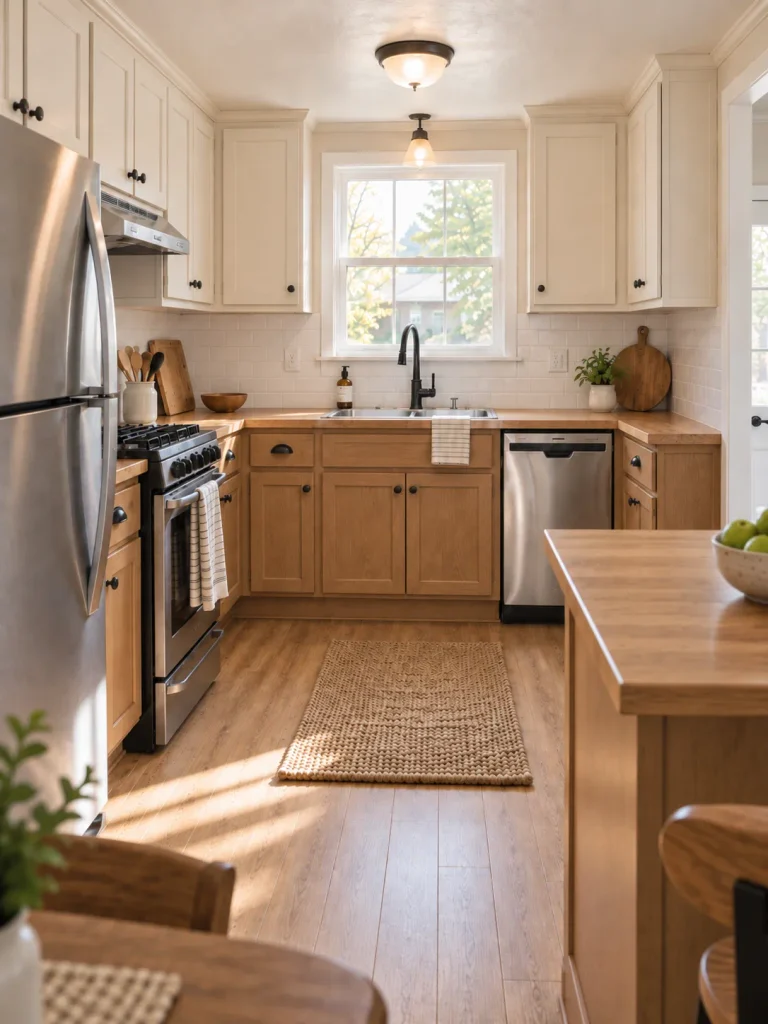
For example, if lower wood cabinets relate beautifully to a warm wood-look floor but the upper cabinets make the room feel heavy, leave the lower section visible and test a lighter painted finish above.
In another kitchen, the reverse may work: keep upper wood as the warm feature and calm the lower run.
Before deciding, photograph the kitchen in grayscale on your phone. Color disappears, but visual mass and contrast remain. The area that still dominates the image can be a better candidate for intervention than the surface you simply happen to be tired of looking at.
Skip selective painting when the remaining wood is damaged, highly inconsistent, or makes the completed kitchen look accidentally half-finished.
Preservation should appear deliberate.
8. Make the Cabinet Color Answer to the Counter, Floor, and Appliances
A paint chip viewed by itself can look perfect and fail as soon as it enters the kitchen.
Cabinet color sits directly beside surfaces you may have no intention of replacing. A cream counter can make one white look clean and another look gray. A yellow-brown floor can pull unexpected warmth from a greige. Stainless appliances introduce a cooler reflective surface, while large black appliances can add enough visual weight that very dark cabinetry begins to feel heavier than expected.
Build the palette around what is staying.
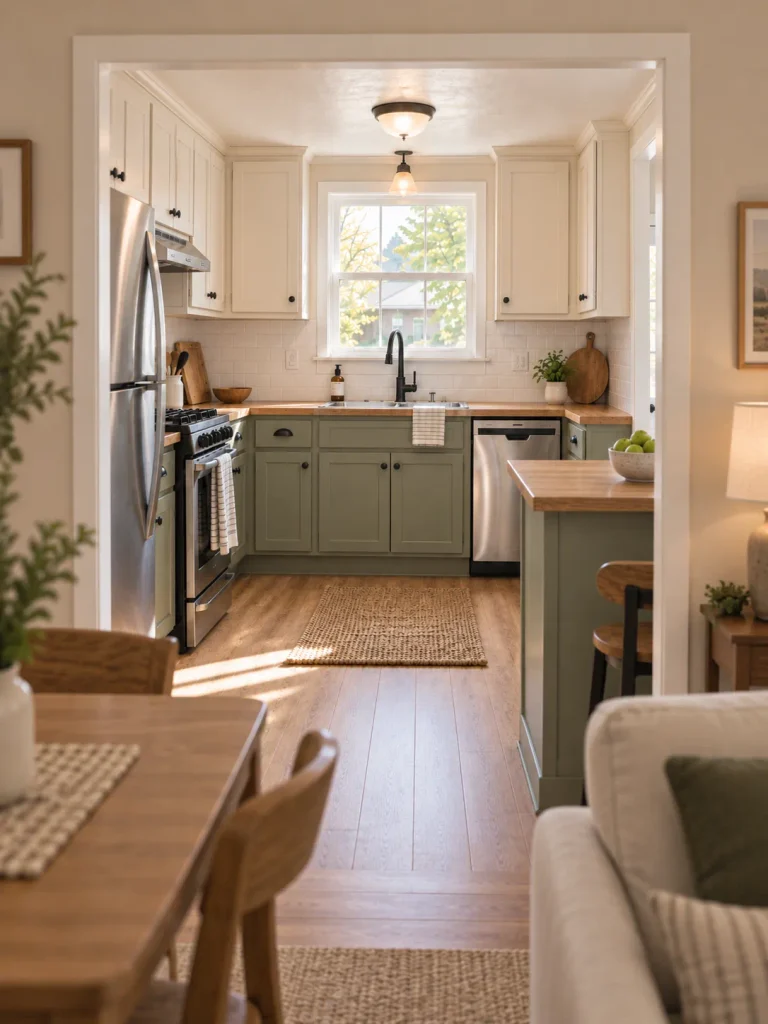
Choose two or three candidate colors and make large sample boards rather than relying on a small chip. Place each sample vertically beside the countertop, close to the floor, and next to the largest appliance finish.
Then look again after sunset with the kitchen lights on.
For an open double-wide, carry the samples into the connected living or dining area too. Cabinetry seen across a large shared room becomes part of that room’s palette.
If your kitchen has that relationship, continue with 19 Double Wide Kitchen Ideas for a Beautiful Open-Concept Home. (Stylish Galore)
Decision rule: eliminate the sample that makes you mentally excuse one major fixed finish.
The stronger cabinet color should make the surfaces you are keeping look more intentional together.
9. Choose New Hardware Around the Holes You Already Have
Hardware is one of the smallest cabinet details and one of the easiest places for a simple makeover to create unnecessary extra work.
Before ordering pulls, remove one existing handle and measure the center-to-center distance between its screw holes.
Do not measure only the overall length of the pull.
Check several doors and drawers too, because an older kitchen may contain more than one drilling pattern.
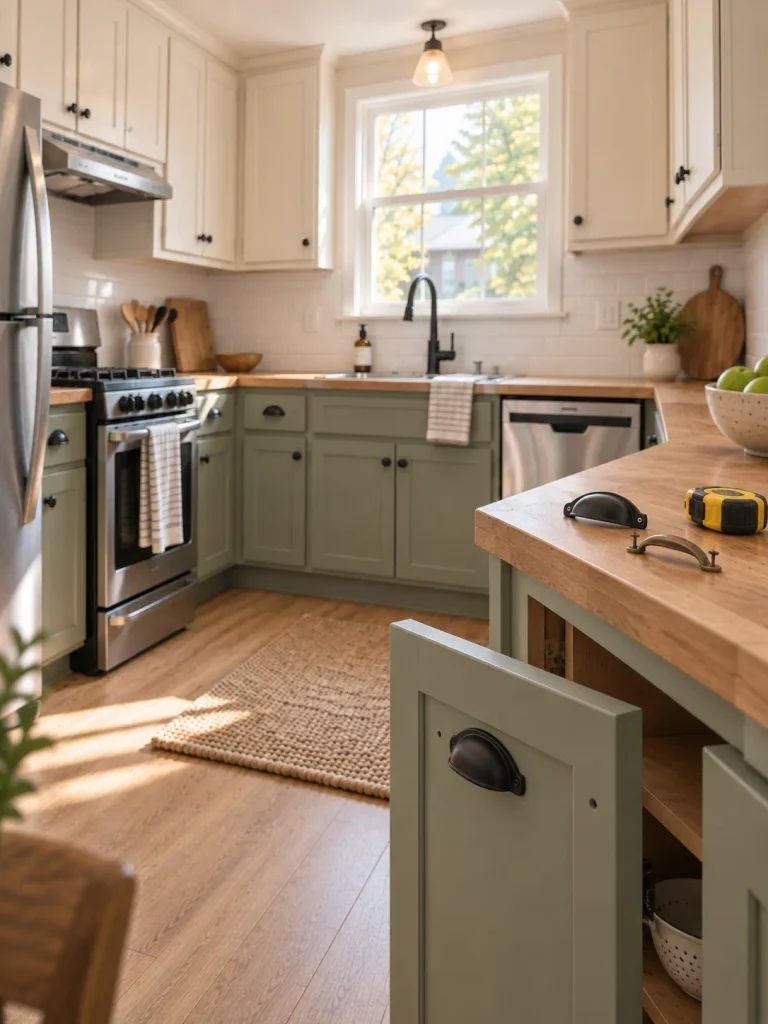
If a replacement pull matches the existing spacing, the makeover can remain straightforward. If it does not, the old holes need to be filled and finished convincingly before new holes are drilled. That can be reasonable when you are already repainting the doors, but it should be a conscious increase in project scope.
Knob-to-knob replacement is often simpler when the existing single hole suits the new hardware. Changing a knob to a long pull creates a more dramatic visual shift, though it also commits you to new drilling.
Hardware should make sense at mobile-home scale as well. Oversized pulls can overwhelm narrow drawer fronts, while very small knobs can disappear on broad doors.
Hardware Decision Studio
Measure the existing holes before falling in love with a new pull.
The useful measurement for a two-screw pull is the distance from the center of one screw hole to the center of the other.
What kind of hardware change are you considering?
Select your hardware plan. The project consequence will appear here.
Shop within the existing center-to-center measurement.
Verify the spacing on several doors and drawers before ordering. Matching the existing drilling pattern can produce a noticeable visual upgrade without adding patching and redrilling.
Treat hole repair as part of the makeover.
Old holes may need to be filled and finished cleanly before new hardware is drilled. This route is easier to disguise when the cabinet doors are already being repainted.
Reuse the existing single hole where possible.
Confirm the new knob fits securely, feels comfortable in use, and has enough visual presence for the size of the door or drawer front.
10. Unify Exposed Hinges, Catches, and Knobs Into One Metal Story
In many older mobile home kitchens, the hinges are not hidden inside the cabinet. They sit directly on the face frame or door and remain visible after every other makeover decision is finished.
That changes the hardware strategy.
Replacing only the knobs with matte black while leaving highly visible brass hinges, bright chrome catches, and a third finish on nearby drawers can make the cabinet run feel more fragmented than it did before.
Every metal in the entire kitchen does not need an exact match. The hardware attached to one cabinet field should simply feel related enough to read as deliberate.
Inventory what is visible from a normal standing position:
- door hinges
- knobs or pulls
- magnetic or mechanical catches
- decorative latches
- exposed screws
- nearby appliance handles
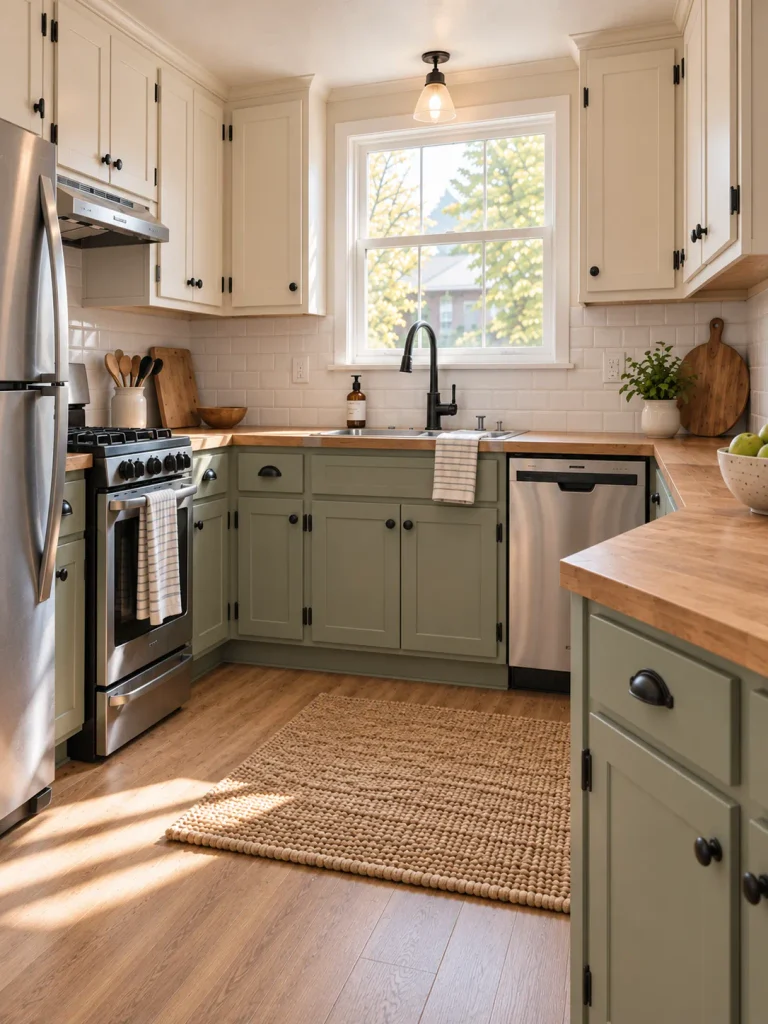
Then decide which pieces belong to the cabinet makeover and which functioning components deserve to remain.
Do not replace an exposed hinge solely because its finish feels dated. First confirm that the replacement has suitable geometry, mounting configuration, clearance, and intended function for your cabinet.
Likewise, avoid coating moving hinge surfaces or functional mechanisms unless the relevant hardware and coating guidance supports that treatment.
Visual test: close every door and step back several feet. If one metal finish repeatedly pulls your eye away from the cabinet color, address that inconsistency. If the hardware already reads as a coherent set, leave it alone.
11. Give Plain Doors More Depth With Low-Profile Applied Trim
A flat or very simple cabinet door can make an otherwise successful mobile home kitchen cabinet makeover feel visually plain, especially when the surrounding kitchen contains traditional trim, paneled walls, or stronger architectural detail.
Applied trim can add depth without replacing the door, but the profile needs to stay shallow and proportionate.
Before buying molding, remove one door and study its edges, hinge location, neighboring doors, and clearance when it opens.
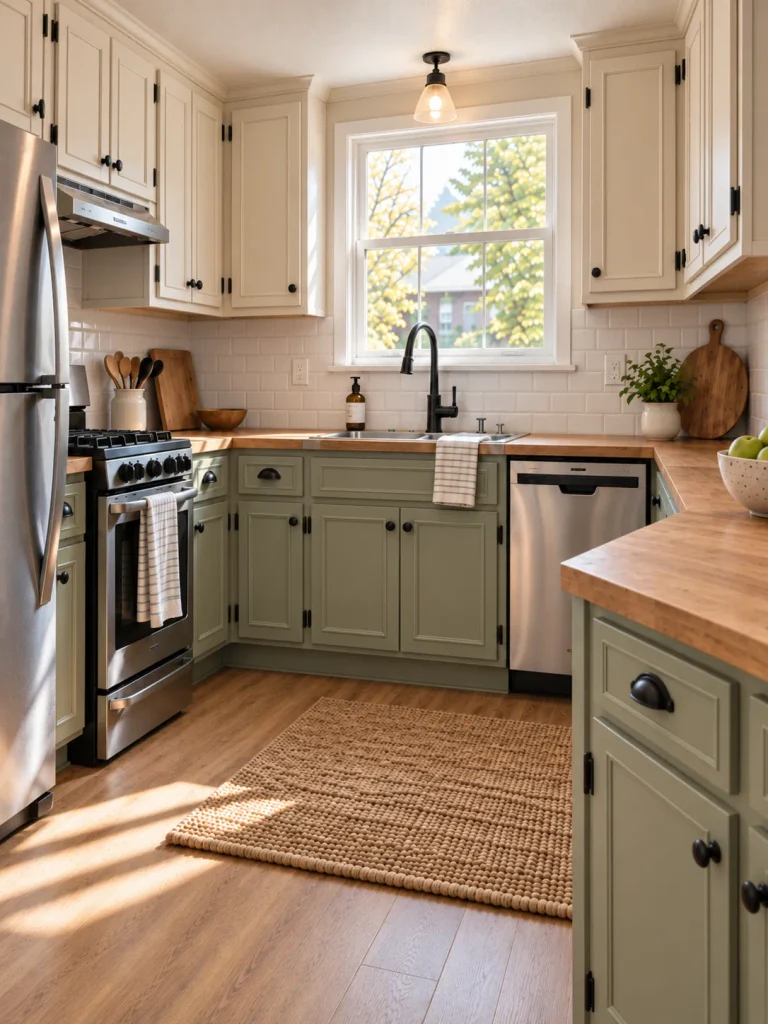
Temporarily position the proposed trim on the face and reinstall the door before making the alteration permanent. Check that the new profile does not collide with an adjacent cabinet, appliance handle, drawer front, or exposed hinge.
Keep the shape uncomplicated.
A restrained rectangular frame can give a plain slab door more architectural presence. Several decorative layers can quickly make a compact kitchen busier.
Also verify that the door material and surface condition are suitable for the fastening or adhesive system you intend to use. A sound wood door and a thin wrapped engineered door should not automatically receive the same treatment.
Skip this makeover when the original door already has substantial detailing.
Adding another profile to a raised-panel or strongly routed door is more likely to create clutter than refinement.
12. Remove a Few Upper Doors to Create One Controlled Open Cubby
Open shelving does not have to mean removing half the kitchen.
A more practical mobile-home version is to convert one carefully chosen upper cabinet into an open cubby while preserving the surrounding closed storage.
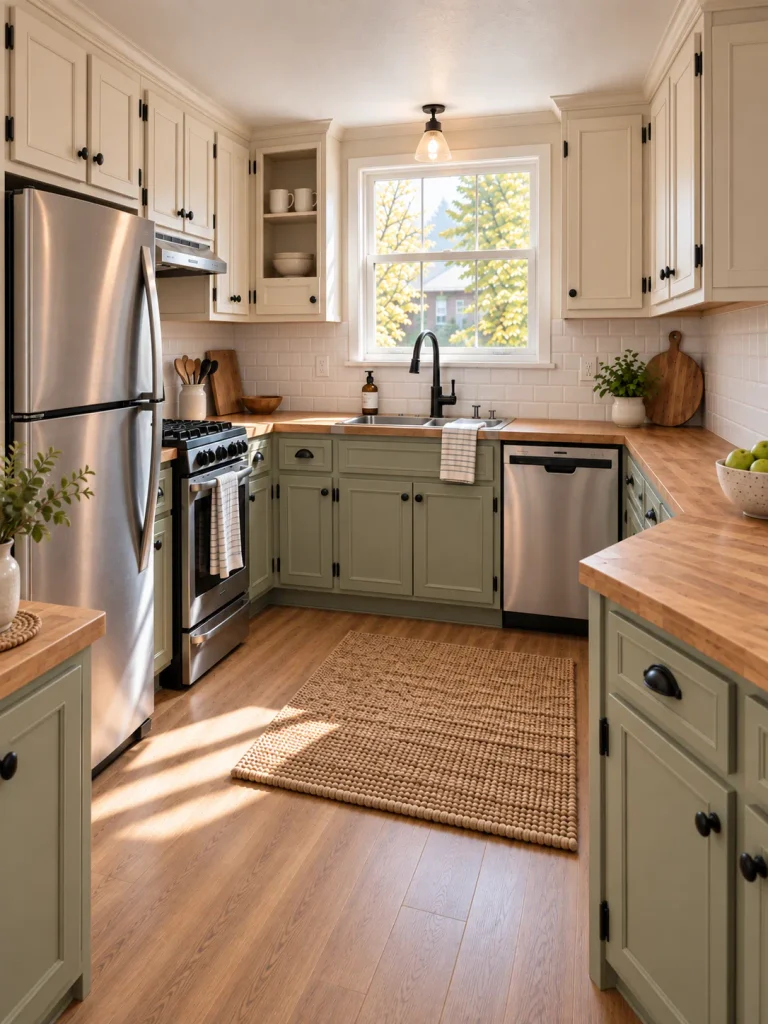
Choose the location by routine.
A cabinet holding everyday mugs, bowls, glasses, or frequently used plates can make sense because its contents already move in and out regularly.
A cabinet filled with food packets, medicines, mismatched containers, or rarely used appliances is a poor candidate. Removing the door will expose storage clutter without solving anything.
Before committing, live with the door removed for several days.
Ask:
- Do you actually reach the contents more easily?
- Does the opening improve the visual rhythm of the upper cabinet run?
- Can you keep its contents reasonably orderly without creating another styling chore?
If the answer is no, reinstall the door.
One opening can create breathing room. Removing too many doors can sacrifice the closed storage that helps a compact kitchen function.
13. Finish the Inside of Open Cabinets So They Look Intentional
Removing a cabinet door changes what counts as a finished surface.
With the door attached, shelf edges, interior backs, unused screw holes, mismatched finishes, and worn corners can disappear into the cabinet.
Once the cabinet becomes open, those details join the visible room.
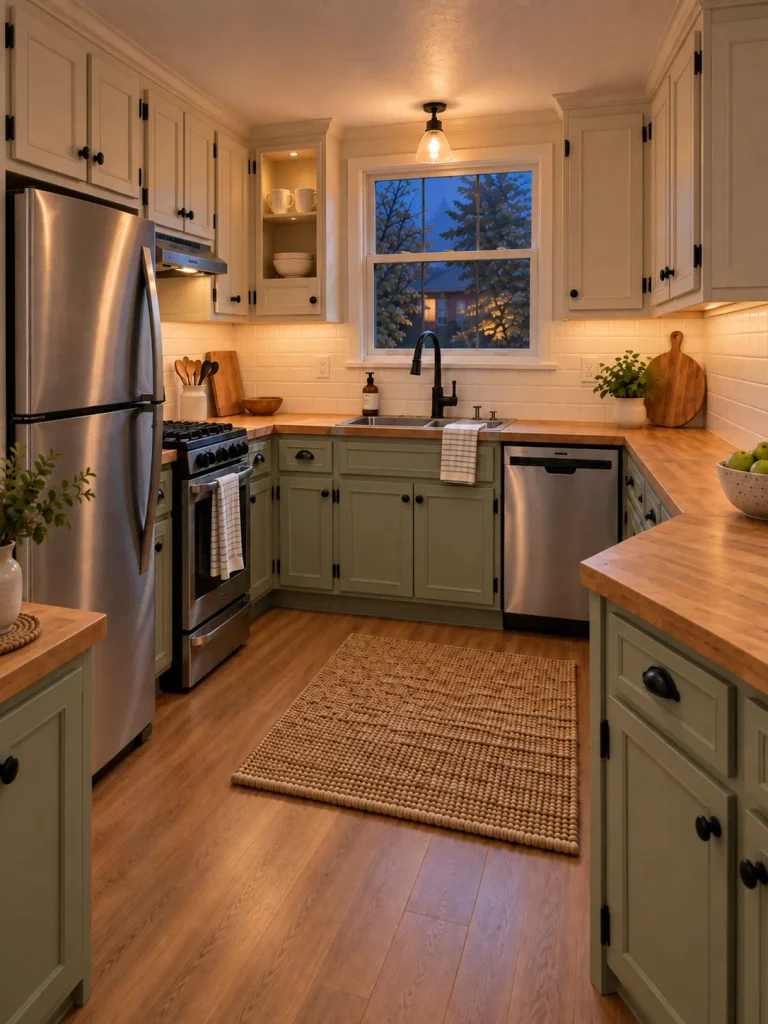
Look at the converted cubby from the kitchen entrance instead of standing directly in front of it. The back panel should feel connected to the cabinet exterior, backsplash, or broader palette. Shelf edges should not suddenly expose an obviously unfinished material.
Depending on the existing substrate and its condition, the interior might receive a compatible coating, a suitable removable lining, or simply careful cleaning and repair when its current finish already works.
A contrasting interior can look attractive, but use it selectively.
When the kitchen already contains several colors, continuing the exterior cabinet tone through the cubby often gives the eye a quieter place to rest.
Completion test: return the contents and step across the room.
Do you notice the objects first—or unfinished cabinet edges?
If construction details win, the open cabinet still needs attention.
14. Treat Toe Kicks, End Panels, Fillers, and Peninsula Backs as Part of the Makeover
Cabinet doors receive most of the attention during a makeover because they are easy to photograph.
The surfaces around them often decide whether the completed kitchen looks properly resolved.
Look down at the toe kick.
Then stand at the end of the cabinet run.
Walk toward the kitchen from the adjoining room and notice which exposed cabinet panel you see first.
A makeover can feel incomplete when newly painted sage doors sit above a battered dark toe kick, or when fresh fronts end abruptly against an old wood-grain side panel.
The eye reads the whole cabinet mass, not only the doors.
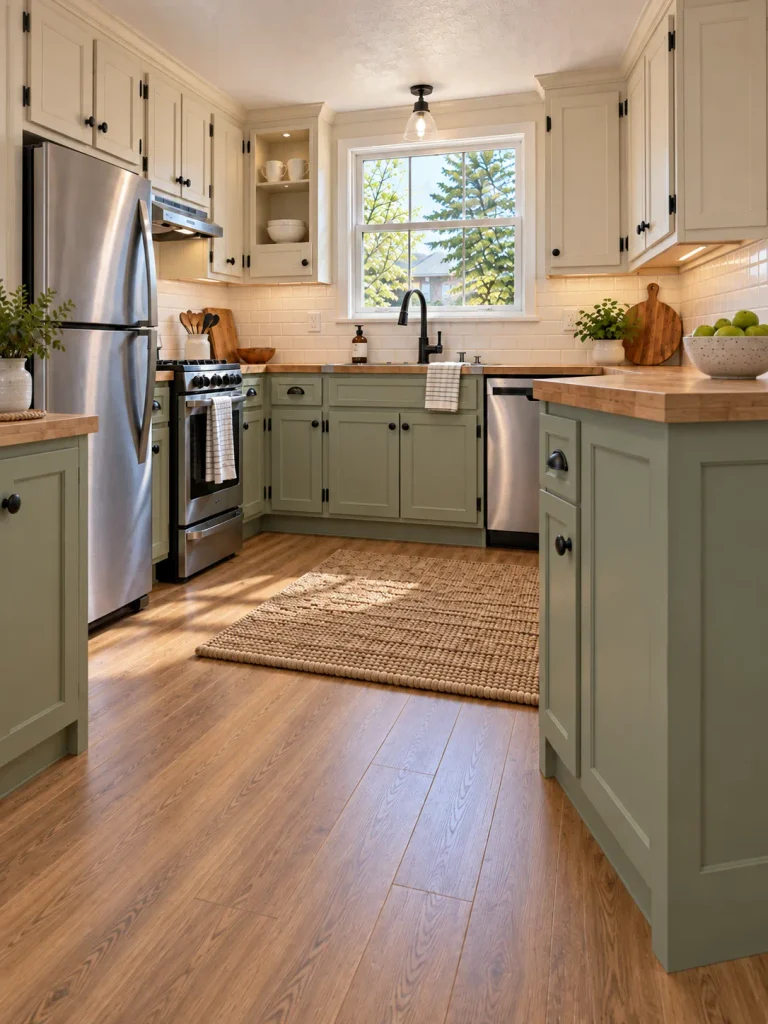
Create a perimeter list before the final coat:
- toe kicks
- visible side and end panels
- fillers between cabinets and walls
- face-frame sections
- exposed peninsula or island backs
- trim pieces attached to the cabinetry
The answer is not automatically “paint everything.”
Some surfaces may intentionally contrast.
What matters is whether each visible piece belongs to the new composition or simply looks forgotten.
Perimeter Completion Explorer
A cabinet makeover does not stop at the doors.
Choose the overlooked cabinet zone you are checking. The completion advice will change for that surface.
The eye reads the entire cabinet mass—including the surfaces outside the doors.
Which zone are you auditing?
Select a cabinet zone. The appropriate completion check will appear here.
Judge it from the route where it is actually seen.
If this side panel is one of the first cabinet surfaces visible from the doorway, leaving the old finish can undermine the entire makeover. Either integrate it with the new cabinet field or preserve it as a deliberate contrast.
Look down before declaring the project finished.
A worn or dramatically different toe kick can create a dark horizontal stripe underneath newly refinished doors. Decide whether it should disappear into the lower cabinet field or remain intentionally distinct.
Make sure fixed cabinet structure agrees with the doors.
Freshly painted doors beside untouched fillers or face-frame sections can make the makeover look pieced together. Treat visible fixed surfaces as part of the same composition.
This surface may matter more from the living room than from the kitchen.
A peninsula or island back can occupy a large part of an open sightline. Evaluate it from the connected room and decide whether the new cabinet finish, a coordinated contrast, or another intentional treatment creates the strongest transition.
15. Do a Daylight–Night–Distance Stop Test Before You Upgrade Anything Else
A cabinet makeover becomes expensive when every successful change immediately creates permission for another purchase.
Freshly finished cabinets can make an older light fixture more noticeable. New hardware may make the backsplash feel dated. A calmer cabinet color may make you question a counter that seemed perfectly acceptable one week earlier.
Do not make those decisions on reveal day.
Finish the cabinets, clean the kitchen, return everyday objects, and live with the space for several days.
Then inspect it under three conditions:
Daylight: Do the cabinet undertones still work with the counter and floor?
Night: Does artificial lighting introduce an unwanted yellow, blue, or muddy cast?
Distance: From the dining area or kitchen entrance, does one unresolved element genuinely interrupt the room—or are you simply noticing it because everything else is newly finished?
Write down only problems that remain noticeable under more than one viewing condition.
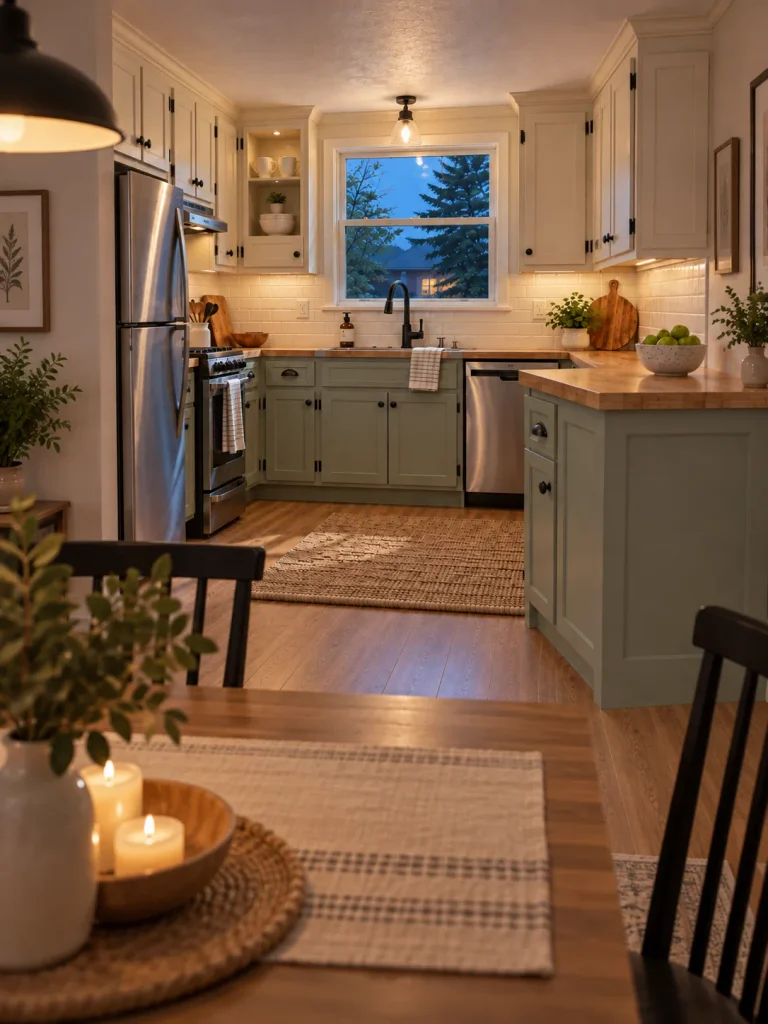
That becomes your stopping rule.
If the cabinetry now feels cohesive, operates properly, and sits comfortably beside the finishes you kept, the makeover has done its job.
You do not owe the kitchen a new countertop, backsplash, sink, floor, and appliance package simply because the cabinet project succeeded.
Final Thoughts
The strongest mobile home kitchen cabinet makeover is often the one that changes fewer things with more intention. Start by proving the boxes are worth keeping, identify the surface before altering it, correct visible alignment, and let the cabinet color respond to finishes already in the room.
After that, smaller decisions—hardware, exposed hinges, selective door detail, one open cubby, and properly finished perimeter surfaces—can make existing cabinetry feel far more deliberate.
Most importantly, give the completed kitchen time before widening the project. If the cabinet run now looks cohesive and functions well, stopping is not an unfinished remodel. It is successful scope control.